
Last Updated on April 12, 2023 by lindseymahoney
Our master bathroom was tired, outdated, lacking function, and ready for a makeover. I embraced the retro style of the 70s and our master bathroom is now a showstopper after a few budget-friendly improvements!

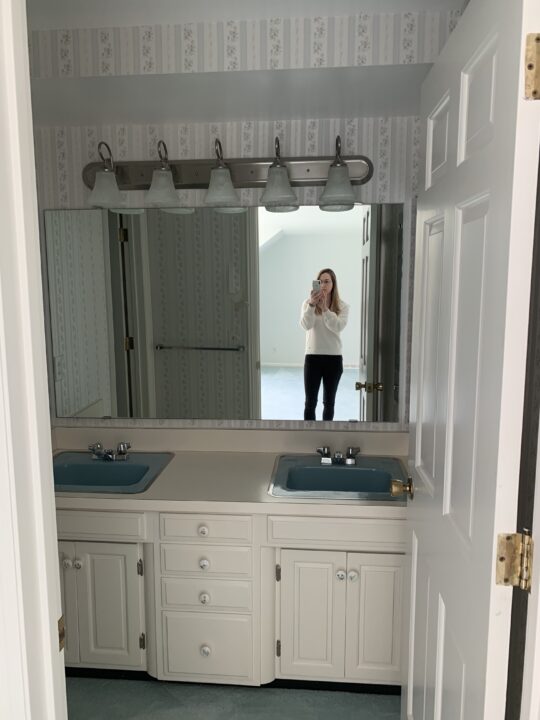
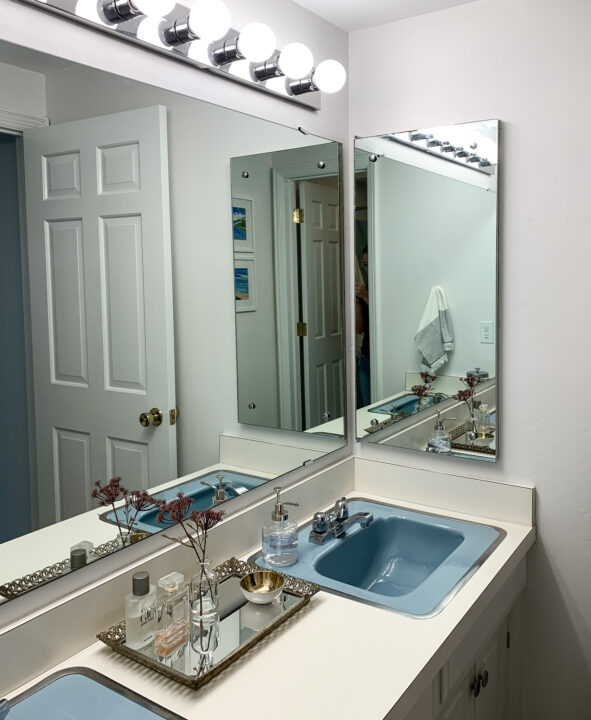
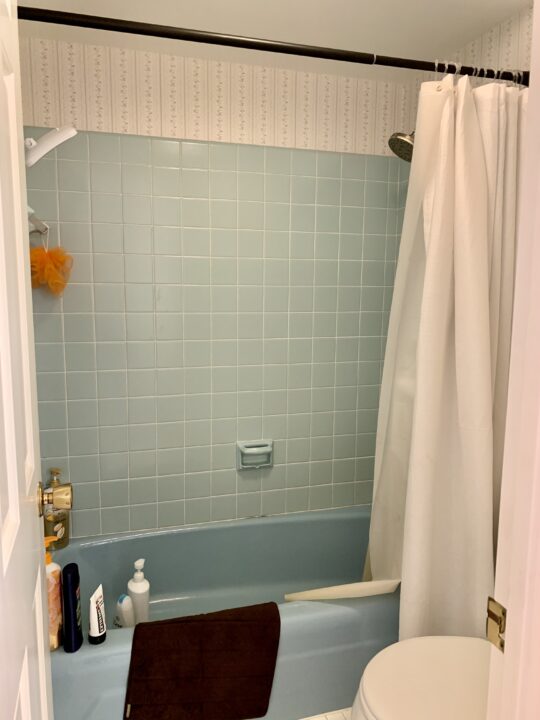
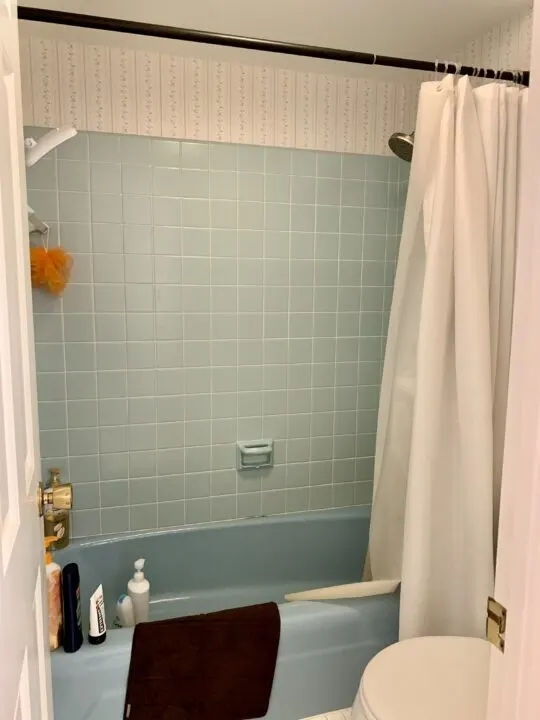
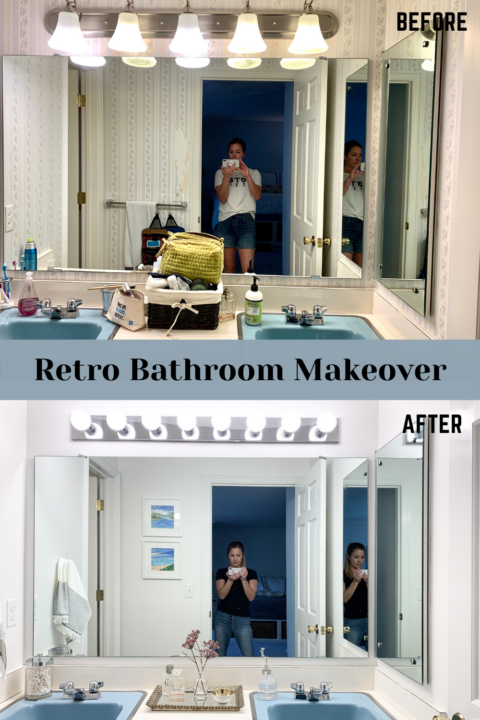
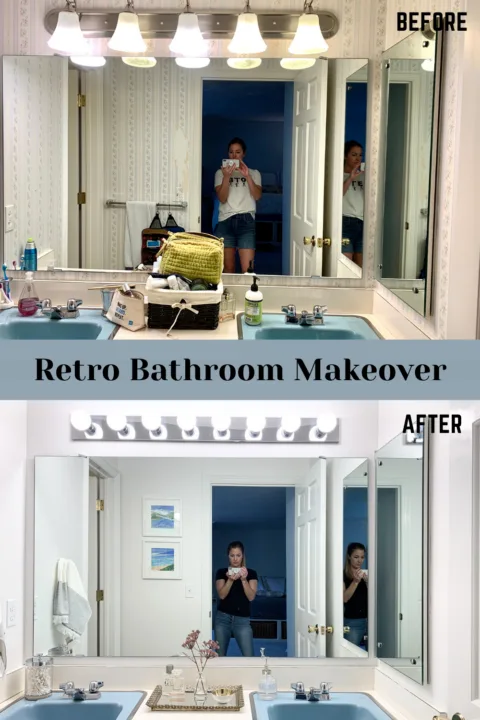
Retro Bathroom Before
Here is our retro master bathroom before the makeover when we first moved into our home:


Affordable Bathroom Makeover Projects:
- Remove wallpaper and paint
- Add organization features to improve the function of the bathroom
- Update lighting and electrical outlets
- Clean the tile grout
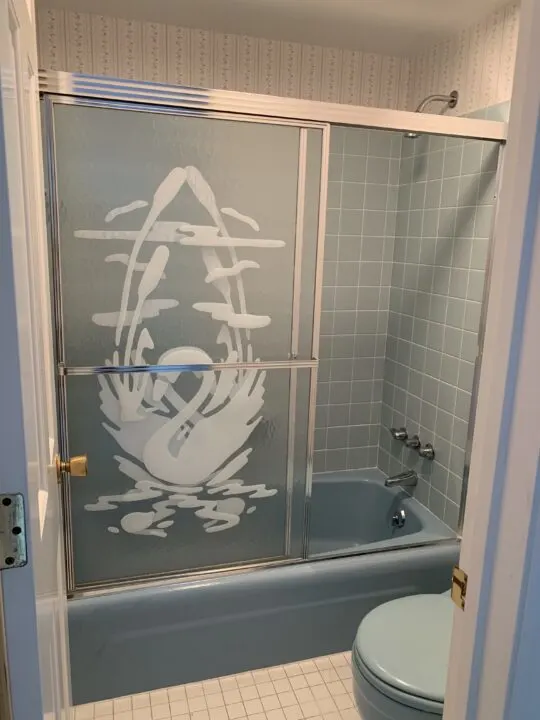
- Remove the glass shower door (already complete)
- Cosmetic improvements for an updated retro style
- Hang Artwork
Budget-Friendly Retro Bathroom Makeover
[Affiliate links are included in this post, thanks for supporting Building Bluebird!]
1 | Remove Wallpaper
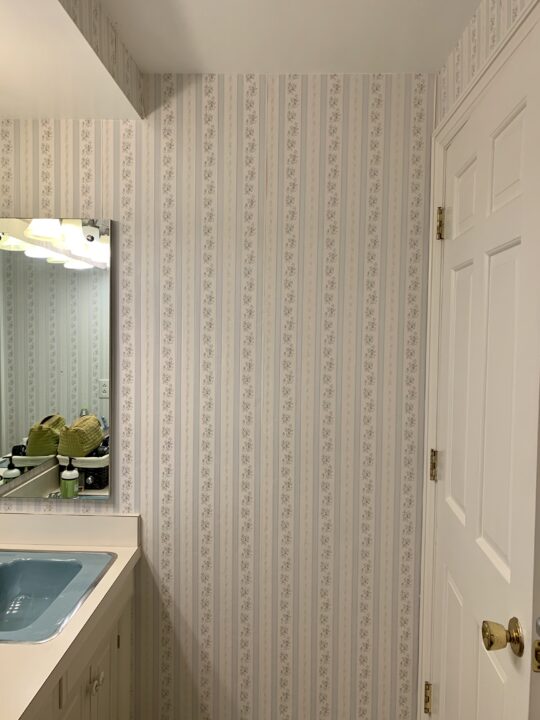

The first DIY project in our master bathroom was to remove the peeling wallpaper. With the right tools and a wallpaper steamer, this DIY project is super easy to tackle on your own.
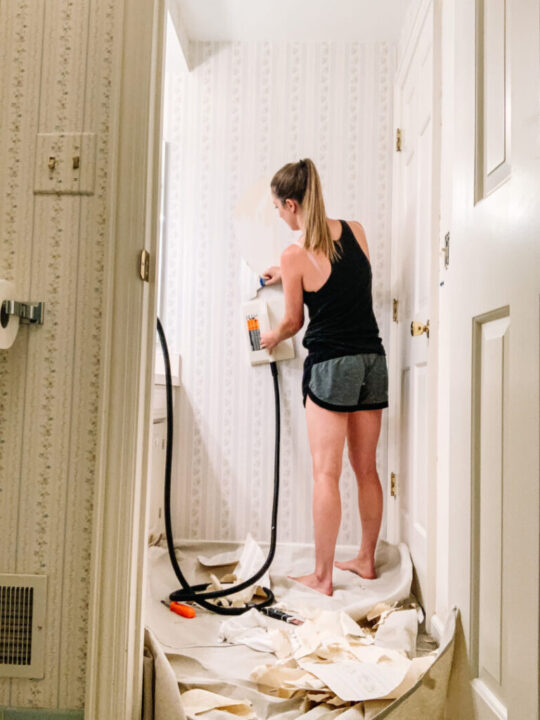

Once the wallpaper was removed, I painted a fresh coat of white paint on the walls using the color Snowbound by Sherwin Williams. The neutral white wall color allows the blues to really pop!
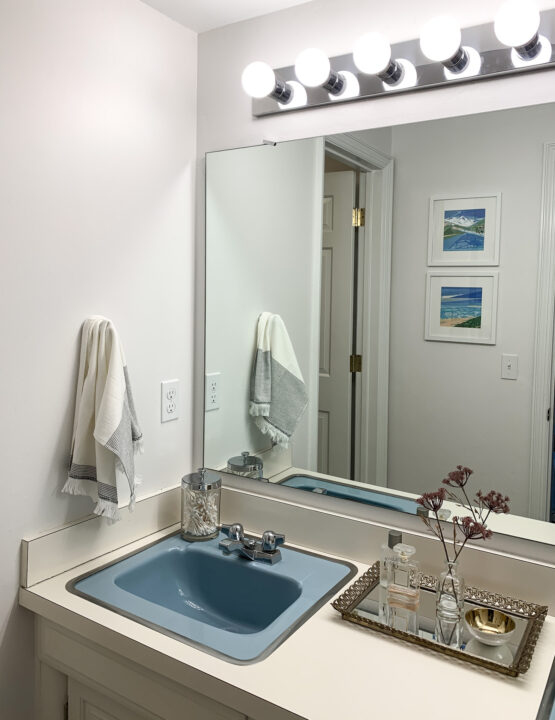
2 | Update Bathroom Lights and Outlets/Switches
Vanity Light
A big function issue in this bathroom was the spacing between the vanity light and the medicine cabinet.
The glass domes on the light hung in a way that prevented the medicine cabinet (on the wall to the right) from fully opening. It was only a matter of time before I opened the cabinet and shattered the glass light fixture.


Because I was not moving the placement of the vanity light, I chose a light fixture that no long got in the way of the medicine cabinet. I love how it gives the retro bathroom an art deco vibe!
Old Electrical Outlets
When we moved into our home, we realized that every electrical outlet is installed upside down, including in the bathroom.
After years of use, outlets become loose and no longer hold plugs tightly. In our bathroom, items would constantly become unplugged because of the loose outlets.
I replaced all of the light switches and outlets with new, white outlets and flipped the socket right-side up.
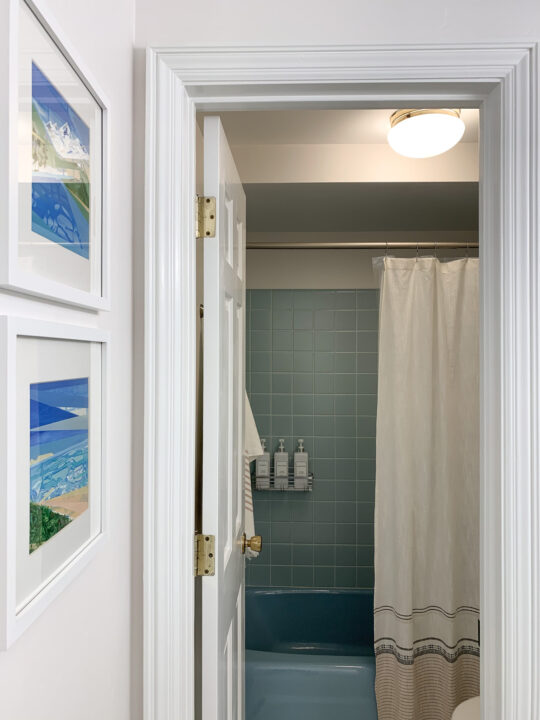
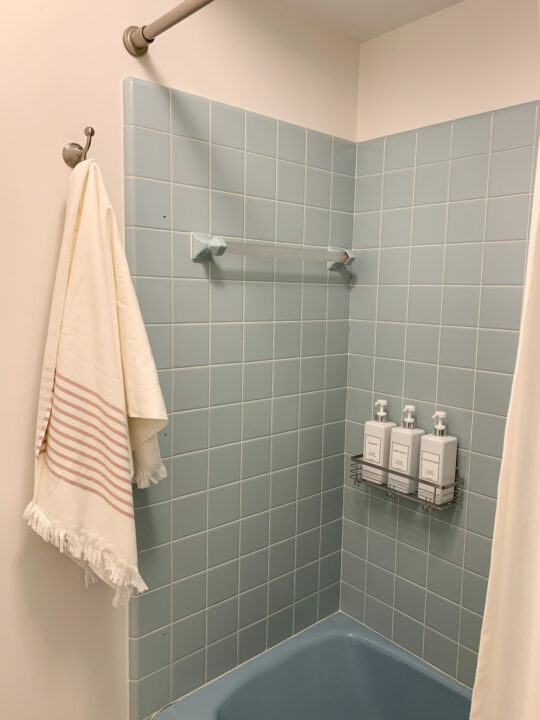
3 | Clean the Retro Blue Bathroom Tiles
Cleaning the original bathroom tiles and grout makes a HUGE difference!
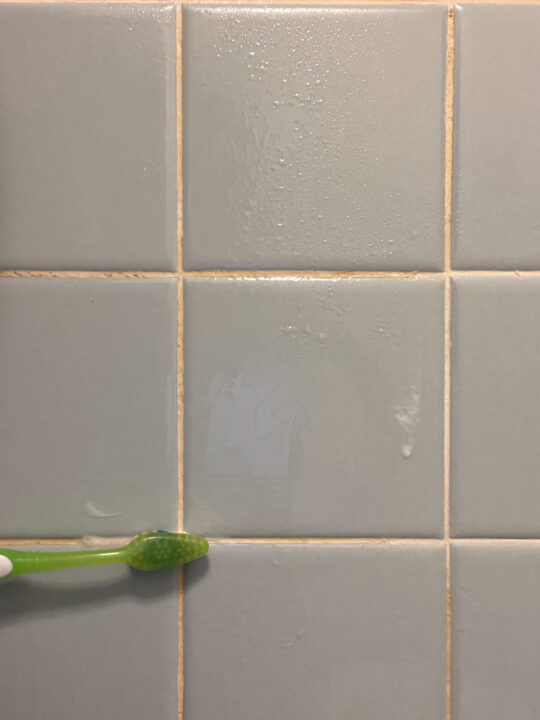
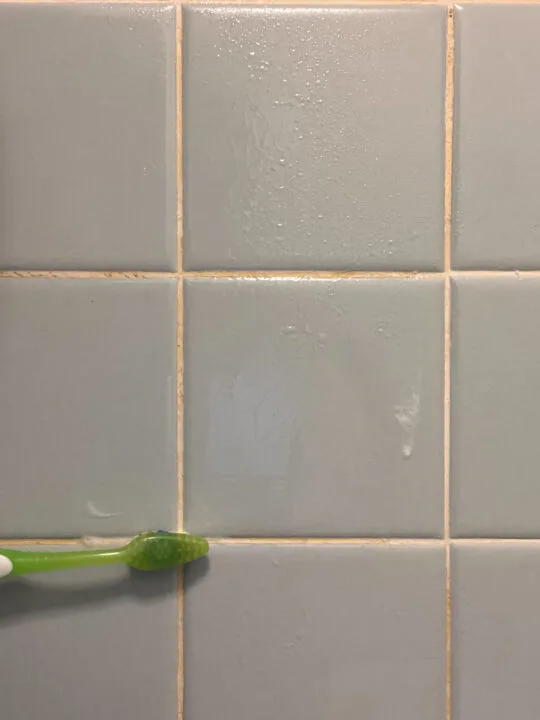
The entire design of the bathroom makeover is centered around the retro blue tiles and they needed to really shine.
I whipped up a homemade cleaning recipe and scrubbed the tiles until they sparkled!
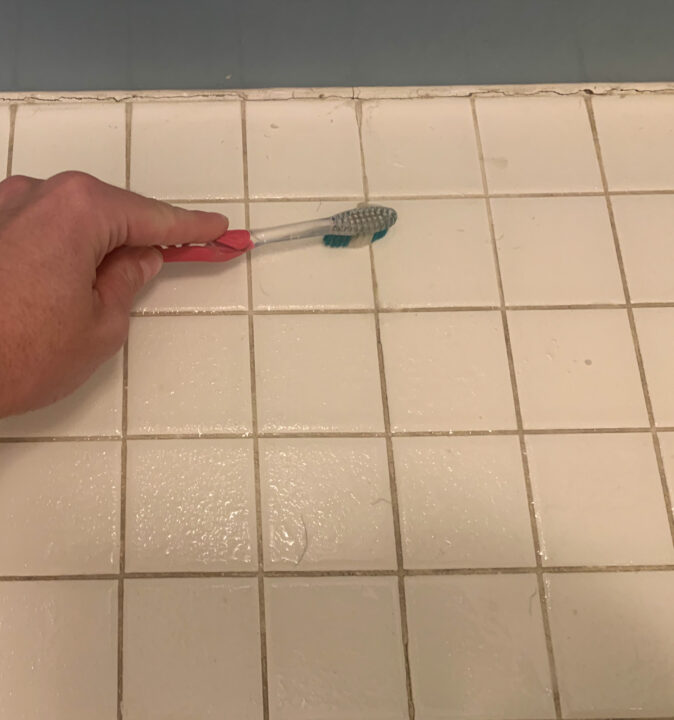

Using a toothbrush and the DIY grout cleaner, I tackled the original bathroom floor tiles as well. Watching the grout go from brown to white is so satisfying!
4 | Cosmetic Updates in the Retro Bathroom

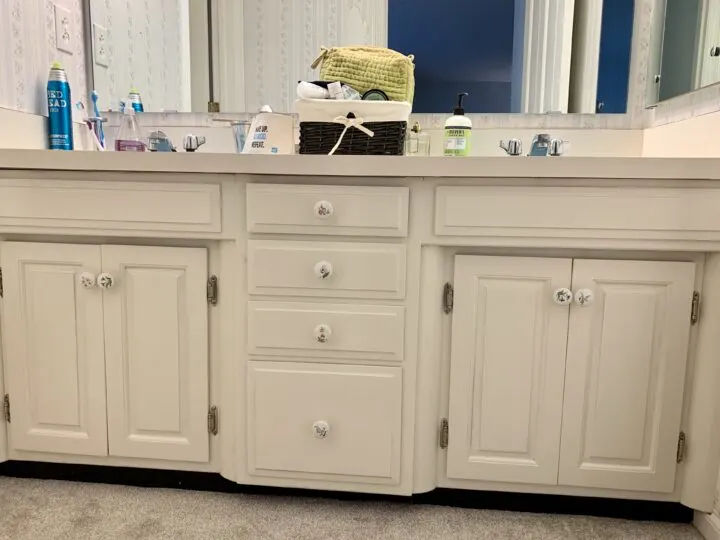
Because we were not tearing out anything in this bathroom, the original vanity was getting a fresh coat of paint, and replacing the knobs.

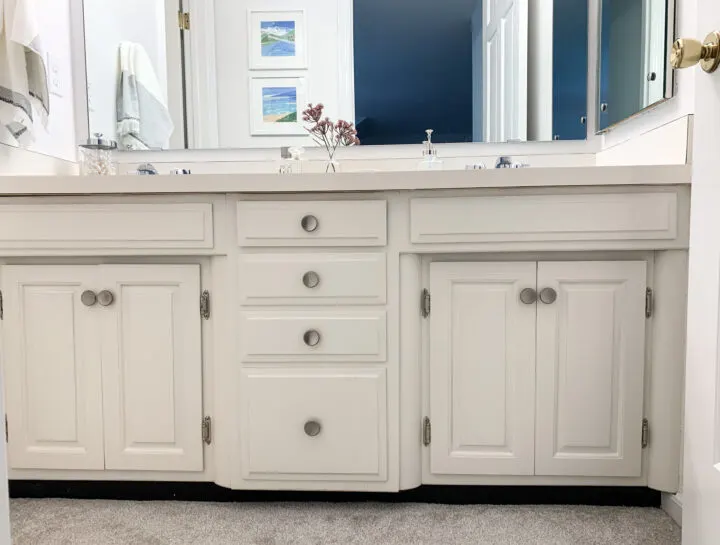
The vanity got painted a crisp white color in a satin sheen. The flower knobs were swapped out with a simple round knob with a satin nickel finish.

I replaced the curtain rod along with the shower curtain. I really struggle with tension rods and decided to swap out the old brown one with a brushed nickel rod that connects to the wall.
5 | Retro Bathroom Organization
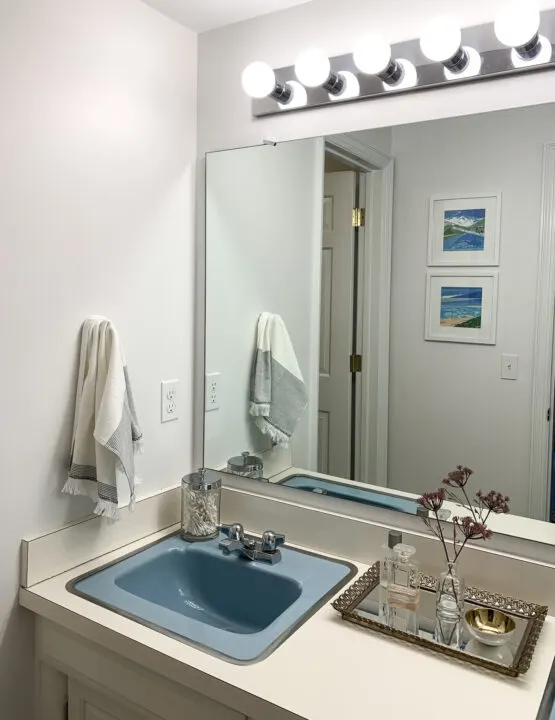
With the medicine cabinet now fully accessible and the vanity cabinets organized, I was able to finally clear off the counter!
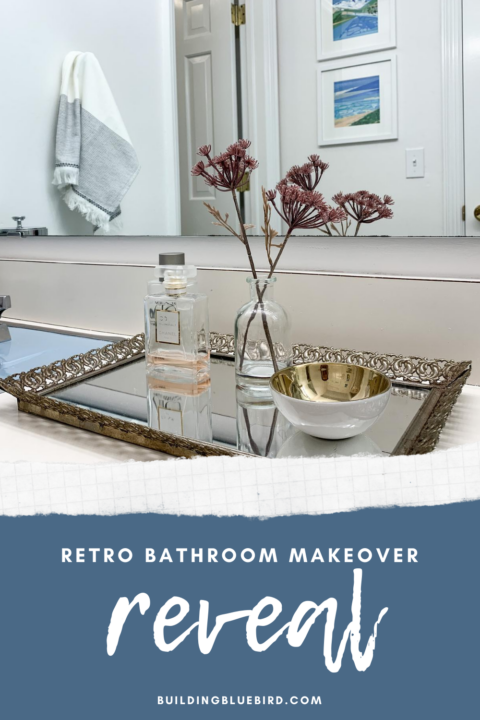
Vintage Tray
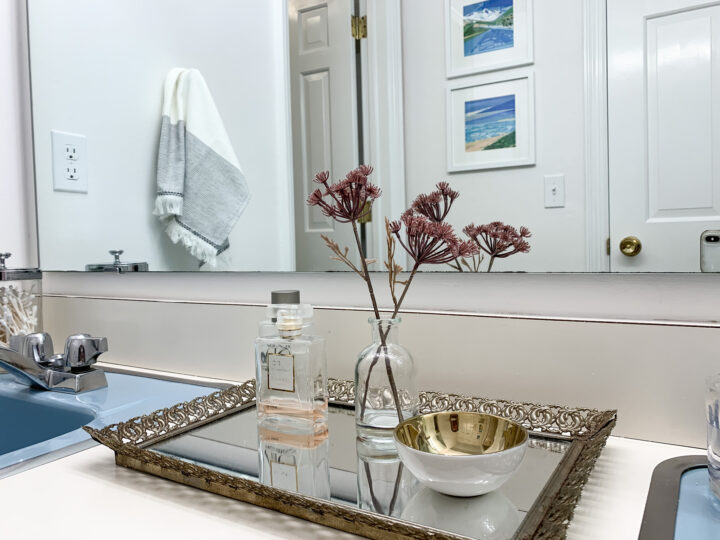

To keep with the retro vibe of the bathroom, I added a vintage try found at an estate sale to collect odds and ends. The tray holds a small bowl that is the perfect spot for my jewelry that I take off at night.
Refillable Soap Dispenser
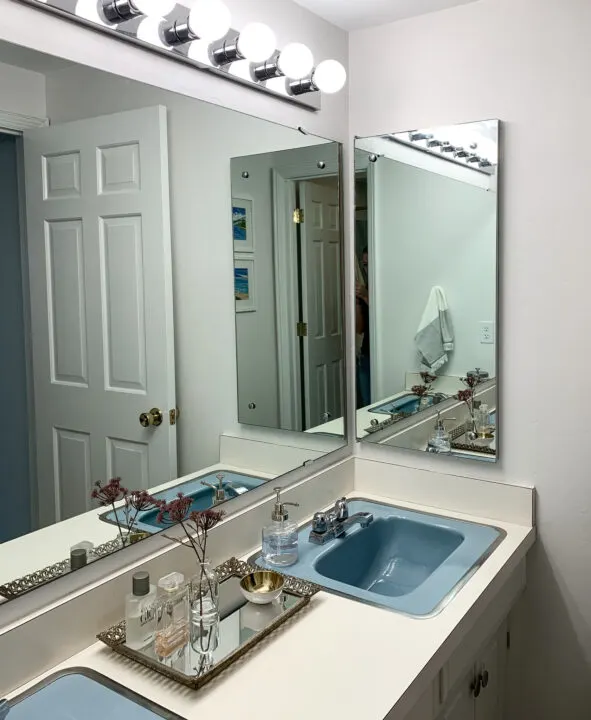
Around the sink, I added a re-fillable, glass soap dispenser that is functional and super cute!
Towel Hooks
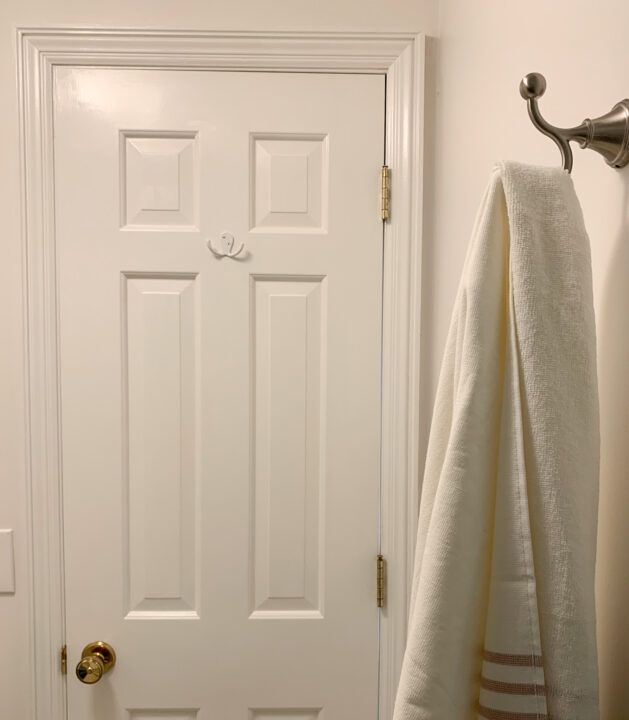
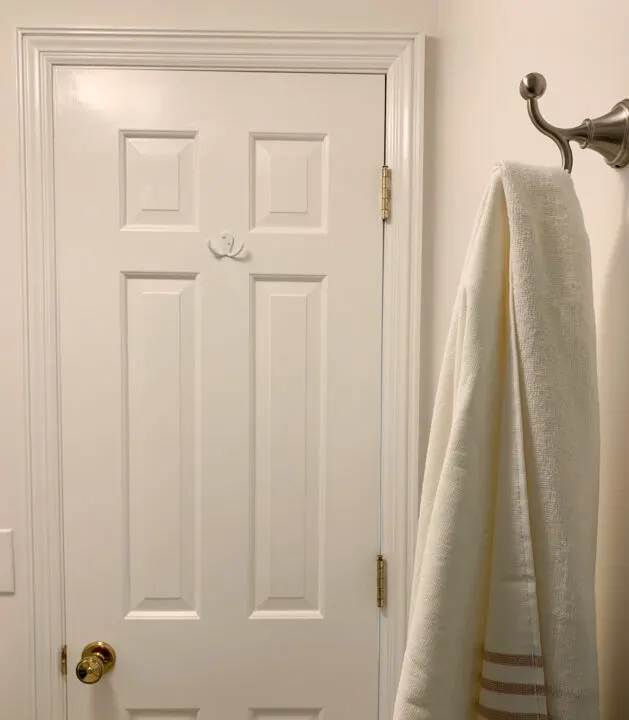
Our bathroom desperately needed more places to hang towels. First, I hung a double hook next to the shower for easy access.
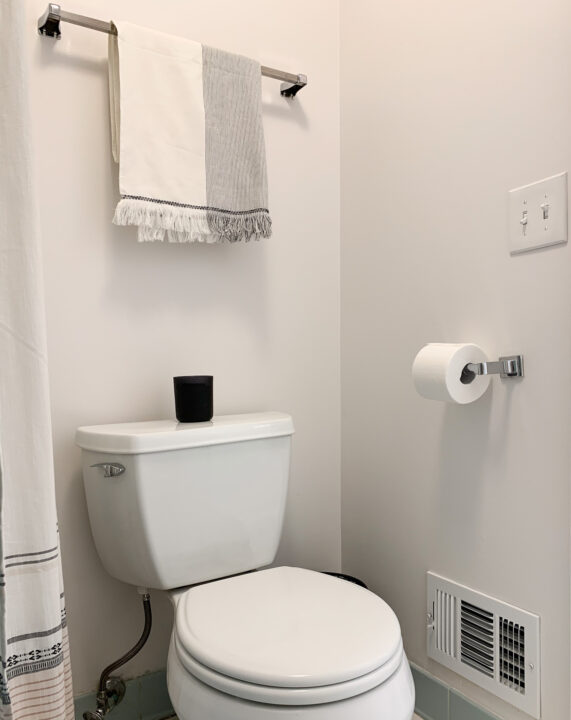
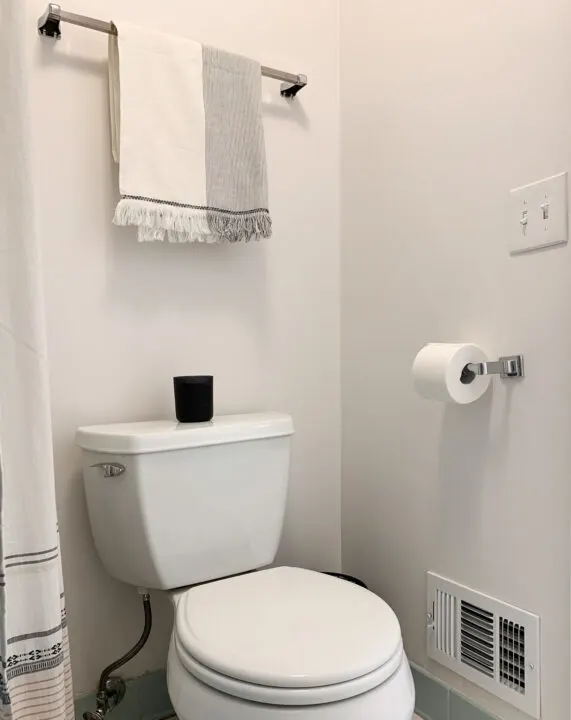
Over the toilet, I reused the towel rack that originally hung in the vanity room. The new location allows for easy access outside of the shower.
I installed double hooks on the back of each door as well. My goal is to avoid towels hanging on every doorknob in our bedroom and bathroom.
Shower Organization
Before the bathroom makeover, our shower tub was filled with bottles that lined the edges of the tub. Every time we used the shower we would kick a bottle into the tub.


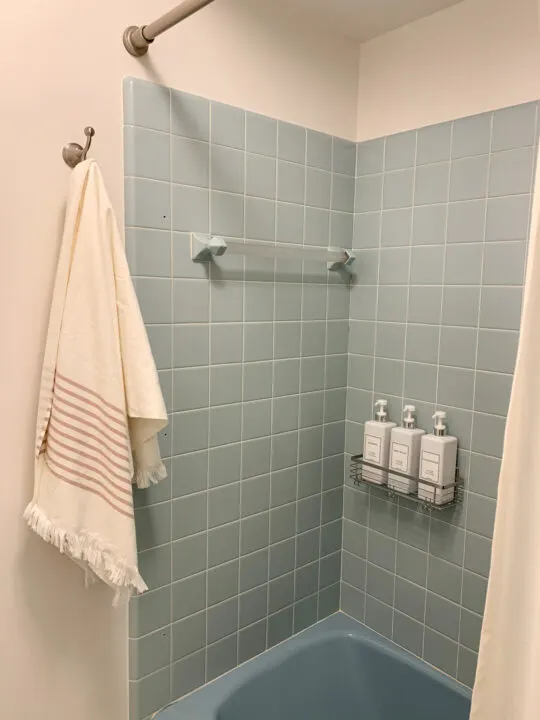
To eliminate many of the soap bottles in our shower, I installed this stainless steel shower caddy to hold three refillable soap dispensers. It is SO nice to have soap bottles off of the ledge of the tub!
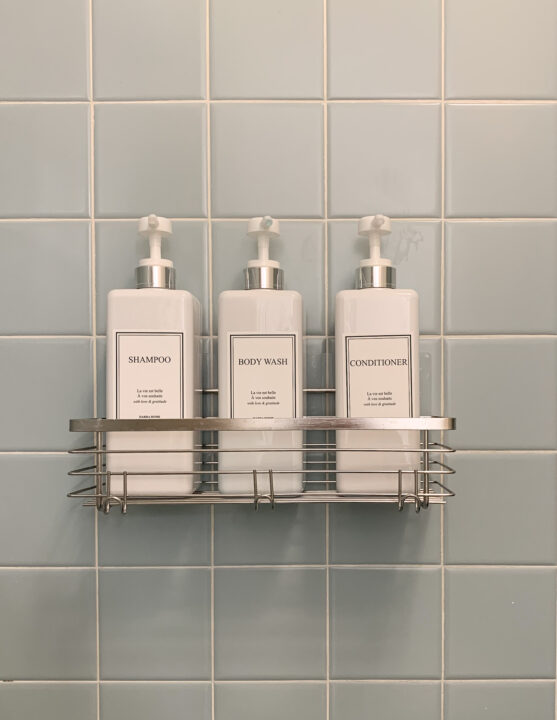
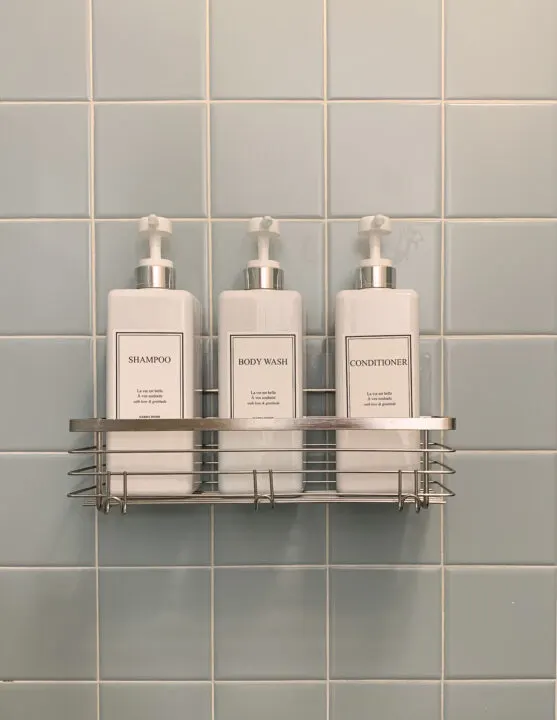
Chris and I decided to cut down on the number of shower products we used. Instead of having body wash that is made for “him” and “her”, we use the same one. The same goes for our shampoo and conditioner.
Decreasing the variety of products allows us to buy in bulk which creates less plastic by purchasing fewer bottles. This is just one sustainable change we made in our bathroom to make it more eco-friendly.
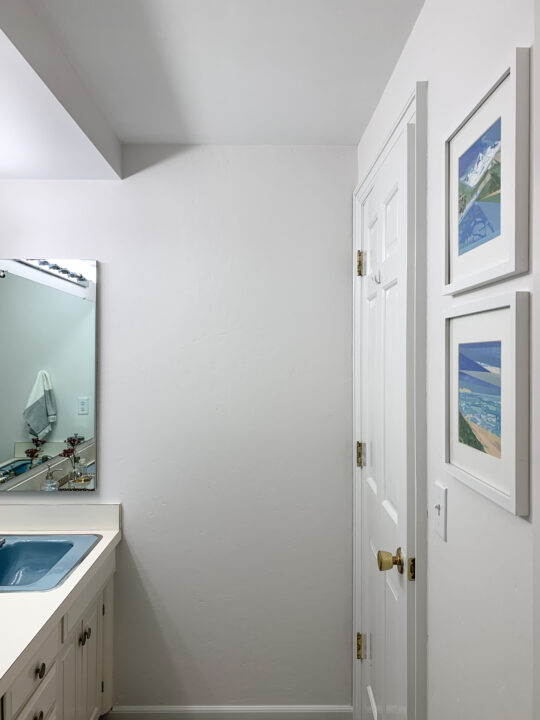
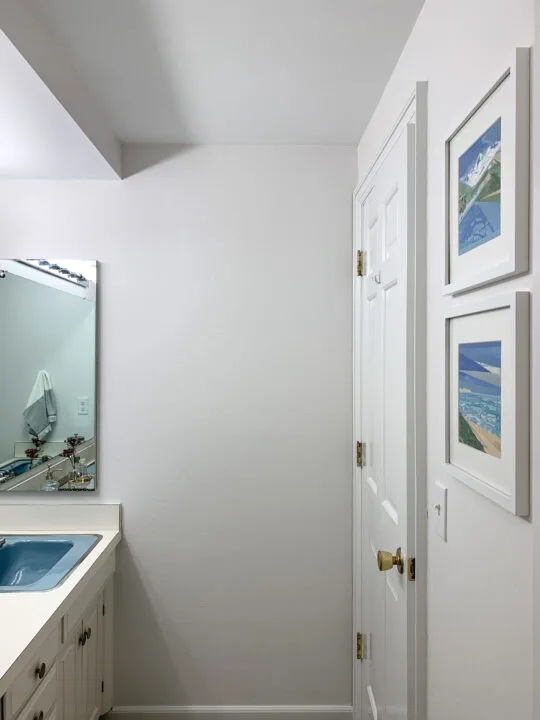
6 | Hang Modern Artwork

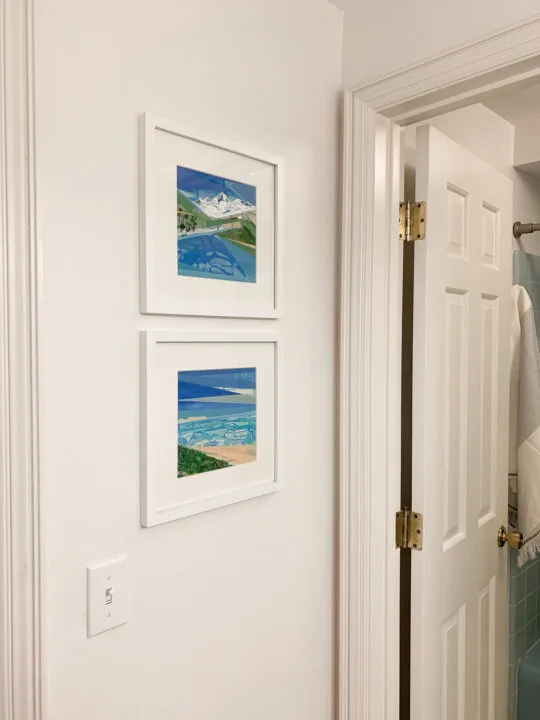
When I began planning this bathroom makeover, I knew I wanted to incorporate this custom art I had made for Chris’ birthday last year.
The abstract paintings show two of my family’s favorite places, the mountains, and Cape Cod. The blues worked perfectly with the vintage blue tile and we went from there!
With a little creativity and sweat equity, our retro bathroom looks beautiful and functions for the modern family today. Simple, affordable updates can make your vintage, original bathroom look like new!
Bathroom Makeover Source List
- Hand Towel Hook
- Custom Artwork by Caroline Morgan
- Wall Paint (Satin Sheen)
- Vanity Light
- Light Bulbs
- White Pump Bottles
- Hanging Shower Caddy
- Hand Soap Dispenser
- Mirrored Tray – vintage
- Vanity Knobs
- Shower Rod

More Content You Will Love
- Beautiful Blue Tile Bathroom Refresh | Before and After
- DIY Plans to Update Our Retro Master Bathroom
- Warm Green Bathroom Makeover on a Budget
- Install Picture Frame (Box) Molding | Easy DIY
- Timeless Dark Green Paint Colors to Try at Home
- Easy DIY Lacquer Tray | Rita Konig Dupe
- Quick Laundry Room Makeover for Under $300
Paula
Friday 27th of October 2023
I was wondering why you just didn't flip the light fixture upside down? We did that in one of our renovations and it was a money, time saver and the look was totally different.
Paula
Friday 27th of October 2023
I was wondering why you just didn't flip the light fixture upside down? We did that in one of our renovations and it was a money, time saver and the look was totally different.
June gallo
Thursday 10th of August 2023
ABSOLUTELY stunning! In this “rip everything out” climate, you showed them up.
I, too, have a retro peach bathroom and like you did some renovations, especially painting the walls white. I’m so happy with the results. I have lived with my bathroom for 45 years!
Great job, Lindsey!
lindseymahoney
Friday 11th of August 2023
Thank you so much!
electric and automation Auckland
Saturday 28th of November 2020
I was looking for this information relating to retro bath makeover reveal . You have really eased my work by posting this article, loved your writing skill as well. Please keep sharing more, would love to read more from you!
lindseymahoney
Monday 30th of November 2020
Thank you so much! I'm glad you found it useful :)
Katie
Tuesday 15th of September 2020
This looks so much better Lindsey!
lindseymahoney
Friday 18th of September 2020
Thank you!!