
Last Updated on May 15, 2023 by lindseymahoney
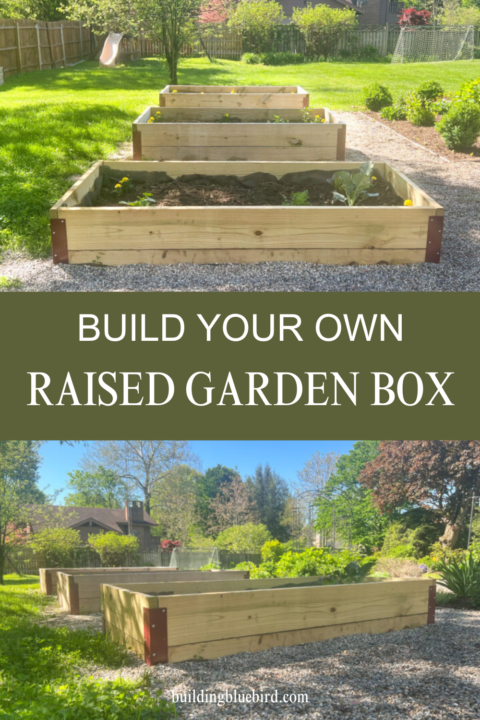
This year we built another raised garden box in our backyard using pressure-treated wood and corner brackets. I documented the entire process and am excited to share this easy tutorial with all of you!

We built the first two raised vegetable beds in 2020 and I immediately wanted to build a third.

My husband was not as enthusiastic about building another one so we compromised. If the first two boxes were a success then we could build the third.
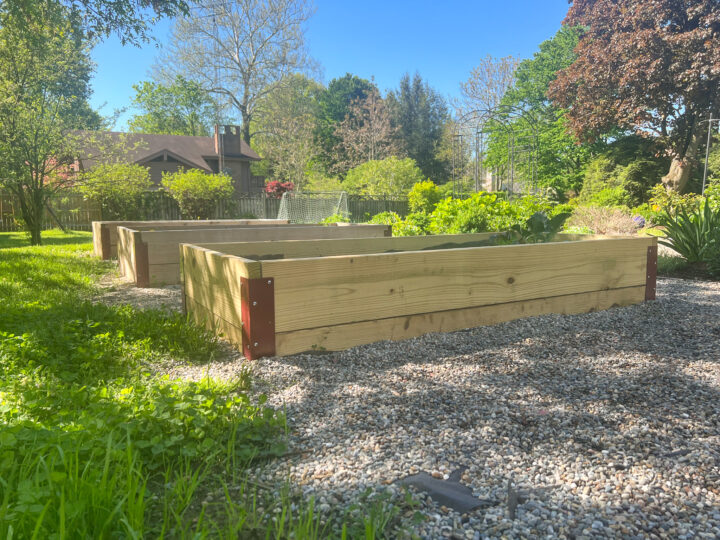
Two years later we have proven the concept and added the third raised garden box! I now have more room to grow vegetables and visually I prefer three boxes as opposed to only two together.
How to Build a Simple Raised Garden Box
This post includes affiliate links, thank you for supporting Building Bluebird!
1 | Determine Raised Box Design and Gather Materials
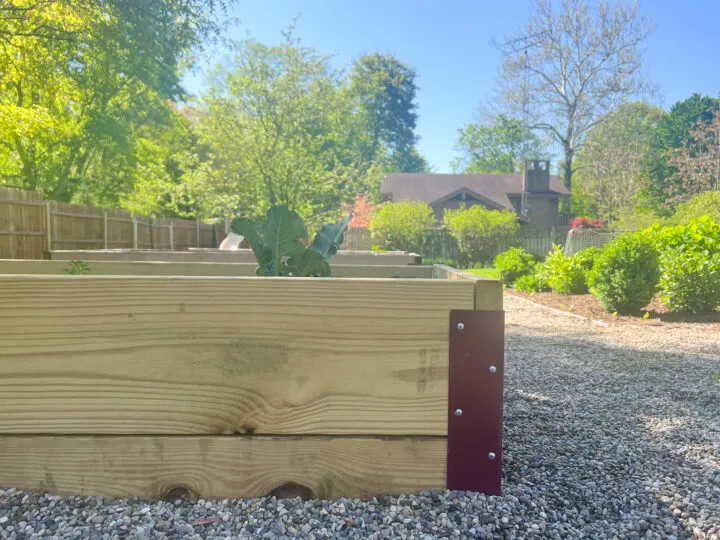
Our raised garden box design is a simple rectangle with two stacked wood planks and metal brackets connecting each board at the corner.
The size of our garden box is 80″x40″ and requires four 10-foot (120 inches) pressure-treated boards.
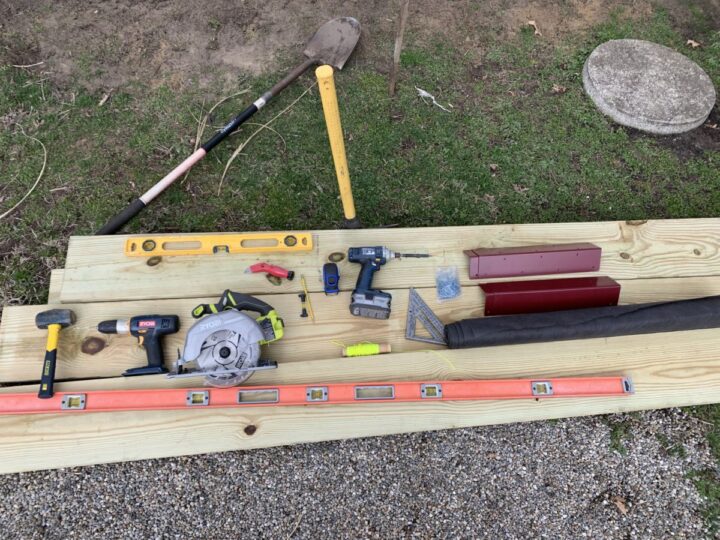
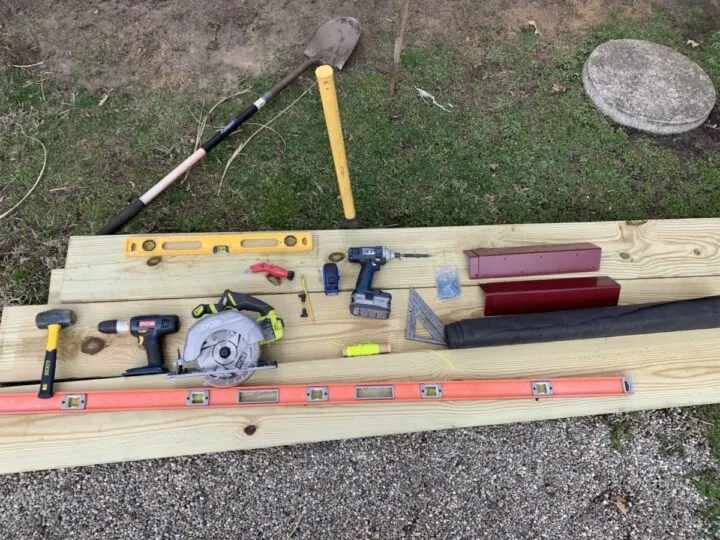
Raised Garden Bed Project Materials
- Corner Brackets (4)
- 2 in. x 10 in. x 10 ft. Pressure Treated Wood (4)
- String line level & Stakes
- Drill Hammer (for the stakes)
- Tape Measurer
- Spade Shovel & Pick Ax
- Carpenter Square
- Driver & Drill Set
- 24″ Level
- Weed Barrier Fabric
- Miter Saw or Circular Saw
2 | Cut the Wood Boards
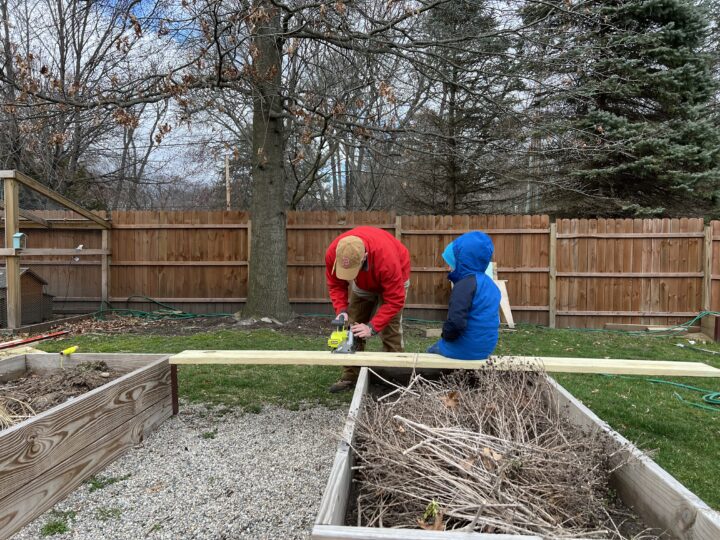
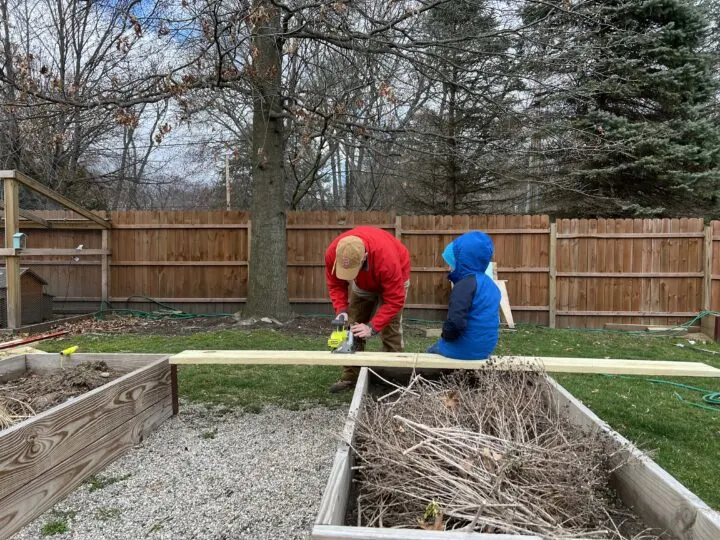
Using the 10-foot boards, we measured 80″ on each board. To cut, we used a circular saw, but a miter saw is a great option as well.
We removed 40″ from each board and used this piece for the width of the raised garden bed.
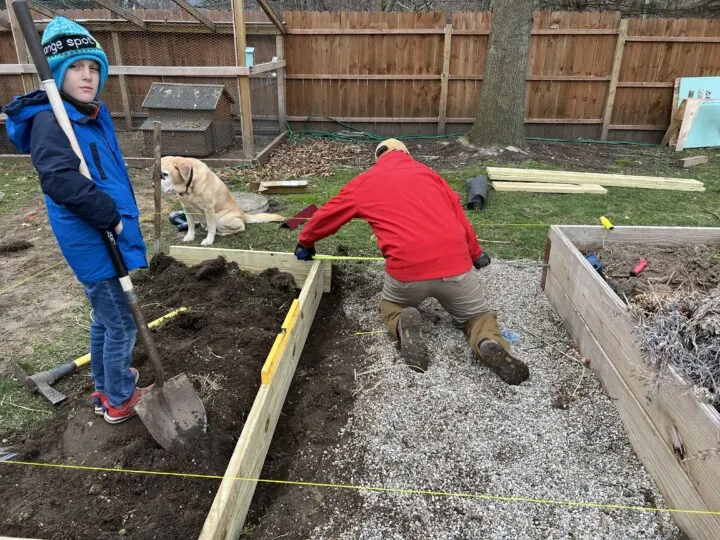
3 | Choose & Mark the Garden Box Location
The location of the raised garden box is important. You want to find a spot that gets enough sunlight during the day. I would also consider potential pests, like deer when determining the best place for your garden box.
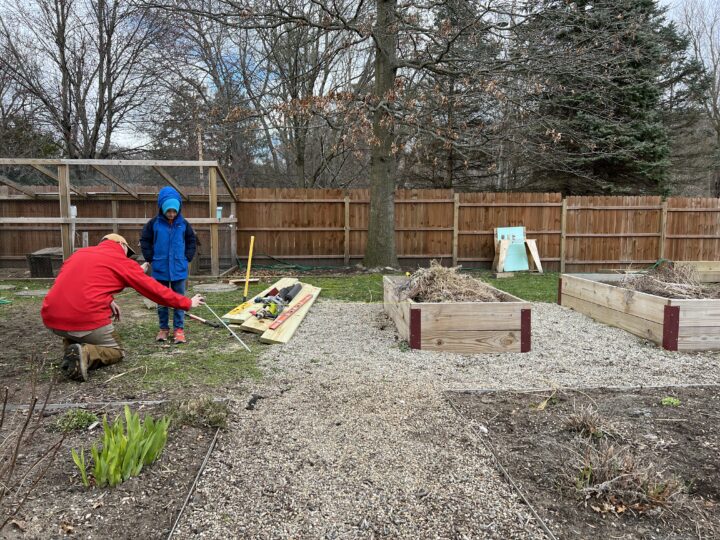

For our project, we aligned the third raised garden box with the existing two at a distance of four feet. If you are building more than one garden box, it is important to keep the distance & height consistent, or else it will look off.
We measured the distance needed between the corner of the existing box and the first corner of the box we planned to build. Once the corner was marked, I added another 40 inches (width of the box) and placed a stake in the ground.
Repeat the same steps on the other side of the box.
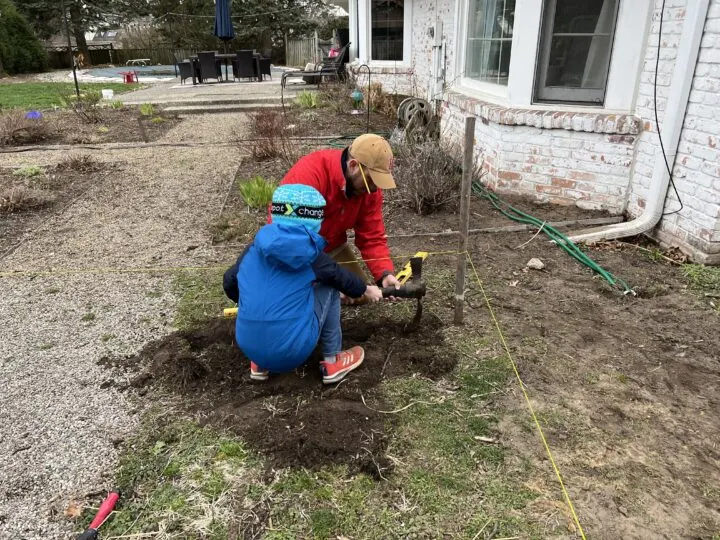
4 | Level the Ground

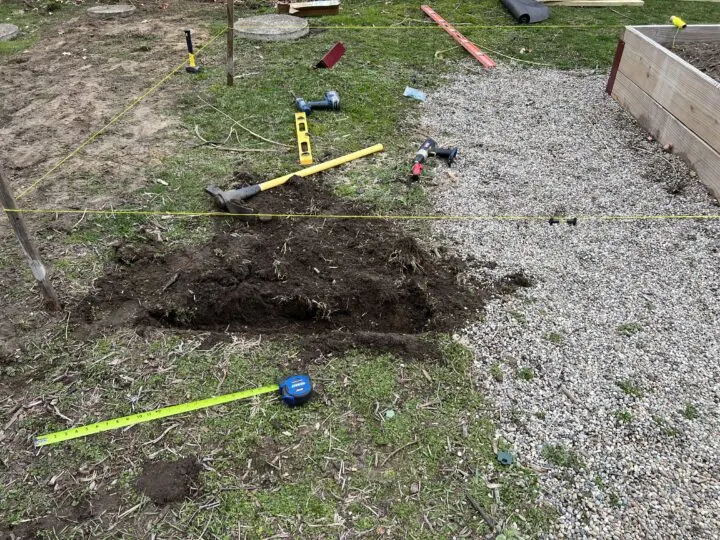
Attach a piece of string to the top corner of the existing box and connect the end of the string to the stake in the ground. Use a string line level to find the correct height of your new garden box.

Our design includes two 10-inch width boards stacked on top of each other so the distance from the ground to the string needed to be 20 inches.
Using a spade shovel and pick ax, we leveled the ground beneath the string. We dug a row to create a constant distance of 20 inches from the ground to the string.
5 | Place the First Row of Wood Boards
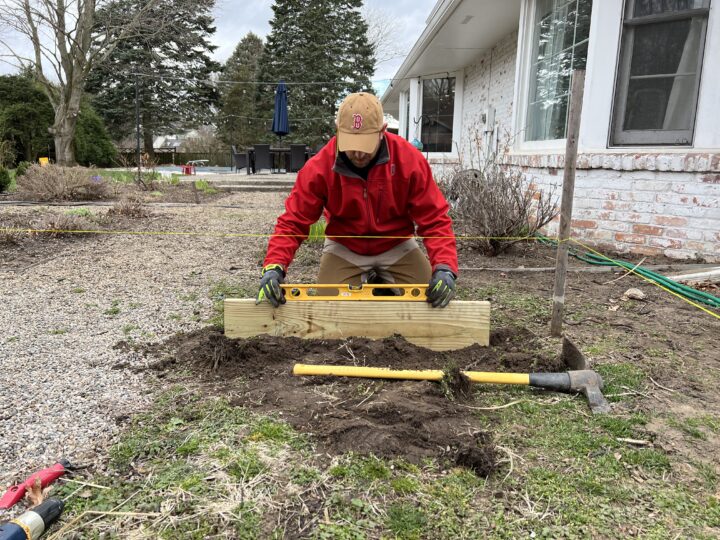
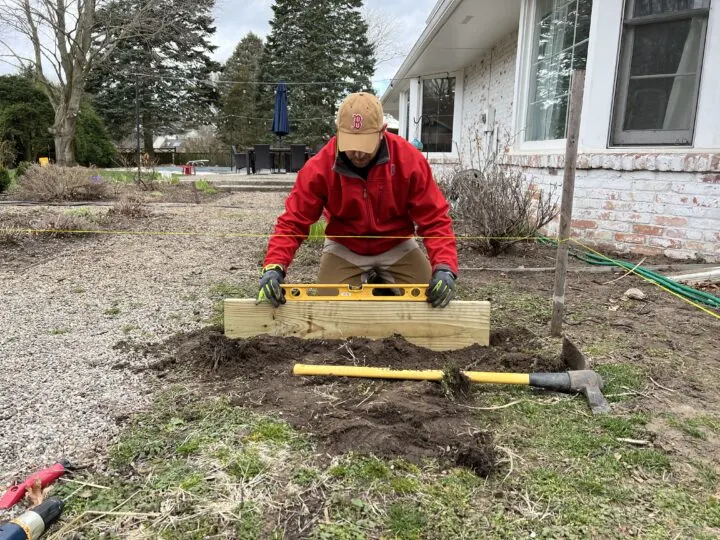
Using a 24-inch hand level, we double-checked that the first board was level.

Next, we placed the longer board perpendicular and made it level. We measured the distance of the neighboring box at both ends when placing the board to keep it consistent.

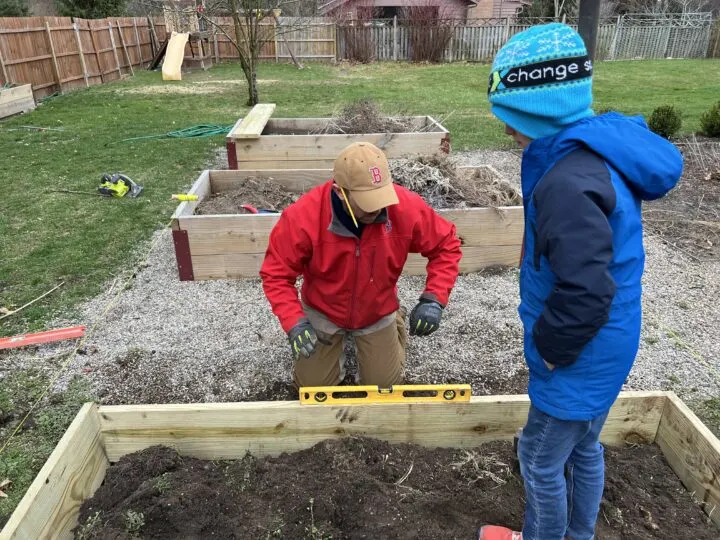
When the longer board (80″) was level, we used a carpenter square to confirm that the inside corner of the two boards was a tight 90 degrees.
6 | Attach the Corner Bracket

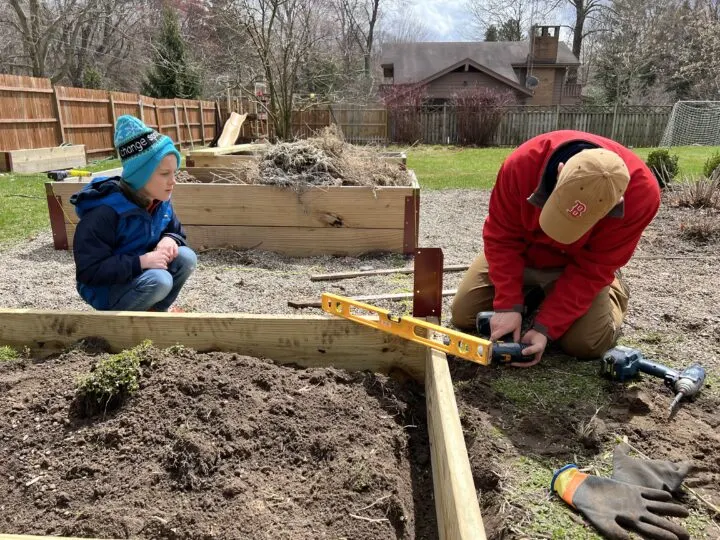
Once the first corner is perfectly lined up, attach the bottom half of the corner bracket.
The brackets came in a 4 pack that included screws to attach to the wood. We pre-drilled the hole and then used a driver to attach the screws.
7 | Add the Second Row of Boards to the Garden Box


When the lower half of the brackets have been attached, lay the second row of boards on top.

Pre-drill holes and connect the board and brackets with screws.
8 | Attach Weed Barrier to the Sides


Because our raised garden bed has a horizontal seam in the center of the box, we lined the edges with a weed barrier.
This prevents soil from escaping through the crack, especially when it gets wet. Use a stapler to attach the weed barrier to the sides of the raised garden box.
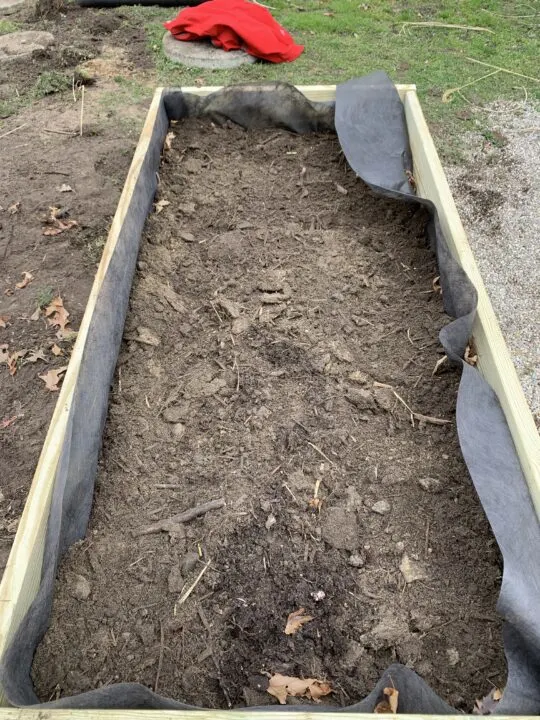
9 | Fill the Garden Bed
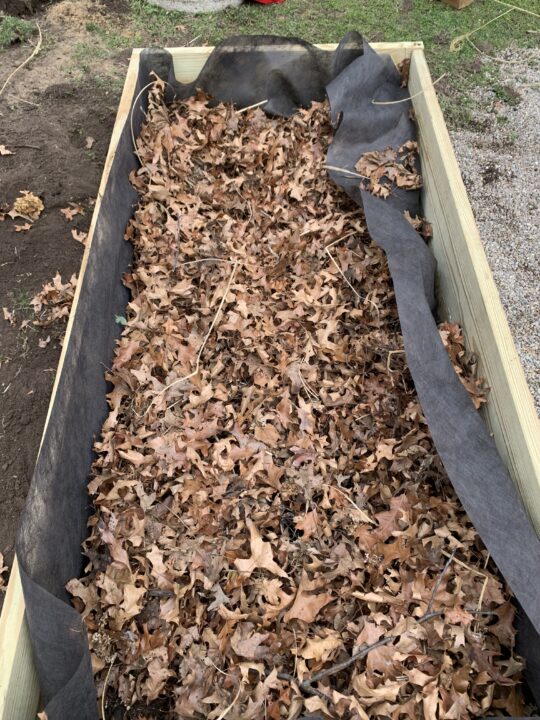
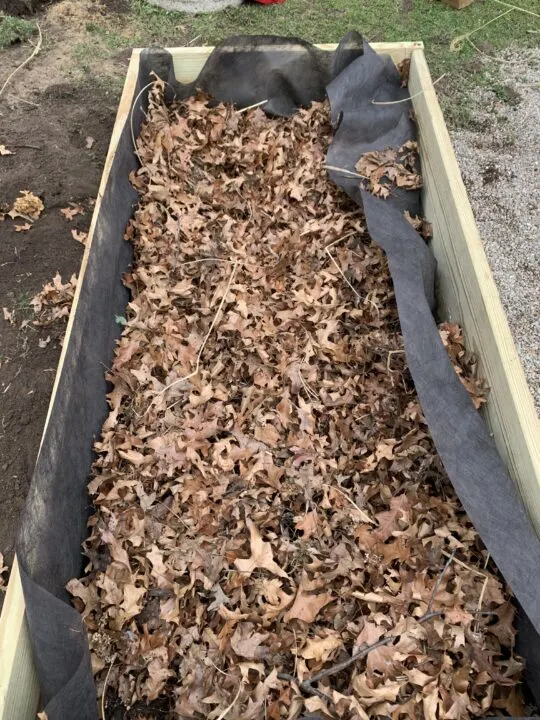
At the bottom of the raised garden box, we added some organic materials from the yard. Next, we added a layer of dried leaves and topped it off with compost and soil.
The soil line is a little lower than I prefer, so I will probably add some more next year.

10 | Plant Your Garden

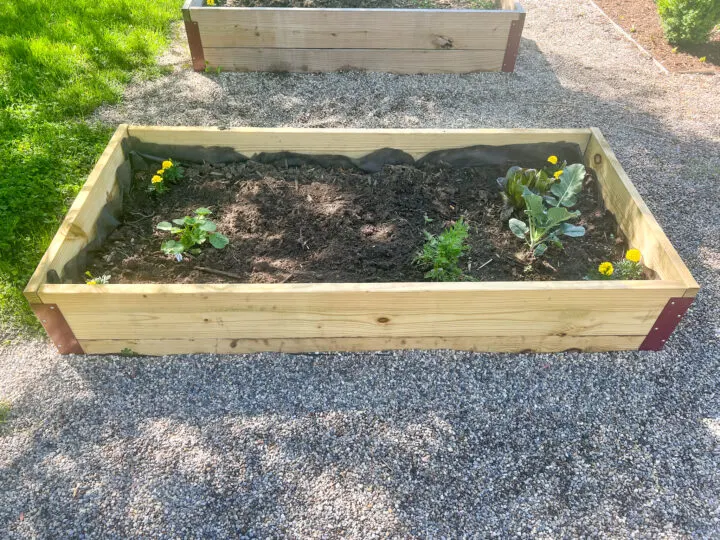
After planting vegetables in the two raised garden boxes these last few years, I realized that I did not have a lot of room when each plant had the proper space to grow. A single gourd plant can take up half of an entire box!
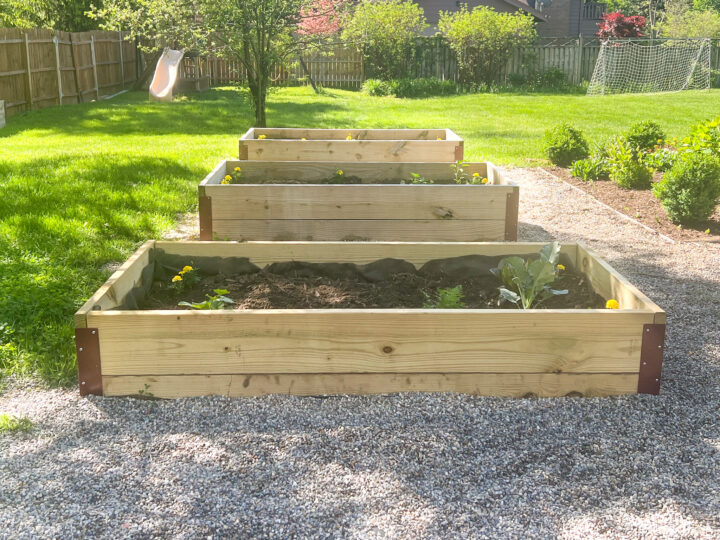

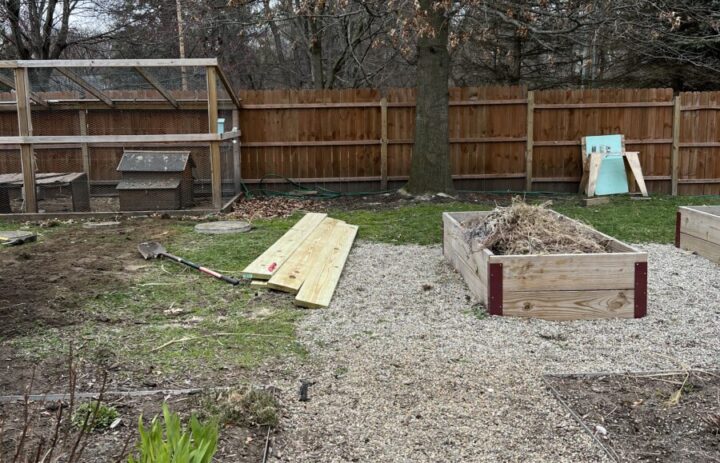
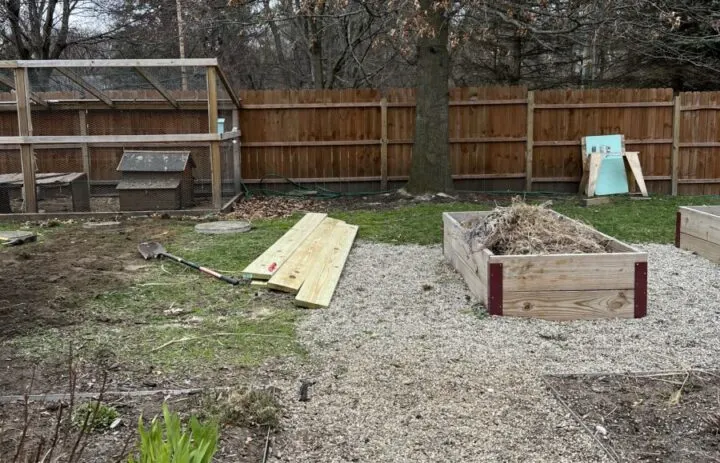
The third garden bed gives me a little more room to experiment with growing new vegetables. Finally, we created a path around each garden box using pea gravel.
To add the pea gravel we removed the grass, laid a weed barrier, and poured the pea gravel in place. It fits perfectly with our DIY English garden next to it.
More Outdoor Content You Will Love
- How to Paint A Pool and Save Money | Tutorial
- Peony Bush Care in the Garden | Beginners Guide
- How to Install Brick Edging Around a Patio
- Old Swing Set Makeover Reveal | Easy DIY
- How to Paint a Shed Yourself | Beginner’s Guide
- Beautiful Perennial Plants You Can Divide & Transfer
COMMONLY ASKED QUESTIONS
What type of wood should I use for raised garden beds?
Cedar is the best wood to use for raised garden beds and other outdoor projects because it is resistant to wood rot. Another great option is pressure-treated wood because of its durability and ability to withstand the outside elements.
How tall does a raised garden box need to be?
The height of your raised garden bed depends on how much space your plants need to grow. A standard height for a raised garden box is at least 10-12 inches.
A quick and easy raised garden bed design is by using a one-foot board for the four sides. For our raised garden boxes, I wanted a little more height and stacked two one-foot boards on top of each other to create our garden bed.
What do I put on the bottom of my raised garden beds?
To prevent weeds from coming through the bottom of the raised garden bed, you can add a layer of weed barrier or line the ground with cardboard scraps.
Do not line the bottom of your garden bed with plastic liner as this will prevent the plants from draining properly
For larger garden boxes, you can add organic material to the bottom of the box to take up some space. Examples of organic materials that work great are straw, leaves, sticks, and grass clippings. Add a top layer of soil to fill the remainder of the garden box.
Do I need to line the sides of the raised garden box?
The bottom of your raised garden bed can be lined with a weed barrier. Attaching a liner to the sides of your raised bed is optional. If a garden bed is built with the height of a single board, I don’t think a liner is necessary. If your raised garden bed has any seams like mine, a liner is important to prevent soil from seeping out of the cracks.