Last Updated on March 17, 2021 by lindseymahoney
Building a compost station at your home is a great way to reduce waste and create nutrient-rich soil. My family has been composting for a few years now using a rolling bin and decided to take our composting one step further at our new home.
Our rolling bin worked great with the two chambers, but it seemed to fill up really quickly. I also found it challenging to easily use the compost, especially when we were constantly adding new food scraps to the bin.
Our plan is to build two additional chambers in the ground using plastic bins. The first bin will be used for new compostable material and the second bin is for compostable material that continues to decompose and can be used in the garden. I really like this system because composted material is fantastic for garden beds and is a great way to add nutrients back into your soil. It also reduces the amount of waste that will go into a landfill.
How to Build Your Own Compost Station
This post contains affiliate links. By purchasing an item through an affiliate link, I earn a small commission at no extra cost to you.
For a full list of materials used for this project, scroll to the bottom of the post!
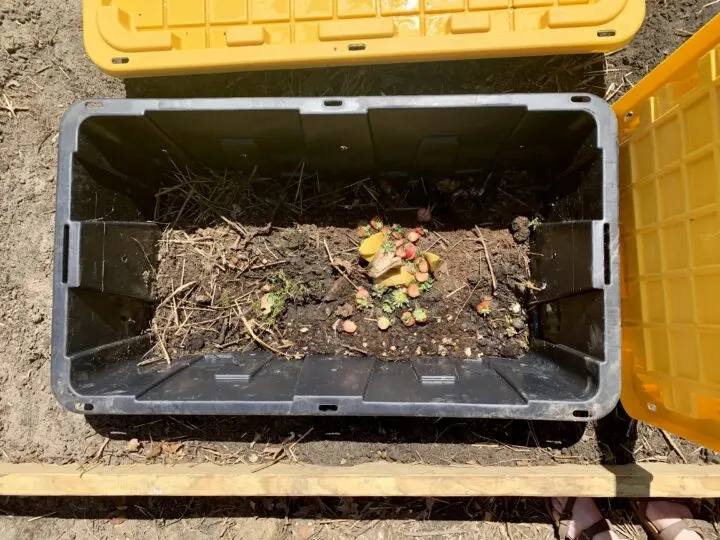
Step 1 | Build the Compost Station Frame
With our compost station, we built a frame with 2×10 boards. Determine the location of the compost station and get the ground as level as possible using a rake. Create a square using the 2×10 pressure treated lumber and screw them together with decking screws.
If you want the compost frame to look a little more finished, you can angle the corners and connect them. We decided to just butt one end of a board to another to create a 90-degree angle. This works just as well but is not as pretty as a finished corner.
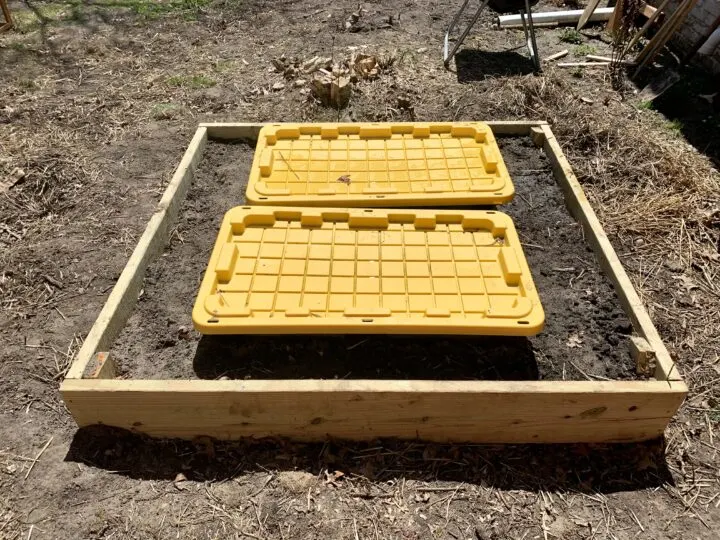
This frame size allows two 55 gallon bins to comfortably fit within the frame. Once the frame is in place, use a shovel to dig the two holes for the bins to sit in. Ideally, both would be slightly raised above the ground, but you may run into obstructions. Unfortunately, we chose a location in our yard with a very strong root system that we could not completely dig out. Our bins would only be buried halfway in the ground, which was lined up perfectly with the top of the frame.
Step 2 | Drill Holes in the Bin
Make a mental note or physically mark (probably the smartest option) of how far your bins will be buried in the ground. Use a thick drill bit (we used a 1/2 inch) and drill holes below this line on all four sides of your bin. This will allow worms to move in and out of the bin to speed up the composting process. We actually drilled holes a little higher than where they would be buried and ended up adding dirt around the top half of the bins inside the frame.
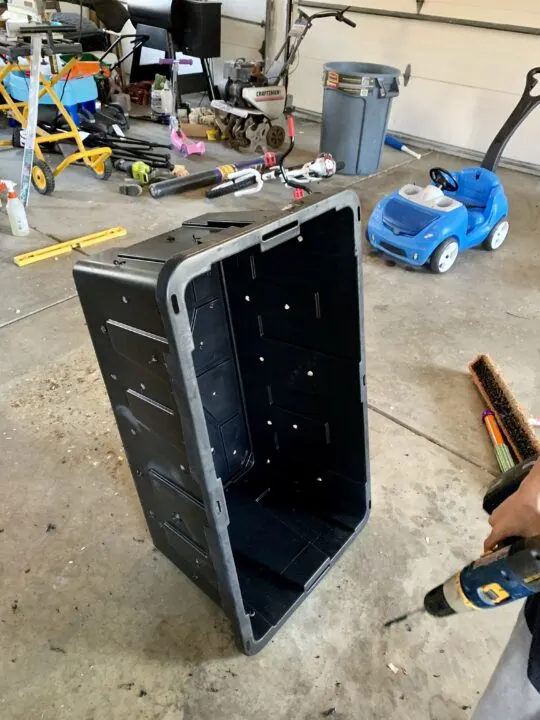
All of the holes should be covered by dirt. If there are exposed holes, it can slow down the composted process by allowing airflow. It can also allow odors to escape and attract pests.
Step 3 | Install the Bins
Use your shovel to dig the hole and get the compost bins in place. You will want the top of the bins to be at the height of the frame or just below. Fill in dirt and around the bins so that the holes are covered.
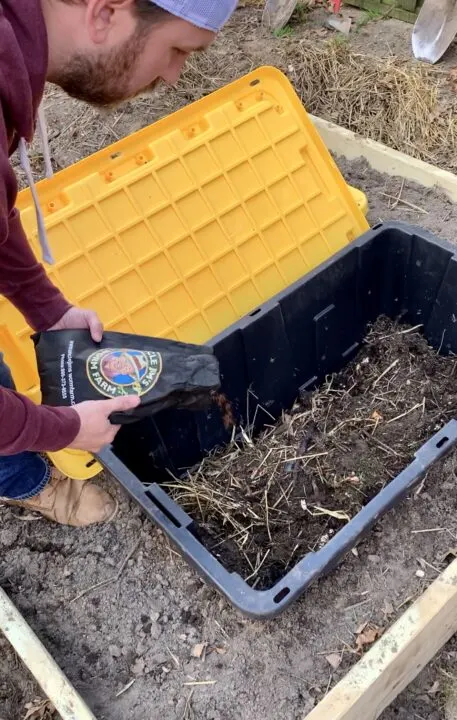
Step 4 | Add Starter Soil & Worms
In the first tub, add some soil and compostable material. Add a bag of worms to begin the composting process. These will be your workers at the compost station. They will eat the food and turn it into compostable material faster than natural decomposition.
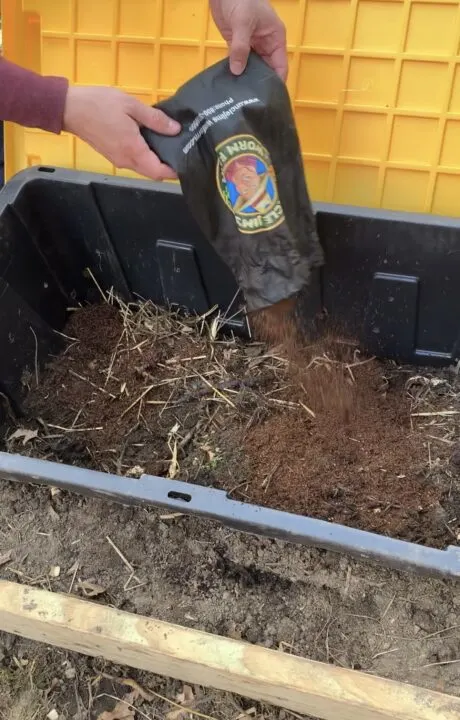
You are ready to compost! Be sure to keep the lids on the bins to prevent pests and trap heat. You will want to periodically stir the compost to help the materials break down. We have kept our rolling bin as a third chamber to decompose materials. This gives us lots of space to add our kitchen and yard scraps.
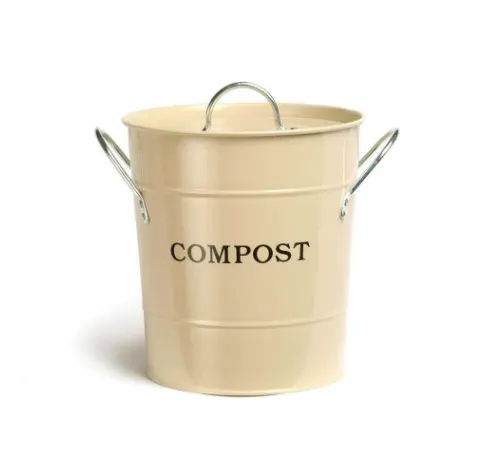
I also recommend getting a compost bucket to keep under your sink to capture the kitchen scraps. Check out this helpful resource that is all about what you can add to your composting bin. Happy composting!
Compost Station Source List
- Shovel
- Rake
- 55-gallon black bin (we used two)
- Cordless Drill
- Thick drill bit (1/2″ or similar size)
- Cordless Impact Driver
- Deck screws (we used what we had in our garage – you want them to be weather resistant)
- Star bit (for the deck screws)
- Worms (optional)
- 2×10 pressure treated wood (4)
- Rolling Compost Bin
- Compost Bucket
More Outdoor DIY Projects You Will Love
- How to Install a Charming Brick Border Around Your Flower Beds
- Camouflage Your Electrical Meter with Paint
- How We Painted Our In-Ground Pool and Saved Thousands
- Designing & Planting our English Garden
- My Favorite Tools I Recommend to Beginner Gardeners
Pin the Image Below!
Save this post to reference later by pinning the image below to your Pinterest boards!


Grace Ross
Tuesday 11th of January 2022
Thank you for this! With this method, do you just have both containers going or when you turn your compost do you shovel from one to the other… or does that harm the worms? I’m brand new to this so any advice would be welcome!
lindseymahoney
Tuesday 11th of January 2022
You're welcome! We originally created the compost system to be able to fill one bin first and then move to the second bin while continuing to mix the old contents in the first bin. We actually just ended up filling both as we went along and it has worked just fine! You will be able to tell when one bin looks a little too dry or a little too wet. If one bin looks dry, I will add more of our house scraps that will give it moisture. We put a bag of worms into the first bin when they were built and have not replenished. My hope is that all of the little worms are thriving and coming back to the compost to eat every day!