
Last Updated on April 30, 2025 by lindseymahoney
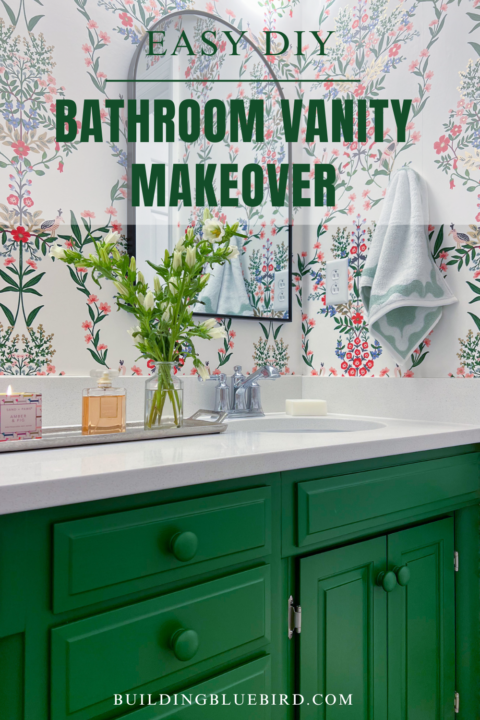
One of my favorite DIY projects of the kids’ bathroom makeover is the updated vanity. If an existing vanity is in good condition, I would much rather give it a makeover instead of tearing it out! A new vanity can cost a lot of money and I knew we could transform this 50+ year old cabinet with a little bit of effort.

There are many inexpensive ways to update a bathroom vanity to give it a whole new look and save yourself money! Let’s check out some fun ways to breathe new life into a dull and dated bathroom vanity!
Table of Contents
- How to Update An Old Bathroom Vanity
- New Countertops
- Modern Sink Fixtures
- Paint the Bathroom Cabinet
- New Cabinet Hardware
- New Cabinet Doors and Drawer Fronts
- Additional Vanity Update Ideas
- Frequently Asked Questions
- What is the total cost to update an existing bathroom vanity?
- What is the best paint for a bathroom vanity?
- How to decorate a bathroom vanity counter?
- More Content You Will Love
How to Update An Old Bathroom Vanity
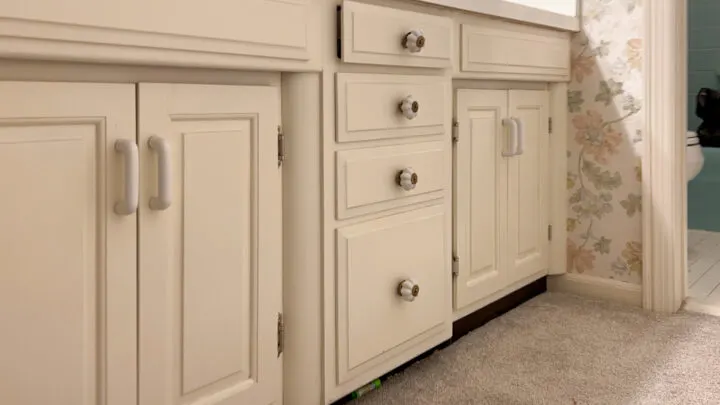
Here is a quick look at the original 1960s vanity in the kids’ bathroom before the DIY makeover.
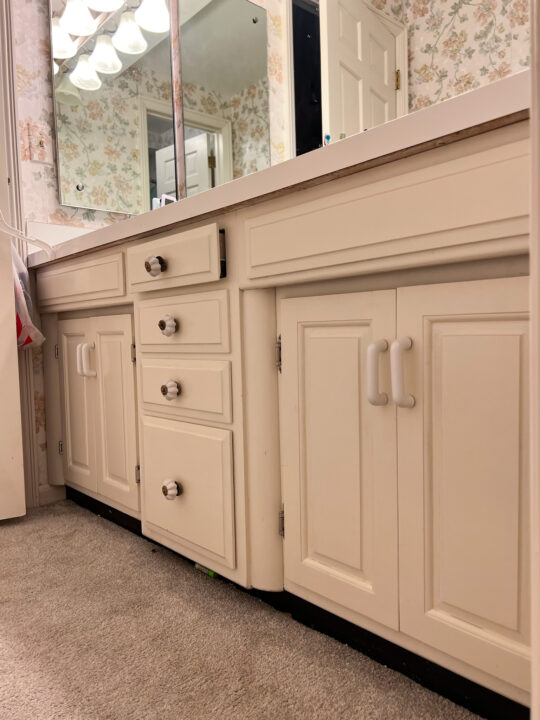
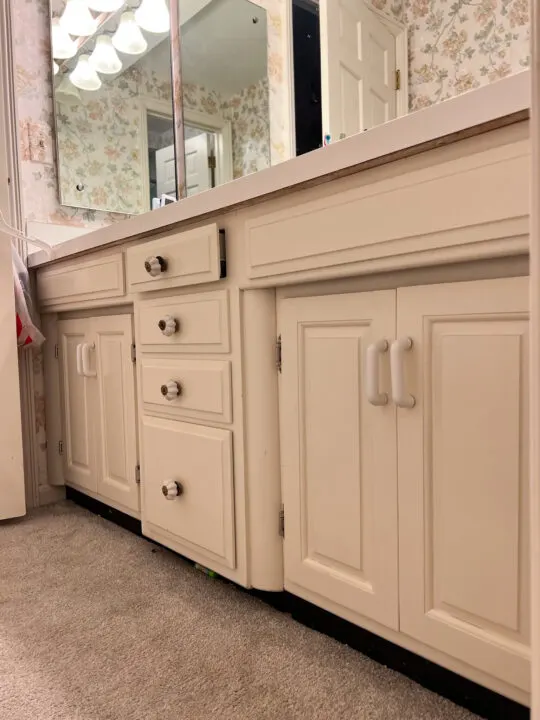
I really liked the shape of the vanity and it was custom-built into the nook of the bathroom. The base of the cabinet was in great shape, so I wanted to keep it and make a few tweaks to improve the look and function.
New Countertops
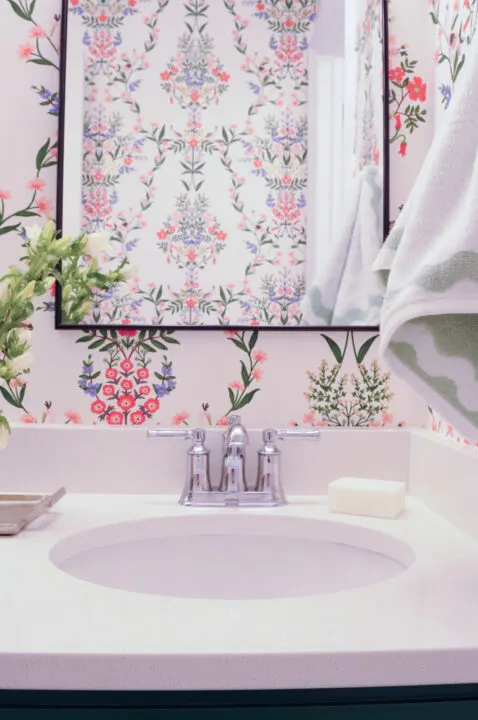
Here are the countertops before we replaced them with a neutral quartz stone.

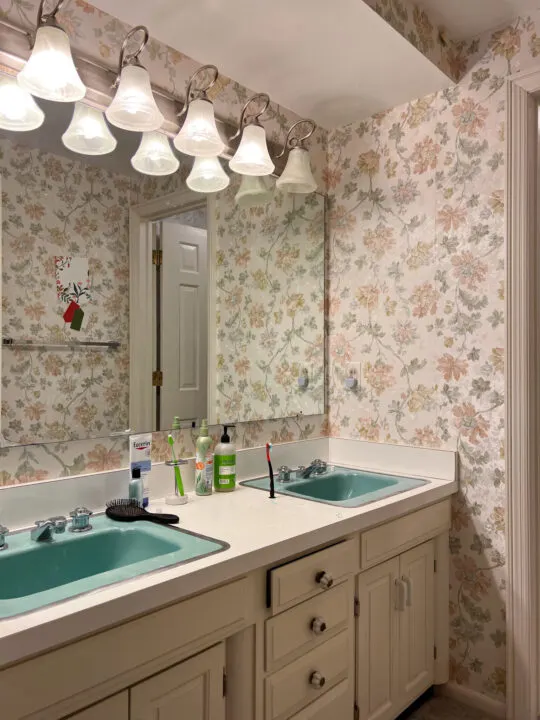
It is common to find laminate countertops in midcentury bathrooms and it makes it feel dated pretty quickly. Replacing the old countertops with a solid stone surface instantly modernizes a bathroom vanity.

In our kids bathroom, we also replaced the sink basins. The original vanity included blue sinks that dropped into the laminate countertop. One of the sinks had a small crack and they always looked messy with toothpaste remnants from the kiddos.

While I love colorful bathroom fixtures with a retro vibe, sometimes it makes sense to replace them!
Modern Sink Fixtures
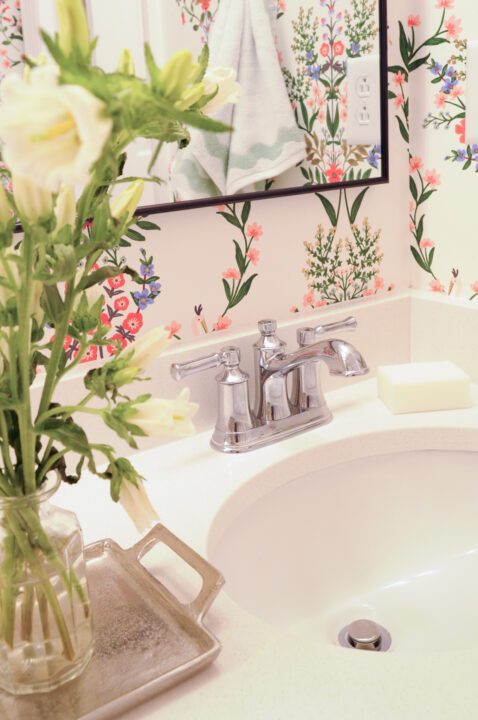

With the retro blue sinks removed, so were the old faucet fixtures. The new faucets have a chrome finish and the classic style blends well with the traditional design of the bathroom and our home.

New sink fixtures not only look beautiful but often improve the function of a retro bathroom vanity!
Paint the Bathroom Cabinet

The existing cabinet was in good shape, so we decided to reuse the cabinet frame and update it with a fresh coat of paint!
Because our home was built in the 1960s, the solid wood vanity design has a retro vibe and is lower than most vanities made today. While some people don’t love a lower vanity, it is the perfect height for our kids.
The key to achieving a professional look when painting a vanity is all in the prep work!
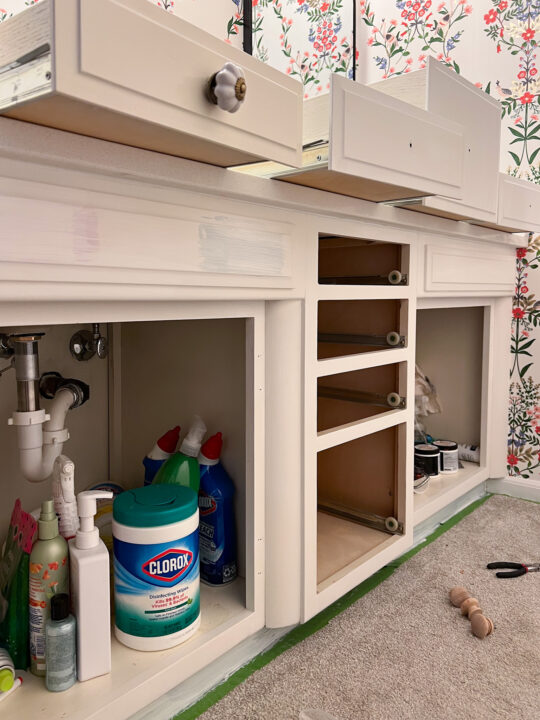

First, remove the cabinet doors and drawers. Then give the cabinet base and all of the old drawers and doors a good sanding. Apply a coat of primer to the face frame, doors, and drawers.
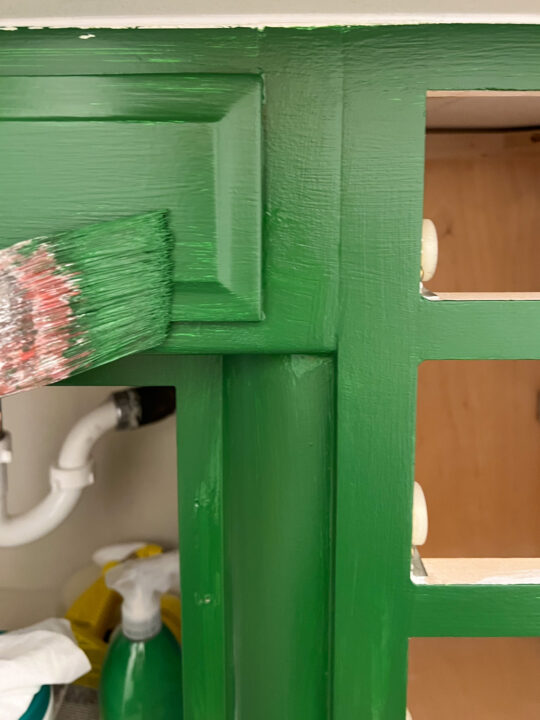

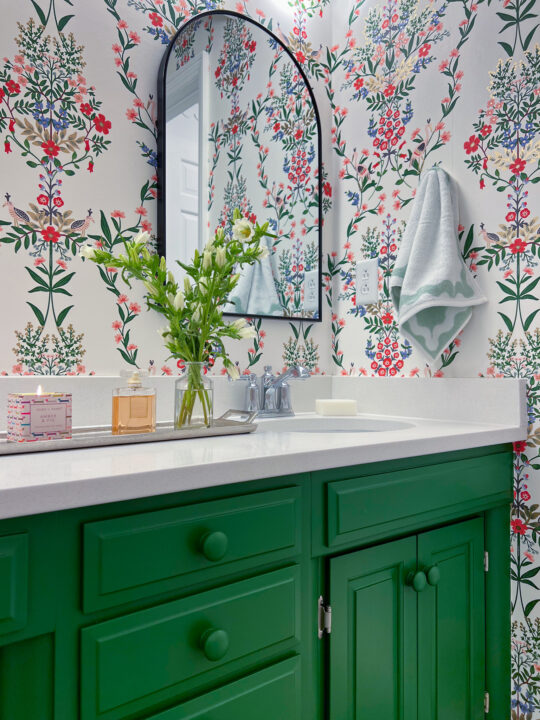
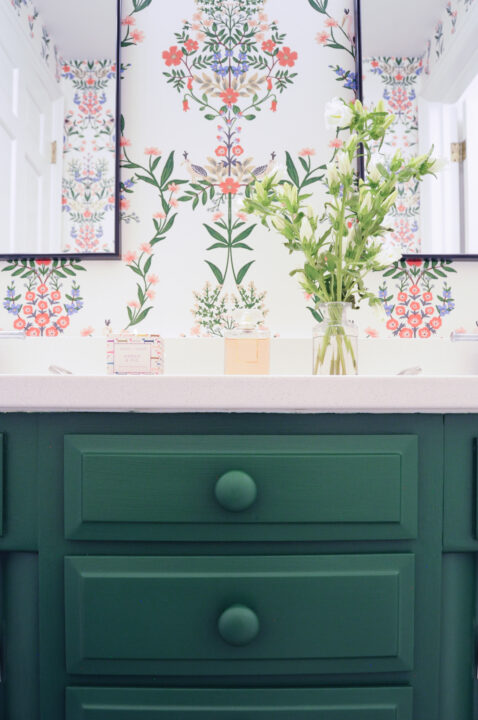
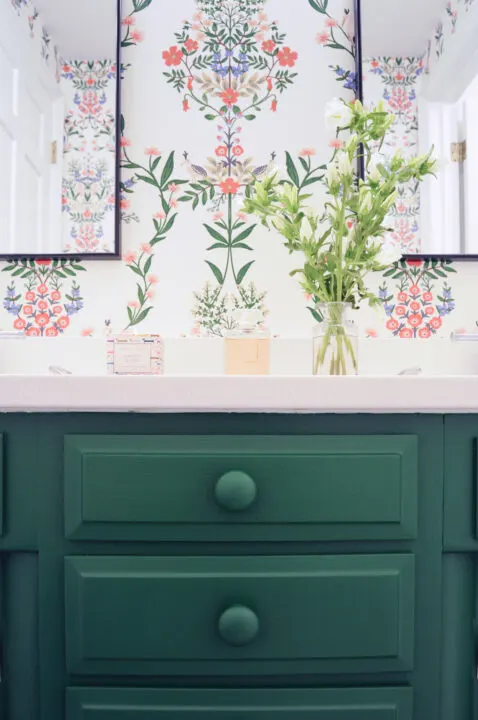
Next, Choose a paint color for the vanity and apply two coats of paint. I wanted our bathroom vanity to really pop, so I chose a beautiful saturated green color called Arugula, by Sherwin Williams.

New Cabinet Hardware
Another quick and easy way to update old cabinets is to install new hardware on the doors and drawers. If you are switching the hardware from pulls to knobs, there will be holes that need to be filled.
Use wood filler to plug the holes and sand it for a smooth finish. This must be done before painting the old cabinet.
New Cabinet Doors and Drawer Fronts
I did not switch out the drawer faces and doors on our vanity, but this is another great DIY option if you do not like the style of the old doors.
There are many DIY tutorials on Pinterest where you can learn how to replace the old doors with a new door style to create a custom look.
Additional Vanity Update Ideas
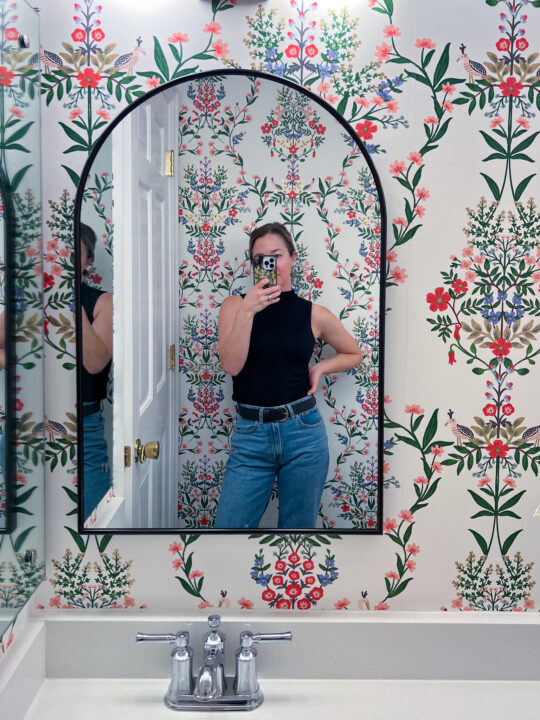

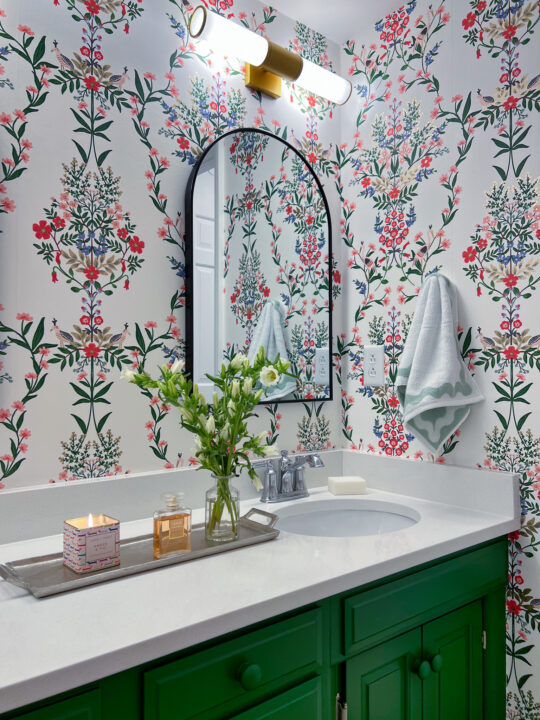
– Hang fun wallpaper around the vanity to compliment the new paint color on the cabinet base
– Add new mirrors above the sink basin to modernize the space
– Replace light fixtures above the vanity
– Add soft-close hinges to the bathroom vanity doors
– Add storage bins and organizers inside of the cabinet to easily access commonly used items
– New hand towels
– Fresh flowers
– A nice candle, especially in a bathroom that guests use
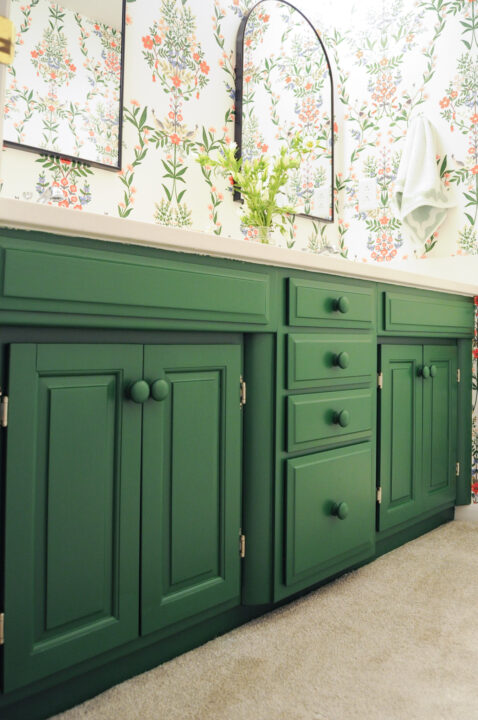
I am so happy with the finished product of our vanity bathroom makeover! Updating a bathroom on a budget is possible and it is a great way to keep the charm of an older home. Choosing a saturated green paint color for the wooden vanity was a little outside of my comfort zone but it was worth the risk.
I hope this DIY bathroom vanity makeover inspires you to try a few of these updates in your own home, it can make a big difference! Good luck!
Frequently Asked Questions
How do you paint a bathroom vanity like a pro?
It is important to use the proper materials and prep the old vanity before you apply any paint! Check out my complete step-by-step tutorial for how to paint a vintage bathroom vanity yourself!
What is the total cost to update an existing bathroom vanity?
This depends, of course, on the size of your vanity and the amount of updates you plan to make. The biggest expense for our vanity makeover was the countertop.
Because of the unique size of our vanity, we had to order a custom size which increased the cost. The quartz countertop cost about $1,200. If our vanity was a standard size I could have replaced the countertop for closer to $600.
I replaced the cabinet hardware with wooden knobs that cost less than $20 and used a quart of primer and paint for about $50.
What is the best paint for a bathroom vanity?
I highly recommend using paint that is formulated specifically for restoring kitchen and bathroom cabinets. I used a bonding primer before applying the main color and used Emerald Urethane Trim paint from Sherwin Williams as the main cabinet color. This is more durable than the standard latex paint formulated for interior walls.
Zinnser primer is a great product to use prior to painting cabinets to increase durability as well.
How to decorate a bathroom vanity counter?
It is important to keep the essentials nearby without cluttering the vanity countertop. Refillable soap dispensers are a great way to elevate the look around the sink.
A nice tray to corale grooming items is another simple solution to improving the look and function of the bathroom vanity.
More Content You Will Love
- Paint an Exposed Basement Ceiling Black | DIY
- How to Paint a Stone or Brick Fireplace | Easy DIY
- Retro Bathroom Makeover with Functional and Beautiful Updates on a Budget
- Evergreen Fog by Sherwin Williams | Color Review
- Timeless Dark Green Paint Colors to Try at Home
- The Best Kitchen Cabinet Paint Kit to Try at Home