
Last Updated on May 14, 2023 by lindseymahoney
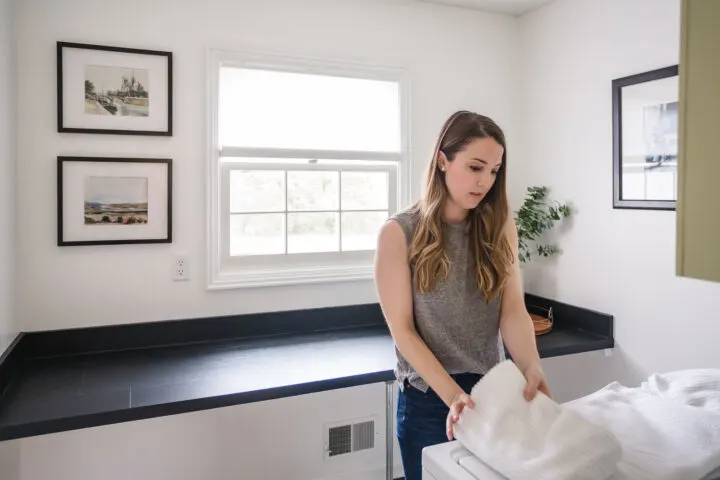
My $300 laundry room makeover is complete! Today I am sharing a quick and easy contact paper countertop DIY for you to try at home.
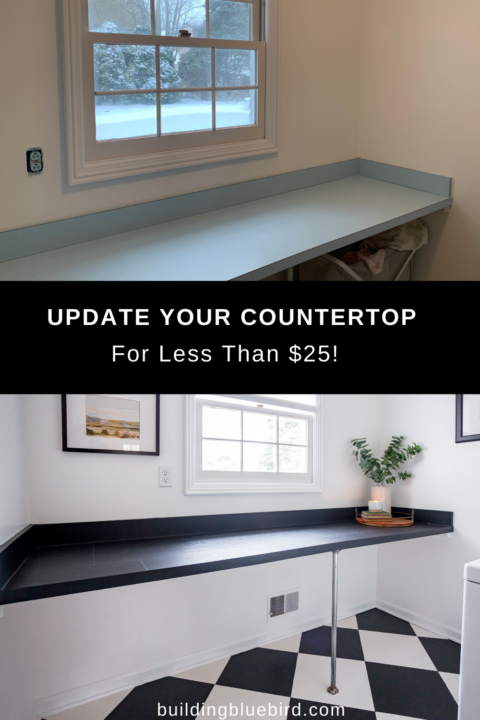

I finished this easy DIY project in a few short hours and for less than $25.
Let’s get started with this simple tutorial!
How to Apply Contact Paper to Your Countertops
Affiliate links are used in this blog post, thanks for supporting Building Bluebird!
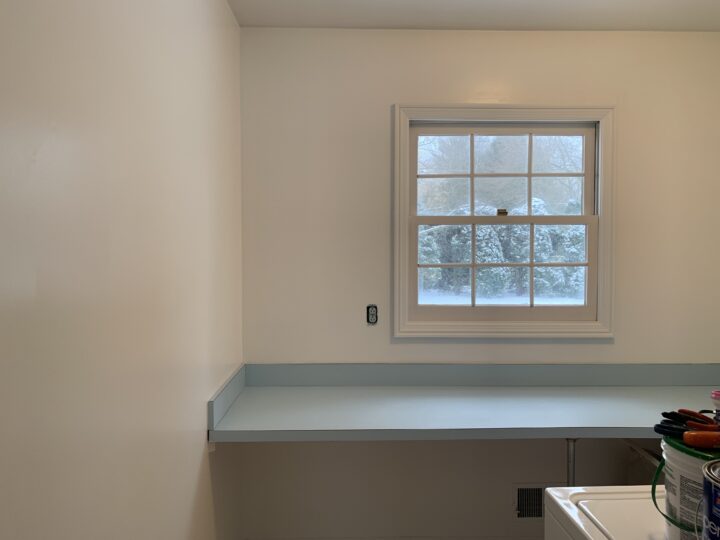
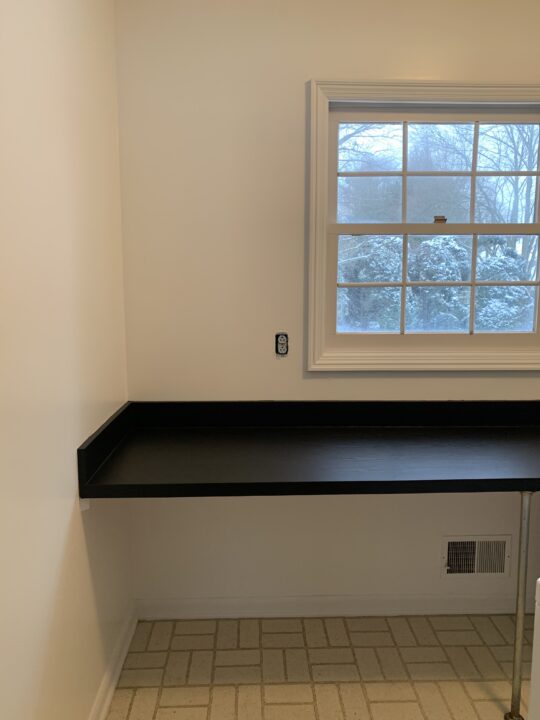
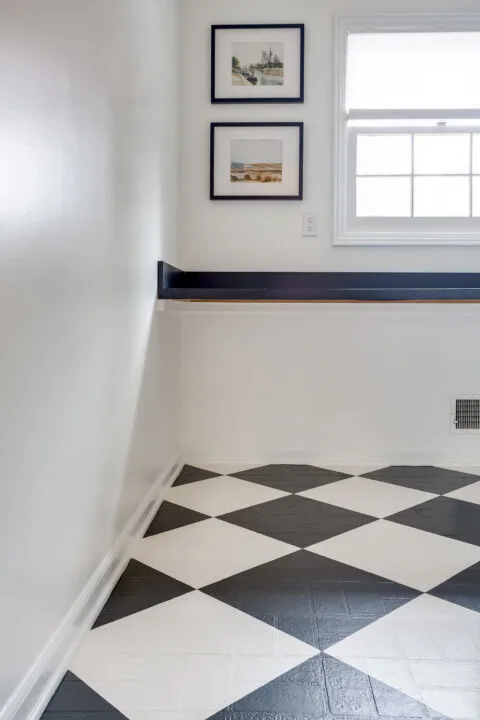
Countertop Before
Here is a reminder of what my countertop looked like when I started this project.

1 | Clean Countertops & Gather DIY Materials
Before attaching the contact paper, clean the countertop. Make sure all residue, dirt and debris have been removed from the surface so that the paper adheres completely.
Purchase all necessary materials to complete this project and block off a few uninterupted hours to knock this project out!
Contact Paper Countertop Materials List
- Black Contact Paper
- Scissors
- Exacto Knife
- Heat Gun
- Measuring Tape
- Krud Kutter

2 | Start on the Backsplash (if applicable)
If your countertop has a small backsplash, you will first apply the contact paper there.


Measure the length of the backsplash and add a few inches for any errors. Use the lines on the back of the paper to cut the appropriate size for the backsplash with scissors.
There are two options for cutting the contact paper. For a seamless look, cut the entire length of the backsplash in one strip. I chose another option, which was to cut smaller sections for the backsplash that could be attached separately. This option seemed easier than maneuvering one large piece of paper.
With your first strip of contact paper, remove a section of the backing and attach it to the top of the countertop ledge.
I left a little extra on top that will be cut with an Exacto knife to create a straight edge. As you work your way down the ledge, pull more of the backing off and smooth the paper with your hand to eliminate air bubbles.
To wrap the corners of the countertop, I cut a small line at the top edge so that the black contact paper went all the way to the adjacent wall. I didn’t overthink this part of the project because I still had to wrap the other side of the backsplash.
I also made peace with the fact that there would be seams across the countertop. As long as it was black, it would look 100% better than blue.
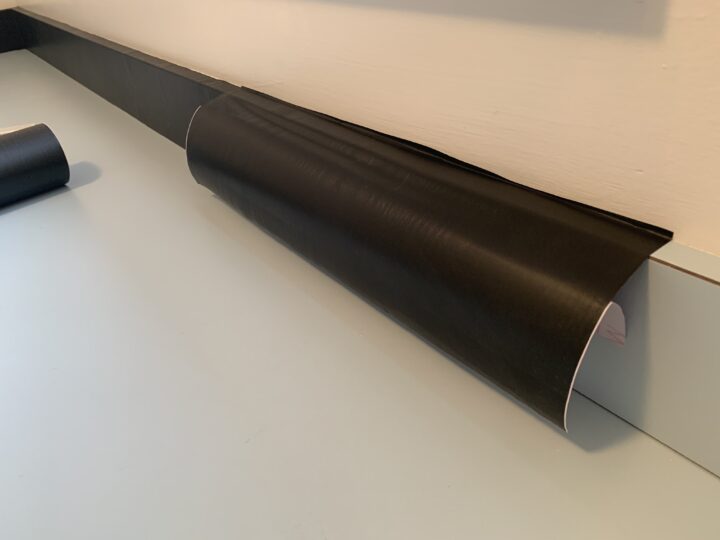
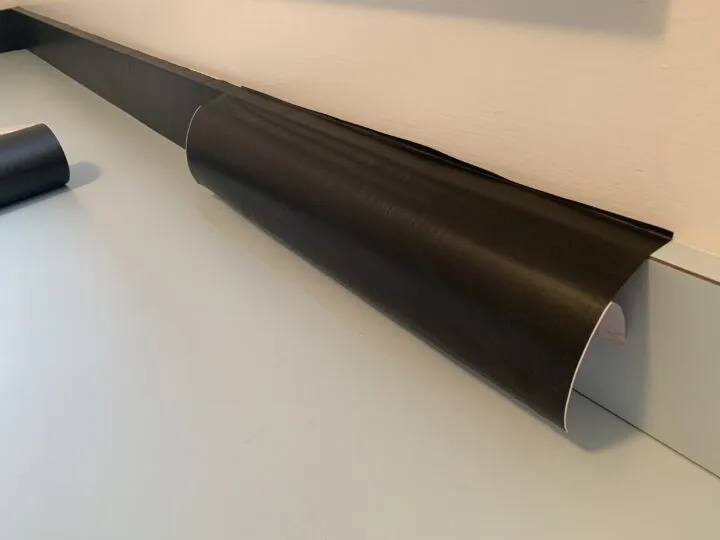
3 | Apply Contact Paper to Countertops
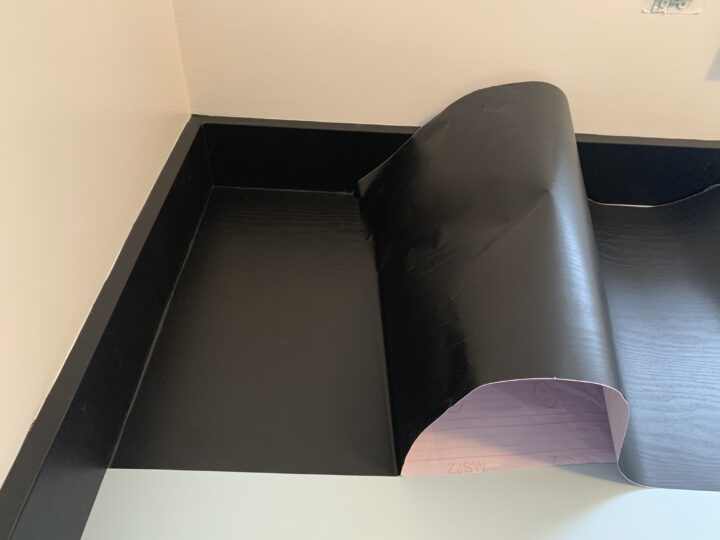
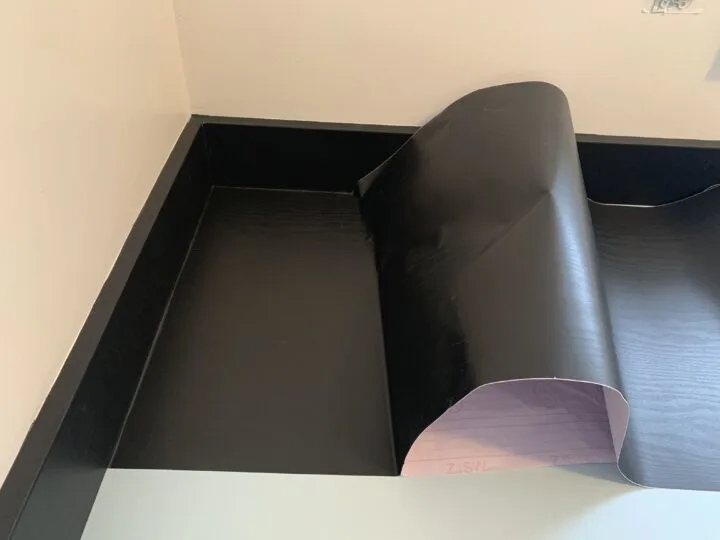
Once the backsplash is wrapped, you will start on the flat surface of the countertop.
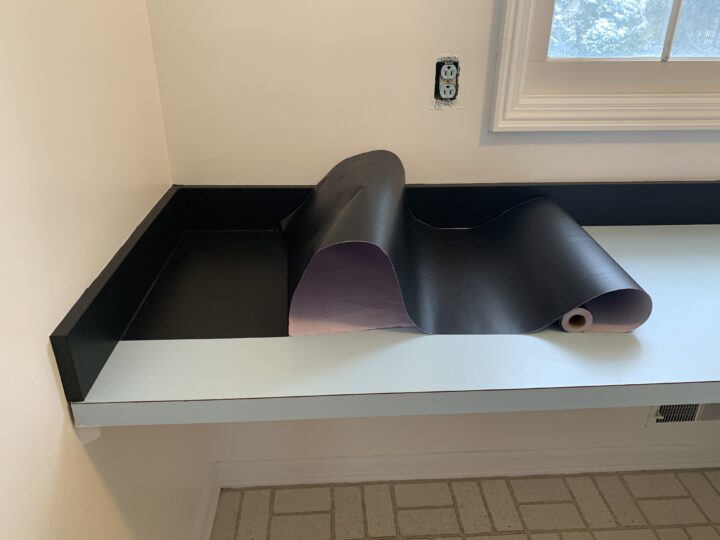

Butt the edge of the contact paper up to the backsplash and attach it to the counter. As you move across the counter, slowly pull the backing off and smooth the contact paper with your hand.
Once the first row is complete, you will start the second row. The application is the same, however, you will wait to fold it down the edge of the countertop until the end.
To make the paper a little easier to handle, try cutting the length of the paper for the countertop. Dealing with the full roll of paper can be a pain.
Once the second row has been applied, fold the contact paper overhang over the edge of the countertop.
Depending on how you want the ledge finish to look, you can either Exacto knife the excess or wrap the remaining contact paper under the counter (this is what I did).
There were a few spots in the creases or corners that had a little blue peaking out. I cut small pieces of contact paper and attached them to these areas.
4 | Remove Excess Contact Paper
Using an Exacto knife, remove the leftover contact paper from the top of the countertop ledge. This will create a straight edge that gives the countertop a clean finish.
5 | Seal the Contact Paper Countertop with Heat Gun

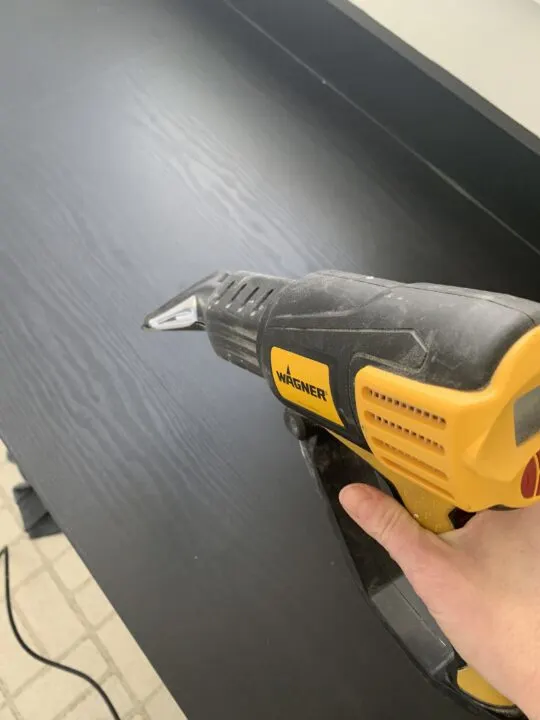
The heat gun creates a tight seal between the contact paper and the countertops. It also removes air bubbles. When the heat gun is on, wave it over the countertops like you would use a hairdryer.
Don’t forget to use the heat gun on the underside of the countertop too. This is one of the most important steps of the process because it creates the durability and long-lasting finish you want.
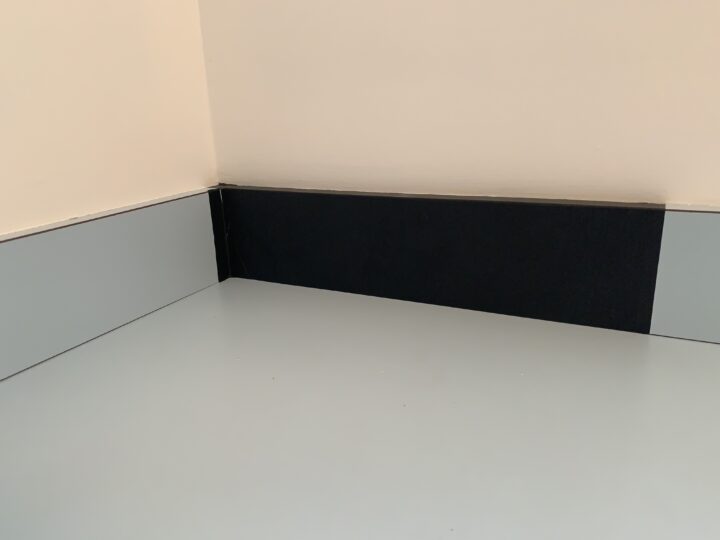
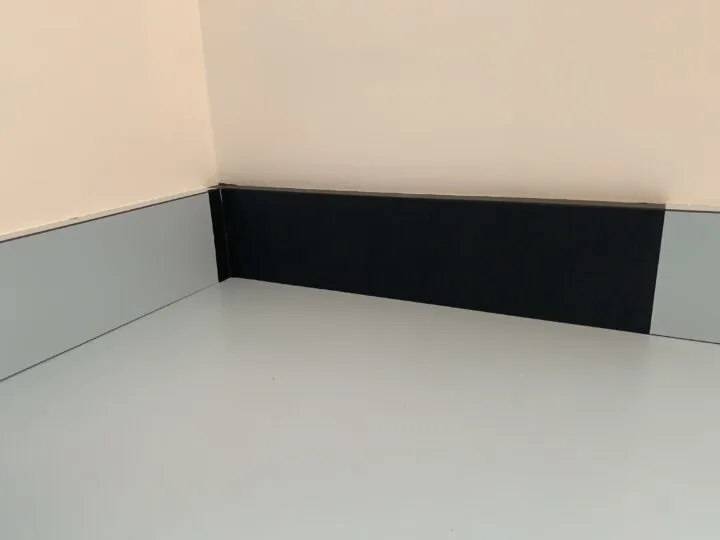
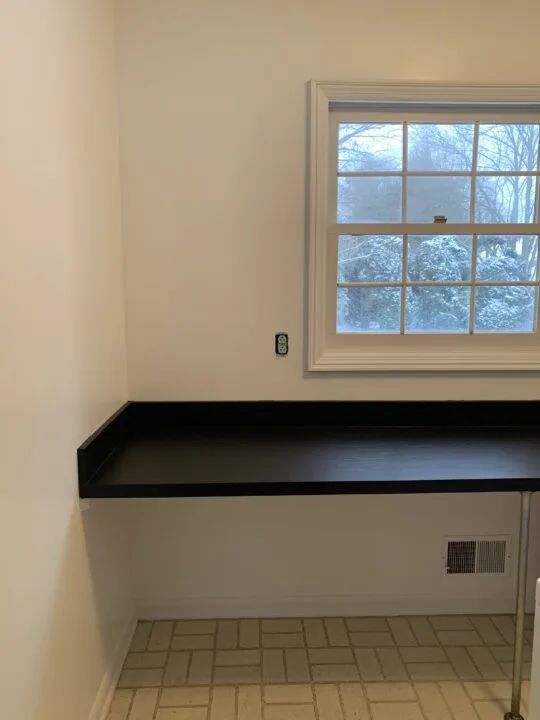
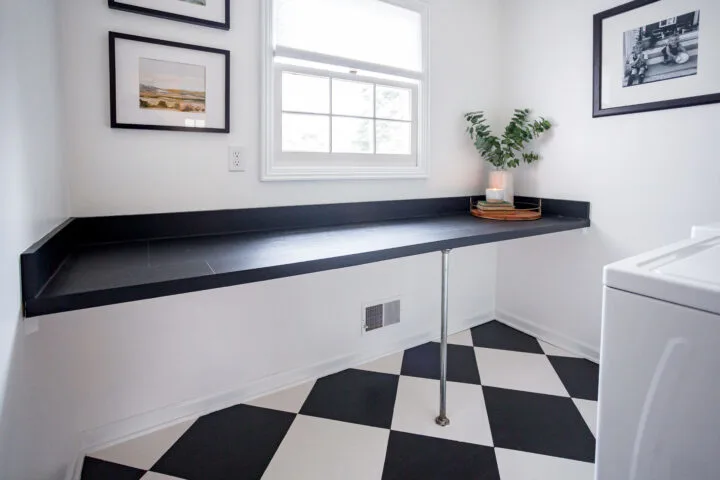
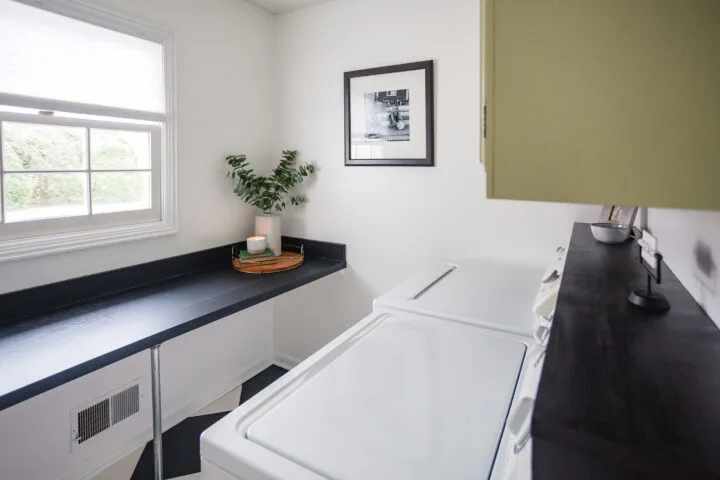
Black Contact Paper Countertop Reveal

This quick and easy DIY only took me two hours to complete! For less than $25, I completely changed the look of our laundry room countertops.
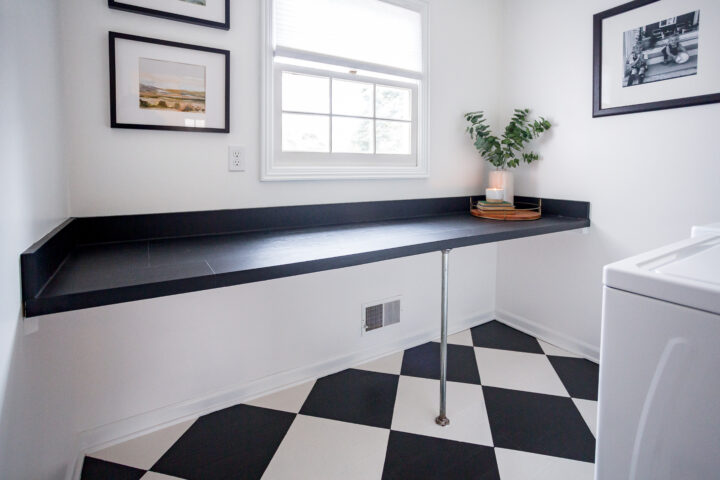
The countertops have held up really well over the last few months, however, it does scuff. This was a quick fix to drastically improve the look of the space and I am fine with light scuffing.

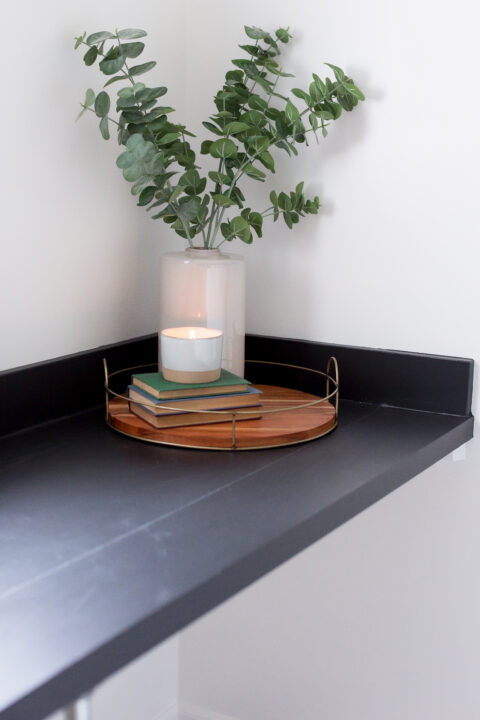
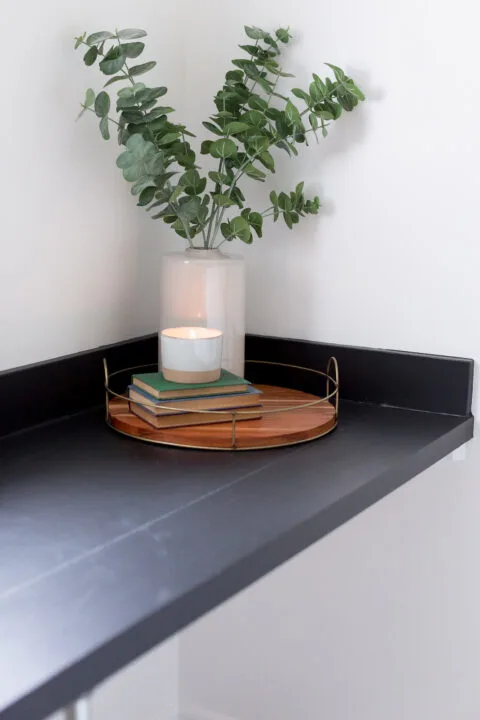
I have not had any peeling or tearing of the contact paper and it has remained tight on the countertop!

Similar Content You Will Love
- 25+ Easy Outdoor DIY Projects to Try This Year
- Paint Linoleum Flooring Yourself | DIY Tutorial
- How to Plan & Install Box Molding on a Wall
- Quick Laundry Room Makeover for Under $300
- How to Paint A Bed Frame | Easy DIY Tutorial
- How to Install a Vertical Shiplap Plank Wall
- Functional Laundry Room Design | Tips