
When tiling the shower surround in our kids bathroom, I added a recessed shower niche and learned a lot! This DIY was a little intimidating, but totally manageable once I got started and I know it will be for you too with this info. I am excited to share all of my tips and tricks for you to tackle your own DIY shower niche project because the extra storage space is worth it!

Table of Contents
- DIY Shower Niche Tutorial
- 1 | Purchase a Pre-Made Shower Niche
- 2 | Place the Shower Niche on the Least Visible Shower Wall
- 3 | Check the Tile Pattern on the Niche Wall Before Installation
- 4 | Choose Shower Niche Tile
- 5 | Waterproof the Shower Niche
- 6 | Install Tile in the Niche
- 7 | Grout the Tile Seams
- 8 | Caulk the Shower Niche
- Kids Bathroom DIY Shower Niche REVEAL
- More Content You Will Love
DIY Shower Niche Tutorial
Let’s get started!
1 | Purchase a Pre-Made Shower Niche
If you are not an expert at tiling showers and bathtubs, I highly recommend you purchase a pre-made shower niche. Instead of stressing over waterproofing every single crack and crevice of a shower niche and the shelves, I feel much more comfortable popping in one that has already done that work.
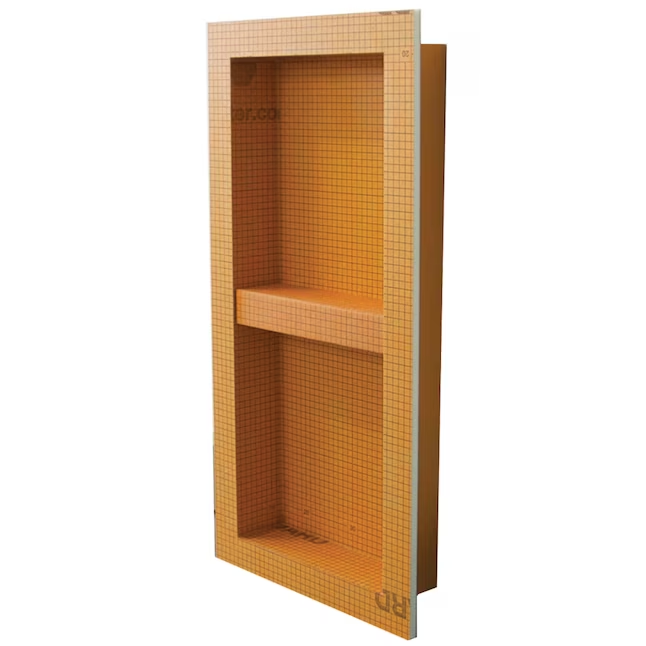
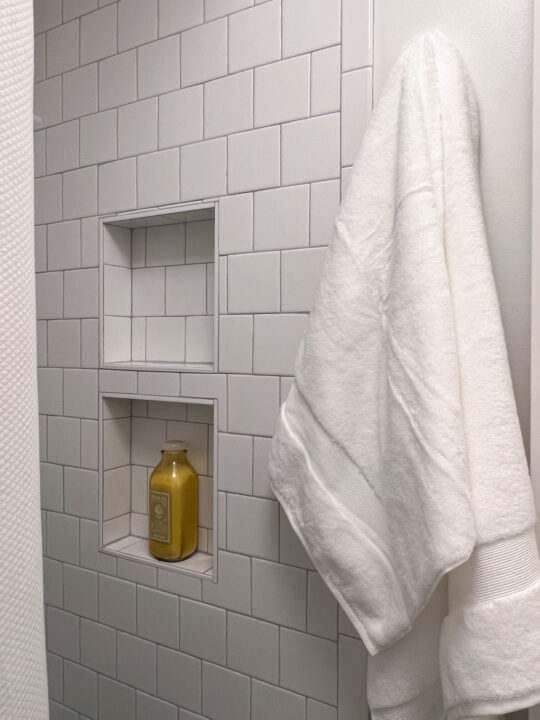
It may be a little extra cost in the long run, but it is worth it in my opinion. We chose a vertical shower niche made by Kerdi and it included two shelves. The goal is to eliminate the need for any shampoo bottles and body wash sitting on the edge of the bathtub.
*I found the Schluter Kerdi Board video tutorials to be very helpful with this DIY.
2 | Place the Shower Niche on the Least Visible Shower Wall
Before installing the cement board around the bathtub surround, you want to choose the location of the shower niche because it will be installed between two studs.
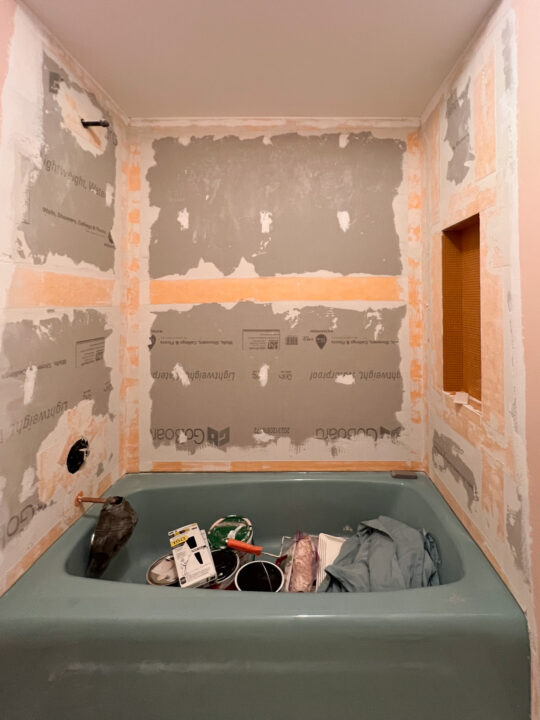
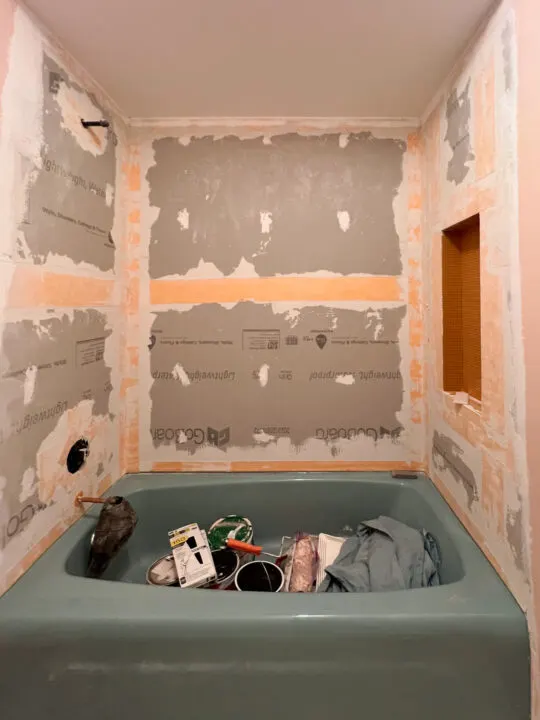
This is just a personal preference, but I like a niche box to be on the shower wall across from the plumbing. When it is on the back wall, it is more visible to guests. They don’t need to see all of our personal grooming products!
If the niche could go on the same wall as the shower head I would love it! Unfortunately, the plumbing fixtures get in the way.
*Check out the complete tutorial for tiling a shower surround yourself!
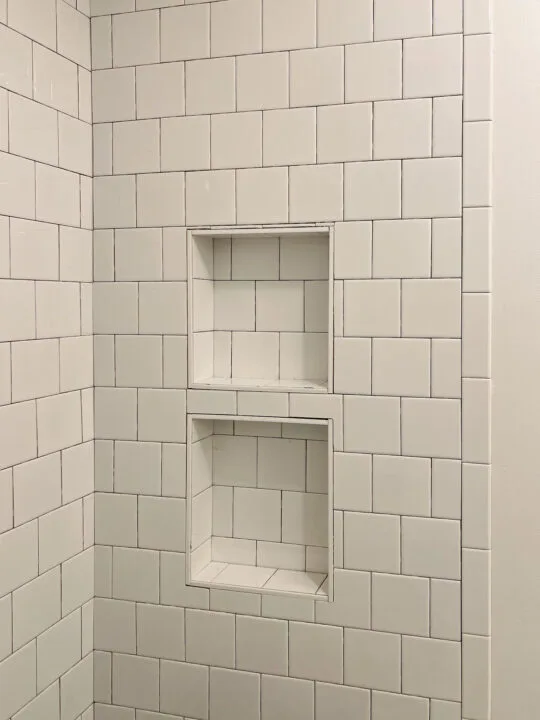
3 | Check the Tile Pattern on the Niche Wall Before Installation
Before beginning any tile project, it is important to plan out the placement of the tiles. This helps avoid any awkward tile slivers on the edge or top of a shower wall.
When mapping our tile design, I made the mistake of mapping out the shower tile placement on the back wall and not the wall with the niche. Because of this error, I did have a sliver of tile at the top of the niche that was not easy to install.
4 | Choose Shower Niche Tile
A shower niche insert offers you the unique opportunity to choose an accent tile for the back of the niche and add some personality. There are so many options, but you want to make sure that whatever tile you choose, that it aligns with the style of the bathroom.
In one of our previous bathrooms, I chose a pale green penny tile for the back of the niche. It paired great with the subway tile shower surround. You may consider a unique tile pattern, like herringbone to the back of the niche. A solid slab of stone is another great option for a clean look.
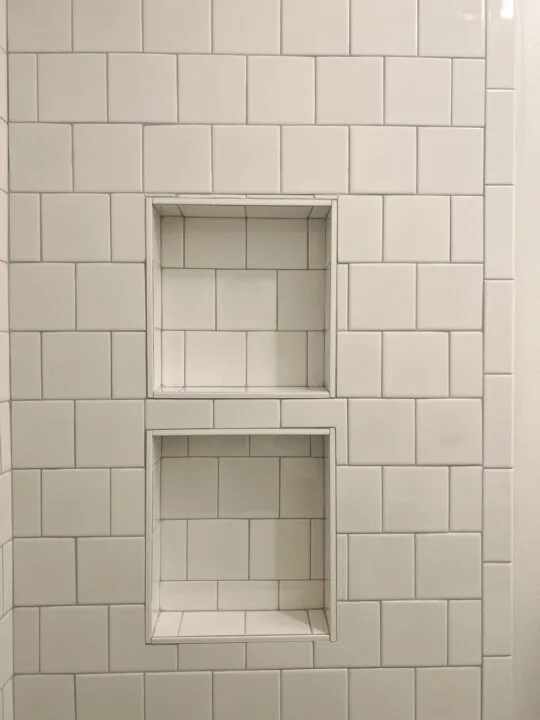
For our DIY shower niche, I decided to use the same tile as the shower surround. For a cohesive look, I continued the pattern inside the niche. This is more time consuming because it is important for the grout lines to match up inside the niche and out. Because the bathtub is blue, I didn’t want to risk adding another color to the scheme.
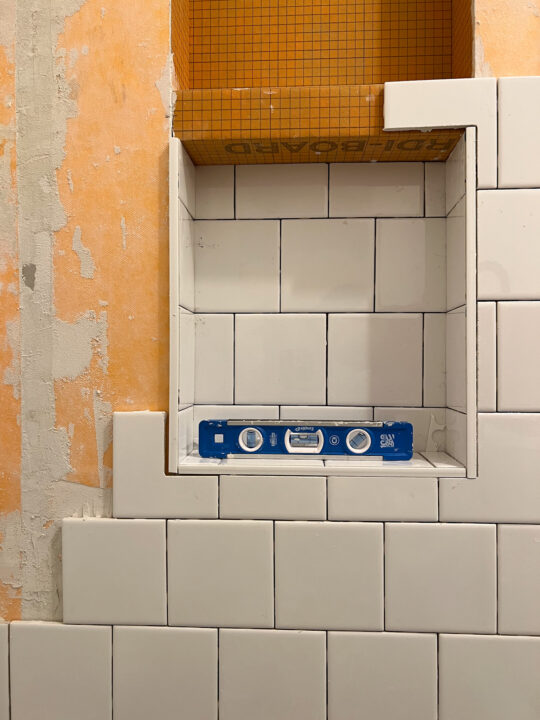
5 | Waterproof the Shower Niche
Once the shower niche is installed on the wall, it is important to seal all of the seams. This is done with waterproofing membrane tape and thinset mortar.

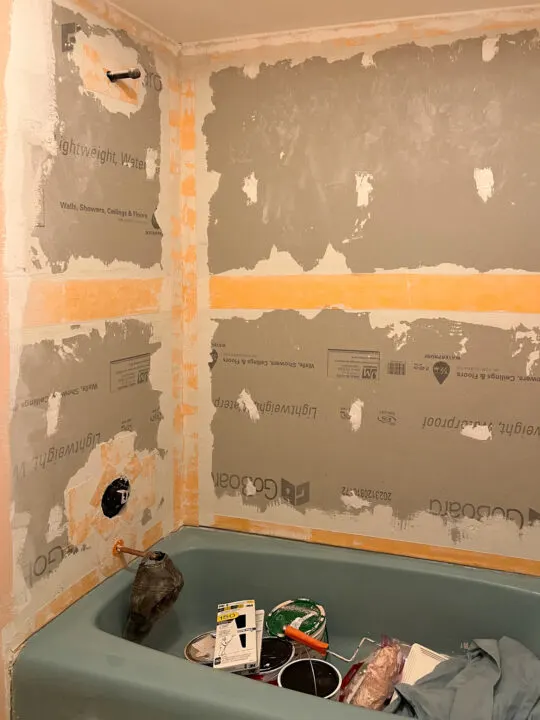
When all of the seams have been waterproofed, you are ready to tile!
6 | Install Tile in the Niche
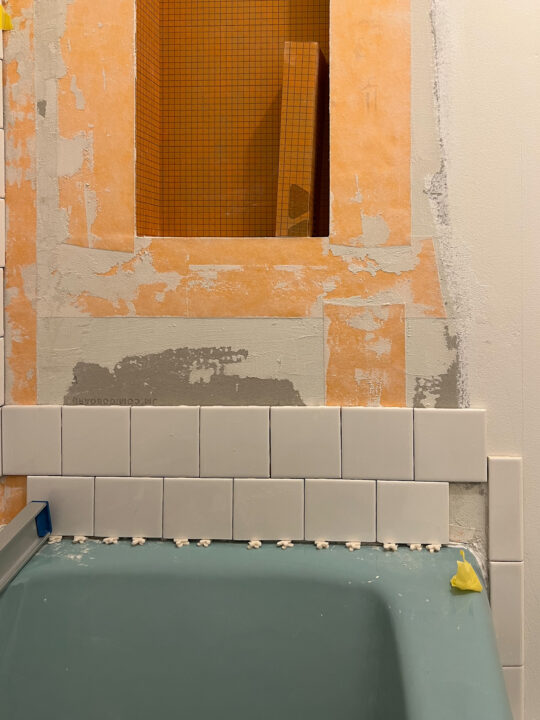

When installing the shower wall tile, start at the bottom of the wall where the tub meets the cement board. Work your way up the wall until you get to the shower niche.

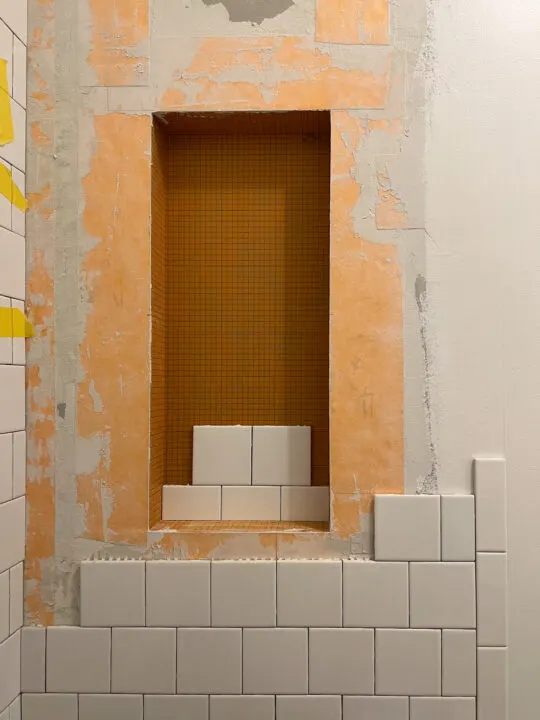
First, you will tile the back of the niche. Remember to keep the tile joints aligned with the surrounding tiles on the wall.
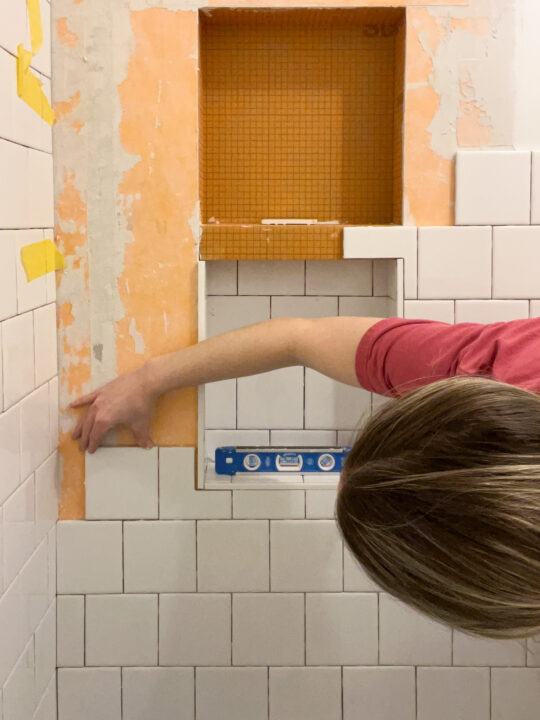

I marked the wall with a level and a pencil, but a laser level is a great idea for this type of DIY project.
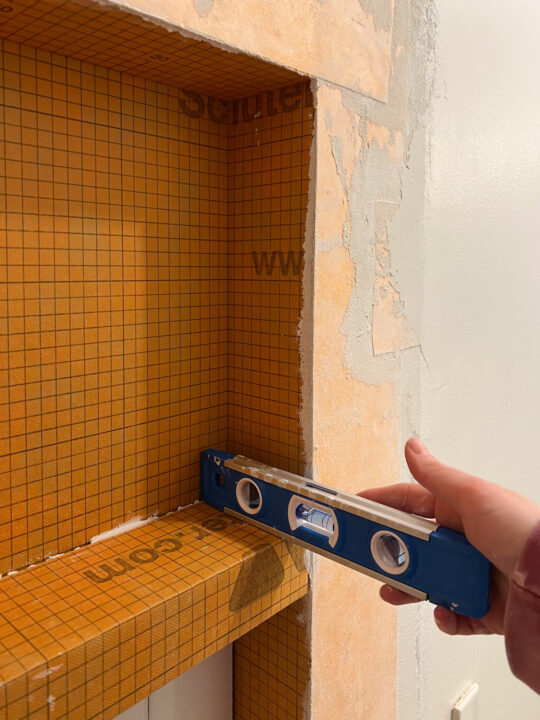
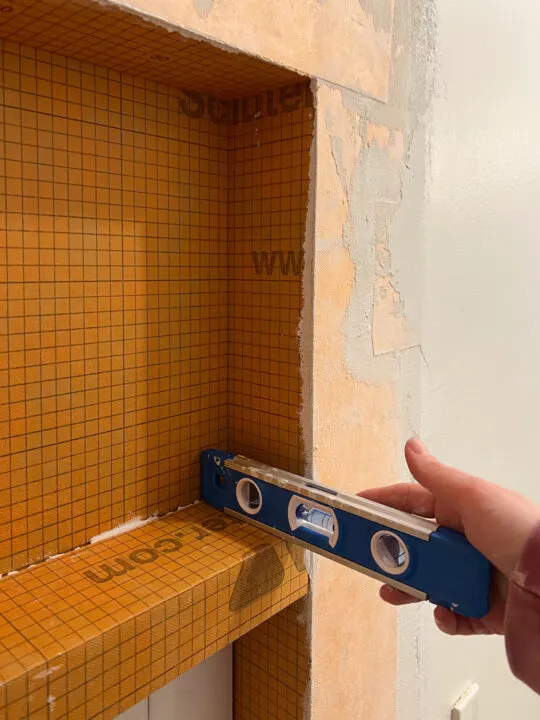
With the Kerdi board niche insert, the second shelf is installed while you tile the back of the niche. When I tiled up to the location of the shelf, I attached the shelf above the tile using the tile adhesive.
The shelf is angled slightly downward to allow any water to easily run off the shelf. Once the shelf was installed I continued tiling the back side of the niche.

Next, you will tile the sides of the niche. There are a few options for the finished edge of the shower niche, but I decided to use a Schluter trim product.
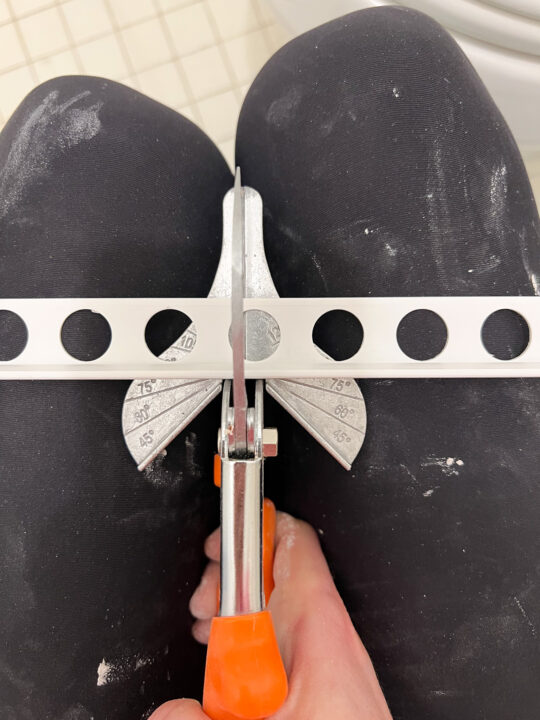

The white edging material is easy to cut and made of PVC material, perfect for wet areas. The trim is put in place using tile adhesive and then the side pieces are placed on top.
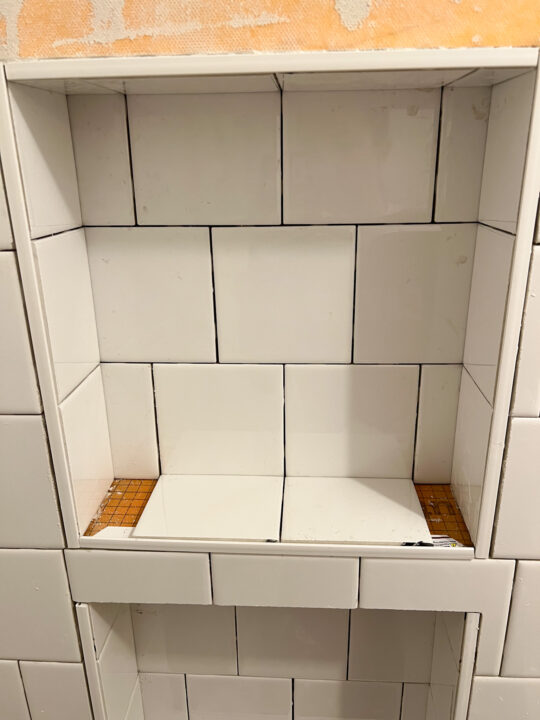
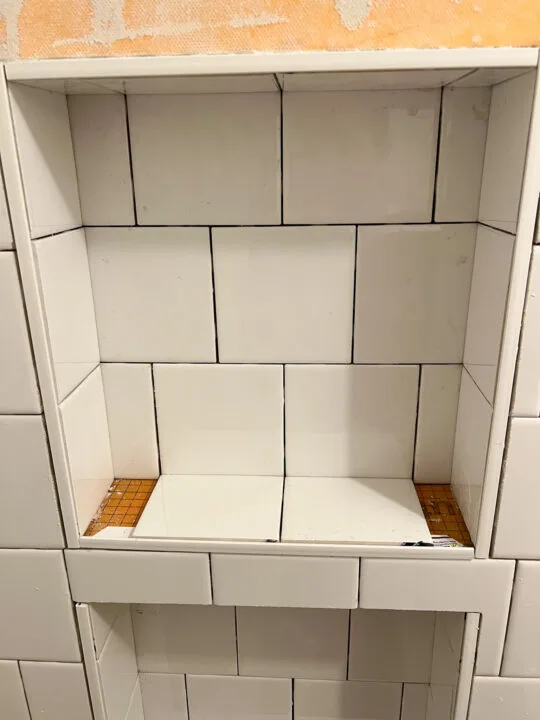
Finally, you will install the tiles on the top and bottom of the niche. Whenever you install tile on a shower shelf, each tile should be slightly angled away from the back of the niche.
This allows the water to run into the bathtub and prevents it from getting trapped on the shelf.
7 | Grout the Tile Seams
Let the tiles dry for at least 24 hours before adding the grout.

It is a good idea to purchase pre-sealed grout for this project. This eliminates the hassle of sealing the shower grout a few times a year.

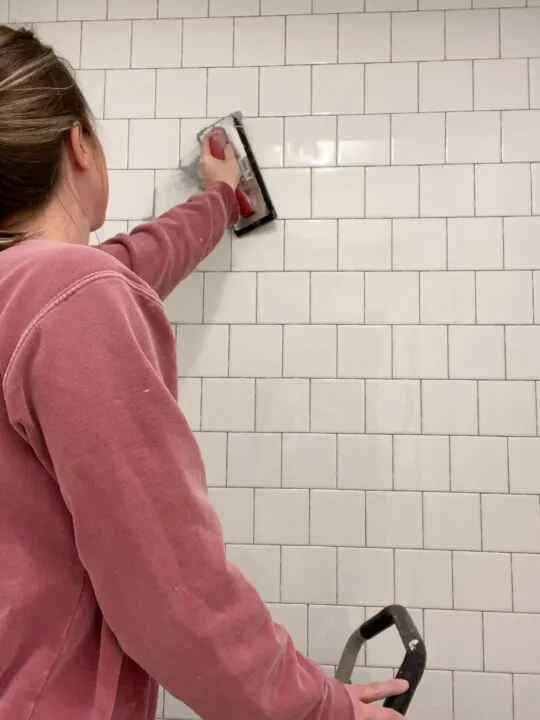
You will grout the niche the same way as you grout the wall of the shower. Pay special attention to the corners and seams in the shower niche to prevent any water from entering behind the tiles.
8 | Caulk the Shower Niche

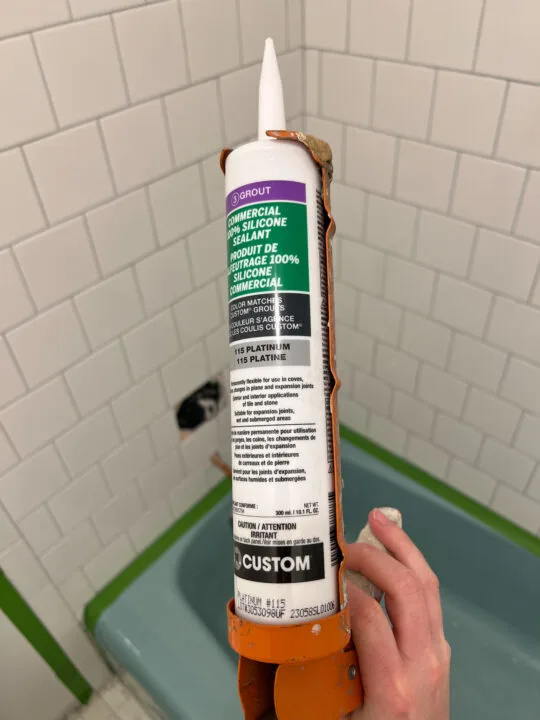
The final step to create a watertight seal in your shower niche is to apply silicone caulk to the seams of the shower shelf.
Silicone caulk can be purchased in a variety of colors, so remember to choose one that matches the grout. While it may seem excessive, all of these steps eliminate potential problems with water damage behind the shower tiles.
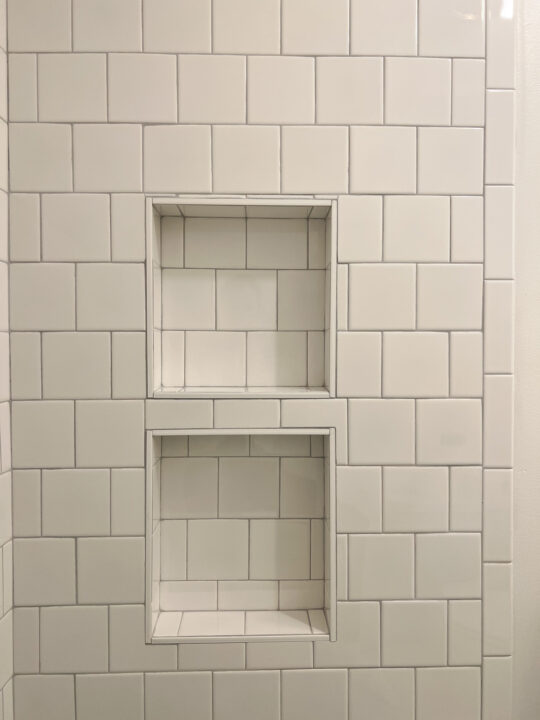
Kids Bathroom DIY Shower Niche REVEAL
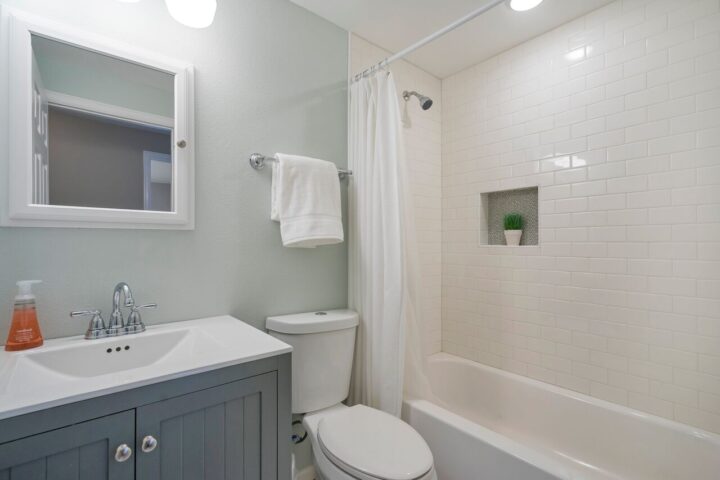
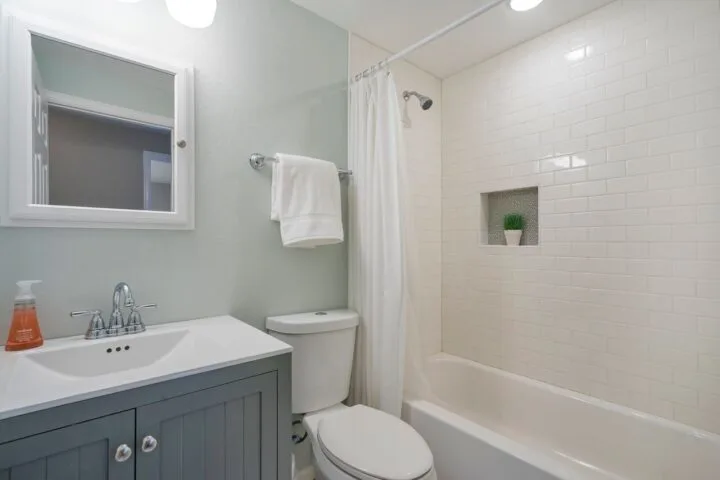
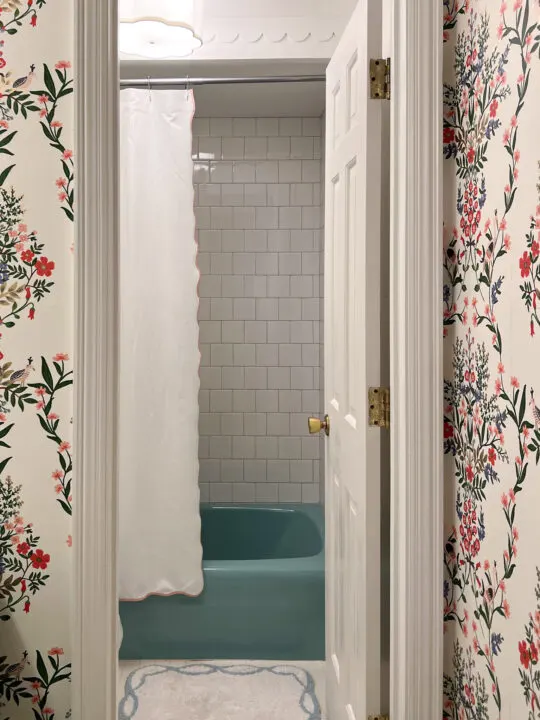
The kids’ bathroom renovation turned out better than I could have expected. I am incredibly proud of the custom shower niche I added to their new shower area!

The light gray grout is the perfect contrast to the white tile. The retro blue bathtub may just be my favorite part of this whole bathroom!


The large tile niche easily holds all of the kids shower essentials with room to spare.
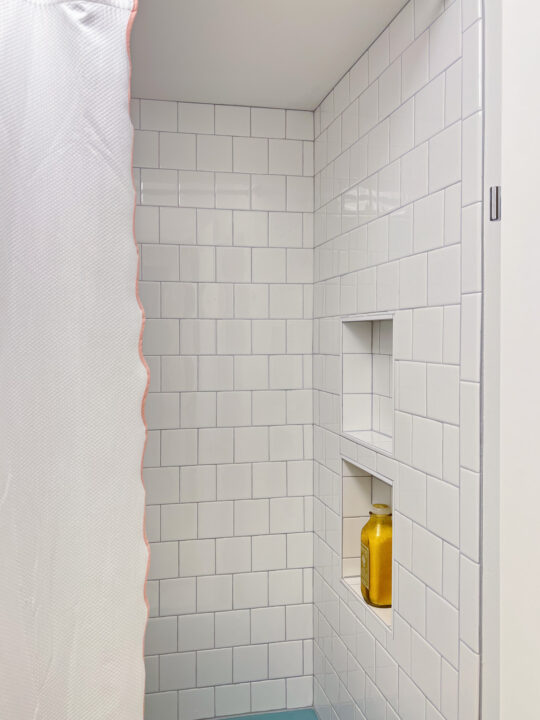
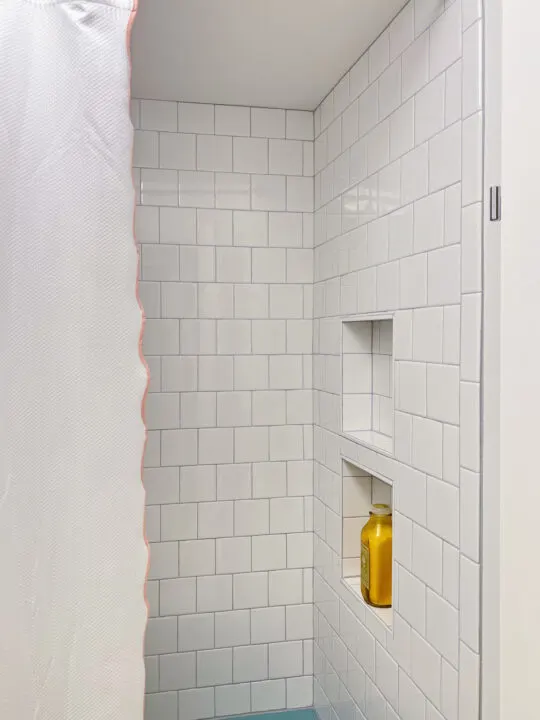
From the door, the shower niche is not visible, which is exactly how I want it!

8 Ways to Update Your Vintage Tile Bathroom
If your retro bathroom has vintage tile but is feeling a little outdated, check out these easy ways to update the space!
1 | Hang Fun Wallpaper
2 | Clean the Tiles with these Tips
…Check out all of the vintage tile bathroom tips here!
More Content You Will Love
- Blue Tile Bathroom Refresh – Before/After
- 1960s Vanity Makeover
- 15 Awesome Items to Find at Estate Sales
- Tile Your Kitchen Backsplash – Tutorial