Simple DIY Grout Cleaner with 4 Ingredients
Last Updated on March 23, 2023 by lindseymahoney
The most effective way to whiten your tile grout is with a DIY grout cleaner made of 4 ingredients. If your tile floors were installed with white grout, there is a good chance that it is stained with dirt.
Using common household items found in the kitchen, you can whiten your tile grout without any chemicals!
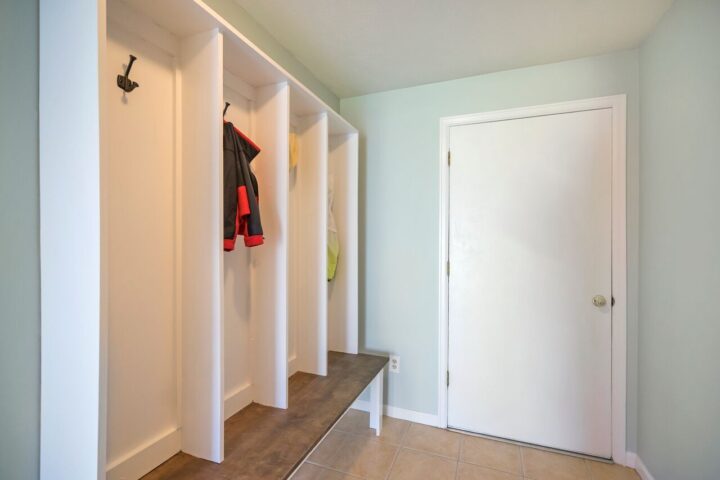
I first used this solution on the tile floors in the mudroom of our last Denver home and the transformation was epic.
I used this same solution to clean up the tar-stained original bathroom at our last flip house and the tiles look like new.

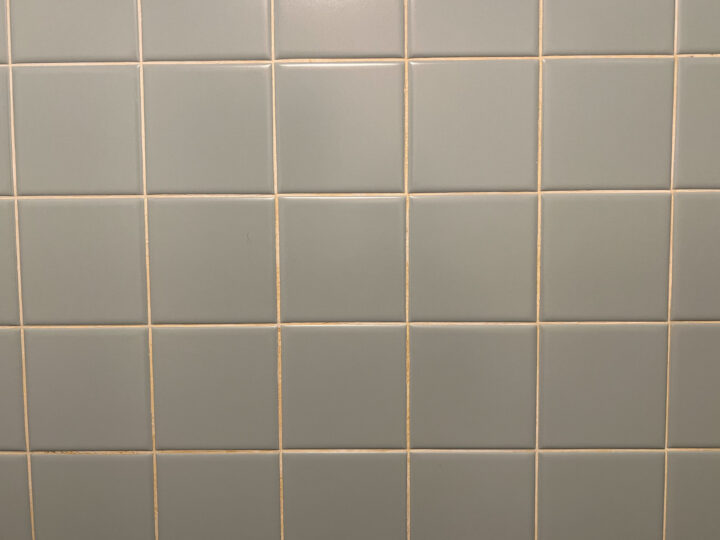
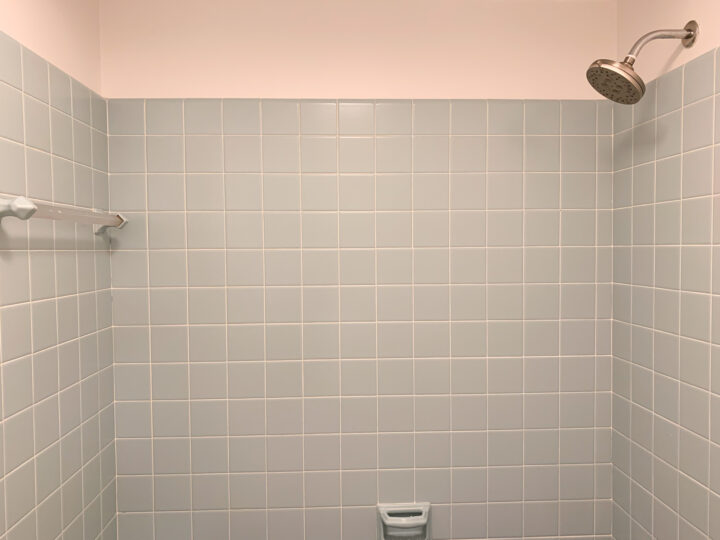
Our new home has three retro bathrooms with the original tiles. I breathed new life into the master bathroom shower and floor tiles by whitening the grout with this baking soda and vinegar solution!
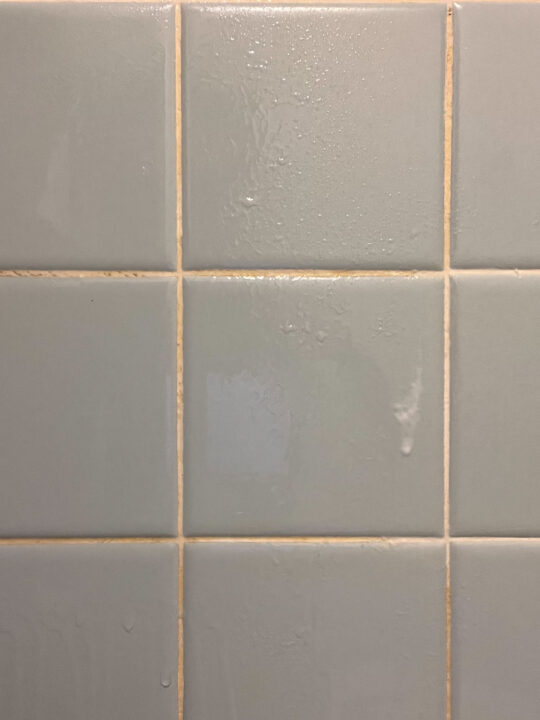
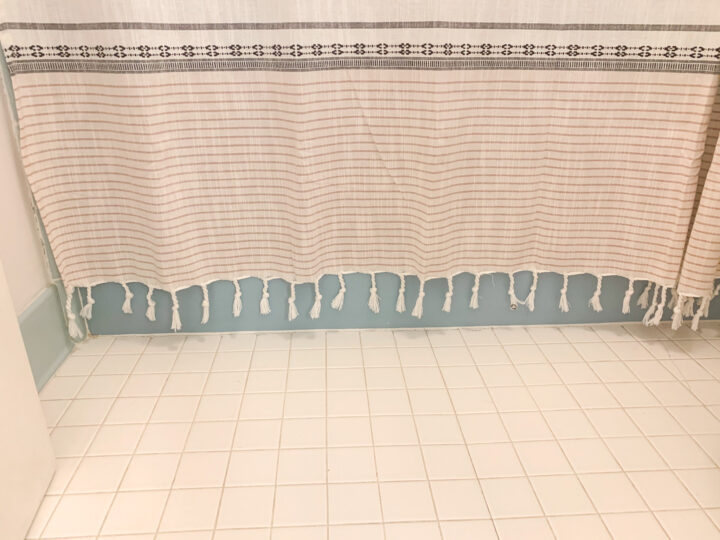
Master Bathroom Grout Before
Here is what the shower and floor looked like before the makeover began. You can see the white grout has turned yellow in many areas.
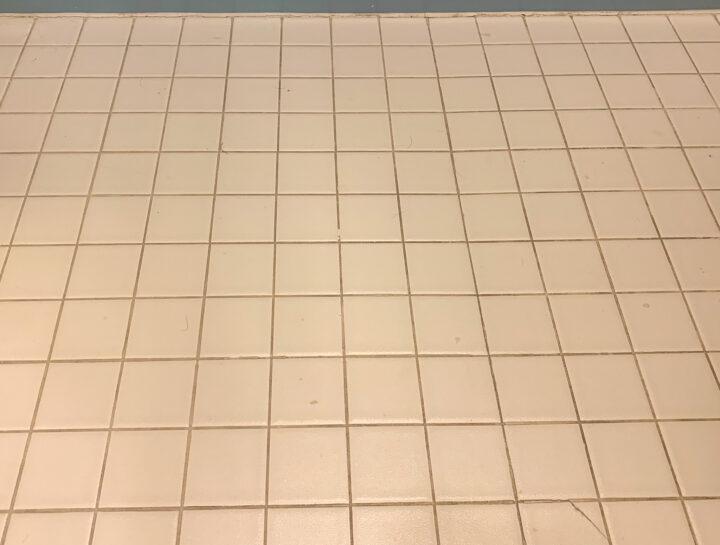
The grout between the floor tiles has been darkened with dirt.
How to Make Your Own DIY Tile Grout Cleaner
[This blog post contains affiliate links, thanks for supporting Building Bluebird!]
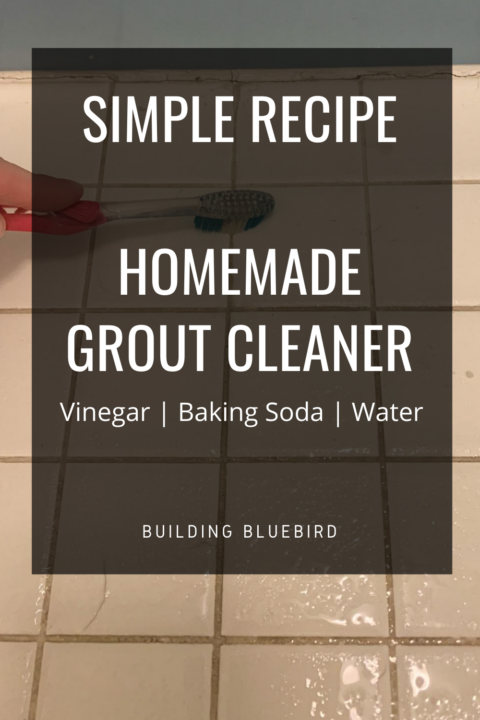
DIY Grout Cleaner Source List:
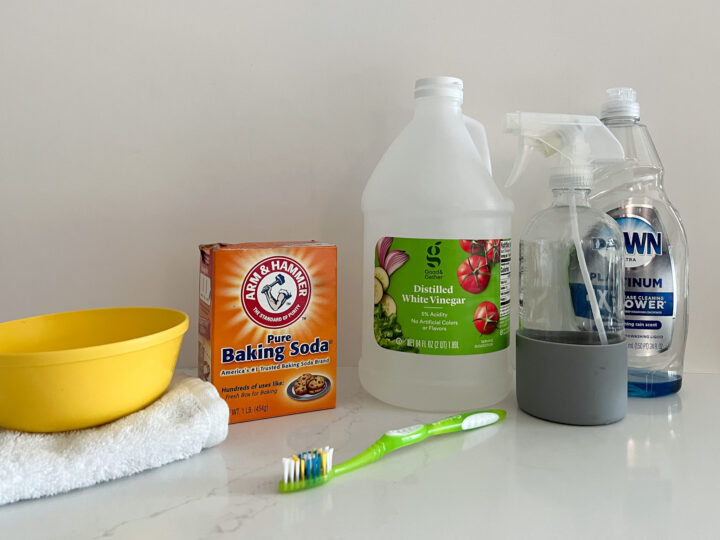
- Baking Soda
- White Vinegar
- Dawn dish soap (optional)
- Water
Additional Materials Used:
- Bowl for the paste
- Old toothbrush
- Spray bottle
- Rag

Step 1 | Make Grout Cleaner Paste
Pour baking soda into a bowl to begin making the homemade grout cleaner solution.
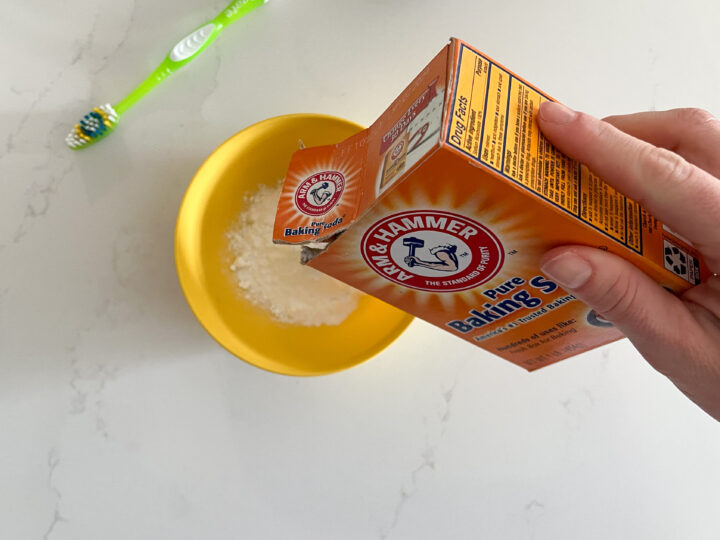
Slowly add water to create a paste-like consistency. I did not do any measurements, I just eyeballed it.
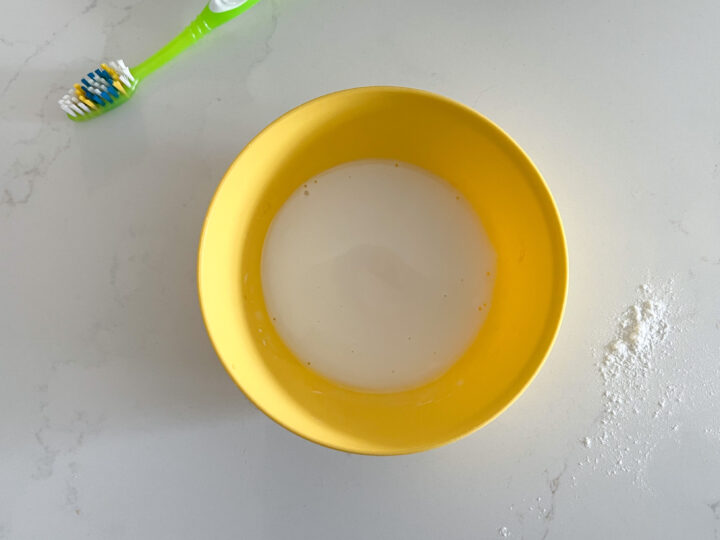
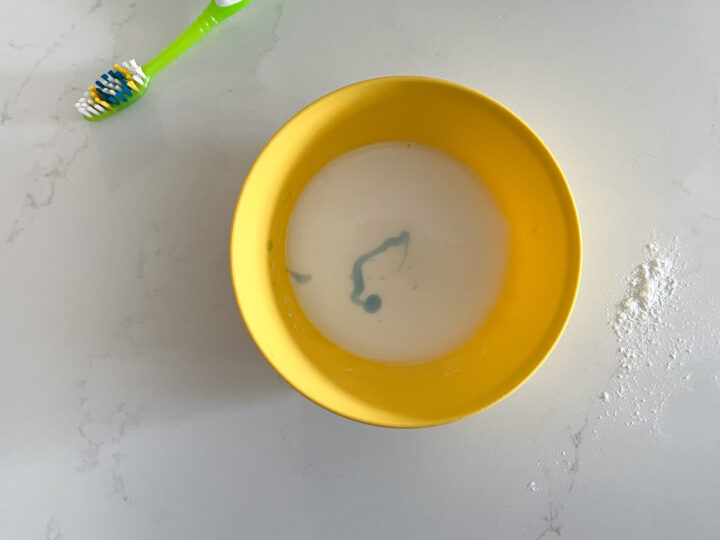
When the baking soda paste is finished, you have the option to add a few drops of Dawn dish soap for an extra kick. Mix it together with the baking soda paste.
Fill the spray bottle with vinegar. You don't need to fill the entire bottle, just enough for the surface you are cleaning.
Step 2 | Spray Grout with Vinegar
Spray a section of the tiles and grout with vinegar and let it sit for 1-2 minutes.
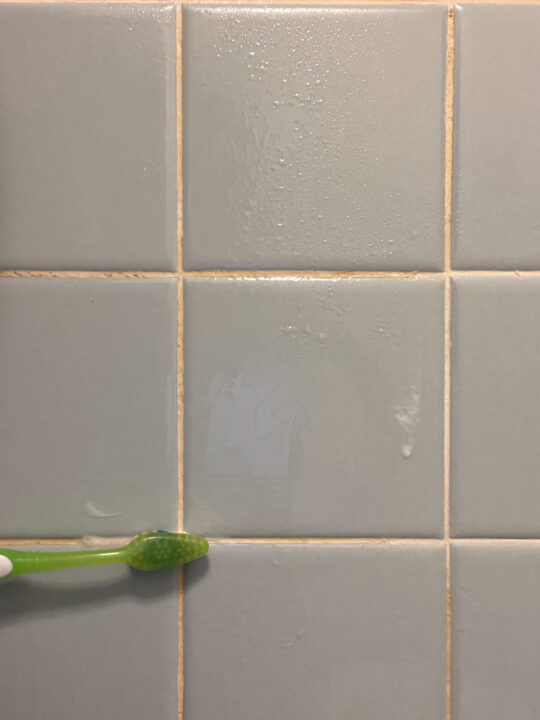
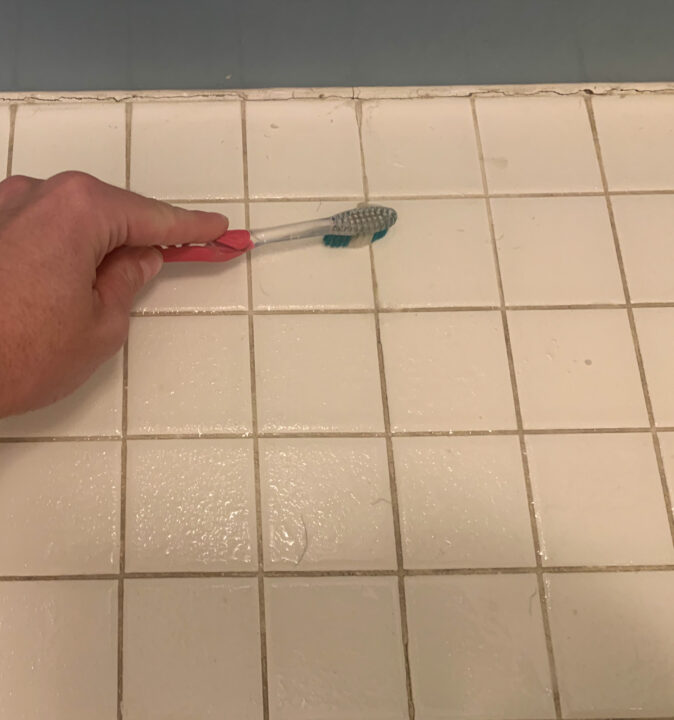
Step 3 | Scrub Grout with Baking Soda Paste
Dip your toothbrush into the baking soda paste and with a small scoop, begin scrubbing the grout on the vinegar-soaked section of the tiles.
I worked my way from the top to the bottom of the enclosure.
The same process will be used on the floor tile grout.
Step 4 | Rinse Away the Solution
In the shower, I used a combination of the showerhead and cups of water to rinse the tile surround.
For the floors, take a damp rag and wipe up the dirt and baking soda remnants.
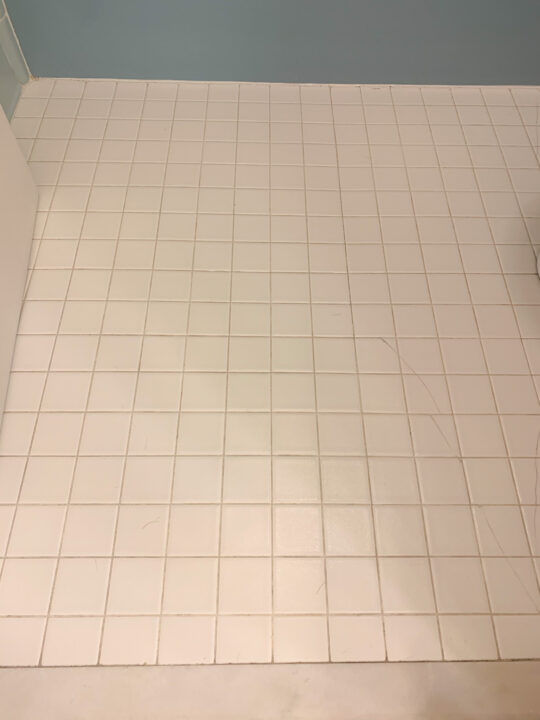
Repeat these steps until you have cleaned the entire surface. Here is the floor afterward. The image below shows the floors when they were still a little damp, the grout lightened up even more once it was completely dry.
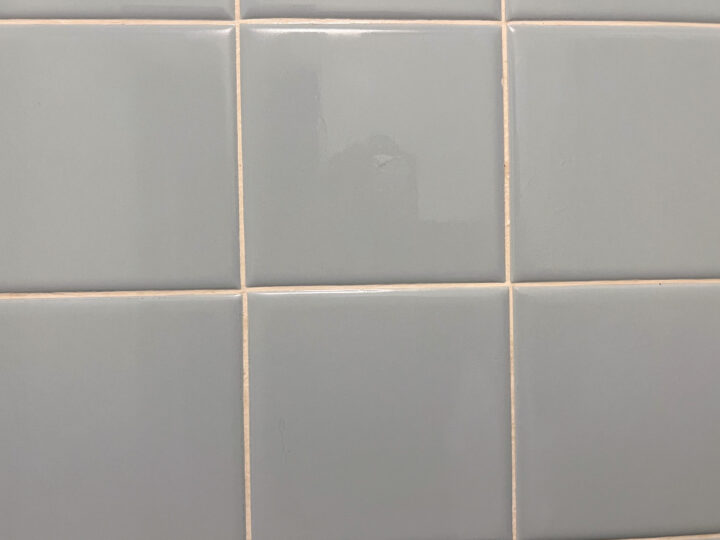
Master Bathroom Grout After
It still amazes me how much of a difference this homemade grout cleaner makes in our bathroom! I love quick DIYs that have such a big impact once it is complete.
The grout between the floor tiles is so much brighter!
DIY grout cleaner is so easy to make and is incredibly effective when it comes to removing stains between your tiles.
More Content You Will Love
- 8 Ways to Update Your Vintage Tile Bathroom
- How to Install Subway Tile to Your Kitchen Backsplash
- Building a Basement Bathroom on a Budget
- How to Add a Charming Brick Border to a Flower Bed
- I Applied Latex Over Oil Based Paint | How To Fix
- How to Paint Concrete Basement Floors Using Epoxyshield
- How to Paint an Exposed Basement Ceiling Black