
Last Updated on October 16, 2024 by lindseymahoney
Installing a kitchen backsplash yourself is an easy way to refresh your space while saving money on labor costs. Whether you’re adding a pop of color, creating a sleek modern look, or going for a classic subway tile, a DIY backsplash can completely transform your kitchen.


In this tutorial, I’ll walk you through the process step by step, from prepping your walls to choosing the right materials and getting that professional-looking finish—all without the hefty price tag of hiring a contractor.
Let’s get started!
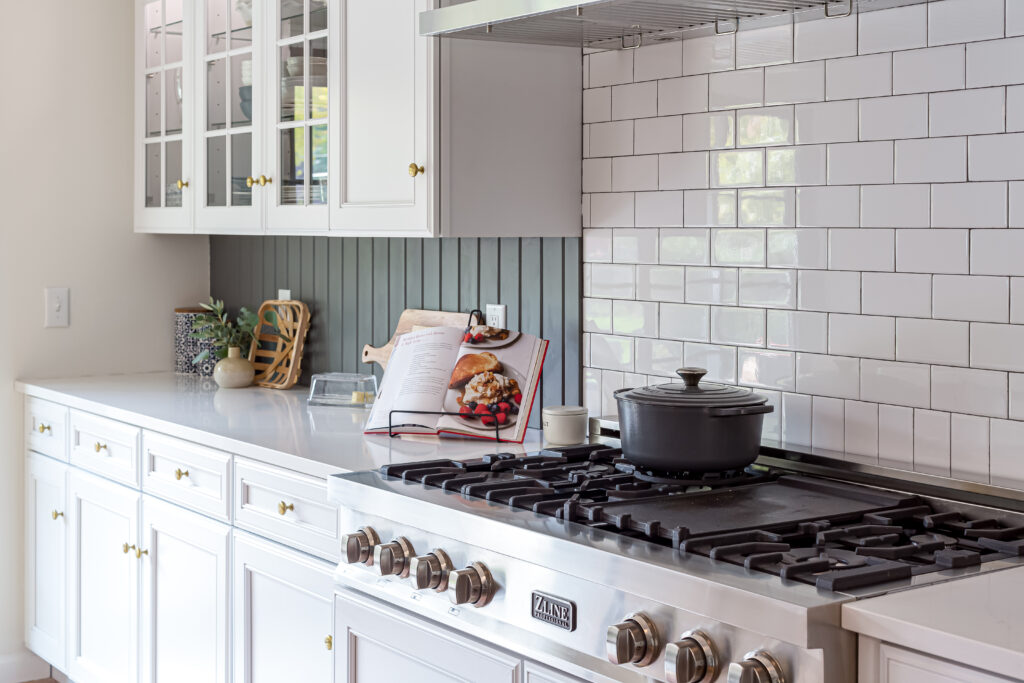
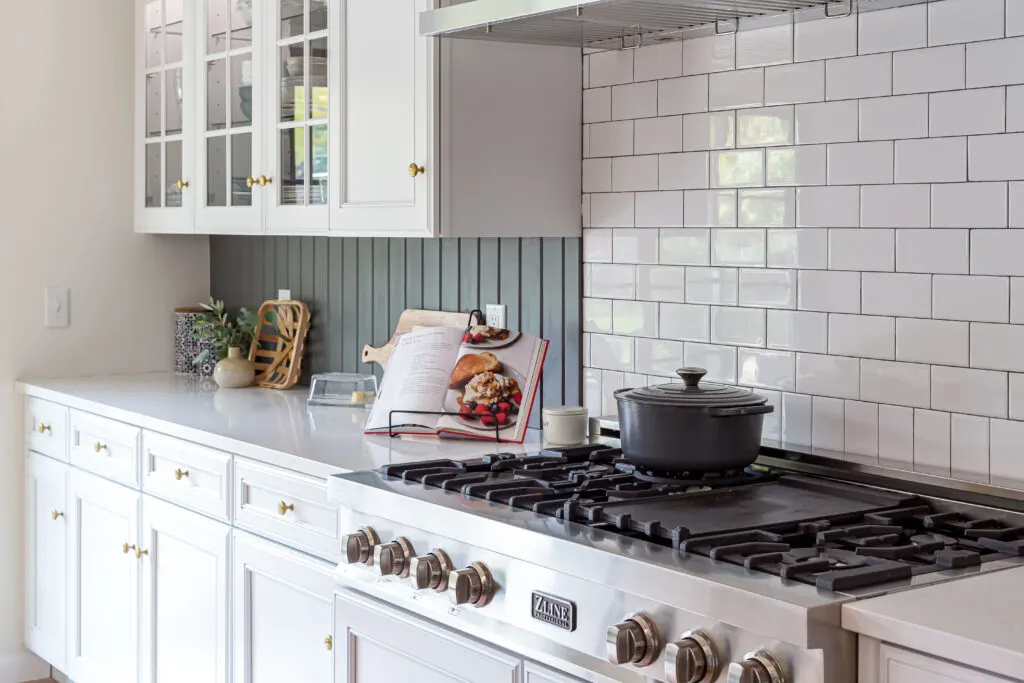
Table of Contents
- Tiling a Kitchen Backsplash DIY Tutorial for Beginners
- Kitchen Backsplash DIY Source List
- 1 | Measure the Backsplash Wall for Materials
- Calculate Subway Tiles Needed Horizontally in Each Row
- Calculate Vertical Rows of Subway Tile Needed
- 2 | Make a Vertical Centerline on the Wall
- 3 | Lay the First Row of Tile
- 4 | Lay Tiles
- 5 | Cut End Tiles
- 6 | Remove Adhesive In the Seams
- 7 | Apply the Grout
- 9 | Remove Grout Haze
- Enjoy Your New Kitchen Backsplash!
- Other Tiling Projects You Will Love
- More Blog Posts You Will Love
Tiling a Kitchen Backsplash DIY Tutorial for Beginners
This post contains affiliate links, thank you for supporting Building Bluebird!
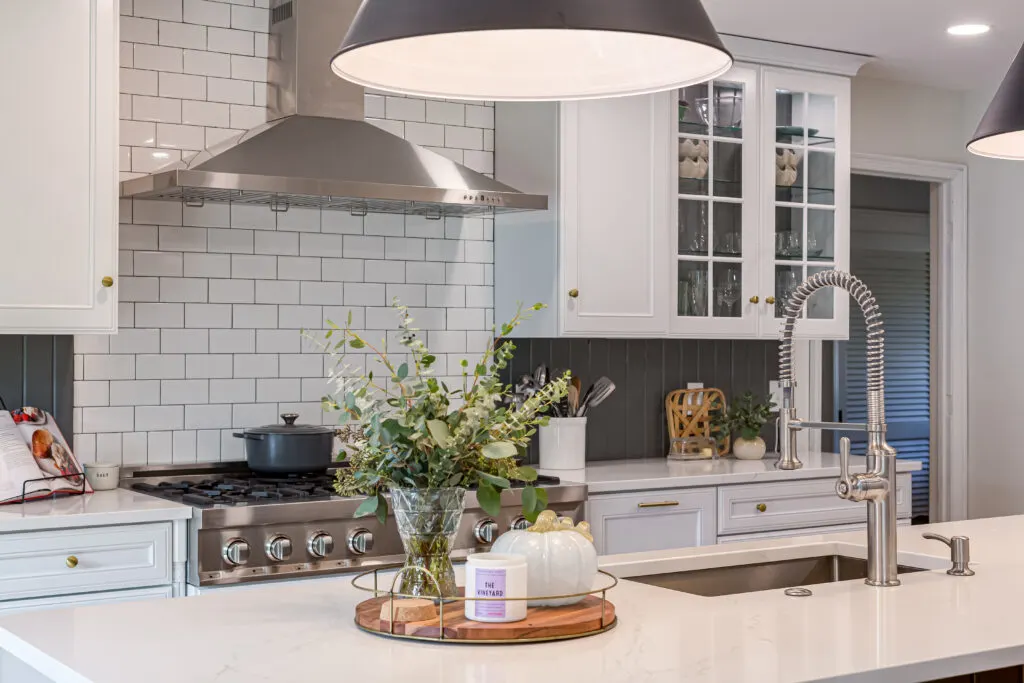
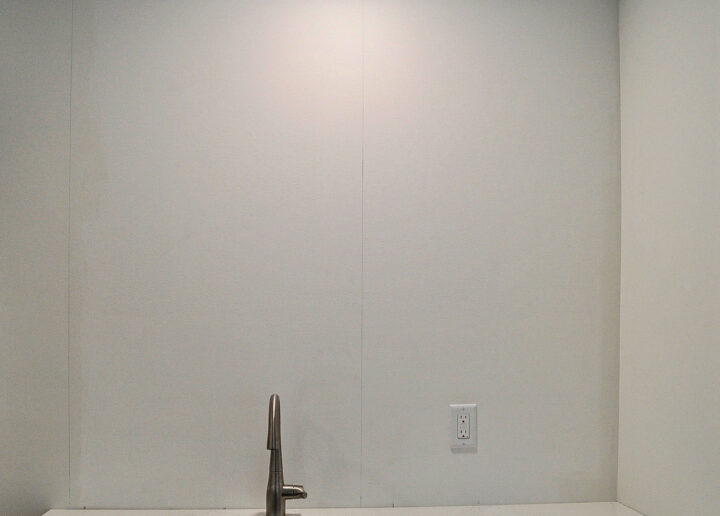
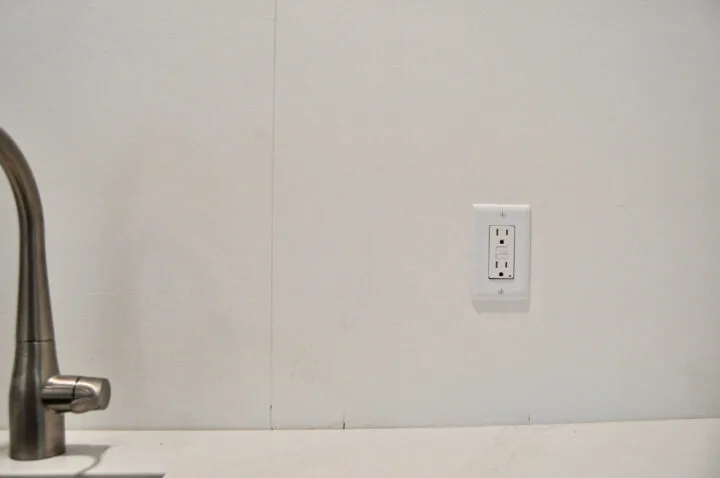
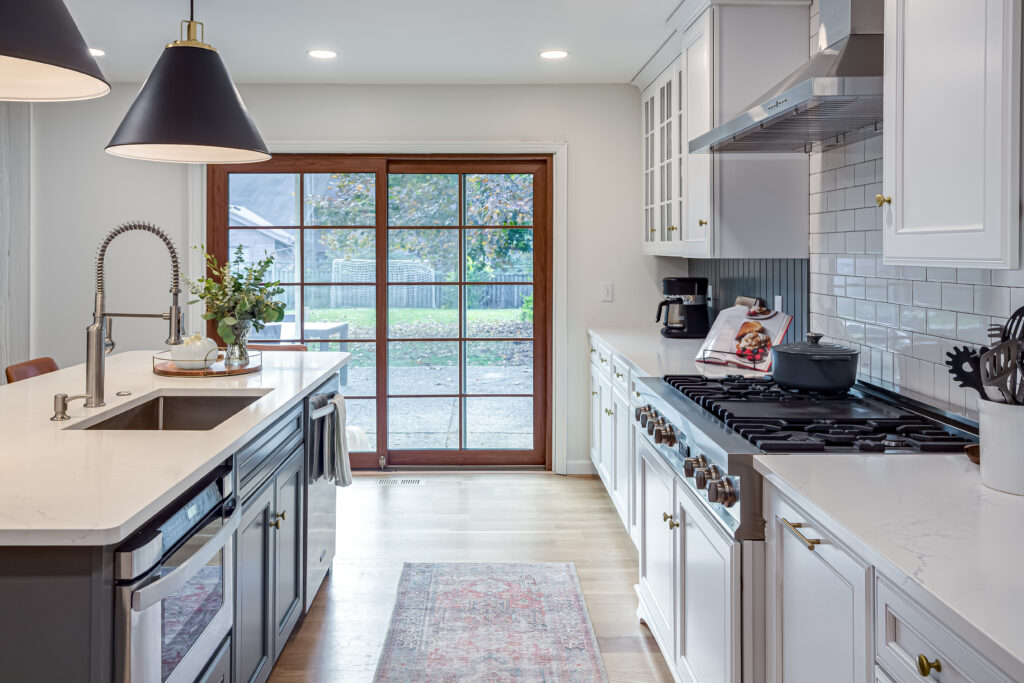
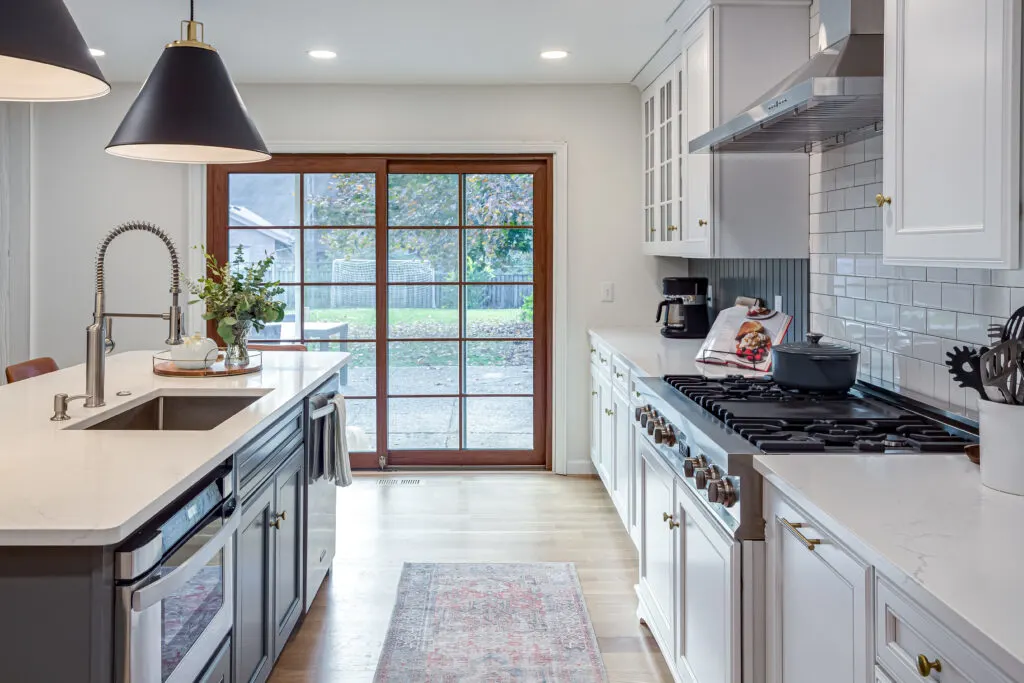
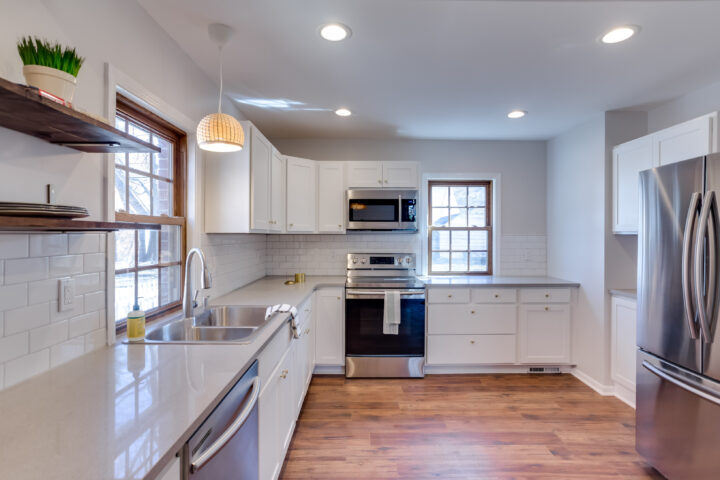
In 2019 we moved into our new home and began a full kitchen renovation. To save some money in our budget, I decided to tackle the backsplash installation myself. Once the cabinets and countertops were installed, I had a blank slate to install the new tiles backsplash.
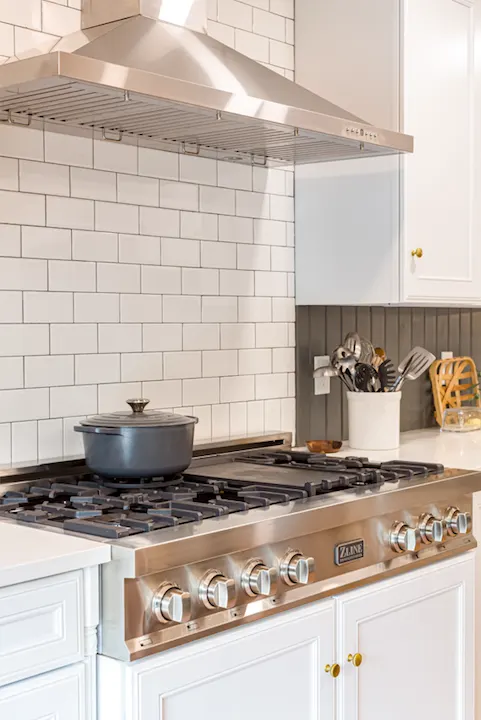
Behind the stove top where I am installing the backsplash, the subway tile runs into hard edges and does not require Schluter trim or a bullnose edge tile for a finished look.
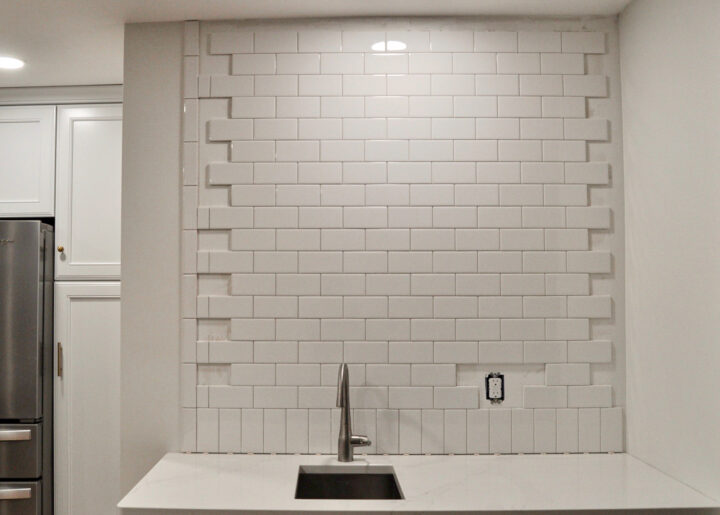
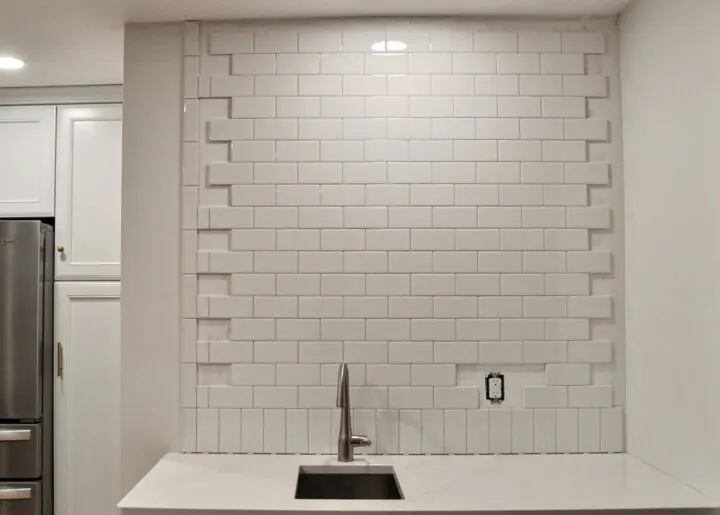
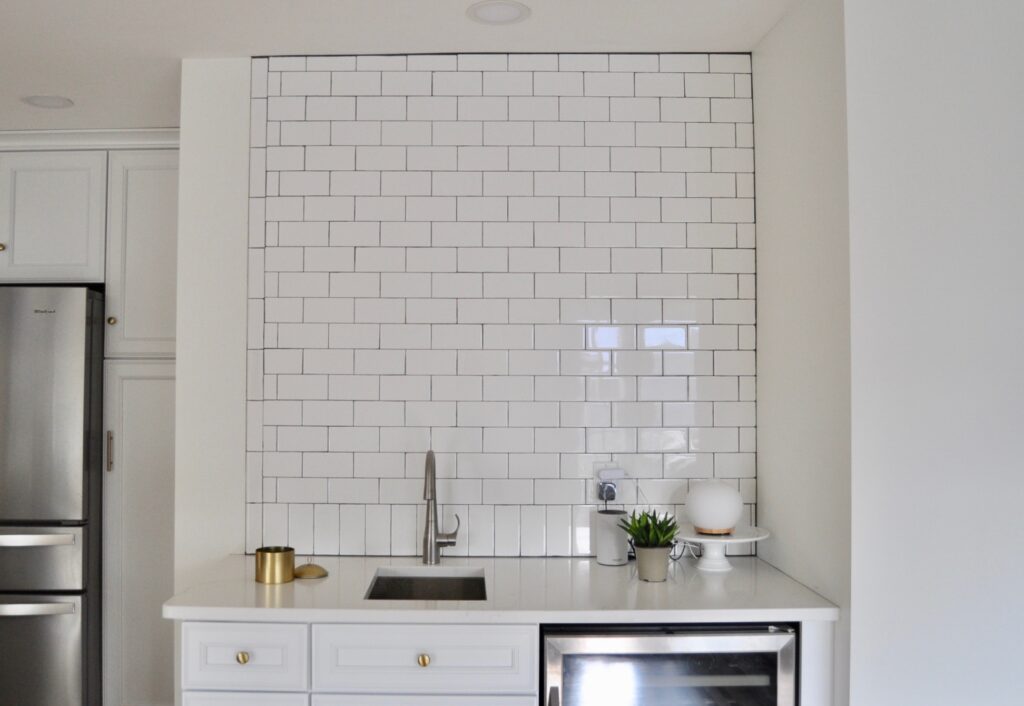
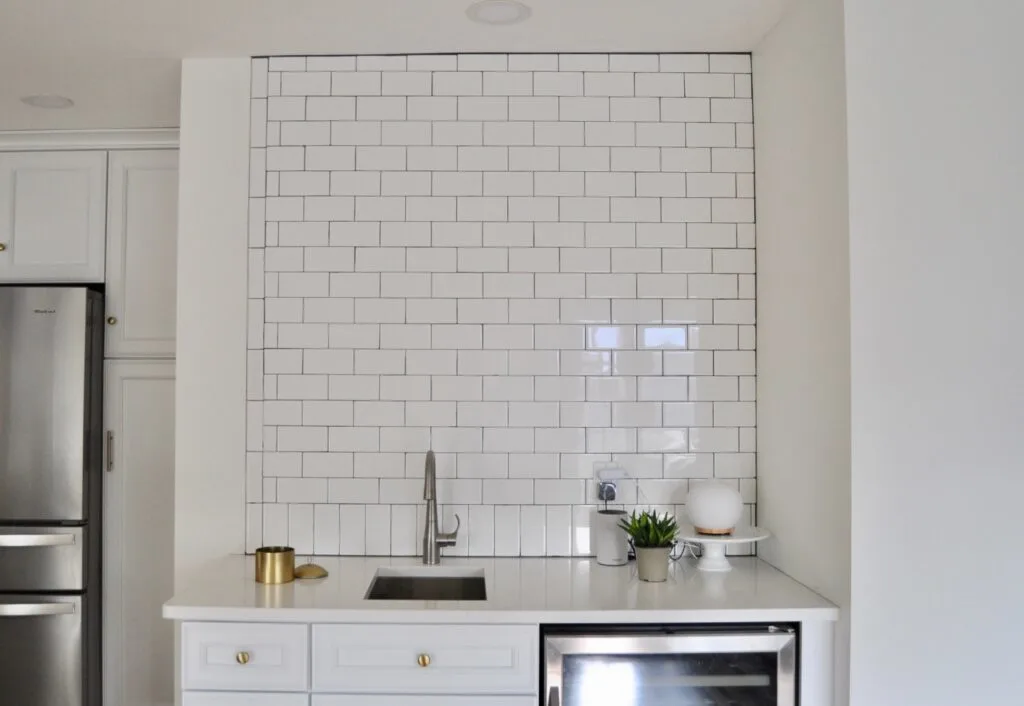
Our wet bar, however, does require a finished edge on one edge of the backsplash. I chose a bullnose edge tile for a streamlined look, but Schluter trim would have also looked good and offered a variety of options based on material or color.
Kitchen Backsplash DIY Source List
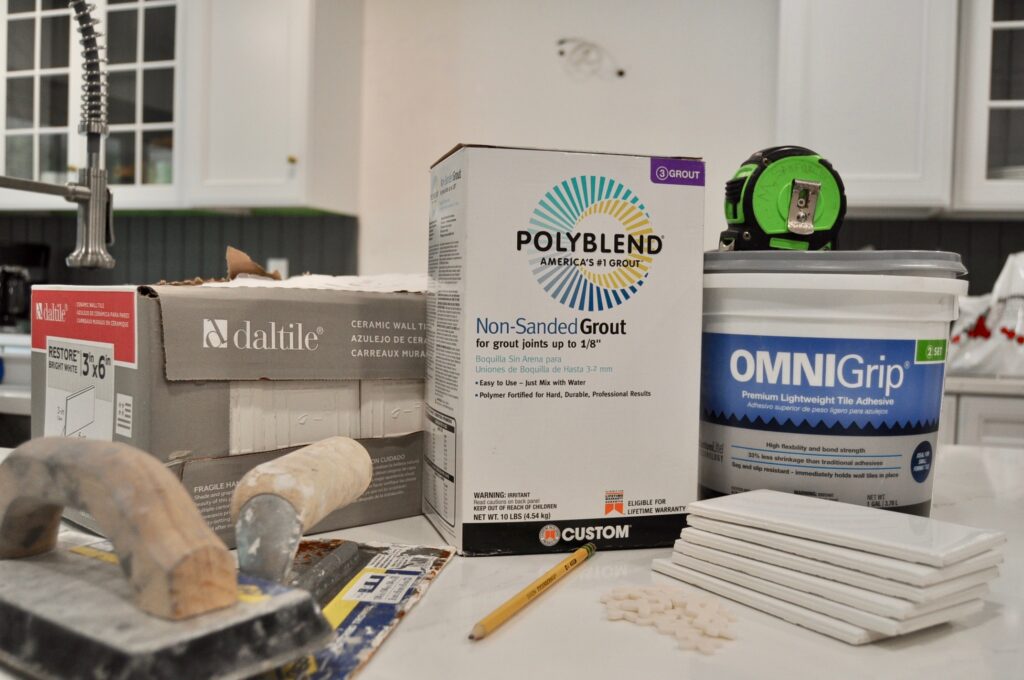
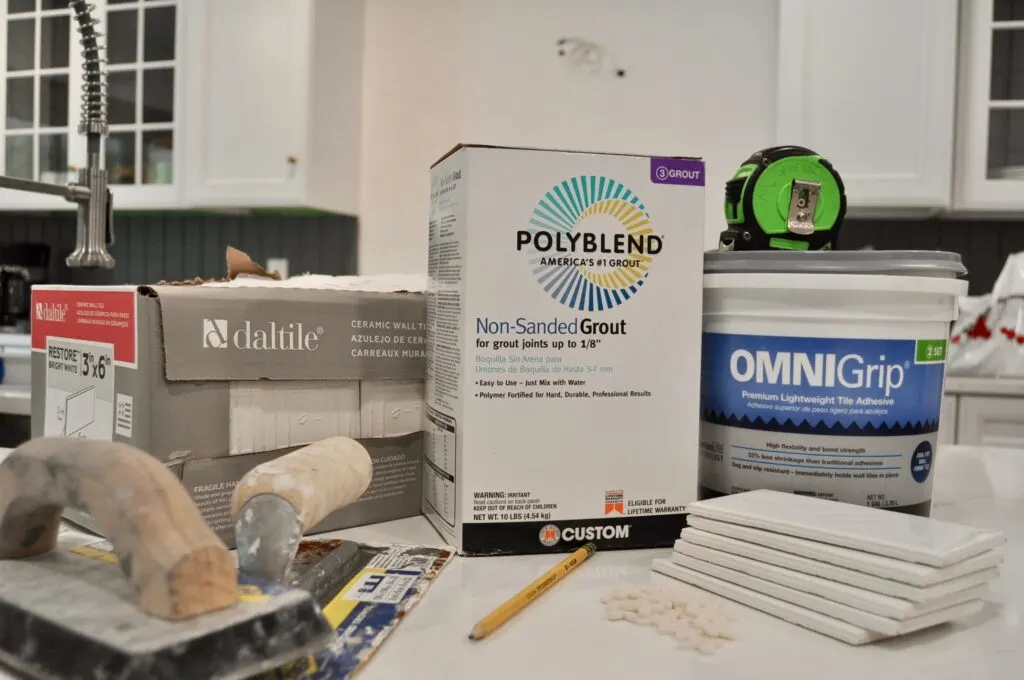

- Daltile subway tile, or whatever tile you choose
- Bullnose Edge Tile or Schluter Trim for finishing edges
- Tile Adhesive: I prefer pre-mixed adhesive
- Grout: For smaller grout lines, unsanded grout creates a smoother finish.
- Spacers: For the smallest grout lines, you can skip spacers, but remember they will be needed for the space between the first row and countertop
- Square Notched Trowel
- Grouting Float
- Level
- Tape Measurer
- Marker & Pencil
- Putty Knife
- Sponge & Bucket
- Tabletop Tile Saw for more precise cuts around outlets, but the manual tile cutter works just fine for straight cuts
- Rags
- Dropcloth
- Stepstool
1 | Measure the Backsplash Wall for Materials

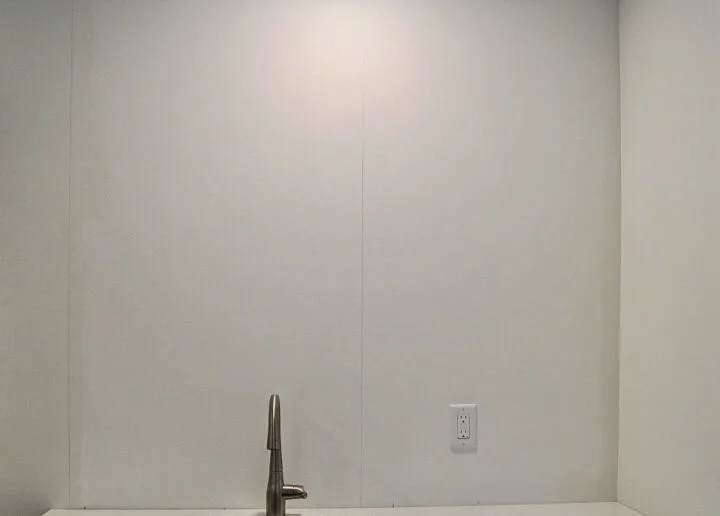
First, it is important to calculate how much tile and grout you will need for the backsplash. To determine the total square footage of the backsplash area, measure the height and width of the wall.
Find the center point of each backsplash wall and mark it with a vertical line.
When installing a subway tile backsplash, you always begin the first tile in the center of the wall.
By determining the layout of each tile before installation, you will prevent awkward cuts at the end of a row or when the tiles end at the ceiling.
While this is a DIY project, we still want the kitchen backsplash installation to look professional!
Calculate Subway Tiles Needed Horizontally in Each Row
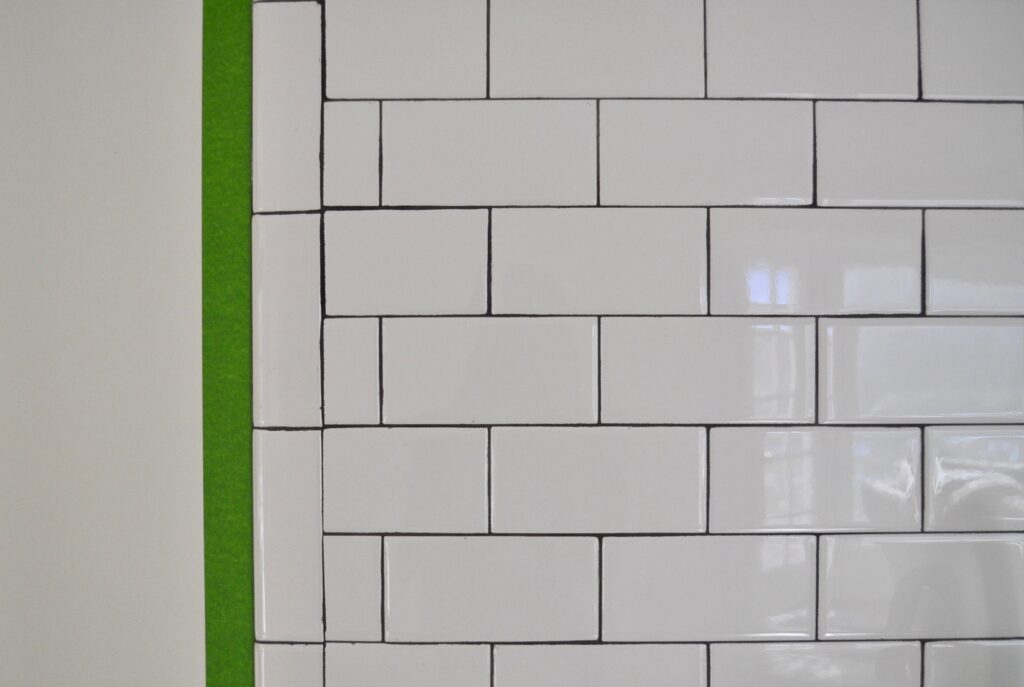
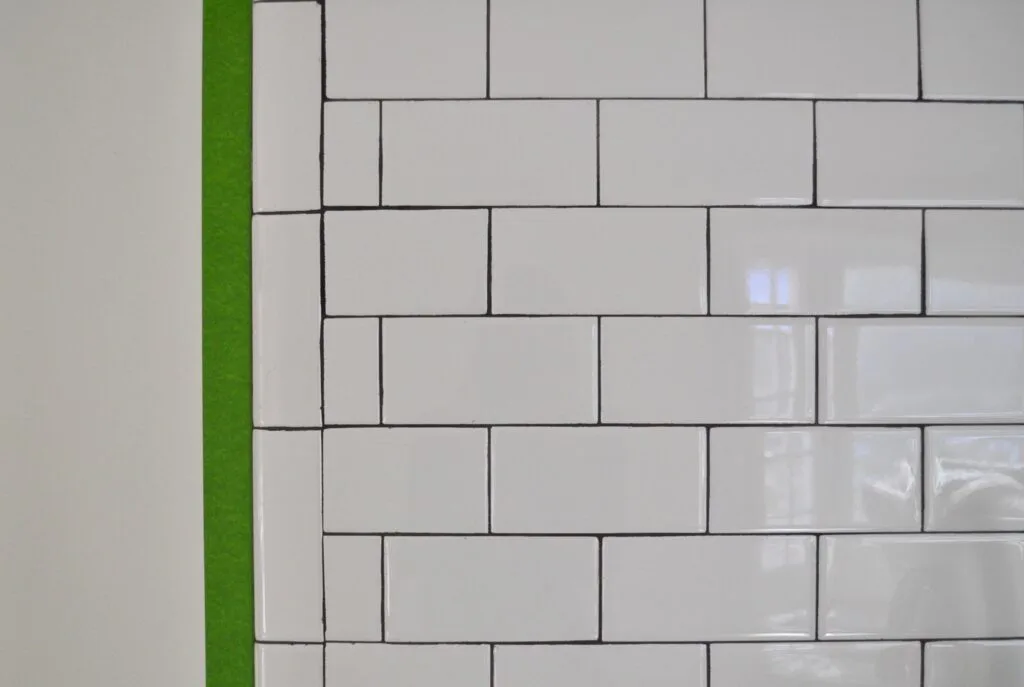
For this project, I am installing an offset running bond pattern on the wall behind our stovetop.
- The size of this wall is 60″x60″.
- The size of each subway tile is 3″x6″.
Next, find the center of the wall where the subway tile backsplash will go.
The center point of the backsplash = Width of the backsplash wall / 2
- 60″ width / 2 = 30″ center point
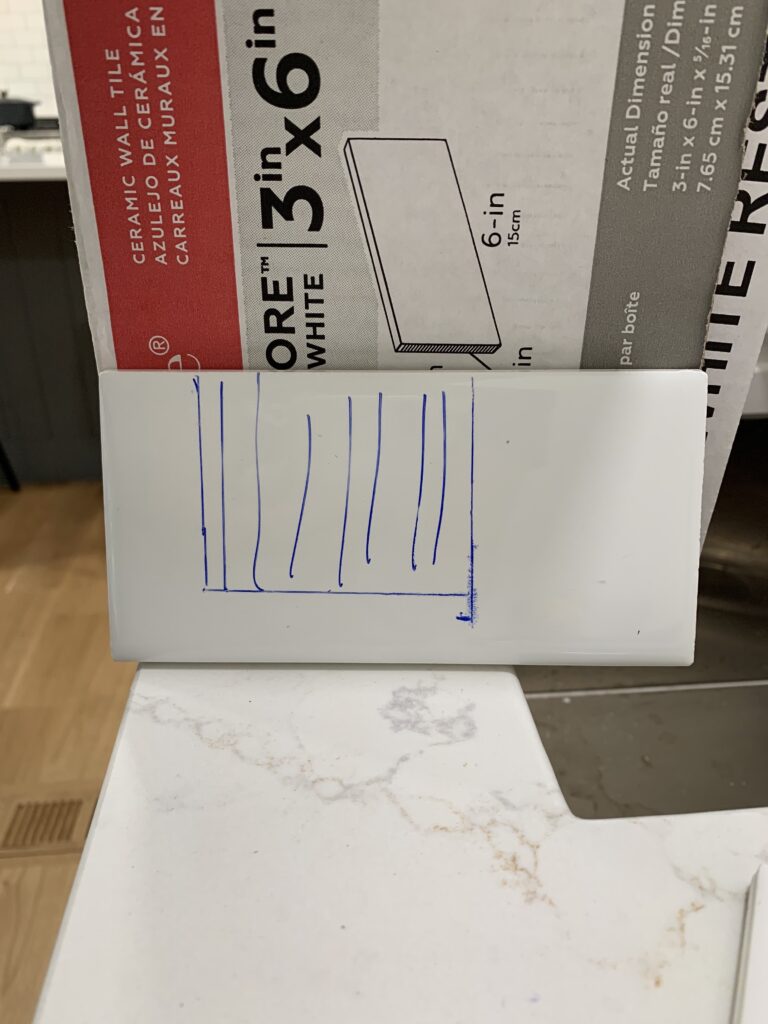
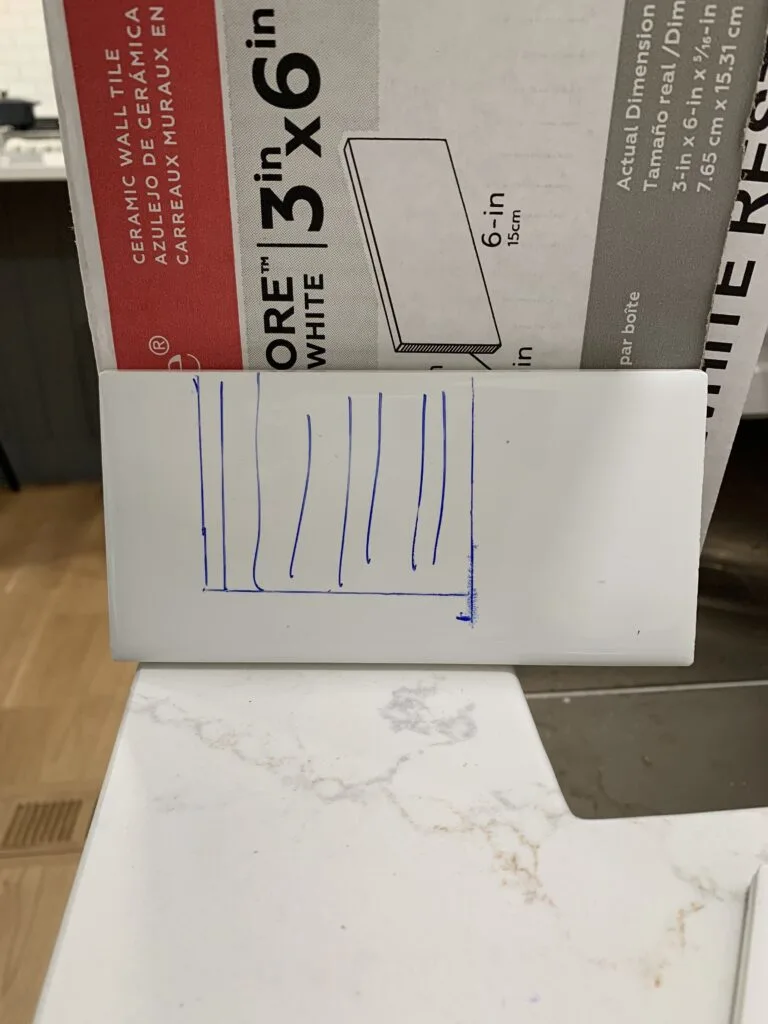
The center of the first tile is installed on this center line. If one tile is 6″ wide then 3″ will sit on each side of the center line.
Subtract the 3″ from the center point (30″) then divide the remainder by the width of each tile.
Distance Remaining on Each Side Once the First Tile is Laid = Center Point – Half Width of One Tile
- 30″ to center of the wall – 3″ =27″ Remaining distance on each side of the wall
Number of Tiles Needed On One Side of the Wall = Remaining Wall Distance / Width of subway tile
- 27″ remaining distance / 6″ tile width = 4.5 tiles on one side of the wall
The .5 means that the final tile on both ends of the row will be 3″, or half the 6-inch width tile. You want to avoid a number like 4.1″ where each edge would be a tiny sliver of a tile.
If you do end up with a sliver of a tile, you can shift the center point on the wall slightly to make that final cut easier.
Total Amount of Tiles Needed for One Row = (Tiles Needed On One Side of the Center Line x 2) + 1 center tile
If 4.5 subway tiles are needed on each side of the center line, we will double that number and add a single tile on the center line.
- 4.5 + 4.5 + 1 = 10 subway tiles per row
Calculate Vertical Rows of Subway Tile Needed
You will then make the same calculation for the subway tiles going up the wall. Again, you want to avoid any cuts that are super small on the last row that would look odd.
- Height of the wall = 60″
- Height of one tile = 3″
Take the total height of the wall and divide it by the height of the tile (3″).
Number of Vertical Rows = Height of the Backsplash wall / Height of the Subway Tile
- 60″ wall height / 3″ tile height = 20 vertical rows of subway tile (no spacers included in this calculation)
An even number is great, however, most homes do not have perfectly level ceilings. Be aware of how your grout lines will look if a slope in the ceiling is significant.
The ceiling over our wet bar had a noticeable slope and I had to make slightly different cuts for all of the tiles in the top row.
Include Grout Lines in Your Calculation
For this DIY subway tile installation, I wanted small grout lines and therefore did not use spacers between each tile. Even though I did not use spacers, a spacer between the first tile and the countertop is necessary.
Grout Spacer = 1/8″ or 0.125
- 20 Tiles (rows) – 0.125 = 19.875 Tiles
There are many different spacer sizes, but I chose 1/8 for our kitchen. Since I am only using the space for the first row, I only had to subtract 1/8″ from the total vertical distance.
Total Tiles Needed = Total Tiles per row x Total Number of Rows + Grout
- 10 per row * 20 rows rounded up = 200 subway tiles
- 200 + 20 (10% waste) = 220 total subway tiles
Factor in an additional 10% for waste (20) giving us a total of 220 subway tiles for the backsplash behind the stovetop.
2 | Make a Vertical Centerline on the Wall
Use a level to draw a vertical line in the center of the backsplash wall.
A laser level is ideal for tile installation, but I do not own one, so I used a hand level and marked the wall with a pencil.
On the wet bar wall, I first marked the edge where the subway tile would end, then I found the center of the backsplash.
For the wet bar, I first installed the finished edge of the backsplash using bullnose subway tile vertically stacked up the wall. If you install a finished tile edge as I did, make sure to use that in your calculations when determining the size of the final tile in each row.
- 2″x6″ bullnose edge subway tile
Length of the wall – 2″ = Length of Tiling area
I took the original length of the wall and subtracted 2 inches to account for the 2×6 bullnose edge.
When marking the center of the backsplash I took the distance from the inside edge of the bullnose tile to the other end of the wall.
*Follow the calculations detailed in step 1.
Next, check that the countertop is level before installation. A horizontal laser level is ideal, but checking with a hand level works as well.
If the countertop is not level, you will need to adjust the first row of tiles so the remaining rows will not be crooked.
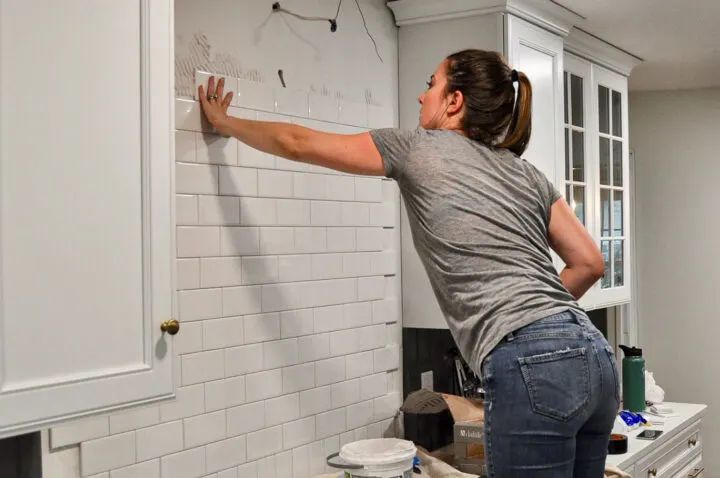
3 | Lay the First Row of Tile

The first tile will go on the vertical center line marked on the wall. Even if you choose to skip spacers when installing the subway tile, you need to use tile spacers between the countertop and the bottom row of tiles. This allows for any expansion and contraction of the countertops and cabinets.
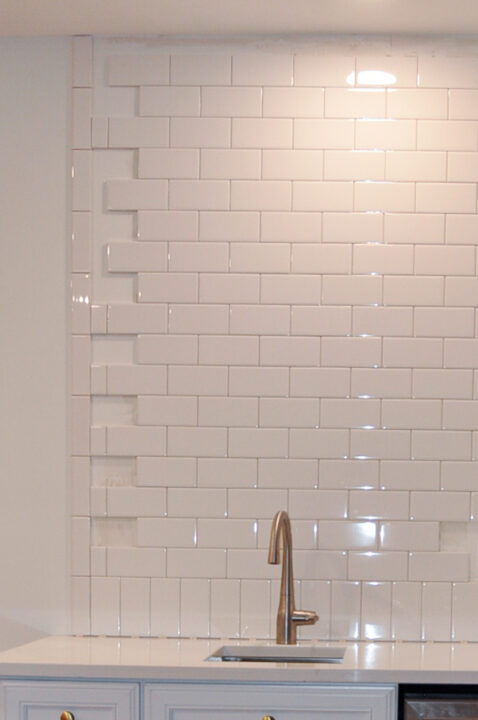
*I decided to add a soldier detail to the first row of subway tiles, which means the first row is installed on its side. The same rules apply.
To be exact as possible, I physically mark the center of the first tile in each row to ensure it is completely centered. Using a marker, I made a small line right at 3″ on the subway tile (for the soldier row, I marked it at 1.5″).

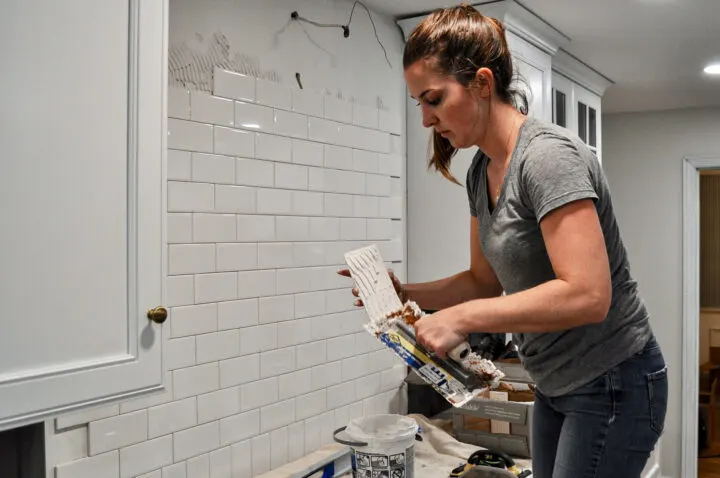
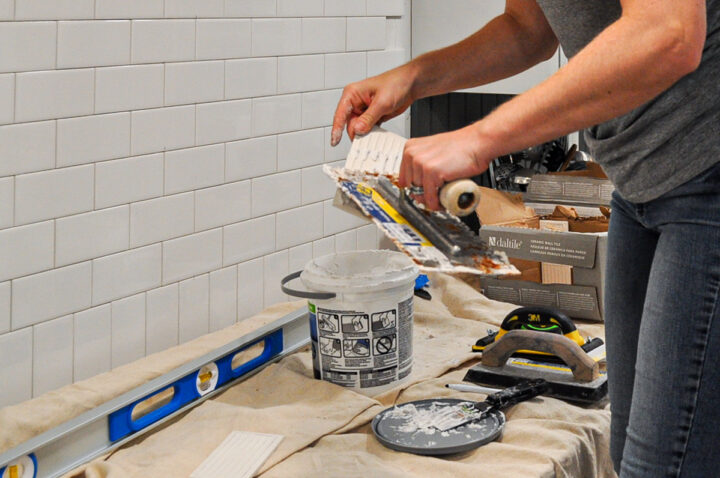
I applied the tile adhesive to the back of the tile whenever installing the bottom first row of the backsplash.
Using a putty knife I scoop the thin-set mortar onto the back of the subway tile and use the square notch trowel to scrape the adhesive at a 45 degree angle to create deep grooves.
The deep grooves create a suction to the wall and secures the wall tile in place. Place a tile spacer on the countertop and attach the subway tile to the centerline on the wall.
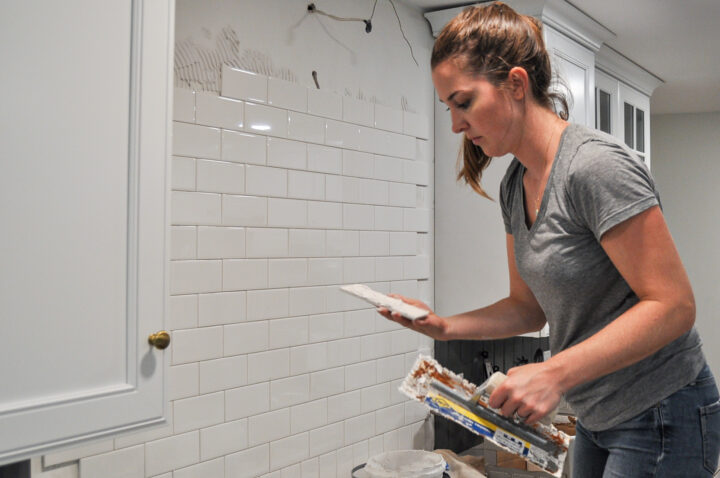
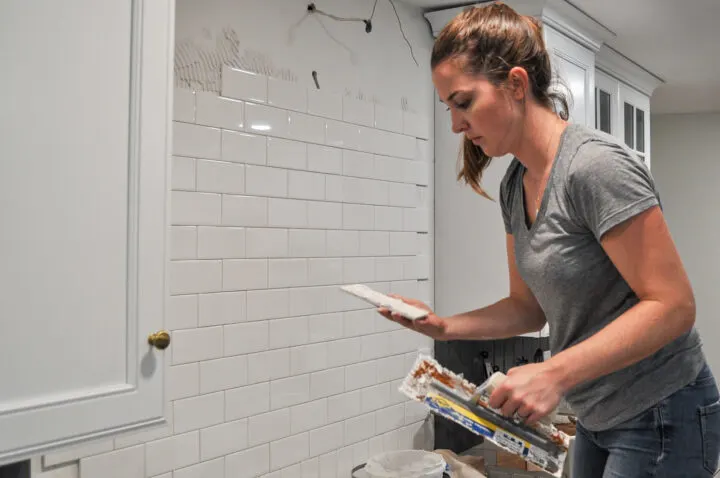
4 | Lay Tiles

Once the first row of new tile is installed, attach all of the full tiles that do not require cuts. The tile adhesive can either be applied directly on the wall or individual tiles (back buttering).

You want the thickness of the tile adhesive to be the same across the entire wall. I used both options when installing the backsplash tile, it’s really just a personal preference.

Each time I start a new row, I create a center mark on the white tile and place it directly above a seam of the row below. I also backbutter the tiles if I can’t get a good angle putting the adhesive on the wall.
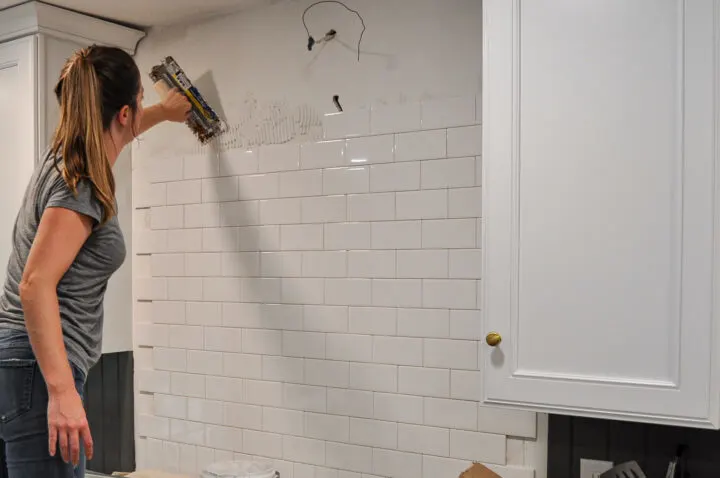
Once you complete one or two rows, use your tile float tool to press the tiles toward the wall. Lightly pressing on multiple tiles at the same time helps to keep them level against the wall.
You want to avoid having any tiles or tile corners pressed further down into the adhesive. Periodically check your rows on top with the hand level to make sure you are not going crooked.
As you install the full tiles up the wall, use a spare tile to check the vertical spacing for the end pieces that need to be cut.
5 | Cut End Tiles
I prefer to wait until the end to make all of my end cuts with a tile cutter. Take the measurement of each missing tile and cut them with the saw.
I ran into a few instances where the end tile was too tight so I had to shave a sliver off of the top of the tile to get it to fit. It isn’t noticeable, but it is easily avoidable by doing a quick spacing check during installation.
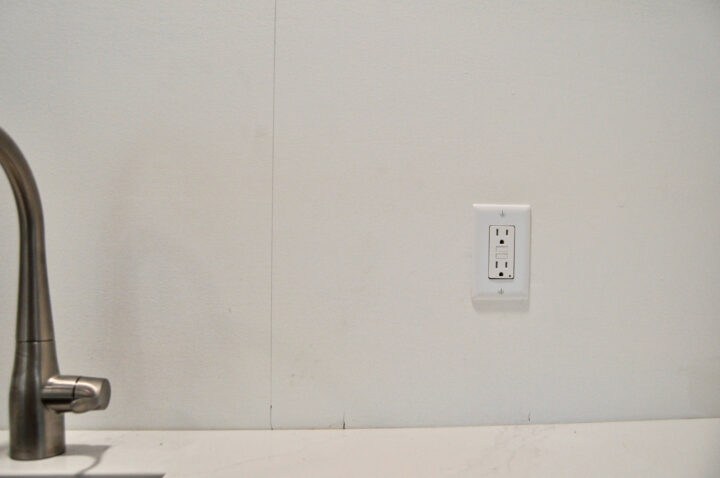
Cutting Tile Around Outlets and Light Switches
To cut tiles around electrical outlets, take the measurement and cut small lines on the tile using your wet saw. Snap off the slivers of tile to create the perfect inset for the outlet.
Cutting the subway tile is the most time-consuming part of the project but it is important to take your time to get the cuts as accurate as possible.
Instead of putting the adhesive on the wall, backbutter the tiles individually and place them in the appropriate spot. Use the tiling float to press the tile to the wall. This ensures your tile aligns with the other tiles and is not sticking out or indented.
Let the thinset mortar dry for 24 hours before applying the grout.
6 | Remove Adhesive In the Seams
Use a putty knife (or utility knife) to scrape out any seams that have adhesive smushing through. To achieve clean lines on your backsplash, the seams should be clear of any thinset.
7 | Apply the Grout
Before applying the grout, tape the walls and ceiling around the tile edges. This will prevent paint touch-ups once the grouting is complete.
I chose a dark gray grout for the subway tile in our kitchen. I generally tend to lean towards darker grout in the kitchen to avoid stains from food like spaghetti sauce.
You can buy pre-mixed grout or mix it yourself. I actually prefer pre-mixed grout but Home Depot did not offer any that was un-sanded. Follow the manufacturer’s instructions to properly mix the grout.
When you have tiny grout lines (I didn’t add any spacers), it is better to have un-sanded grout for a cleaner finish.
Lay down a drop cloth under the tiles to keep the area clean. Use your grout float to apply the grout to the subway tile seams.
Press it into the seams to avoid any air pockets. Check the instructions for the grout you purchased to see their recommended wait time to wipe off the grout on the tiles. Mine recommended 20 minutes.
Use a damp sponge and bucket of clean water to remove the grout from the faces of the subway tiles. It is a good idea to change your water often to keep it as clean as possible. Clean water helps to remove the excess grout more effectively.
9 | Remove Grout Haze
About 30 minutes after I wipe down the tile with a damp sponge, I like to lightly wipe the surface using a dry cheesecloth or rag. This will help to remove grout haze more quickly.
Wait 2 hours for the grout to cure and harden.
Using more pressure, wipe the tiles again with the cheesecloth (I just used an old cloth towel) to clean the remaining grout haze off of surface of the tile.
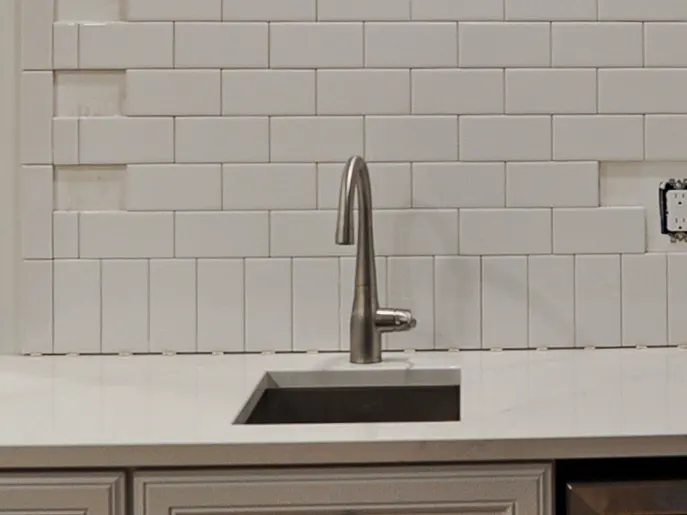
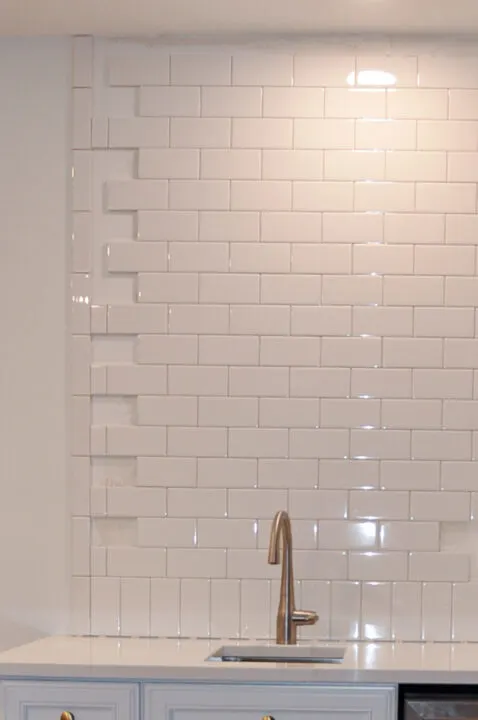
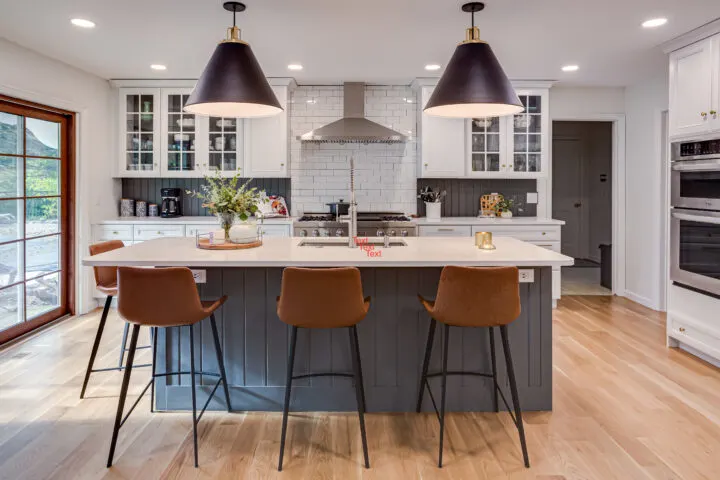
Enjoy Your New Kitchen Backsplash!

With your beautiful backsplash installed, your kitchen has a fresh new look that you created yourself! Not only did you save money by going the DIY route, but you also gained valuable skills that will make future projects feel even more doable.
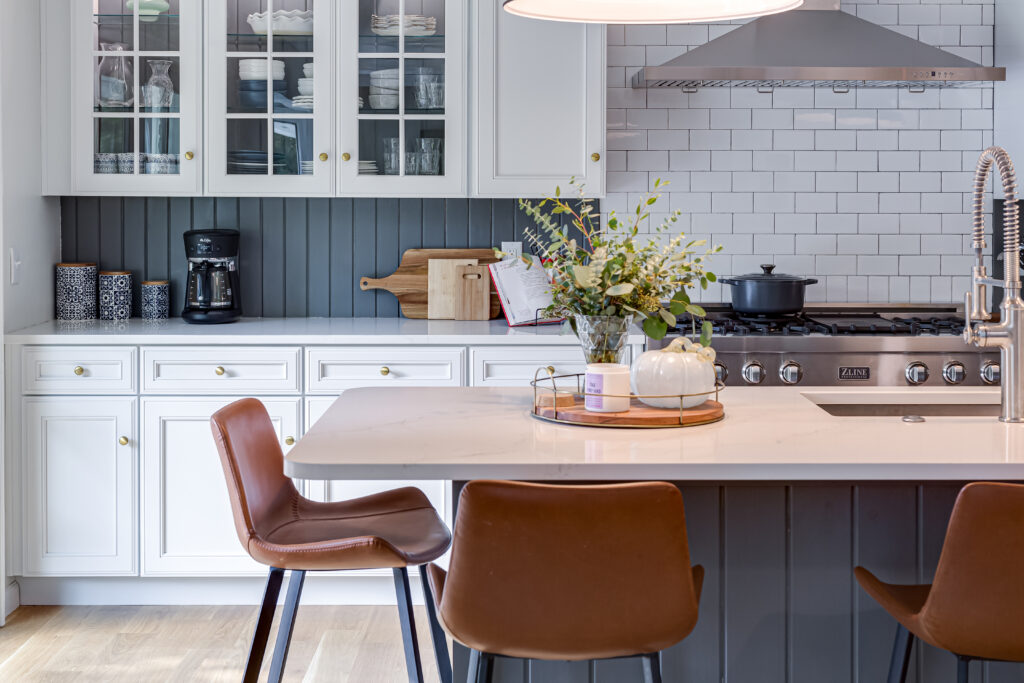

Take a step back, admire your hard work, and enjoy how much a simple backsplash can transform the feel of your kitchen. Whether you opted for bold patterns or classic tiles, you now have a customized space that reflects your personal style.

Ready for your next DIY project? The possibilities are endless!
Other Tiling Projects You Will Love
1960s Bathroom Renovation

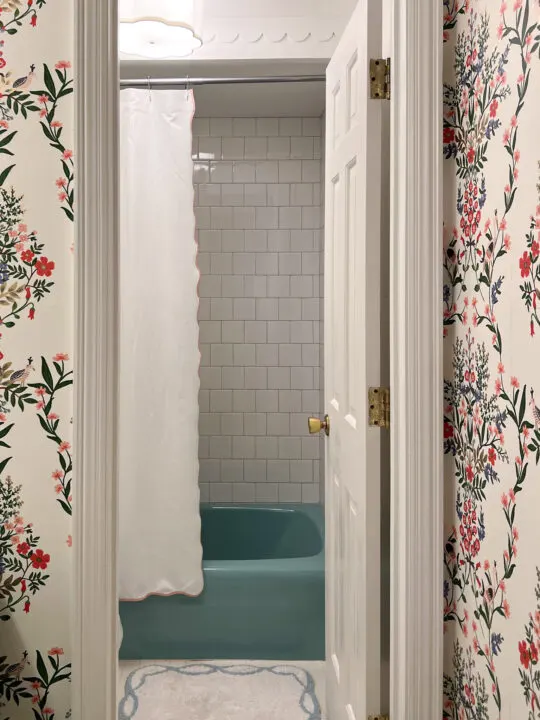
I learned so much installing this shower surround in our 1960s bathroom! Check out the full tutorial for how I installed this ceramic tile in our kids bathroom and added a custom shower niche!
Basement Bathroom

My first DIY tiling project was in our basement bathroom when we lived in Denver in 2016. I llearned an incredible amount tiling the bathroom floor and shower surround, including what products I do NOT want to use again.
Toledo Flip House Kitchen Backsplash

The second tiling project I tackled went much smoother at our Toledo flip house. I knew I needed to improve my skills, so I hired a professional and asked if I could help him with the tile job.
Not only was I saving money by acting as the assistant, but I also learned valuable tile installation skills to DIY later! I highly recommend shadowing someone with a stronger skillset if you are intimidated by tiling projects on your own.
More Blog Posts You Will Love
- Our New, Open-Concept Kitchen with Traditional Style
- Affordable Small Kitchen DIY Makeover
- Inspiring Kitchens with Mushroom Colored Cabinets
- Building a Kitchen Breakfast Bar
- How to Update Linoleum or Laminate Flooring with Paint
- How to Hang Pre-Pasted Wallpaper by Yourself
- 9+ DIY KItchen Backsplash Ideas