
Last Updated on September 23, 2019 by lindseymahoney
It was extremely important to nail the kitchen layout at the Drummond Flip House. The kitchen is the heart of the home and can make or break the sale of a property, so we needed to get it right. We had three design options for this kitchen and I know we nailed it with the option that we chose!
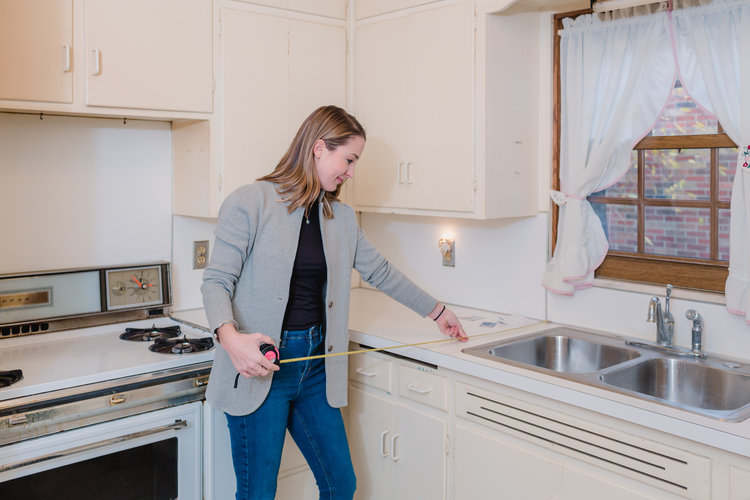
Kitchen Layout Before
The kitchen was in the middle of the house and extremely tiny.
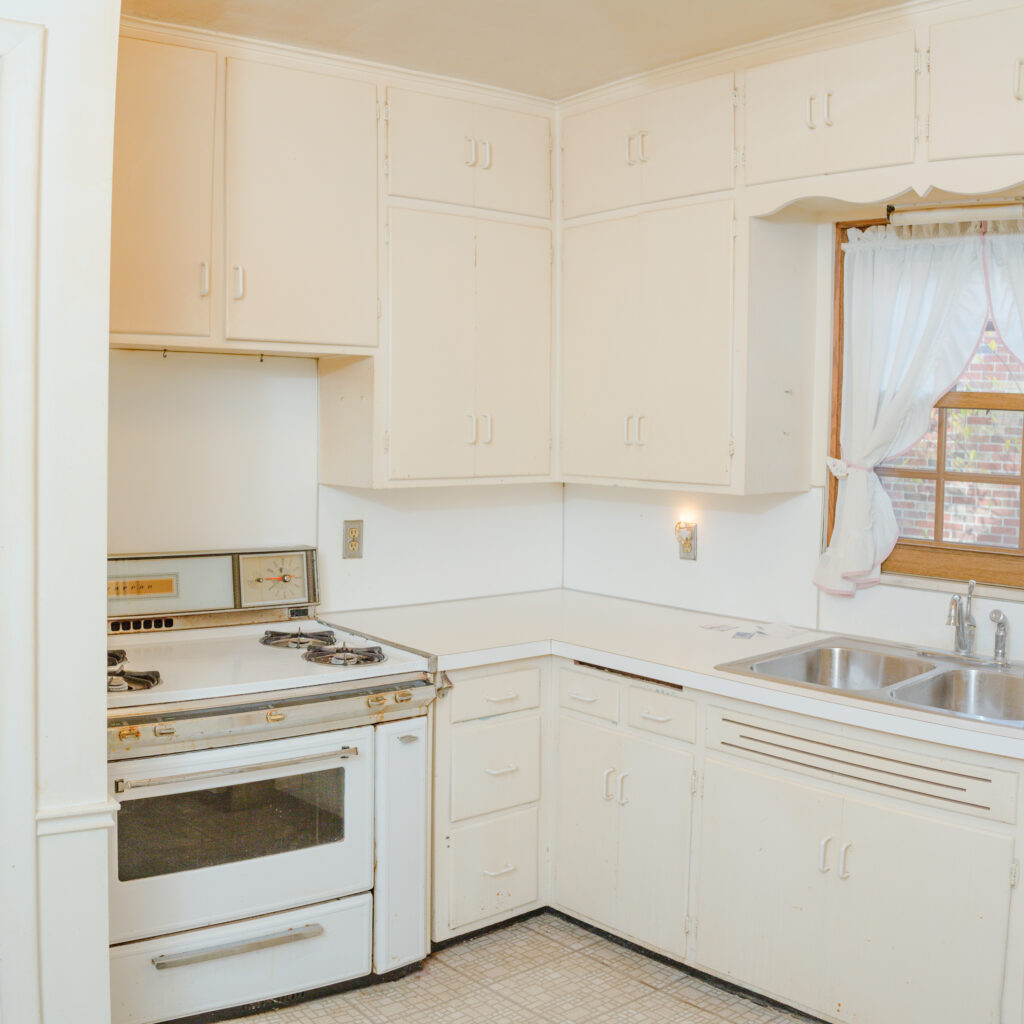

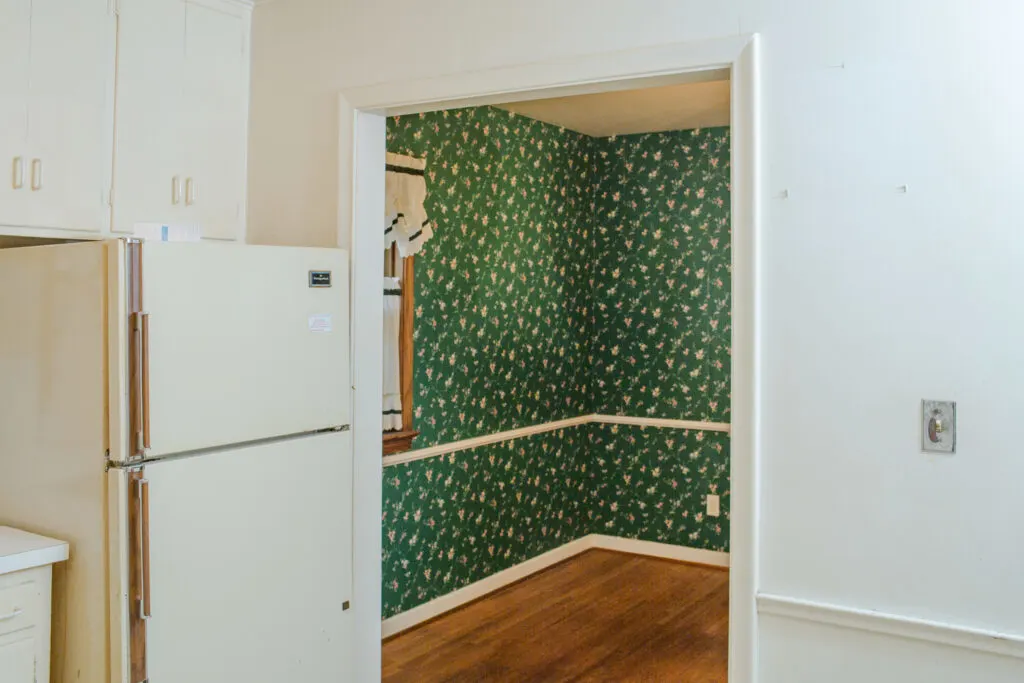
There was a large dining room next to the kitchen and it was clear that these two rooms should be combined.

Check out all of the Drummond flip house before photos here.
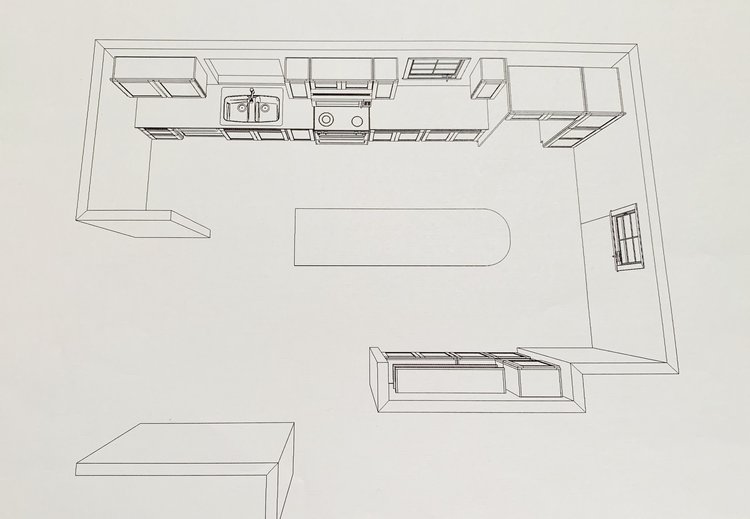
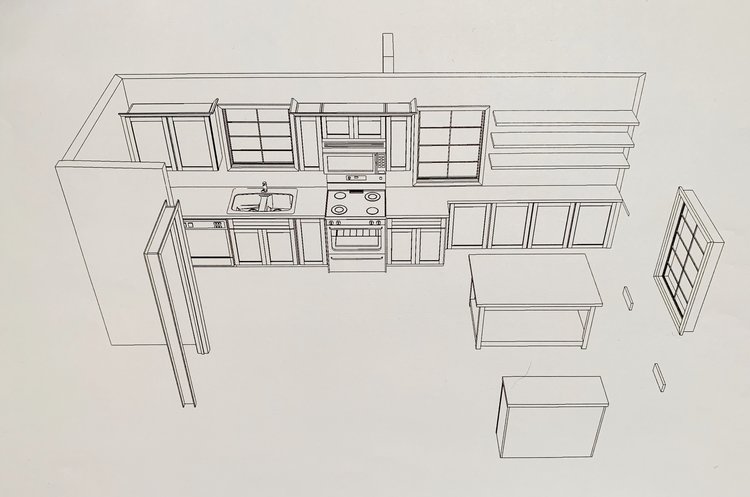
Option 1: The Kitchen Island
This was the first design option we created and were really excited about. Once we started digging into the details of this design, we discovered some challenges.
PRO’S:
- Kitchen island – Chris and I love kitchen islands and were excited to add one to the flip house
- Modern design – We planned on building a kitchen table/eating area in the island and felt this was a functional design for the modern family
- Coffee/wine bar – the right side of the kitchen has a great coffee/wine bar with open shelving. Again, this fit really well with designing for the modern family
- Plumbing – This design option kept the sink in the same place which helped with the budget by not having to move it to another location
CONS:
- “Camper Kitchen” – we were entering “camper kitchen” territory because the walkways were not the standard width that is ideal for a kitchen. With the eating area being in the island, I really didn’t like the idea of people squeezing around each other to grab seconds at dinner time or walking to the fridge
- Missing “triangle” – If you have ever designed a kitchen, the triangle is the ideal placement for the sink, stove and fridge. If the placement of these three work stations form a triangle, your kitchen is very functional. The galley kitchen had all appliances on one wall and a tight walkway
- Support beam – If we went with this design we would need to bury the support beam in the ceiling which takes more time and money.
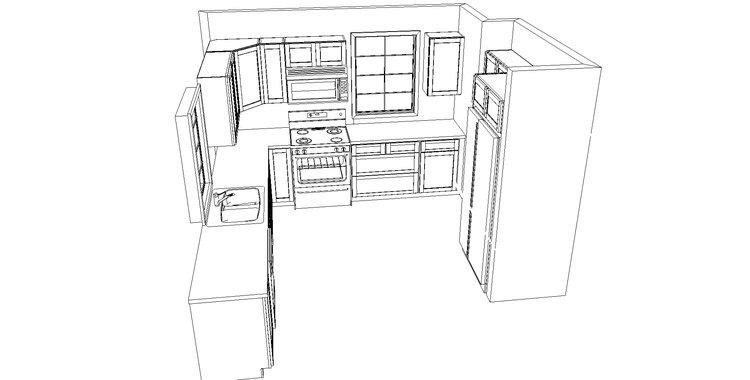
Option 2: The Kitchen Table
I spoke with friends/family about the design options and a few really wanted a kitchen table instead of an island. We did our best to try and accommodate the table request and could not get a layout that worked. The refrigerator is on the opposite side of the galley kitchen towards the bottom of the page.
PRO’S:
- Triangle – This layout gave us the functional triangle with the kitchen work stations
- Table – There would be a kitchen table to accommodate buyers who preferred a table over island seating
- Support beam – This design option would allow for us to install the support beam below the ceiling (and not flush with the ceiling) which saved on time and money
- Plumbing – Sink plumbing could remain intact and save on budget
CON’S:
- Design – Honestly, I just wasn’t sold on the table in the middle of the room
- Decreased counter space – In order to accommodate this design we had to install cabinets that were not as deep around the table to allow for the chairs to be pushed in and out
Option 3: The Breakfast Nook
It took us a while to figure out this design but we finally found a WINNER! One of the reasons this design concept took so long to come up with was because I was fighting the idea of moving the plumbing. Once I let go of the idea that the sink had to stay in the same spot, the possibilities with the kitchen layout increased dramatically.
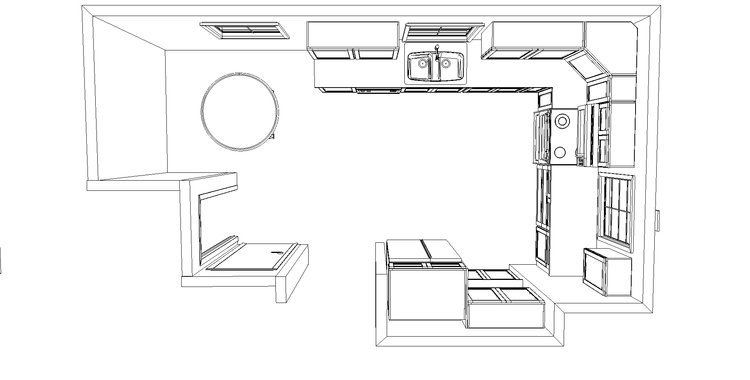
PRO’S:
- Kitchen Table – Not only did we get a table in the kitchen, but we designed it in a spot that just made sense! I love a good breakfast nook and this space is perfect
- Triangle – We have the coveted kitchen triangle for peak functionality!
- Support beam – We could add the support beam below the ceiling to save on our budget
CONS:
- Plumbing – We had to move the plumbing for the sink which was more expensive than keeping it in the same place
This kitchen is tripling in size and is gaining 10x in functionality for the next owners of this home. I want this kitchen to feel light, bright and modern for the new homeowners and I think my design accomplishes this goal.
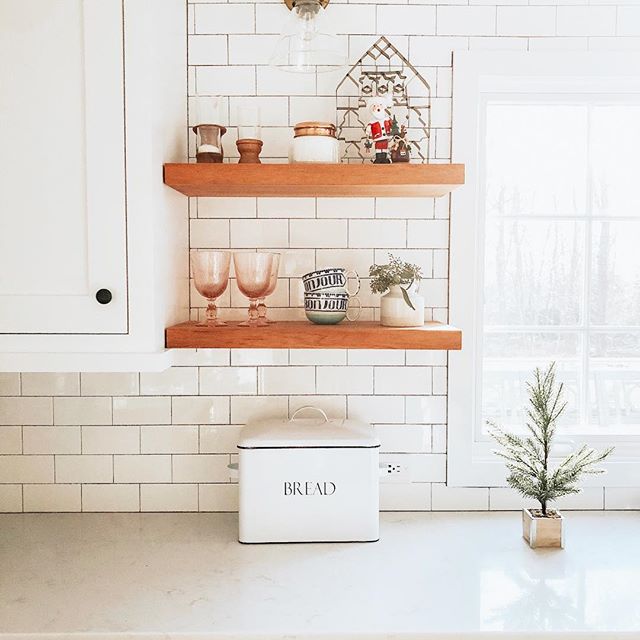
Here is an inspo pic from PureJoyHome that shows similar elements I want to incorporate into my Drummond Flip House kitchen design. Isn’t it beautiful?
For this kitchen, I worked closely with the Home Depot team and they were fantastic. Here are some of the design details we chose:
- Cabinets – White Shaker Woodmark cabinets from Home Depot
- Countertop – Quartz countertops in a light color
- Cabinet Knobs – Brushed brass knobs
- Floors – High quality laminate wood floors throughout the entire first floor from Home Depot
- Shelving – Floating wood shelves to the left of the sink
- Backsplash – White subway tile
- Appliances – Stainless steel from Home Depot
- Breakfast Nook – Shiplap around the breakfast nook
- Lighting – Recessed lighting with a pendant over the table and sink (TBD on the pendant options)
- Paint color – White
How pumped are you to see the finished product of this awesome kitchen?! I can’t wait!