
Last Updated on September 23, 2019 by lindseymahoney
Today I am so excited to share how my friend created a photography studio in her basement. Sarah is a small business owner (Sarah Renee Photography) and also a crafty DIYer who transformed her basement into a fabulous photography studio. She wanted a space that was functional for photo shoots but also comfortable for families who spent a few hours there for newborn shoots.
Photography Studio Project List
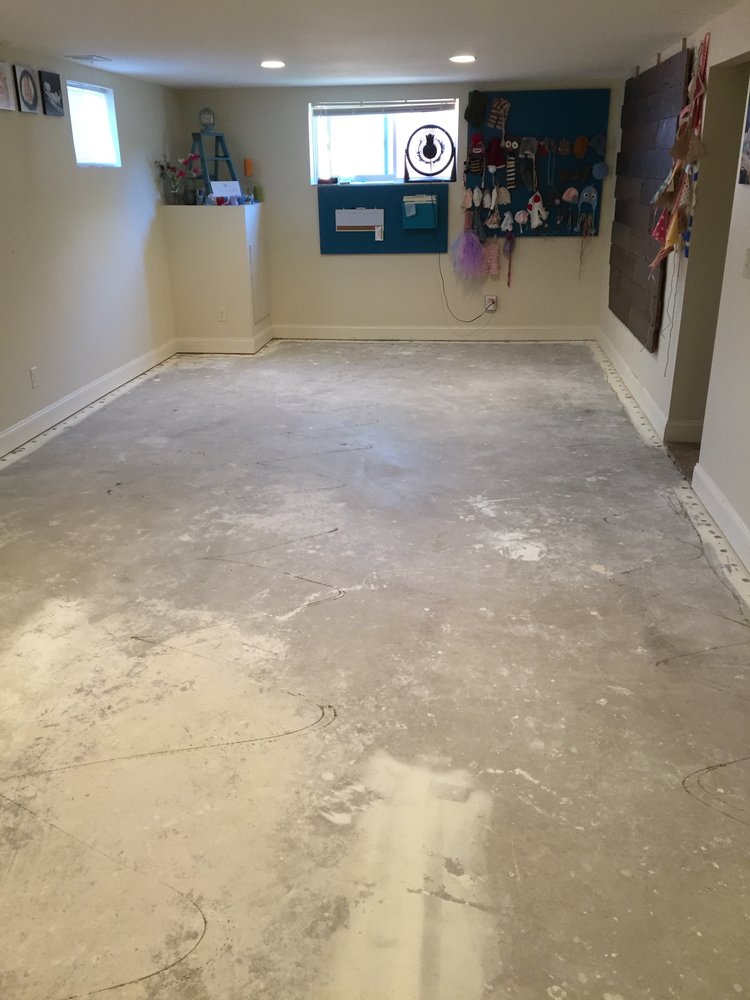
- Install Wood Floors & Remove Carpet: Newborn babies often pee/poop during shoots, so hardwood floors are preferred for easy cleaning!
- DIY Wood Backdrop: This would span the floor to the ceiling and included a wood platform
- DIY Partition: Separate sitting area from shooting area
- Storage for props
- Office space for photo editing
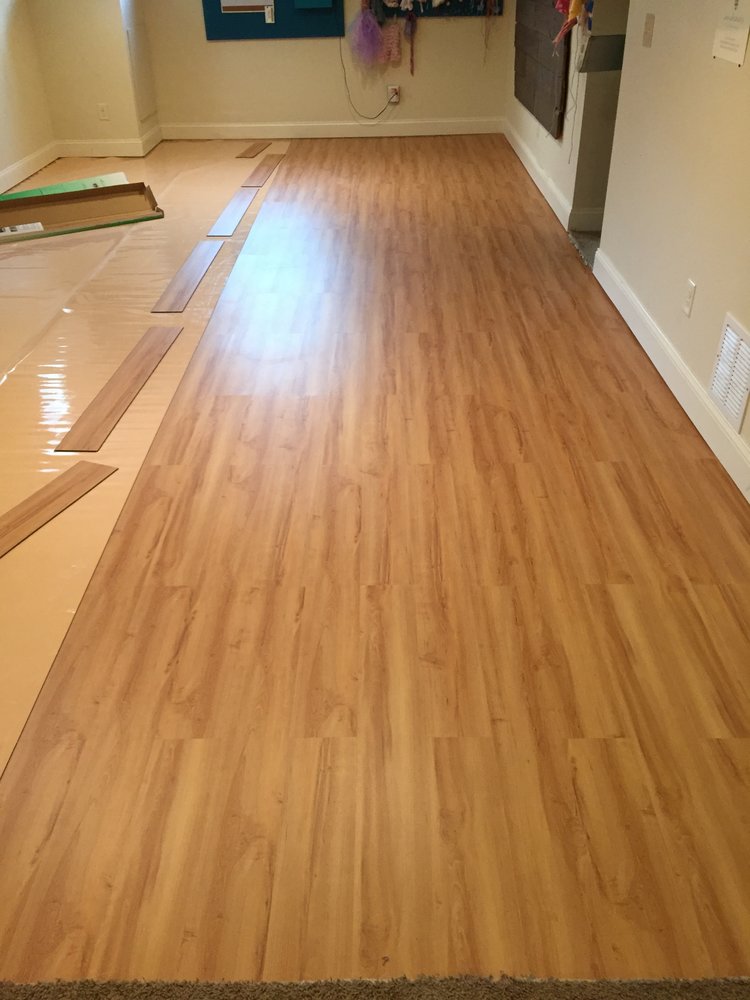
Laminate Floor Installation
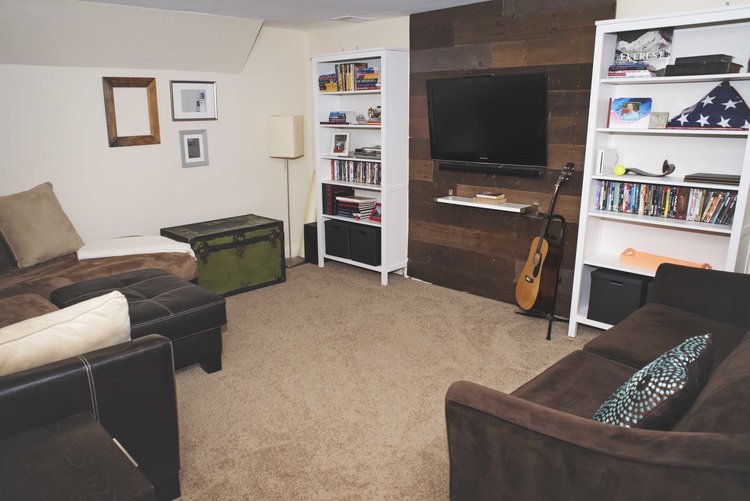
Here is Sarah’s studio. The space was no longer working for her and she wanted a larger backdrop for photographing kids and families.
Sarah and her husband installed the laminate floors in a weekend.
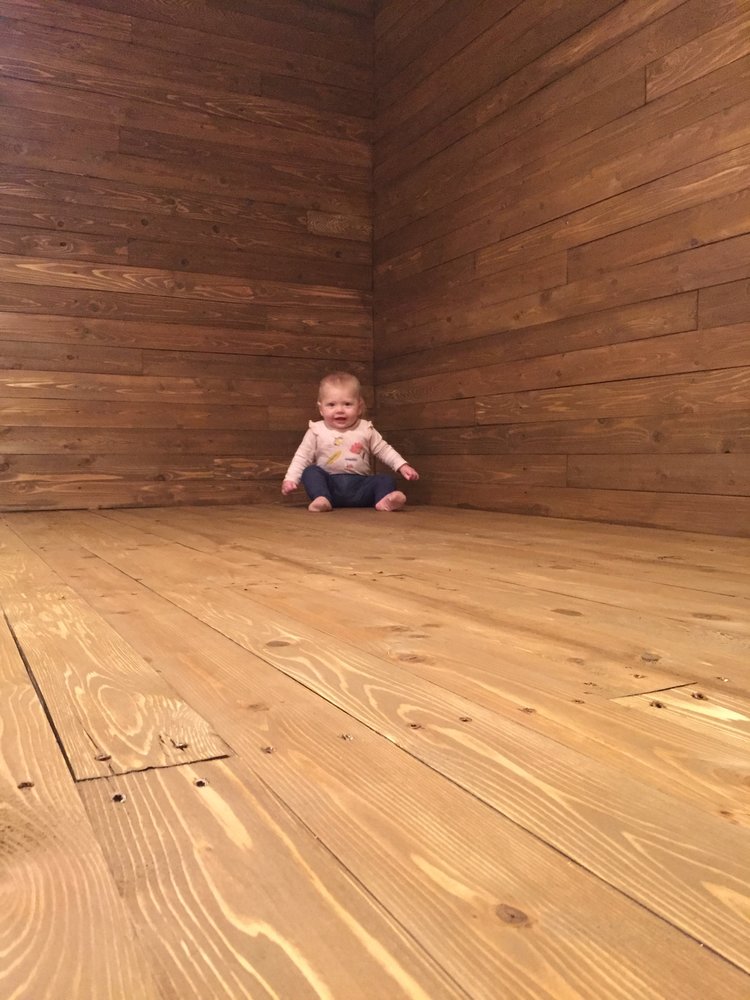
DIY Rustic Wood Wall
Once the floors were installed, Bryan got to work building the wood backdrop. The installation was pretty simple and could definitely be applied if you want to create a wood accent wall in your home. First, Bryan attached 1×3 pieces of wood vertically into the studs. He then attached 1×4 cedar planks horizontally to the vertical strips to create the wood wall. For the platform, he used 2×4’s to create the frame (and added felt pads to the bottom to prevent scratches on the floor) and then attached the cedar planks in the same manner as the walls. They then applied a dark stain for a warmer look.
The DIY shiplap walls was the perfect backdrop for so many photo shoots in her new studio space.
DIY Tongue & Groove Wall Partition
The next DIY project on the list was to create the partition wall between the studio space and the sitting area. Bryan took two 2×4’s and sandwiched them together on both sides of the wall, used pipes on the top and bottom and attached them to the ceiling and floor with flanges. Once these two posts were built, they used tongue and groove planks to build both sides of the wall and finished the ends off with 2×3’s so you could not see in between the wall.
How amazing does this wall look painted & decorated?!

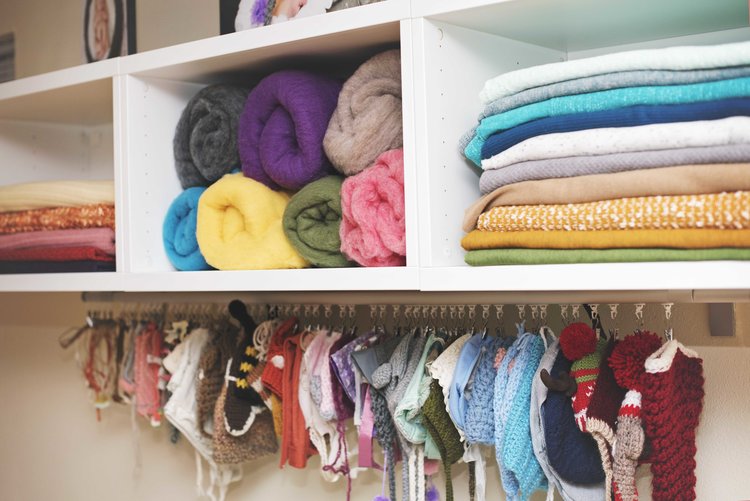
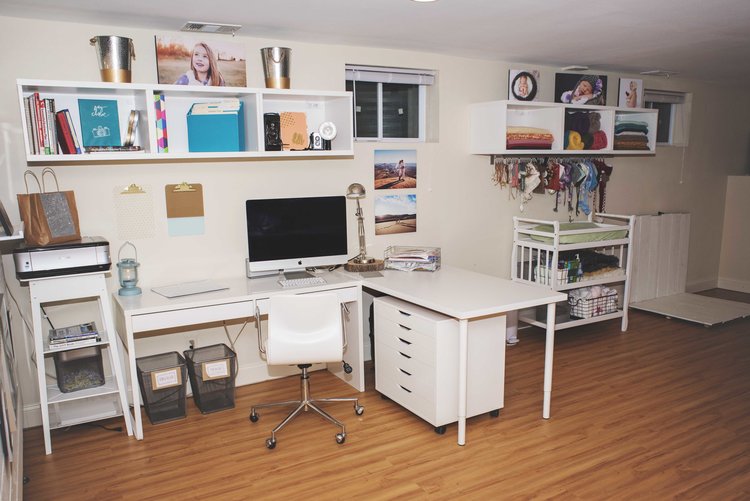
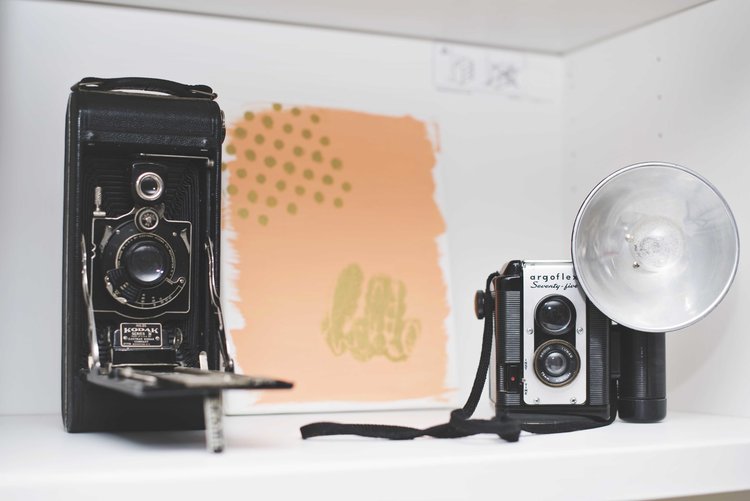
Storage for Photography Props
Sarah uses her basement studio for baby, children & family photo shoots. She has insanely cute wraps, hats & other fun props that she wanted at her fingertips during her photo shoots. She found almost all of her storage solutions at IKEA.
Sarah added shelving to hold her fabrics & stores all hats & headbands with IKEA clips below. Not only is this great storage, it also looks pretty!
All of the swaddle wraps used during shoots are out on display next to the wood plank wall. I love the variety of colors!
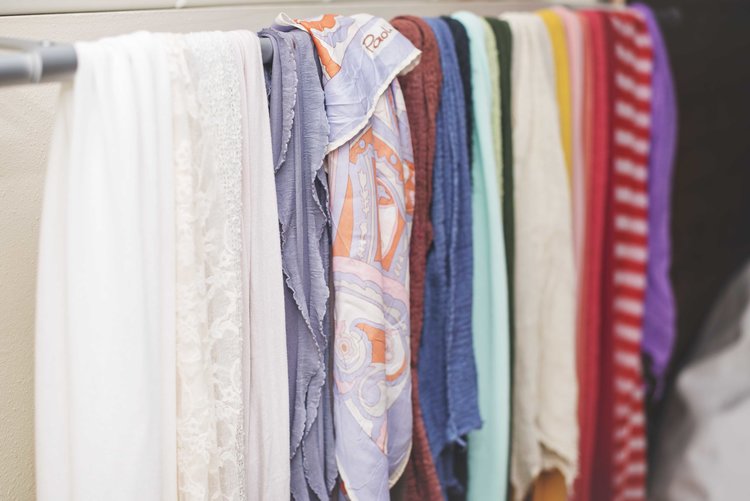
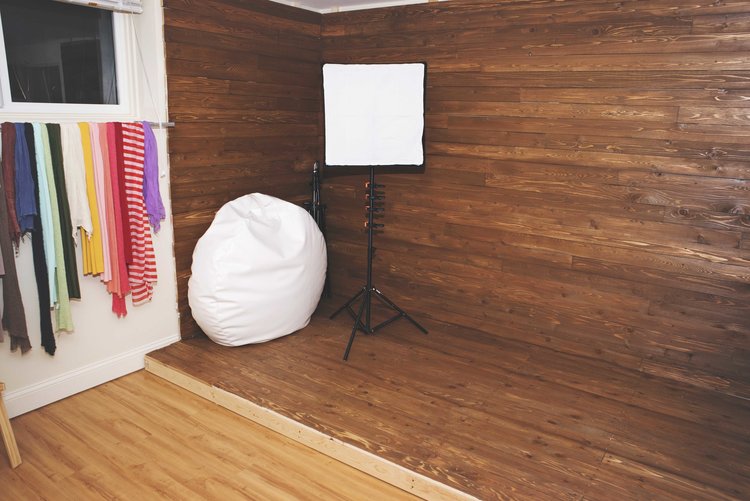
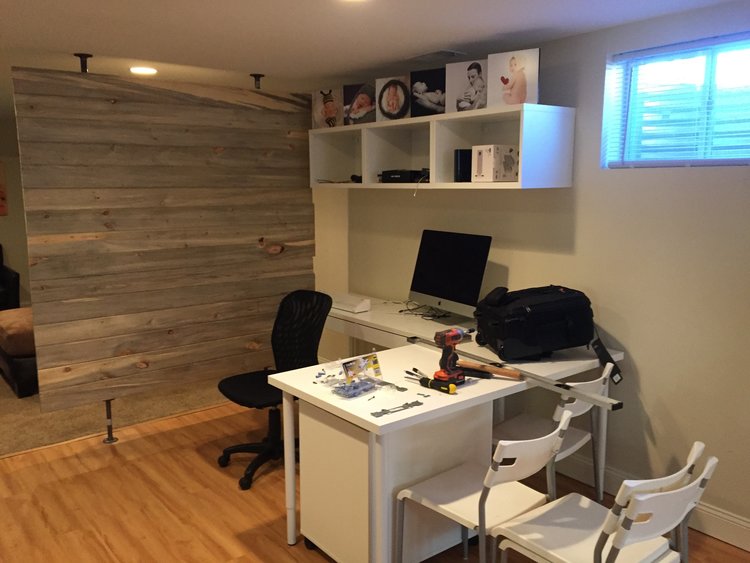
Photo Editing Space
Sarah created an L-shaped desk to maximize her working space! Not only is this office functional but I find it super inspirational.
Photography Studio Finished Product
Isn’t the full space beautiful!?

Sarah created a gallery wall of her work and a table where she can serve refreshment to her clients.
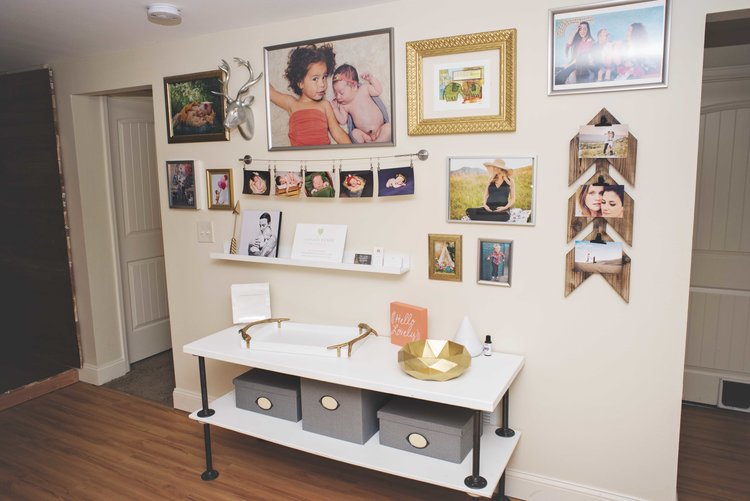
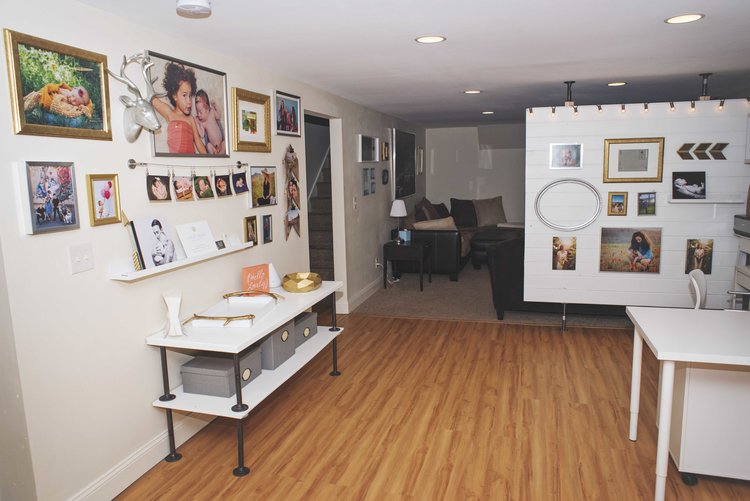
The sitting area for clients is a great area to get comfortable while the newborn photo shoot is going on.
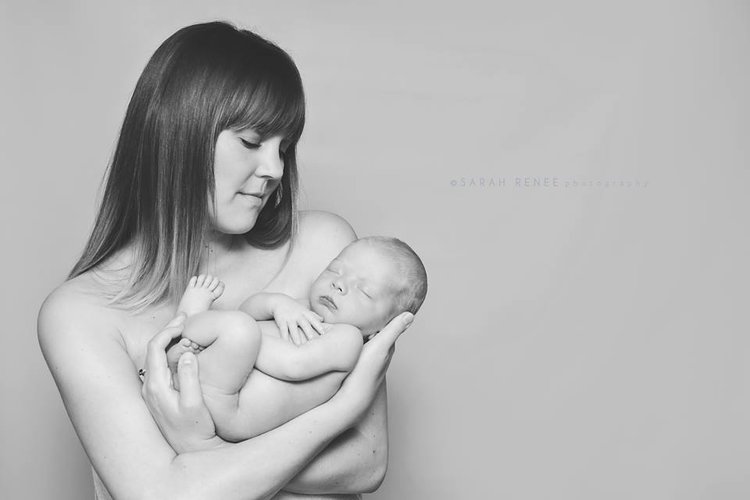
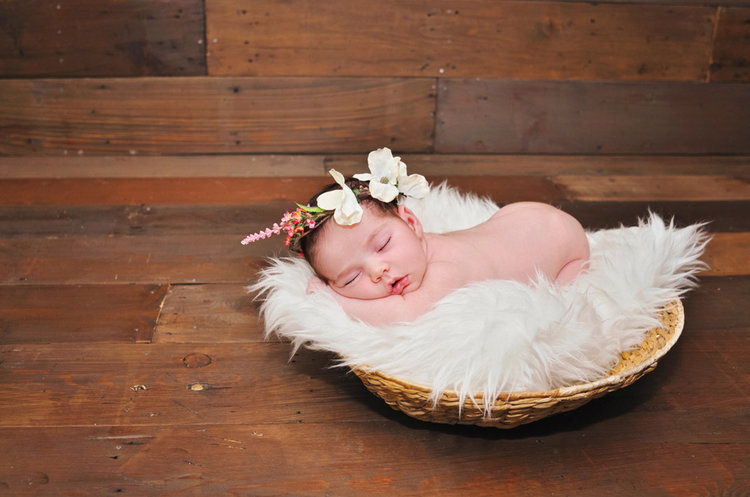
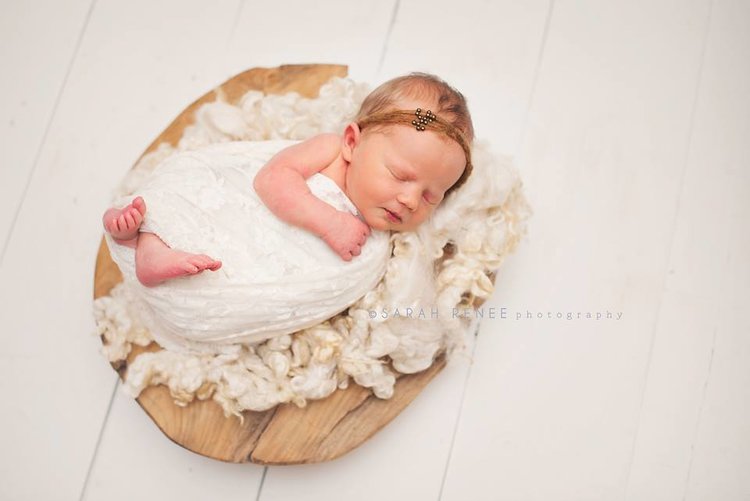
Photography Images from the Studio
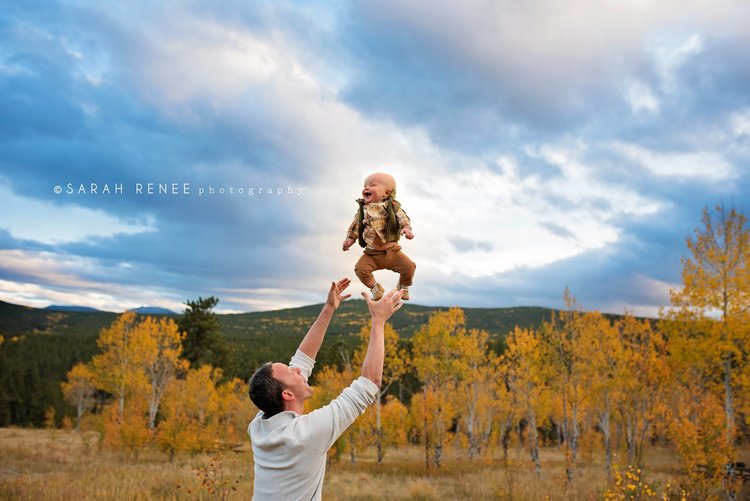
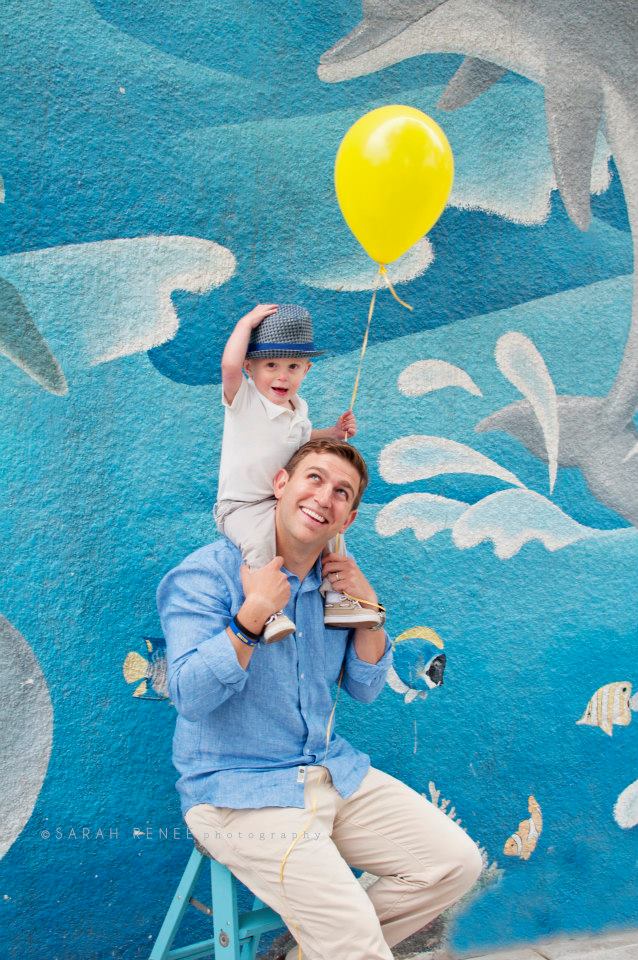
Today I talked about Sarah’s studio for indoor shots, but she also does insane outdoor photo shoots. She has an eye for finding beautiful outdoor spaces to snap the perfect photo you will want to display for years to come. If you are looking for a photographer, I would 1000% recommend Sarah! Check out her website here for more information.
Studio Shots
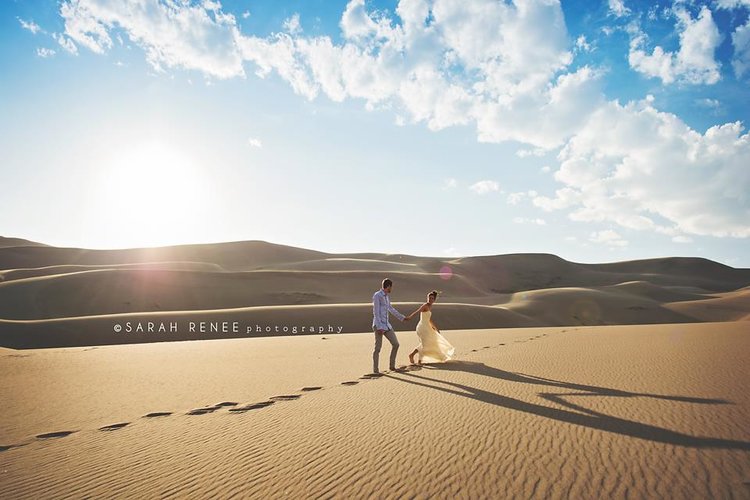
Outdoor Shots
I honestly get chills when I look at some of the amazing images Sarah has captured.

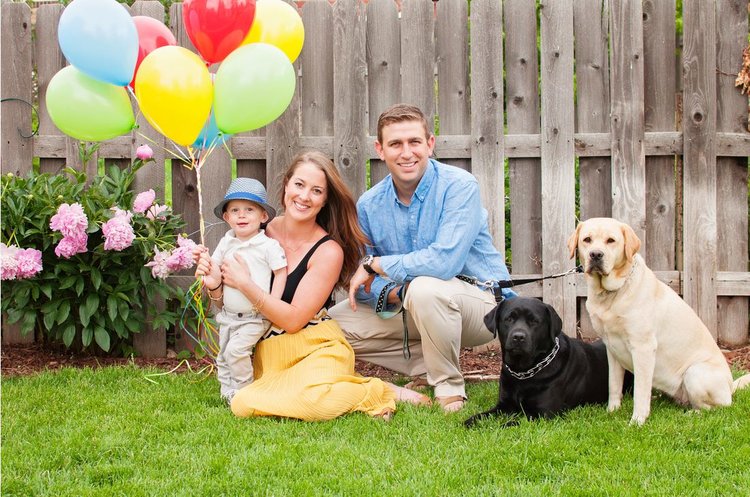
Our Family Photo Shoots with Sarah
OK, anyone who can capture a photo like this with a wild toddler and two dogs is a miracle worker.
I hope this tour of Sarah’s photography studio inspires you to create a functional workspace in your home!