
Last Updated on January 12, 2021 by lindseymahoney
Today I am excited to show you how to color block a piece of art for your home! This DIY is great for artwork that is usually passed over at a thrift store or collecting dust in your attic. This color blocking trend has been popping up on my Instagram feed and Pinterest for months now and I love the look.

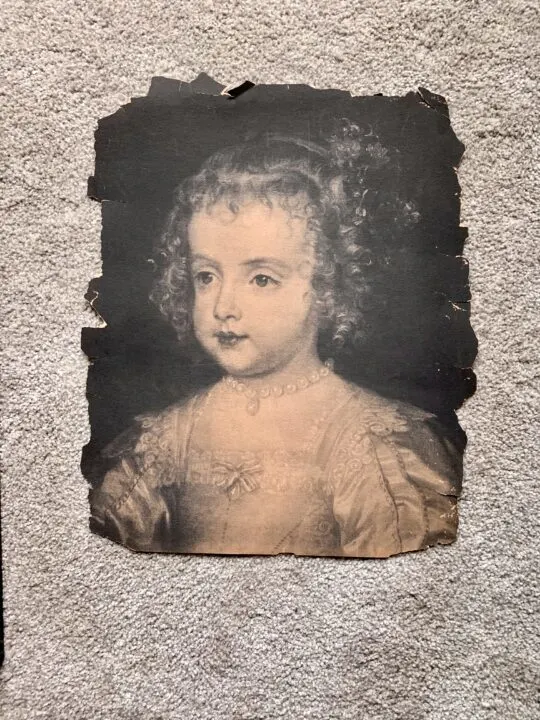
Over the last few months, I have been searching for the perfect work of art that I felt ok with painting over. It couldn’t be too expensive and I really wanted to find a fun portrait. After searching at thrift stores & online, I attended a local estate sale and found a lithograph of a little girl for only $0.50. The size was just right and I knew it would be the perfect image to try out this quick and easy DIY project.

How to Color Block Dated Artwork
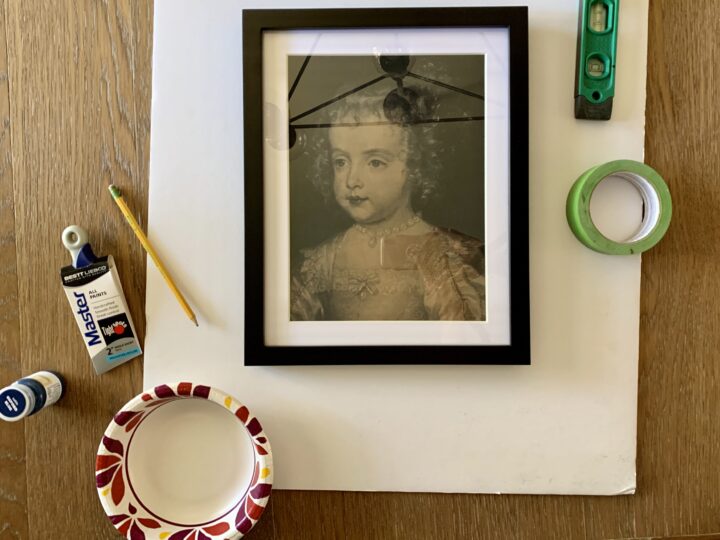
Materials You Will Need:
- Artwork (I found mine using the estatesale.net app)
- The frame (this may already come with the artwork)
- Level (long enough to stretch across the frame)
- Pencil
- FrogTape
- Credit Card (or membership card)
- Paint (I chose a navy blue acrylic craft paint from Target – I cannot locate it online)
- Paintbrush

Step 1 | Choose Your Artwork
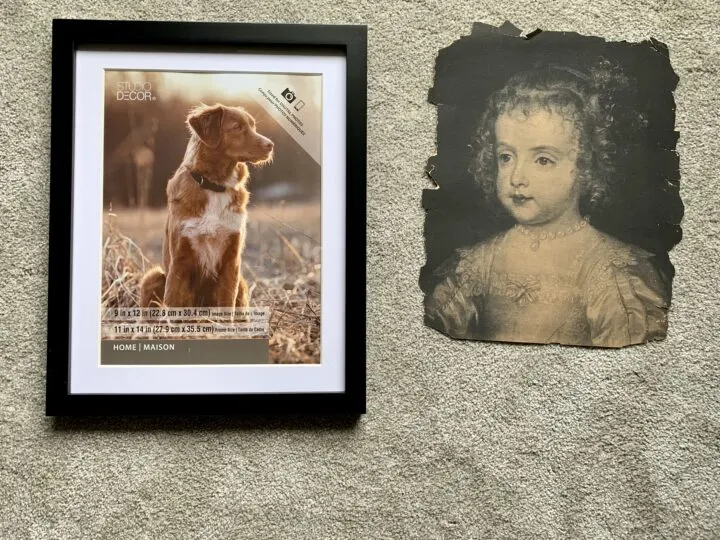
This project can be complete on any frame so you can choose whatever artwork you want. I was most intrigued by portraits with this technique with their eyes peeking out over the paint. I found my print and then went to Michael’s to find a frame. Luckily, there was a BOGO on frames and I was able to get this one for free since I needed another one for a separate project. For the frame, I chose one with a white matting included and a simple, thin, black frame. Because the print looked vintage, I wanted to give it a more modern look with a simple frame.

Step 2 | Choose Your Paint Color
If you have a spot in your house where you plan to display the artwork, I would consider a color that is cohesive to that space. For me, I chose our living room. This space has white walls with blue accents. I chose a navy paint color to compliment the colors already present in the room.
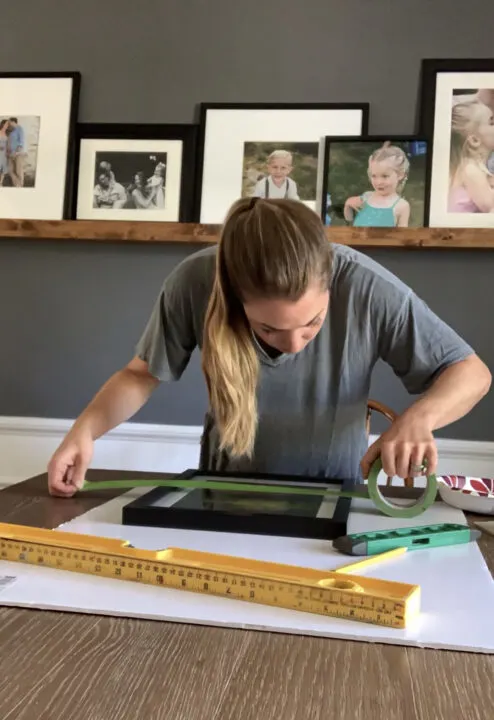
Step 3 | Mark Your Line & Tape
I used a longer level to mark the frame where I wanted the color block to begin. I held the frame upright and used a pencil to mark each side of the frame once my level was straight.


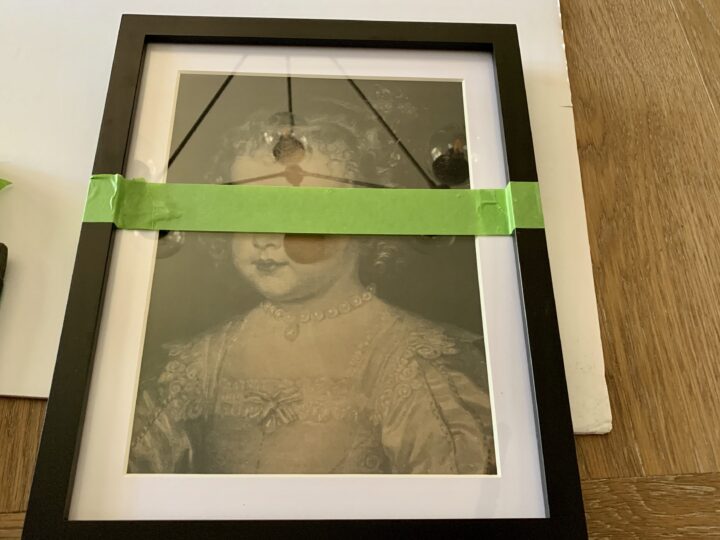
Once the edges were marked, I taped the black frame above the line since I planned to paint everything below. Once the frame was taped I used a smaller level to help get the tape straight on the glass.

Finally, I used a credit card to press the tape firmly to the glass and frame. This prevents the paint from bleeding and achieves a crisp, straight line.

Step 4 | Paint the Color Block
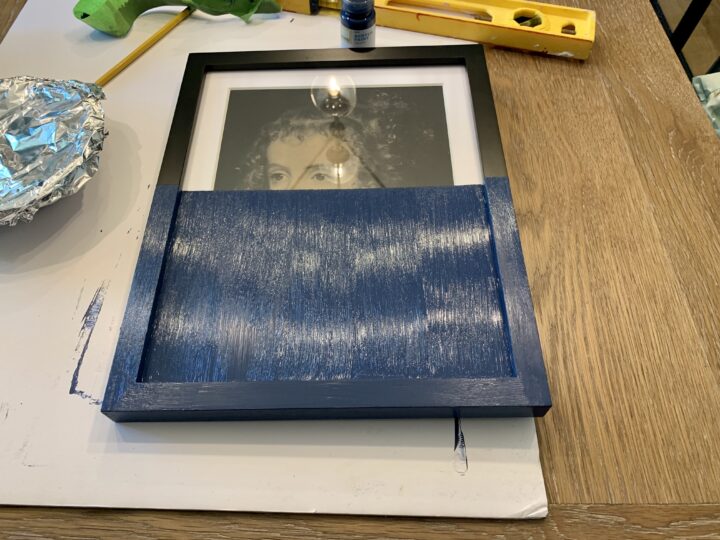
I poured my acrylic paint into a paper bowl for easy access. Then, I used my paintbrush to apply to the bottom of the frame.

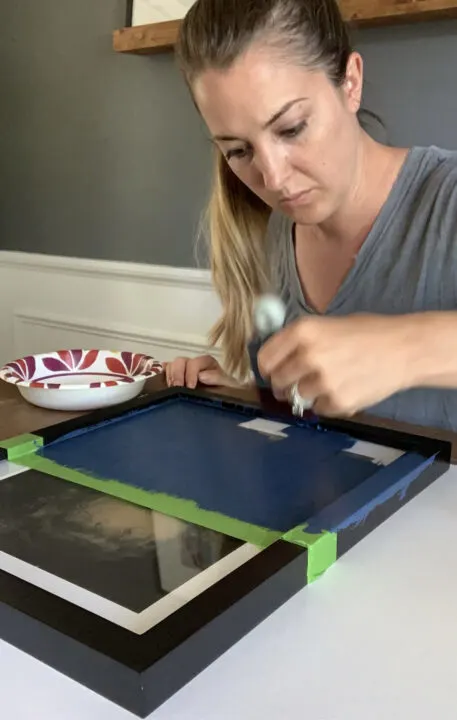
Make sure to paint the entire lower part of the picture, including the sides of the frame.

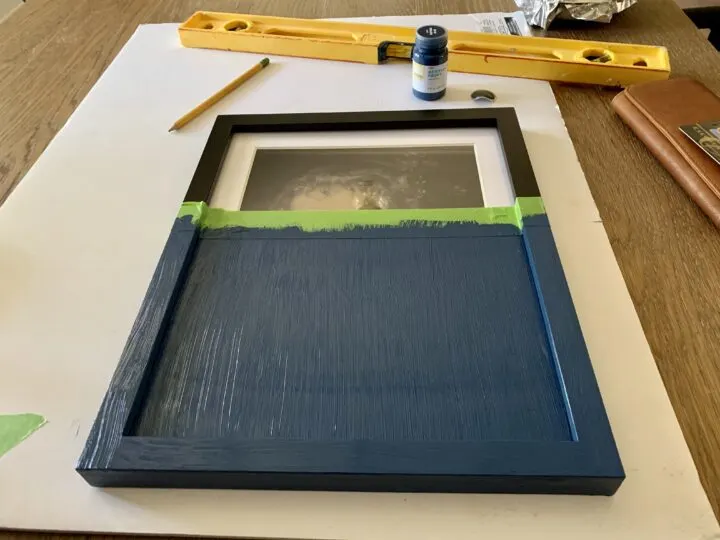
Once the first coat dries, apply a second coat and remove the FrogTape before it dries. This technique makes it much easier to achieve a straight paint line for the color blocking technique.

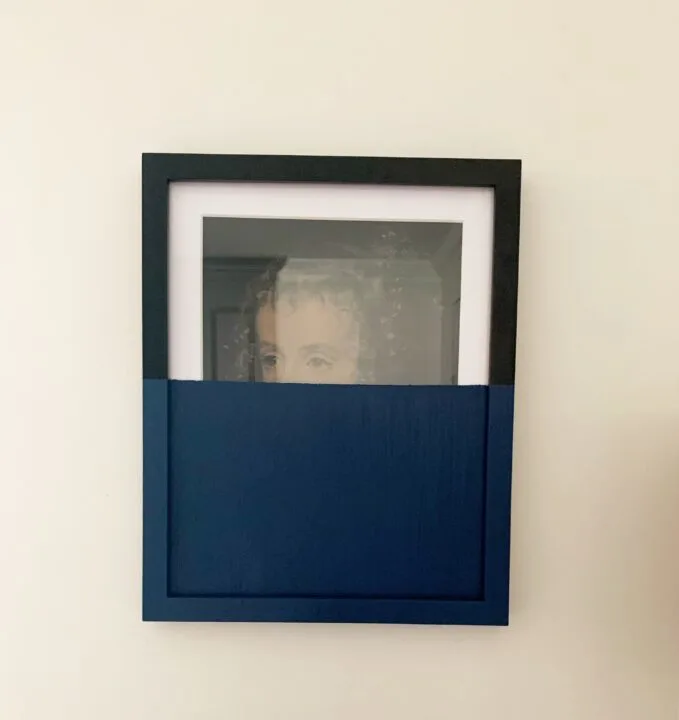
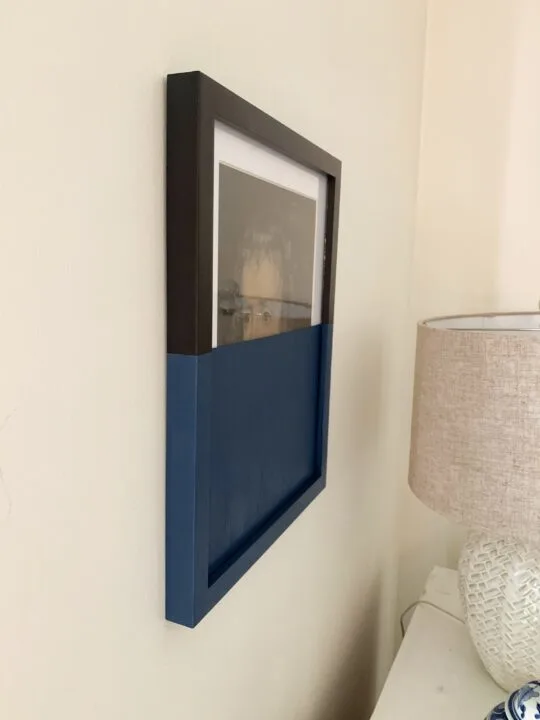
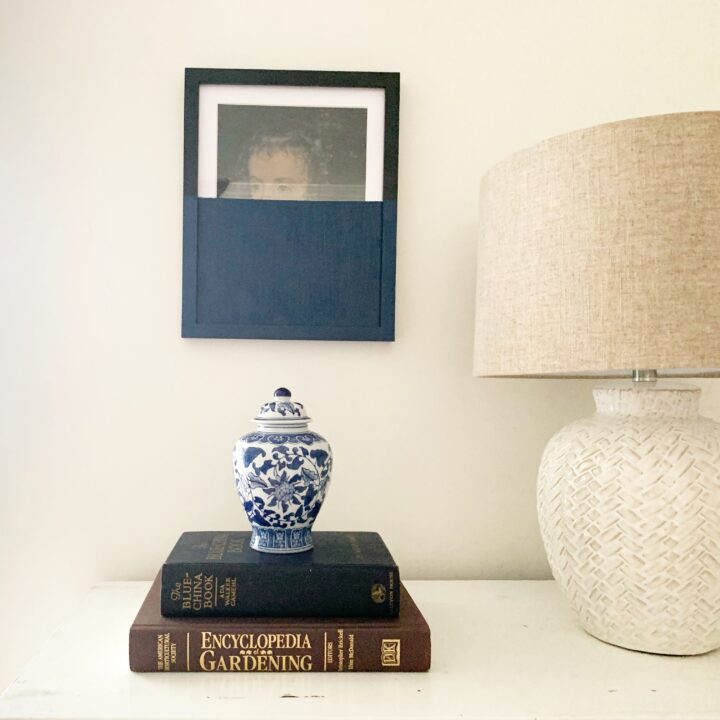
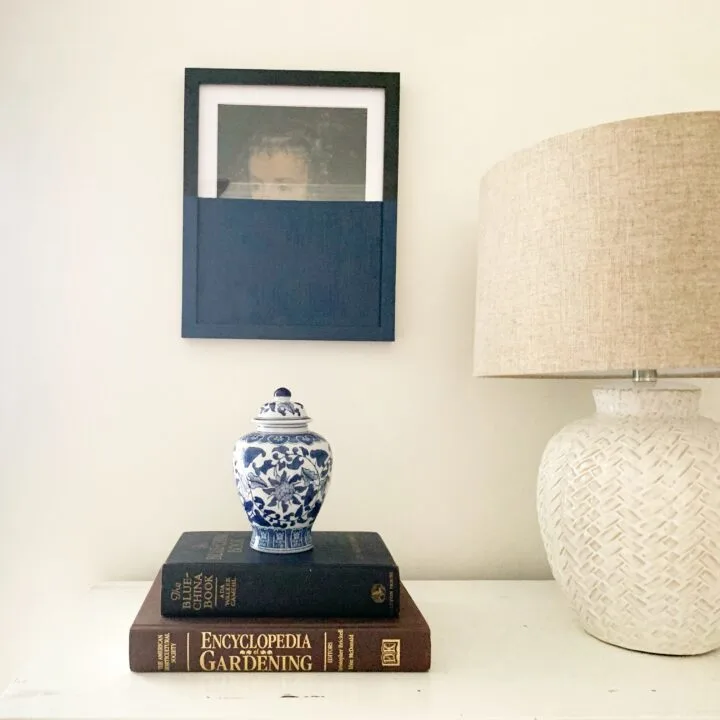
You now have a custom, one of a kind piece of art for your home!
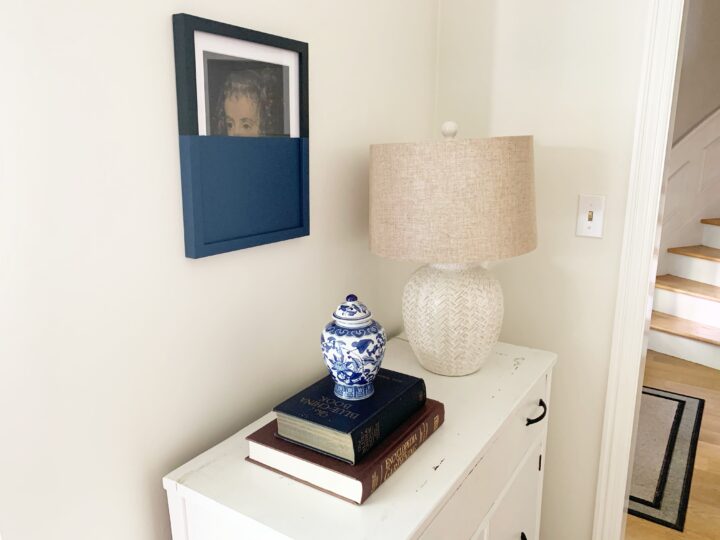
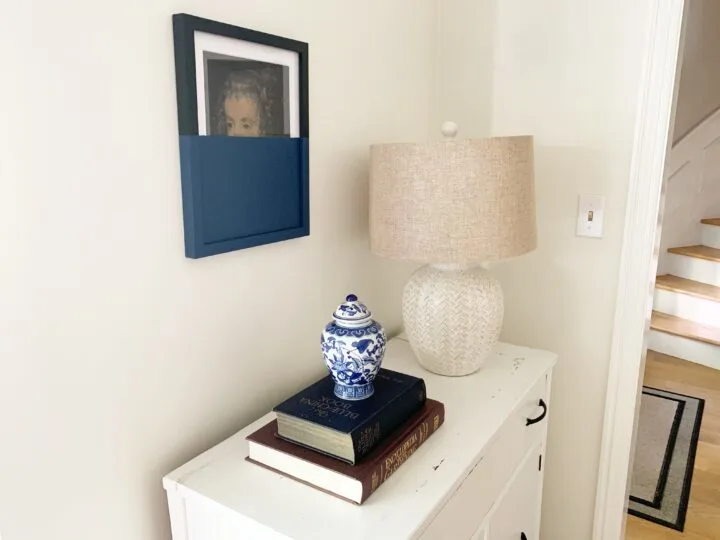
When filling your home with art, I have a few tips that I want to share. First, fill your walls with art and pictures that you love and inspire you, try to avoid filling your walls just to have something there. The second tip is to take some chances and experiment! Artwork can be swapped out and moved, don’t be afraid to make a hole in your wall! This DIY project is definitely not for everyone, but right now, I love the look of it. It could be a quick fad, but I know if I grow tired of it in a year or if I find artwork that perfectly fits in that space, I can always switch it up!

Design is all about experimentation and that’s what makes it fun! I hope this easy DIY encourages you to get out of your comfort zone and fill your walls with artwork that you love.
Want to save this tutorial to reference once you start your next project? I’ve got you covered! Use the pin below to easily find your way back to this tutorial.

