
Last Updated on February 12, 2023 by lindseymahoney
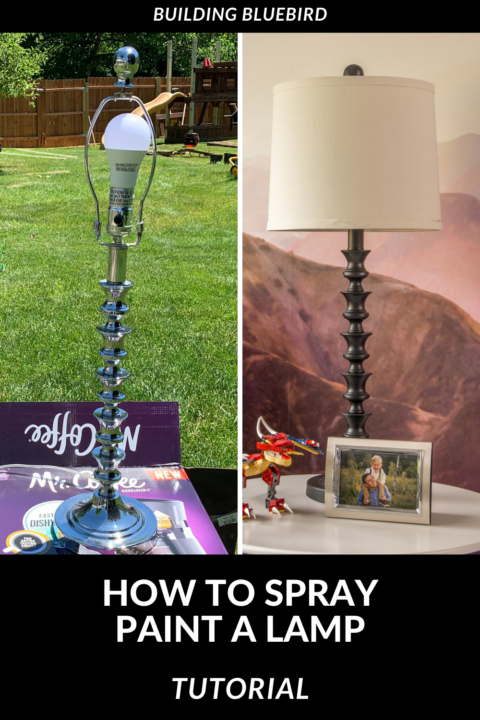
Today I am sharing how to update a lamp base with spray paint.

I love the challenge of updating a space on a budget. Along with saving money, I enjoy finding new ways to use items that I already own.
This is exactly what I did when I needed a lamp for Thomas’ modern bedroom makeover. The original lamp was nice with a chrome finish, but I really wanted a black lamp in the reading nook.
How to Update an Old Lamp with Spray Paint
[Affiliate links are included in this blog post, thanks for supporting Building Bluebird!]
This DIY is so simple and can COMPLETELY change the look of a room.
DIY Painted Lamp Source List:
- Lamp Base to paint
- FrogTape
- Spray paint
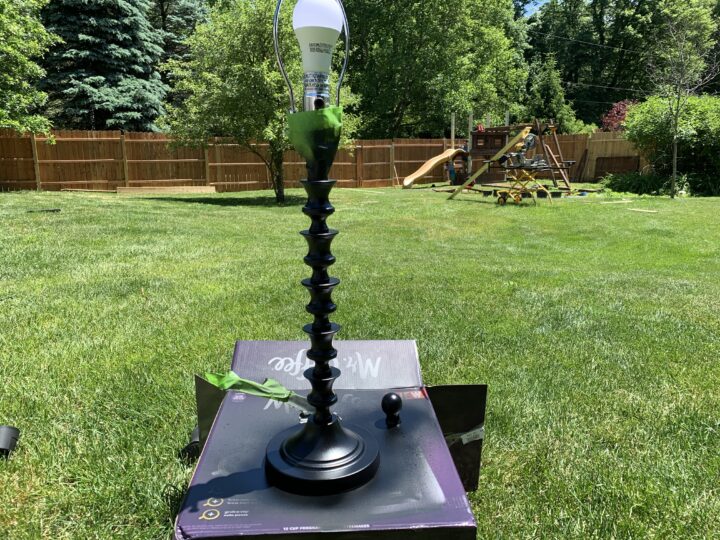
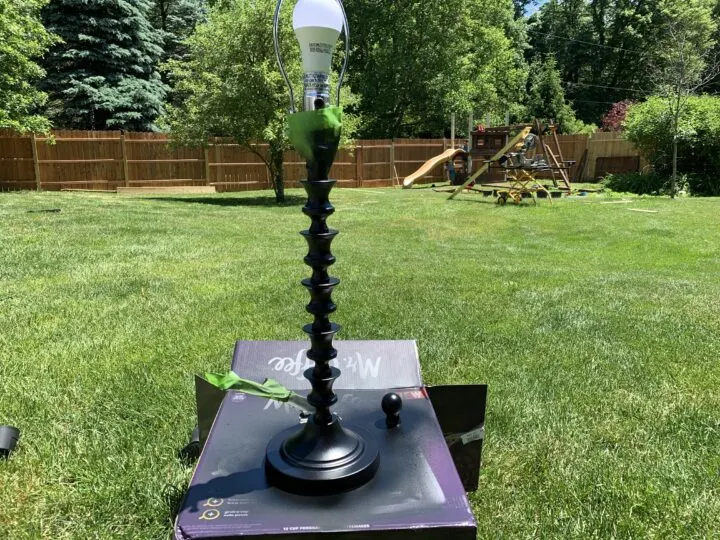
1 | Prep Lamp Base for Paint

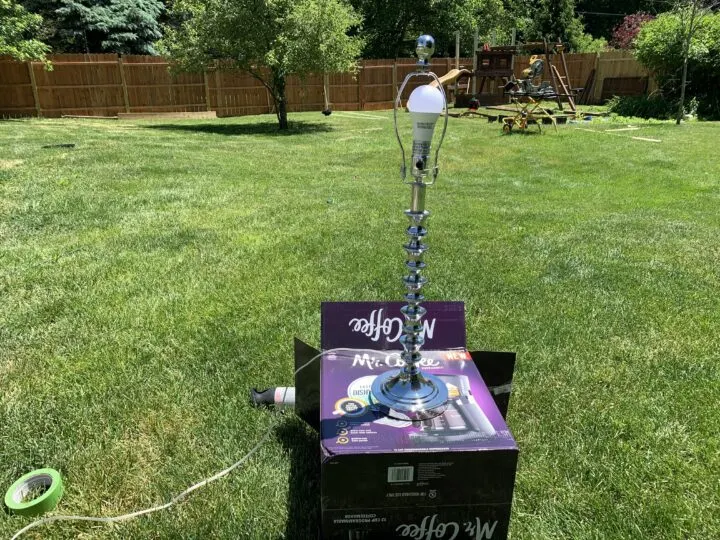
Find a well-ventilated area and set up the lamp on a flat surface. I
chose an old cardboard box outside in my yard. Remove the lampshade and set it in a location that will not get any overspray of the paint. I
f you are painting the screw top, remove it and set it on the cardboard for paint.
2 | Tape the Lamp
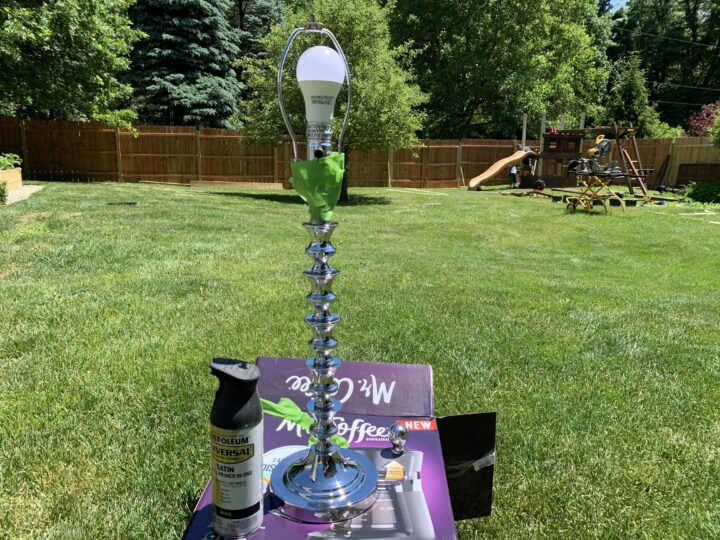
Using FrogTape, tape the cord and top of the base to protect it from paint. Creating clean paint lines will give your lamp a professional look.
3 | Apply Spray Paint in Thin Coats
I used spray paint leftover from previous projects and ended up going with a flat, black sheen.
The flat sheen worked perfectly and I love the finish!
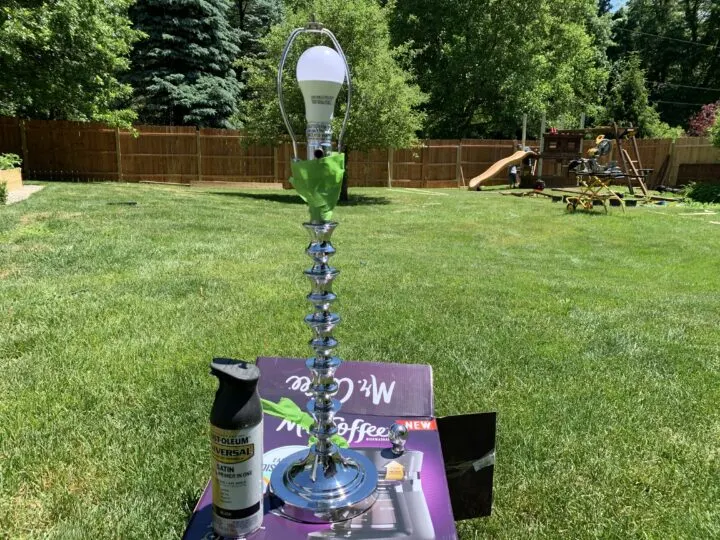
When painting the lamp, don’t spray too close because it can cause the paint to drip. Spray the paint onto the lamp base lightly and allow time to dry before applying a second coat.
For my lamp in particular, I had to be careful to spray all of the grooves and cracks on the base of the lamp.
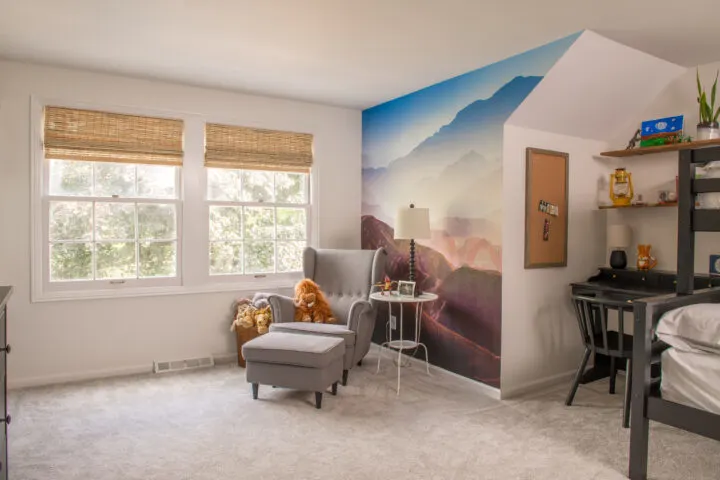
Painted Lamp Base Reveal


Once the lamp dried, I put the lampshade back on and set it up on the side table in the reading nook.

That’s it!

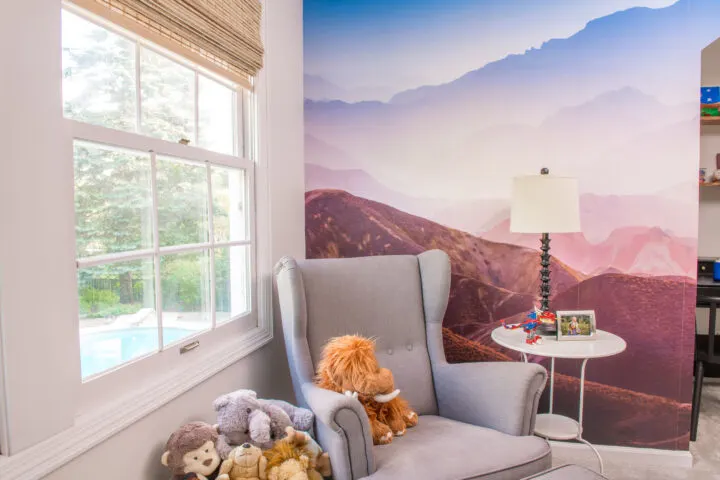
For zero dollars I was able to give an existing lamp a fresh, new look for my little boys modern bedroom makeover!
There are so many ways to create something beautiful without spending money. I hope this zero dollar tutorial has sparked some DIY ideas for you to try at home too!