
Last Updated on April 28, 2025 by lindseymahoney
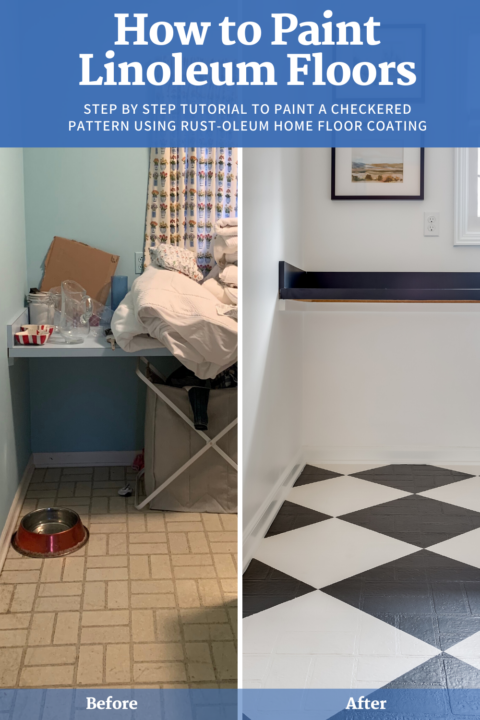
An easy way to freshen up old and dated floors is to paint over linoleum floors yourself! This painted checkerboard floor DIY will take multiple days to complete, but the end result is worth it!

I still can’t get over how amazing the floors in my laundry room turned out.
Table of Contents
- Linoleum Floors Before
- How to Paint Over Linoleum Floors | Easy DIY
- Purchase List to Paint Linoleum Floors
- Step 1 | Clean the Linoleum or Tile Flooring
- Step 2 | Apply Rust-Oleum Base Coat
- Step 3 | Determine the Checkerboard Pattern Size
- Step 4 | Create Your First Square
- Step 5 | Complete the Diamond Pattern
- Step 6 | Tape the Black Squares
- Step 7 | Paint the Black Squares
- Step 8 | Apply Rust-Oleum Matte Sealer
- Step 9 | Let Painted Floors Dry & Cure
- DIY Paintd Linoleum Floor Reveal
- Frequently Asked Questions
- What is the best paint for linoleum floors?
- How long does painted linoleum last?
- Can you paint linoleum or vinyl floors without sanding?
- Does the floor paint scratch over time?
- How much does it cost to paint linoleum floors?
- Can you use any floor cleaner once it is painted?
- More Blog Posts You Will Love

For our checkerboard floors, I chose the black and white paint options, although the Rust-Oleum Home paint product offers many color options. This is a durable paint for linoleum floors and is formulated to hold up to everyday wear and tear.
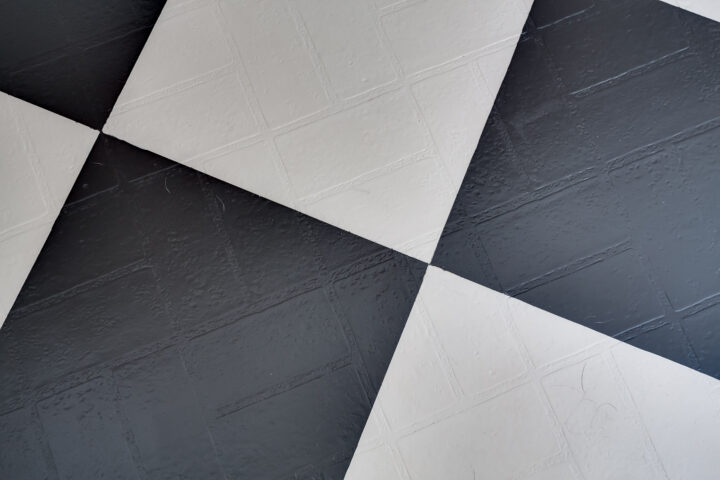
This checkerboard pattern was pretty simple and can be applied to any kind of flooring, including linoleum & vinyl sheets.
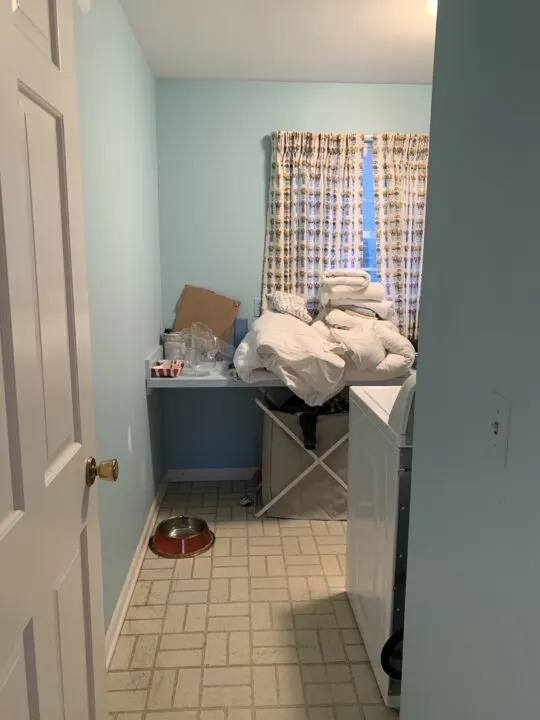
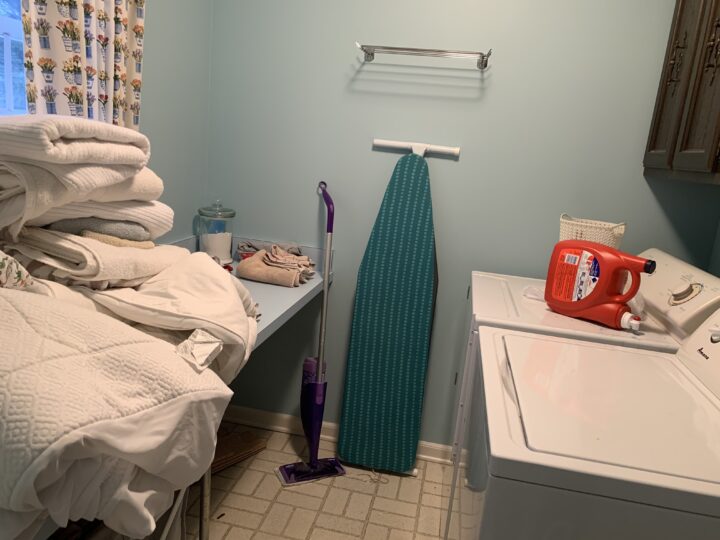
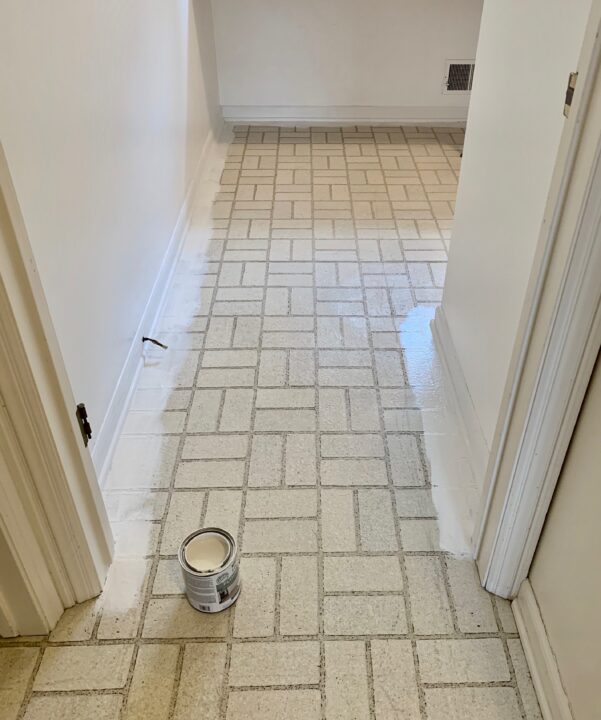
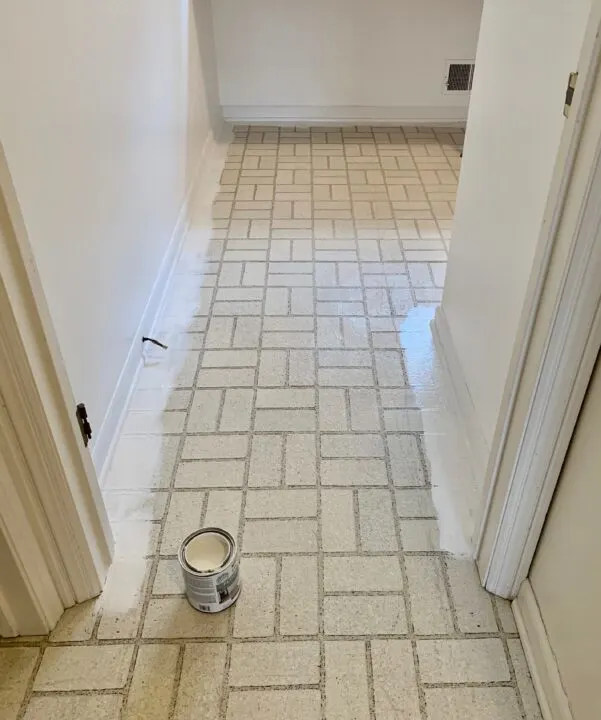
Linoleum Floors Before
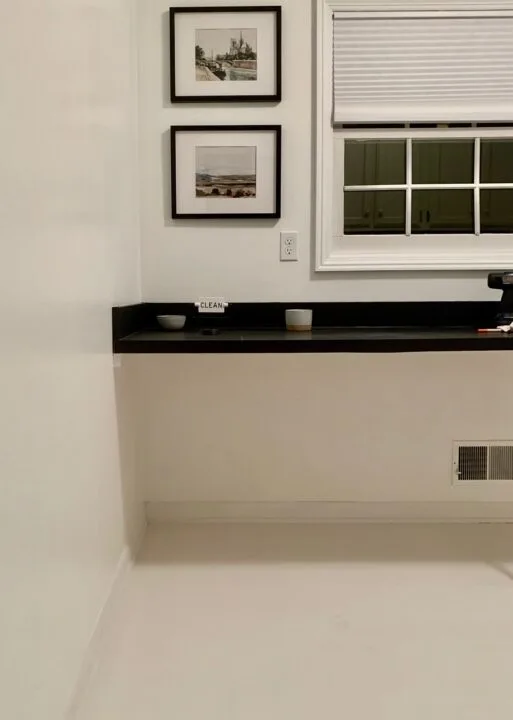
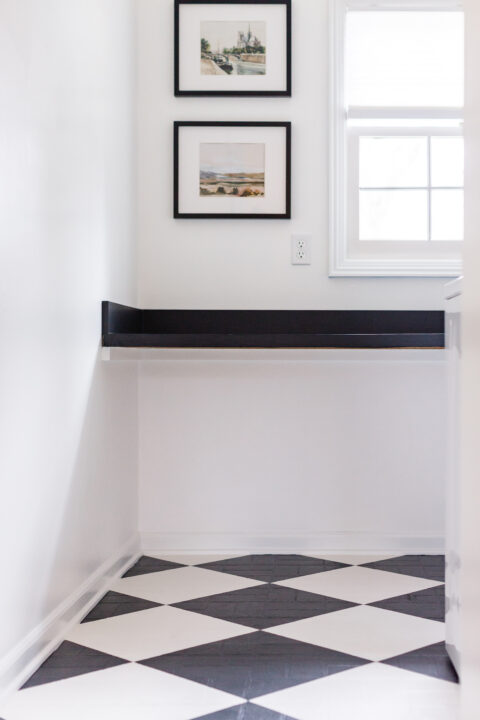
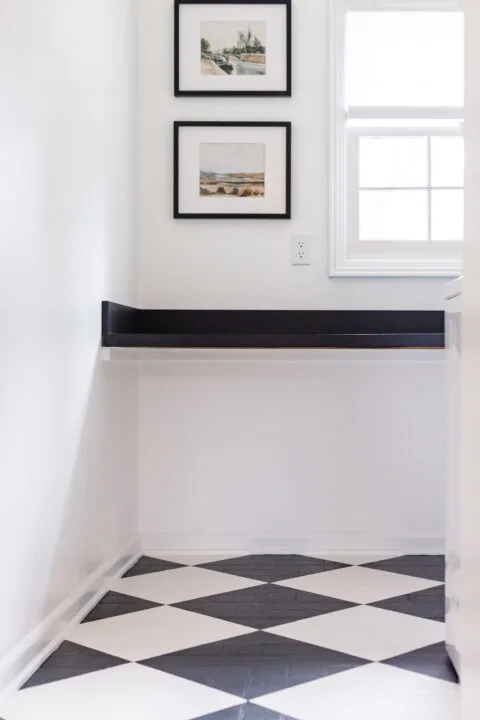
Here is a reminder of what my laundry room floors looked like before the makeover.

They were dirty, yellowed, and very dated. When I was designing the new space, I knew I wanted my laundry room to feel fresh, modern, and clean.

The black and white checkerboard pattern has been popping up in some of my favorite bloggers’ designs and I was excited to create my own DIY version of this look that was more within my price range.

My original laundry room was ROUGH! Whenever I have a space that is completely uninspiring, I find myself neglecting it even more and using it as a dumping ground for common clutter.
This is exactly what happened in our laundry room.
Now that you have seen what my laundry room looked like for the last 8 months, let’s get started with the tutorial so you can see how I turned it all around!
How to Paint Over Linoleum Floors | Easy DIY
*This post is sponsored by Rust-Oleum. All content and opinions are my own.
[Check out the purchase list at the bottom of the tutorial for a link to all of the items needed for this DIY. Affiliate links are used in this blog post, thanks for supporting Building Bluebird!]
Purchase List to Paint Linoleum Floors

- Rust-Oleum HOME – Ultra White Tint Base / Deep Tint Base in Black / Matte Top Coat
- 1/4″ roller sleeve
- Mini roller frame
- Angled paintbrush (I prefer 2″)
- Pencil
- Framing Square
- Delicate Surface FrogTape
- Mold Armor – or any cleaning agent that removes grime
- 3/8″ Roller sleeve
- Wire roller frame
- Extension pole (not required)
- Putty Knife
- Paint tray and tray liners
Step 1 | Clean the Linoleum or Tile Flooring
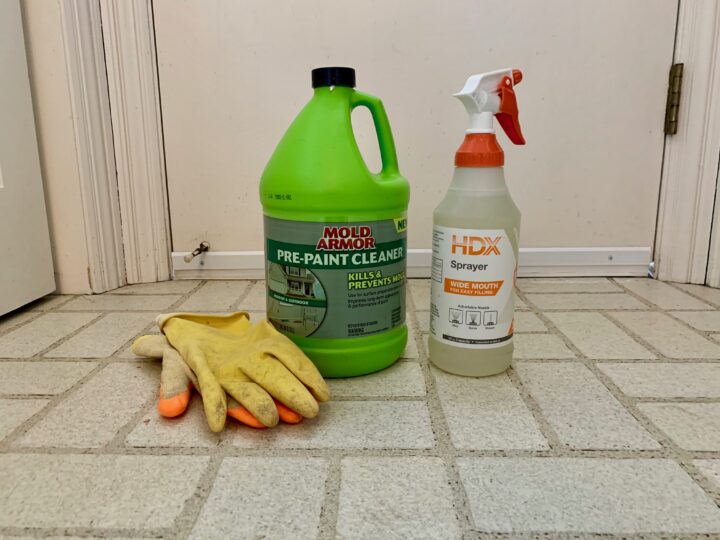

First, you will prep the linoleum for paint. Clean the floors you will be painting with a strong cleaner to remove grime and dirt.
I used Mold Armor but other products, like Krud Kutter Original Cleaner/Degreaser, work as well.
The floors should be as clean as possible to achieve a smooth finish once the paint is applied.
Step 2 | Apply Rust-Oleum Base Coat
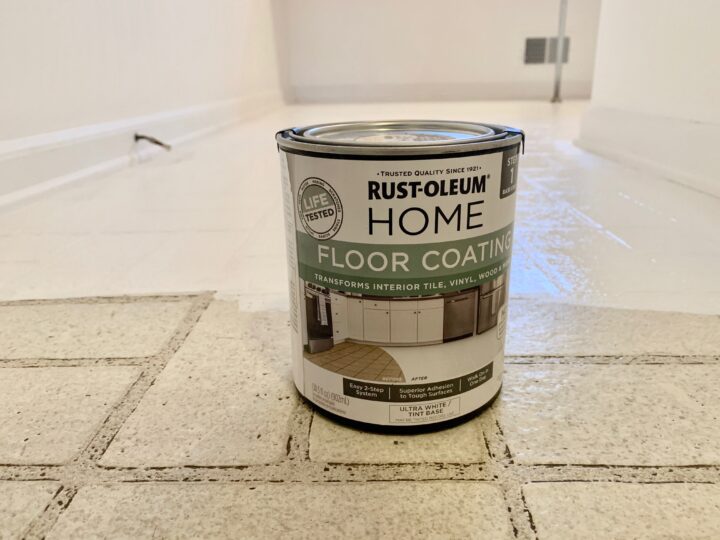
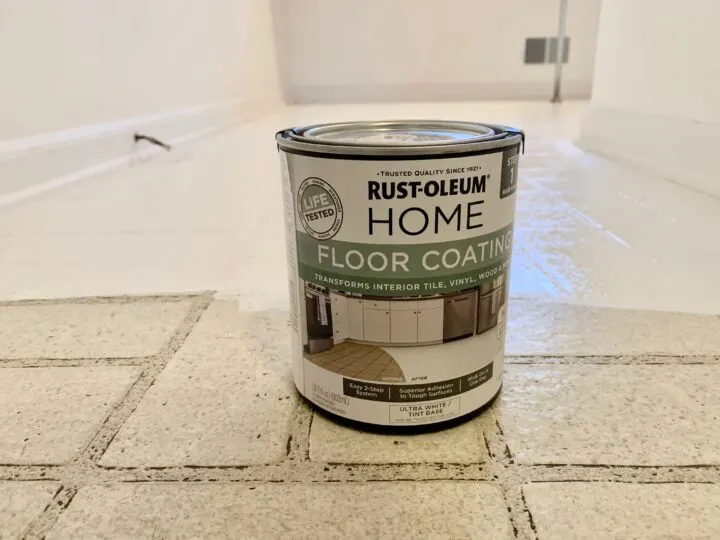
Once the old linoleum floors are clean, you will apply the first Rust-Oleum Base Coat(labeled Step 1).
Paint the perimeter of the room first with a paintbrush. If you are not confident painting a straight line, I recommend taping off the baseboards prior to painting.

Once the trim is complete, use a 9″ roller and an extension pole to quickly roll on the first coat of the Rust-Oleum Base Coat.
Let this first coat dry for 6 hours and apply the second coat of paint.
Step 3 | Determine the Checkerboard Pattern Size
Determine the size of your checkerboard squares (or diamonds) before you begin.
For my laundry room, I chose 16×16 squares.
Choose the corner that is most visible to the eye as your starting point for the pattern. For our laundry room, this location is the back corner under the countertop that you see from the door.
I recommend starting the pattern with a half square (or diamond), as it tends to be the most visually pleasing to the eye.
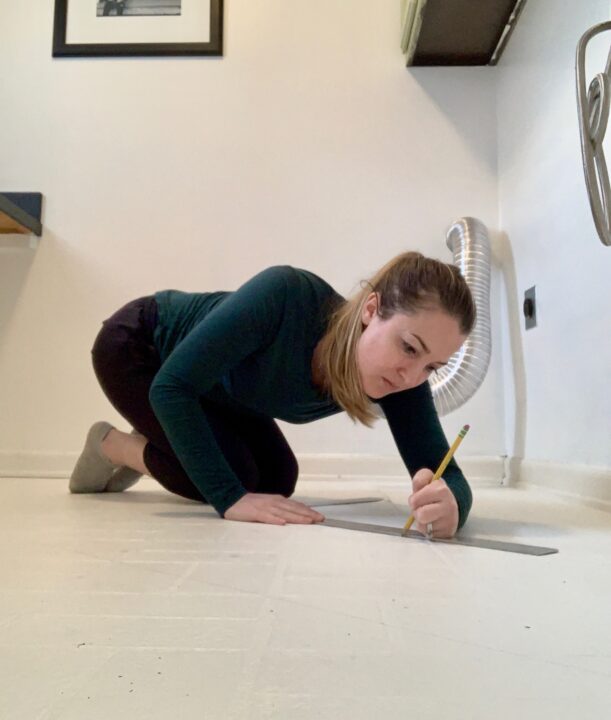
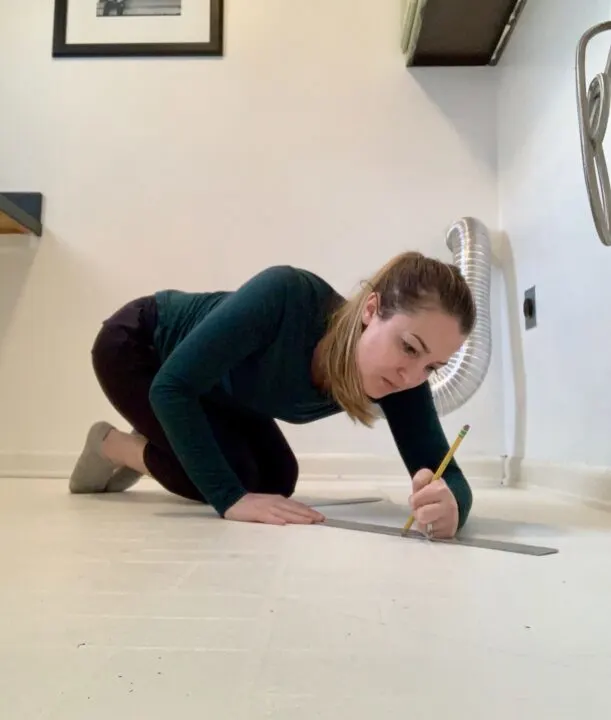
Step 4 | Create Your First Square

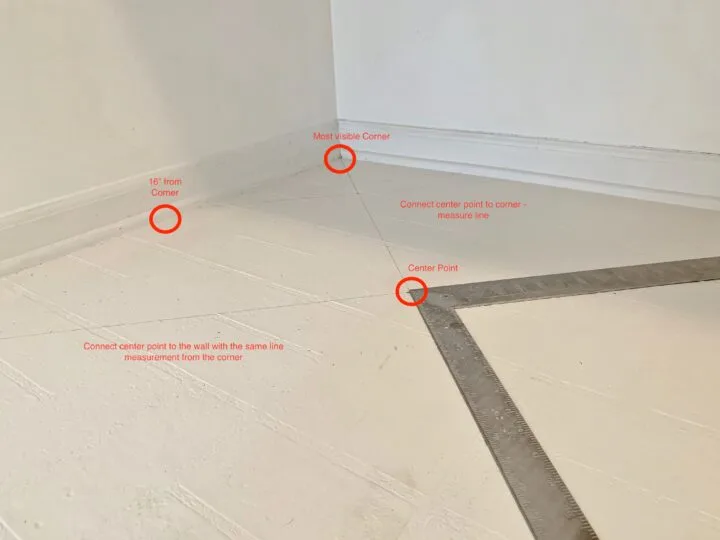
Once you determine your square size and where you will begin the pattern, mapping out the rest is pretty simple. The first square requires a little math.
Here is how I got my first square down for my 16×16 square using a metal framing square.
- Begin in the most visible corner you have chosen
- Mark a 16″ line against the wall from that corner
- At 16″ – Use the framing square to create a 16″ perpendicular, straight line. This will be your center point
- Connect the center point to the corner of the room and measure the length.
- Take that same length and connect the center point to the other side of the wall. This is your half square.
*In full transparency, I made a small error with my first square – instead of using 16″ as the center point, I used 8″. My half square actually looks like a quarter of the square but I don’t think anyone notices, but me!
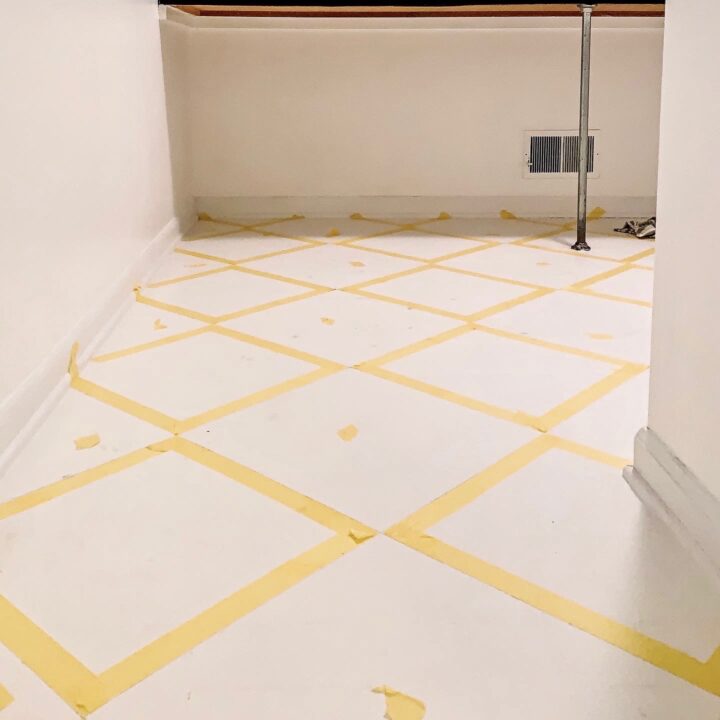
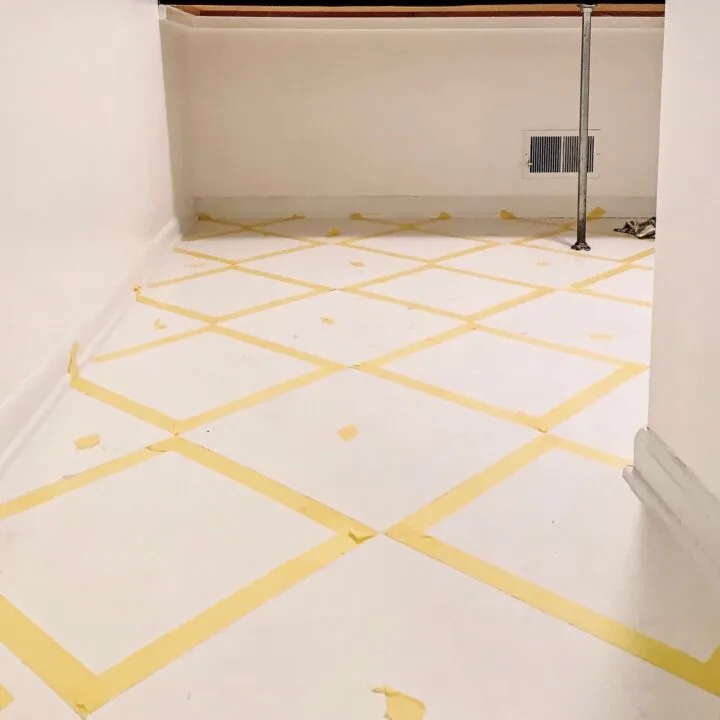
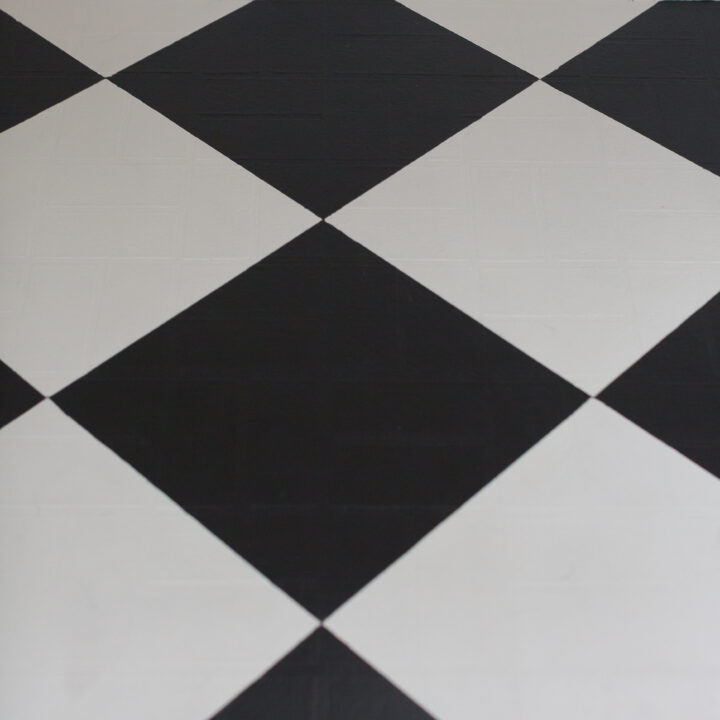
Step 5 | Complete the Diamond Pattern
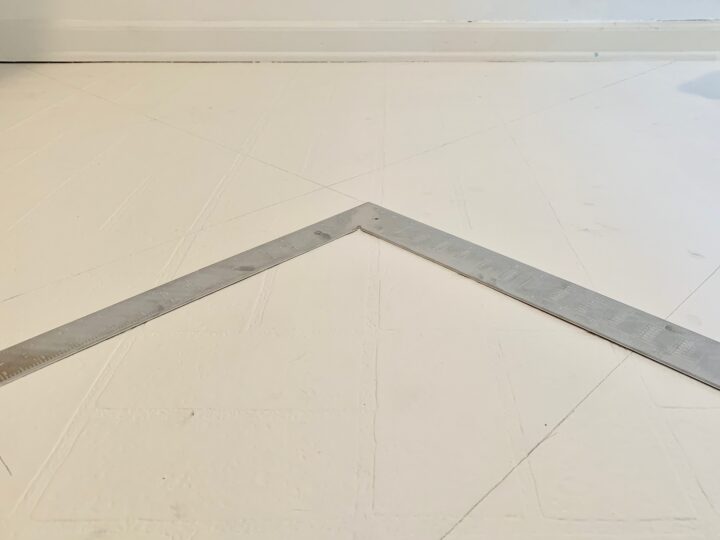
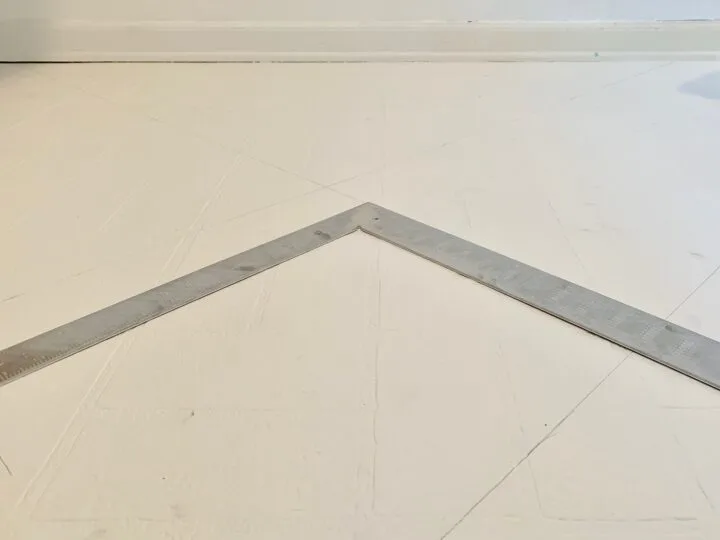
You now have two lines to work off with to complete the pattern.
- Align the ruler/framing square to the first line in the corner and carry the line across the room until it meets the wall. I would keep half of the ruler on the line already drawn and extend the other half to ensure I was keeping a straight line.
- From the first intersecting line you created (the center point), measure 16″ along the line and make a marker
- Match the framing bar to the line and draw a perpendicular line at the 16″ marker
- Continue that line across the room and mark perpendicular lines at every 16″
What I would change at this point in the project…
Mapping out the pattern with a pencil went pretty quickly and was surprisingly easy, but there is one big change I would make if I did this project over again.
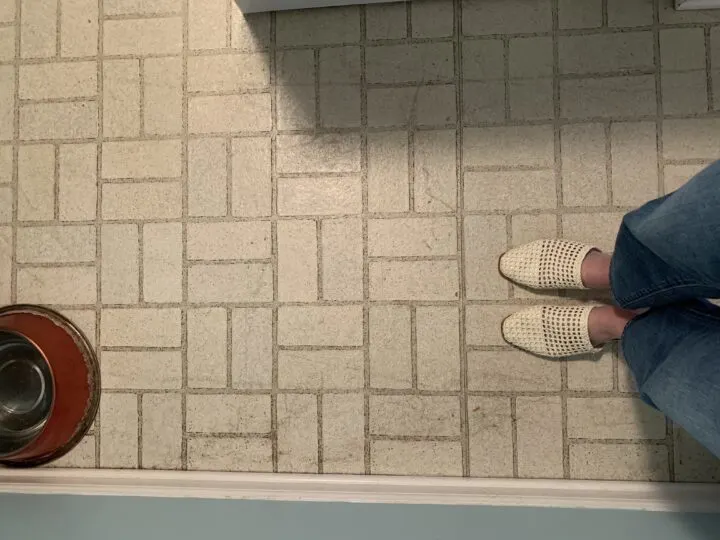
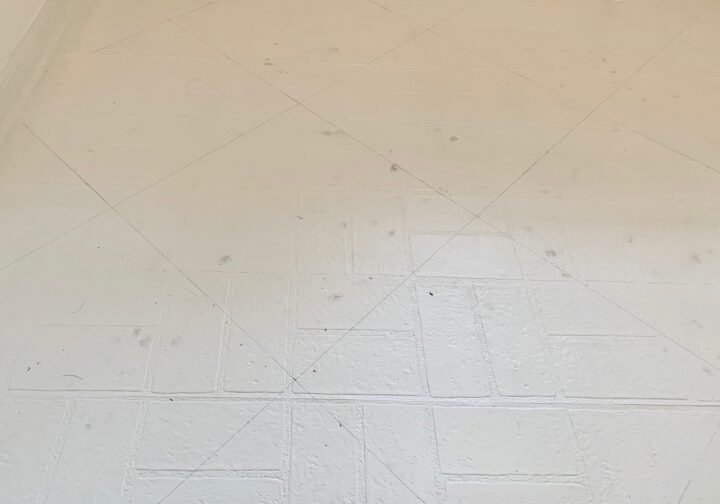
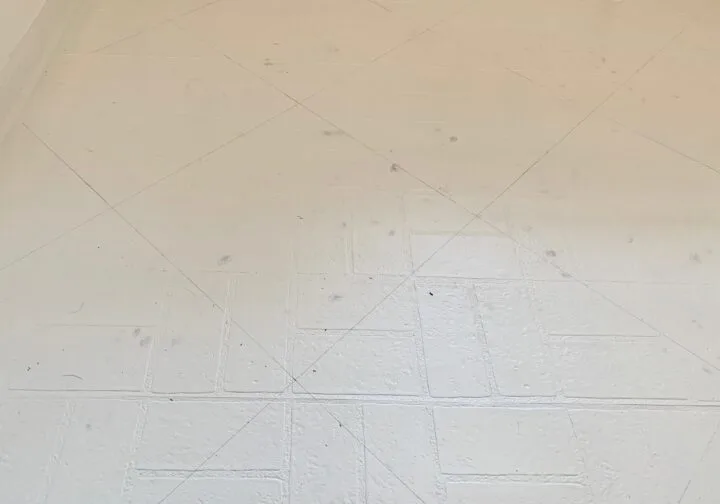
I did not realize how sensitive the painted base coat would be to smudges and dirt. As I sketched out the diamond pattern, I began creating pencil smudges and scrapes from the metal framing bar.
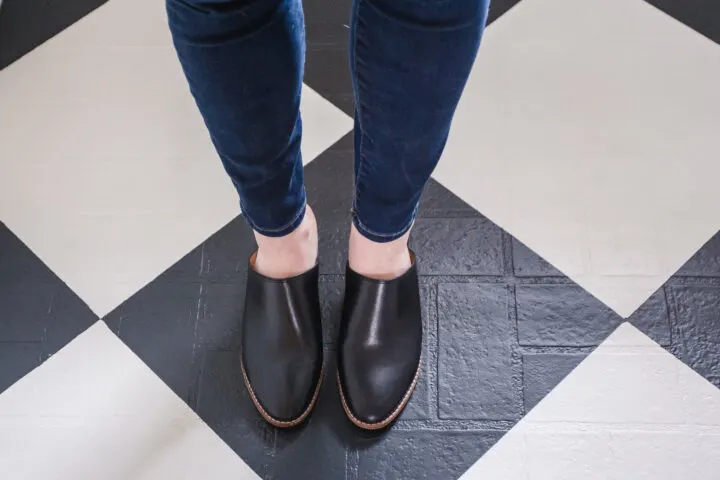
I noticed my jeans would leave a mark too as I sat on the floor. To protect the floors, I wore soft fabric clothing and socks to prevent staining the floor and did my best to avoid scraping and smudging as I went along.
If I did this project all over again, I would definitely apply the Matte topcoat over the white Base Coat and THEN map out the diamond pattern.
You can see in the photo the smudges I created all over the freshly painted floor. I had to fix the white squares with paint as I painted the black squares of the pattern.
Step 6 | Tape the Black Squares
First, you will need to determine which diamonds you want white or black.
For my specific project, I wanted the black diamond to be more centered in the main walkway and based my pattern on that design.
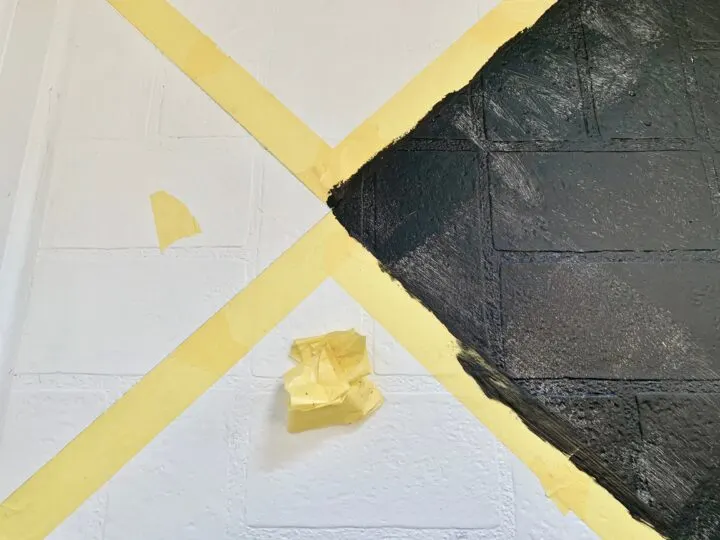
Next, I used the yellow Frogtape product that is made for delicate surfaces, specifically when taping over newer paint.
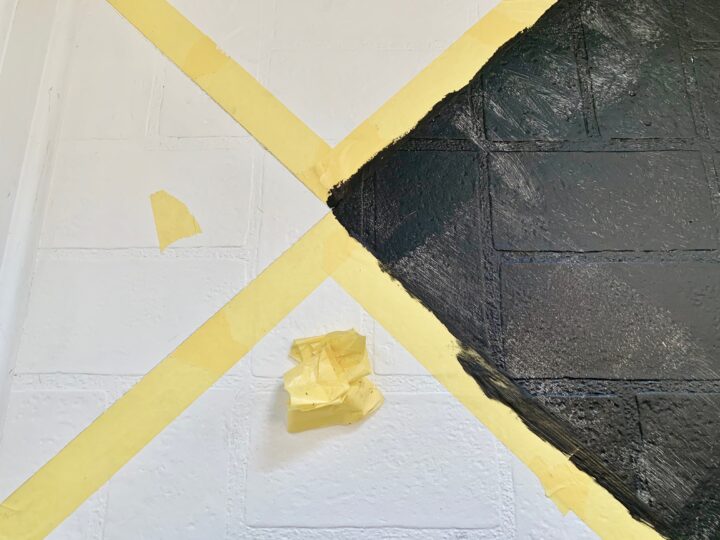
As I taped around the black squares, I added a yellow dot to the center of each black diamond to reference once I began painting.
To create crisp corners, use a putty knife to tear off the tape. I saw this recommendation in one of the many tutorials I referenced for this project and was kicking myself that I hadn’t learned it earlier!
Step 7 | Paint the Black Squares

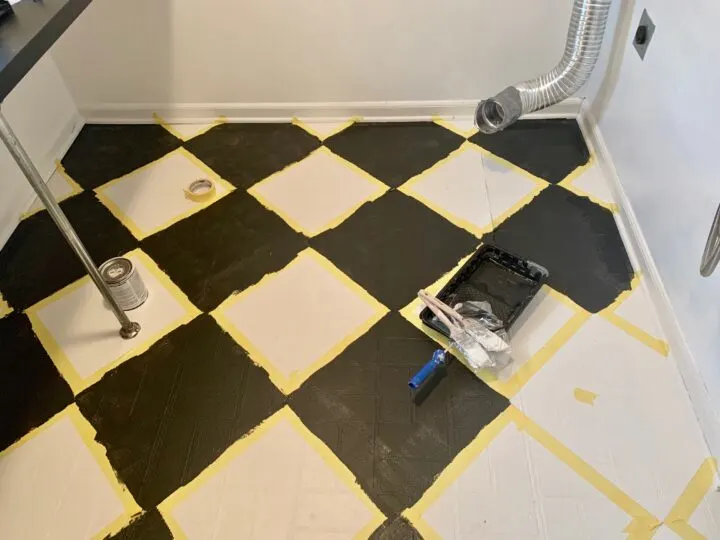
Use the black Rust-Oleum Base Coat for the black squares. Find the area furthest from the door and paint yourself towards the exit.
Before painting each square, press down on the yellow tape to avoid as much bleeding as possible. This will create that crisp, checkerboard floor you want.
You can use a 1/4″ mini paint roller or a paintbrush to apply the paint. This will need 2 coats of paint as well.
Even though I scrubbed the floors thoroughly and kept my family out of the laundry room; dog hair and bits of dirt still made their way onto the floor.
As I moved from square to square, I used the tape to pick up any stray hair before applying the paint.

Let the first coat of paint dry for 6 hours and then repeat.
As you work your way through the second coat of black paint, pull up the taped border while the paint is still wet.
Keep your white paint nearby to apply any touchups to the white squares too.
Step 8 | Apply Rust-Oleum Matte Sealer
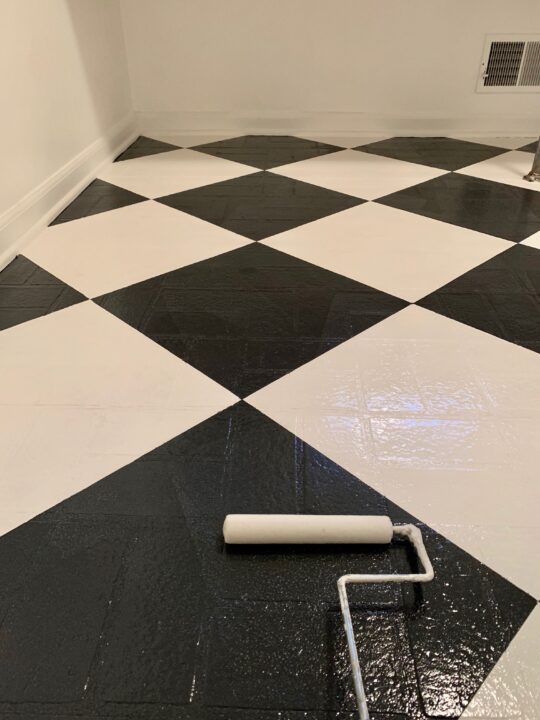

For this final step, you will apply Rust-Oleum Top Coat (step 2) which will give the floor a solid finish.
The TopCoat requires only 1 coat and you will want to trim the edge with a paintbrush and roll the floor at the same time.
Find the furthest corner of the room and paint the trim and work your way toward the exit.
While the trim is still wet, use a 1/4″ mini roller to apply the sealant to the floors. This goes on as a slightly milky consistency and then dries clear.
Step 9 | Let Painted Floors Dry & Cure
Let the painted linoleum floors dry for 72 hours before walking on them and moving furniture back into the room (avoid dragging).
The Rust-Oleum HOME product takes 7 days to completely cure so I would recommend limiting traffic for a week if possible.
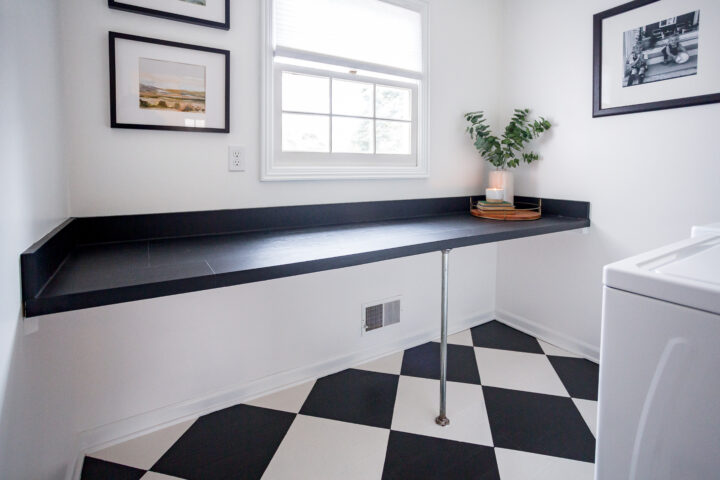
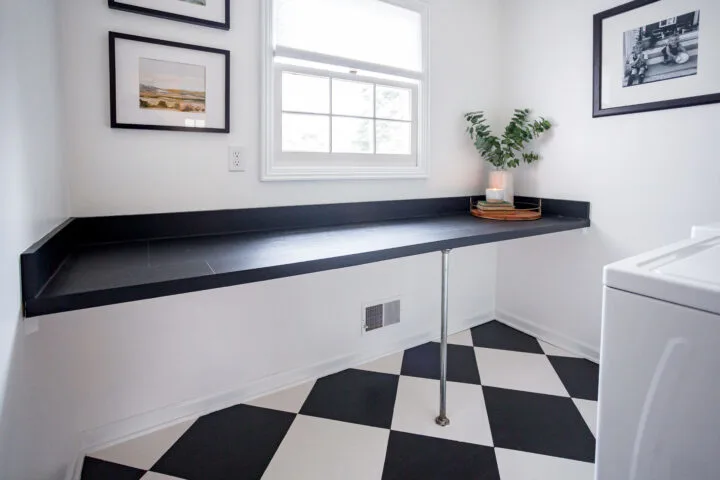
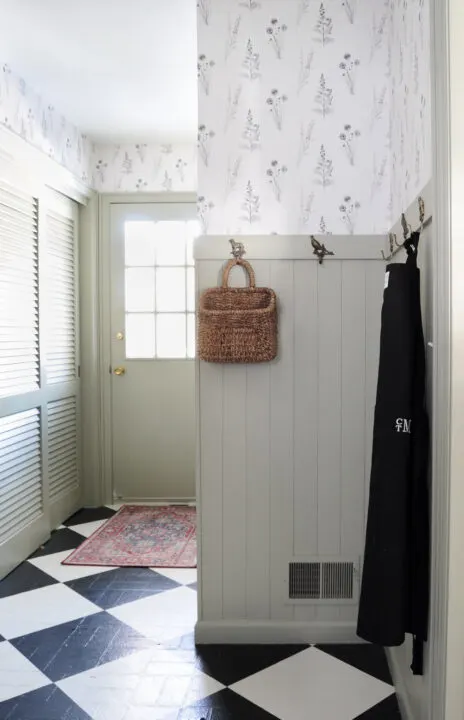
DIY Paintd Linoleum Floor Reveal
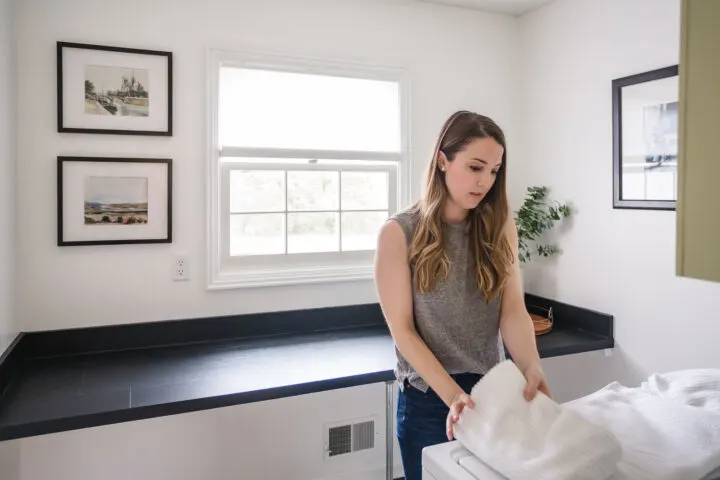
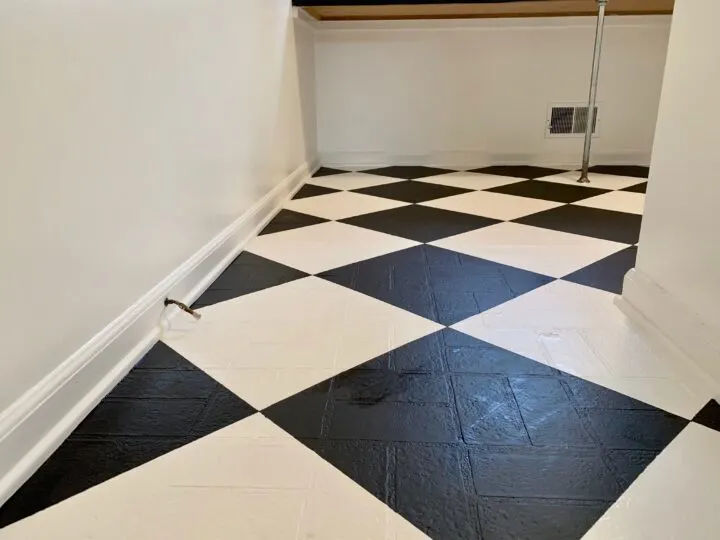
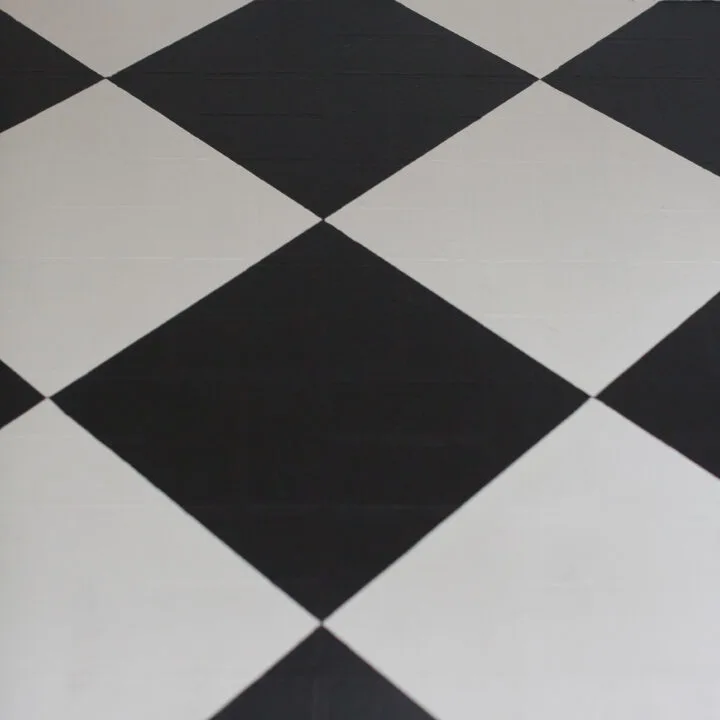
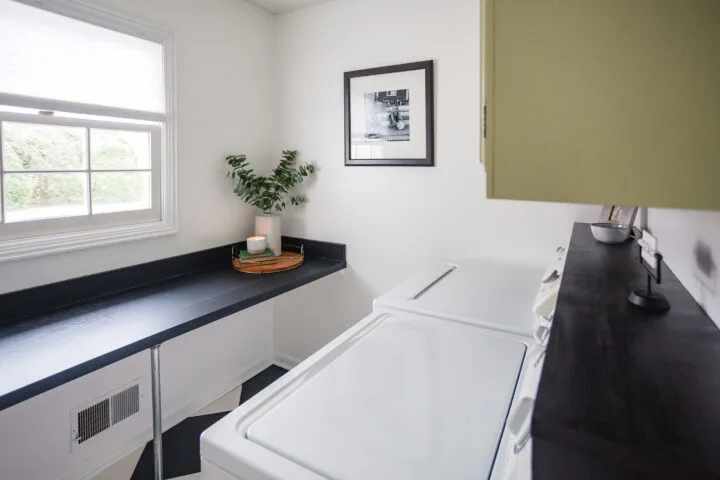
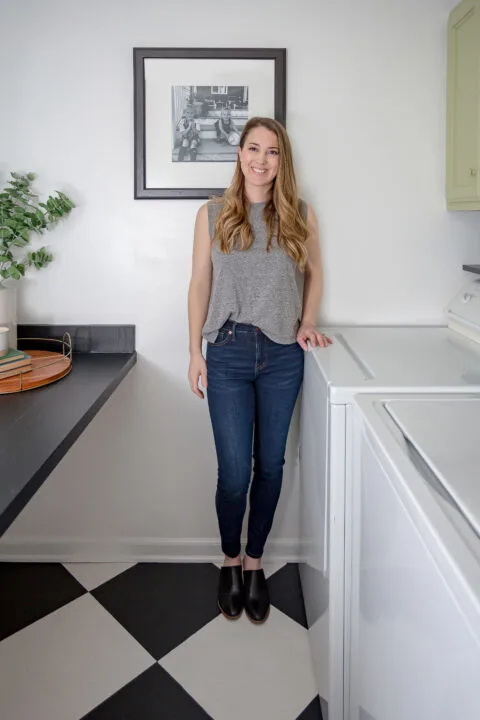
My laundry room seriously feels like a completely new room and painting the linoleum floors made the biggest difference. I am in love with the checkerboard floor pattern!
I have lived with the new floors for a few weeks now and they really are rock solid. They are easy to clean and scratch-resistant.

Painting floors instead of replacing is a budget-friendly DIY that will breathe new life into a space. I hope this step-by-step guide to paint over linoleum floors has inspired you to try it in your own home!


I believe that every space in your house should bring you joy, even when the function of that space isn’t always fun.

My new laundry room makes me smile and gives me energy whenever I enter it and that makes me very happy! Check out my IKEA Hemnes Dresser Hack where I use the Rust-Oleum Cabinet Kit to give my dresser a whole new look!
Frequently Asked Questions
What is the best paint for linoleum floors?
Rust-Oleum HOME is a durable paint product that is made specifically for flooring with heavy foot traffic. Epoxy paint is recommended for flooring over latex paint because of its durability. The paint kit includes a base coat and top coat that is easily applied and dries within 24 hours. In my opinion, this is the best paint for linoleum floors.
How long does painted linoleum last?
It all depends on how the flooring gets used. Our mudroom is a high-traffic area, so it will show signs of wear and tear sooner than the floors of a bathroom that does not get used very often.
My view on painted linoleum is that it is a temporary solution that will look nice for 5-7 years.
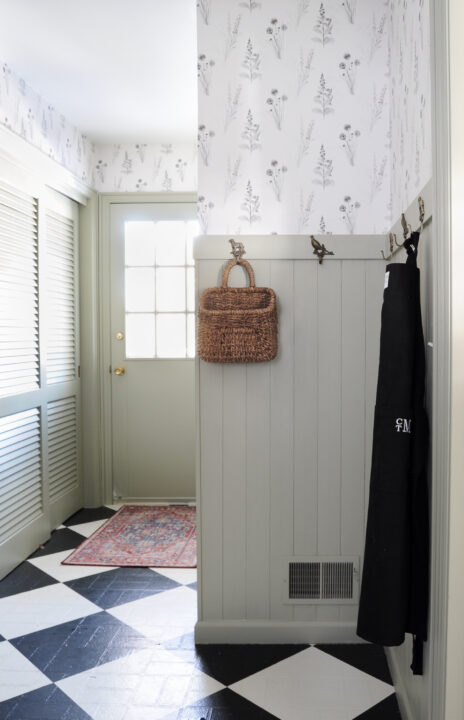
I painted my laundry room and mudroom floors almost 3 years ago. While they definitely show wear and tear, they still look better than the original flooring.
Can you paint linoleum or vinyl floors without sanding?
Yes, as long as you use the proper paint that will adhere to the linoleum floors, you can avoid sanding. I cleaned our floors really well to make sure the paint adhered to the floors and had a strong bond.
Does the floor paint scratch over time?
Yes. I painted our laundry room and mudroom floors which are two high-traffic areas. We also use the laundry room to gate our dogs at night. Their nails have worn down some of the paint on the floors.
How much does it cost to paint linoleum floors?
Again, it depends on the size of the flooring you want to paint. I chose a checkered floor pattern that required black and white paint.
For this project, I needed 2 quarts of white paint, 1 quart of black paint, and 1 quart of the matte top coat.
The total cost of the paint was around $100.
Can you use any floor cleaner once it is painted?
Yes – I clean the floors the same way I cleaned them with the old linoleum.
If you are using Rust-Oleum HOME, make sure you cover every inch of the floor with the top coat. I missed a small spot and the base coat holds onto the dirt and is harder to clean.
More Blog Posts You Will Love
- How to Paint Concrete Basement Floors Using Epoxyshield
- DIY Scalloped Edge Shelf | Easy IKEA Hack
- Painting Furniture DIY | Ultimate Beginner’s Guide
- How to Paint an Exposed Basement Ceiling
- Basement Makeover | Painting Stairs Black
- Ideas to Create a Practical, Functional Laundry Room
- DIY Checkered Frame | Fun and Easy Decor Trend
- How to Paint a Dated Rock Fireplace | DIY
- I Applied Latex Over Oil-Based Paint | How to Fix
Sandi
Monday 20th of January 2025
I am wanting to do this in our laundry room but I am afraid that the floor will scratch by sliding our laundry basket on the floors. Did have this issue?
lindseymahoney
Tuesday 21st of January 2025
It is definitely not a permanent solution. I painted our floors 5 years ago and they show their wear and tear. We keep our dogs in there at night so the floors get scratched often. I still prefer the scratched paint to the original linoleum so I consider that a win. Eventually we will replace the flooring with a more durable material. Good luck!
Rachel
Tuesday 17th of October 2023
I'm planning on doing exact same design in kitchen this weekend. I know you mentioned you would do matte coat before black but I'm worried that the black won't stick properly to matte top coat... before I pull the trigger want to know your thoughts? Thanks!
lindseymahoney
Tuesday 17th of October 2023
I would do the matte coat, then the black and then another matte topcoat. I had to touchup the white paint color a lot when it did not have the protective coat while painting the black squares. Good luck!
Edith Maul
Tuesday 30th of August 2022
I I was wondering how you worked around the washer and dryer my laundry room is also I utility room with hot water heater and hvac unit.
lindseymahoney
Tuesday 30th of August 2022
I did move the washer and dryer out of the laundry room to paint the floors. If your HVAC and hot water tank are not tucked away in a closet, I would do your best to paint around the units.
Vanessa
Friday 2nd of July 2021
How has this floor held up over the last year? I have the exact same linoleum in my half bathroom/laundry room, which gets a lot of use so I’m interested in the durability of the product. Thanks!
lindseymahoney
Tuesday 6th of July 2021
It has held up pretty well! There are a few spots where I accidentally missed the clear topcoat and so they look a little dirtier than the other areas. I haven't gotten around to fixing those but it would be an easy fix. Our three dogs spend a lot of time in this area too so there are a few spots on the black squares that were scratched off by their nails, but overall, it looks really good for the amount of wear and tear.
Jamie Schlosser
Thursday 10th of June 2021
Hi! I am wondering if you noticed the ultra white having a subtle warm undertone or hue? From all the pictures I’ve seen it seems highly likely, but I know lighting is important. I also know it’s easy to make whites look cooler with editing 😅 So, I don’t know who to trust! I actually need a super subtle creamy white or one that can look both warm and cool. Fingers crossed! What are your thoughts on this? Thanks!
lindseymahoney
Friday 11th of June 2021
Hi Jamie, the lighting is definitely a big factor with the untinted, ultra-white. I would say that it leans more on the cooler side than warmer side when it is not tinted. Alabaster by Sherwin Williams is a great creamy white but it really depends on the natural light in the space. If you have lots of light in a room, Alabaster could be a great choice. If your room does not have a lot of light, it may read a little more yellow than you want. I would recommend getting a few samples and testing it on a few spots on the wall.