Last Updated on January 6, 2024 by lindseymahoney
My toxic trait is that I love DIY paint projects but I HATE to clean the paint brushes afterward! It sounds simple to wash your paintbrushes right after you complete a project, but that is the last thing I want to do after painting for hours.
This year I am going to listen to my own advice and take better care of my paintbrushes.
Here are my top tips for cleaning and maintaining your paintbrushes so that you can use them over and over again.
Table of Contents
- Top Tips for Cleaning Paintbrushes
- Remove Excess Paint From the Brush
- Prevent Your Paintbrush from Drying Out
- Clean Paintbrushes with Dish Soap and Water
- How to Clean Paintbrushes with Dried Paint
- How to Dry Your Clean Paintbrush
- More DIY Content You Will Love
Top Tips for Cleaning Paintbrushes

[Affiliate links may be included in this blog post. When items are purchased through these links I receive a small commission at no additional cost to you. Thanks for supporting Building Bluebird!]
Remove Excess Paint From the Brush
My first tip is about using your paintbrush properly. To maximize the life span of your paint brush, avoid dipping it too deep into a paint can.
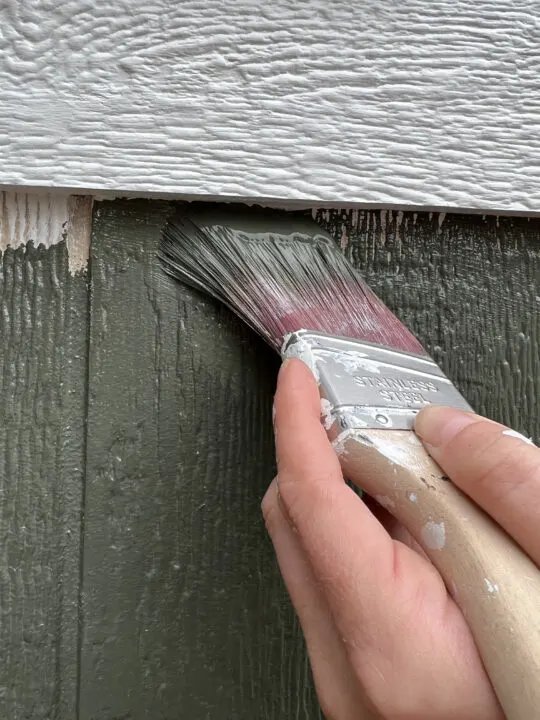
I like to dip the brush until the paint is about halfway up the bristles. Avoid dipping your brush so deep into the paint that it hits the metal that attaches the bristles to the handle.
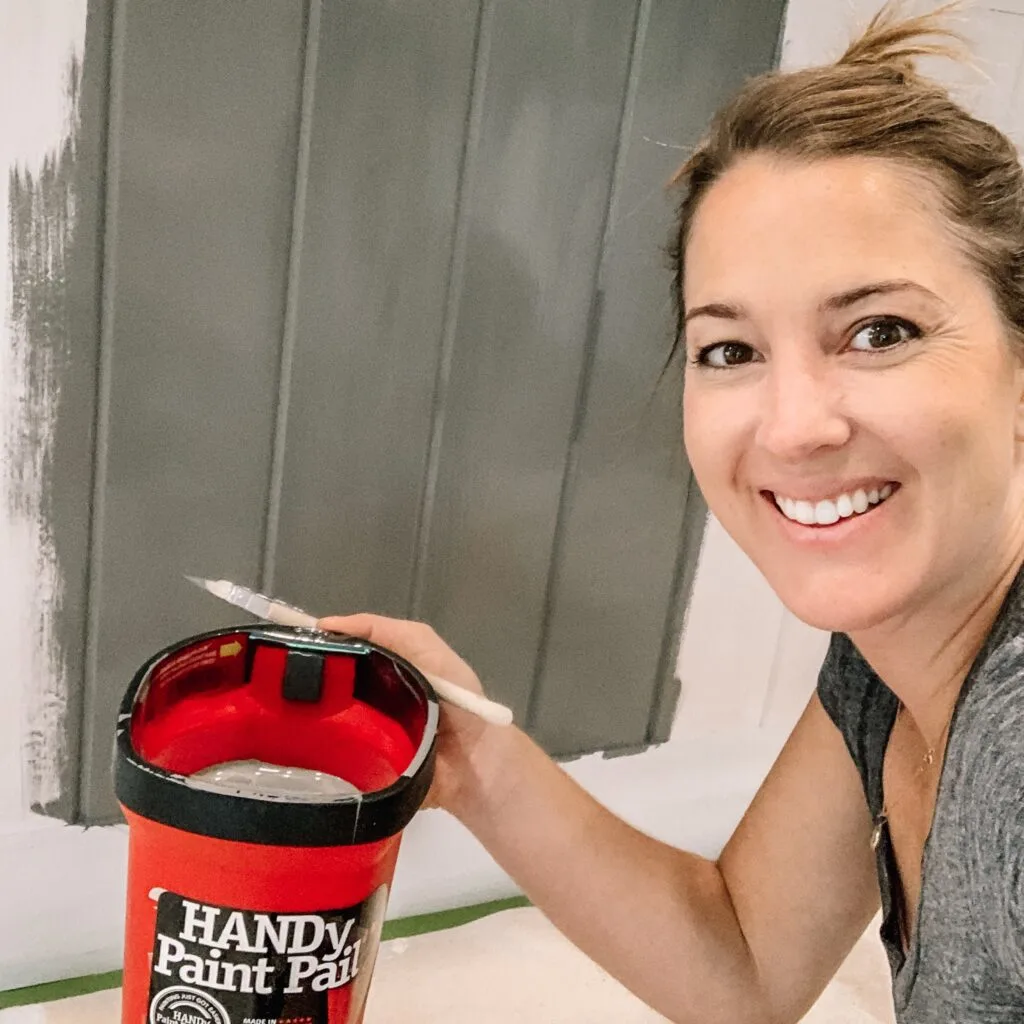
One of my favorite paint tools is the Handy Paint Pail which includes a magnet to hold your paintbrush and prevent it from falling into the paint. They even sell plastic liners to pop into the paint pail which makes clean-up even easier!
Once your paint project is complete, remove the excess paint before cleaning the brush. In all honesty, I generally just scrape the excess paint back into the paint can, but this is frowned upon by professionals because it can add dust particles and dried paint bits into the leftover paint.
If scraping the paint into the can is too uncivilized for you, use a paper towel or rag to remove excess paint before washing the brush.
Prevent Your Paintbrush from Drying Out
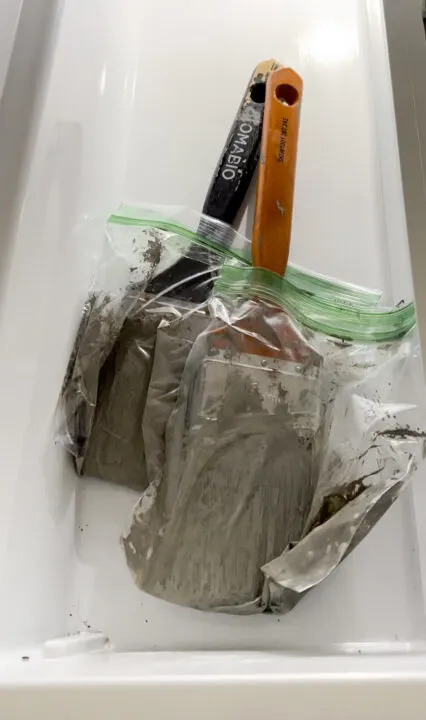
If you are in the middle of a painting project and will be using your paintbrush the next day, wrap it in a plastic bag and store it in the refrigerator.
This is my favorite paint hack that I have honestly taken advantage of in the last few years, and not in a good way.
I am guilty of storing paintbrushes in the fridge for way longer than necessary (cough cough, for months)!
But that is no longer my story and I am changing my ways!!
Wrapping the wet paintbrush in plastic keeps it airtight and the cool temperature prevents the brush from drying out.
Clean Paintbrushes with Dish Soap and Water
For the easiest cleanup and best result, clean your paintbrush immediately after your project.
To clean my paintbrushes I either use the kitchen or bathroom sink. A utility sink is ideal, but I don’t have one of those so the kitchen sink it is!
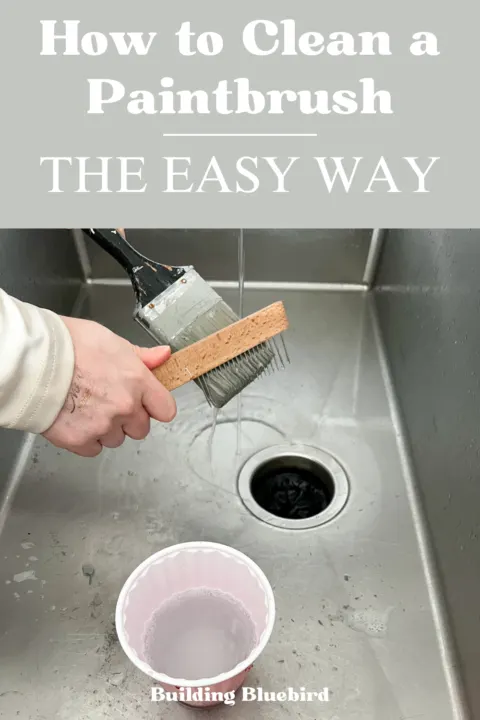
First, I rinse the brush under lukewarm water and create a circular motion against my palm to rinse inside the bristles.
Next, I add a little dish soap to the brush and gently scrub the bristles.
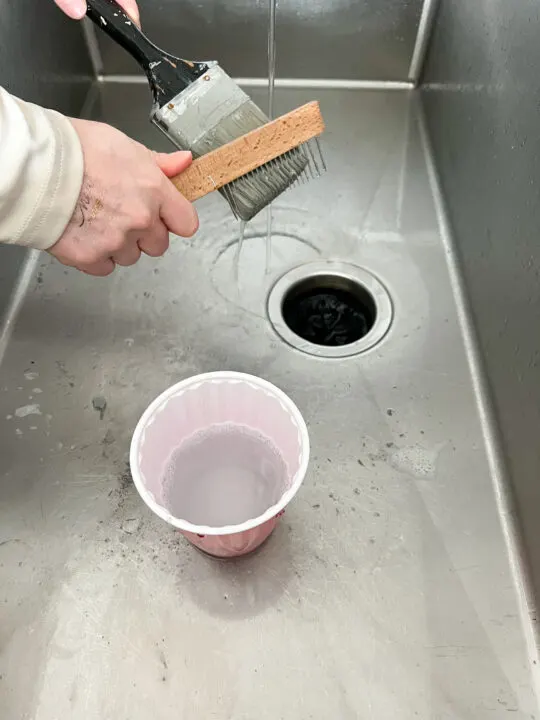
One tool that I recommend for cleaning your paintbrush is the wire brush. This little tool breaks up any dried paint inside the bristles and prevents the bristles from getting stiff.
If there are dried paint bits on the outside bristles I use my fingers to pull them off.
Rinse your paintbrush until the runoff water is clear.
How to Clean Paintbrushes with Dried Paint
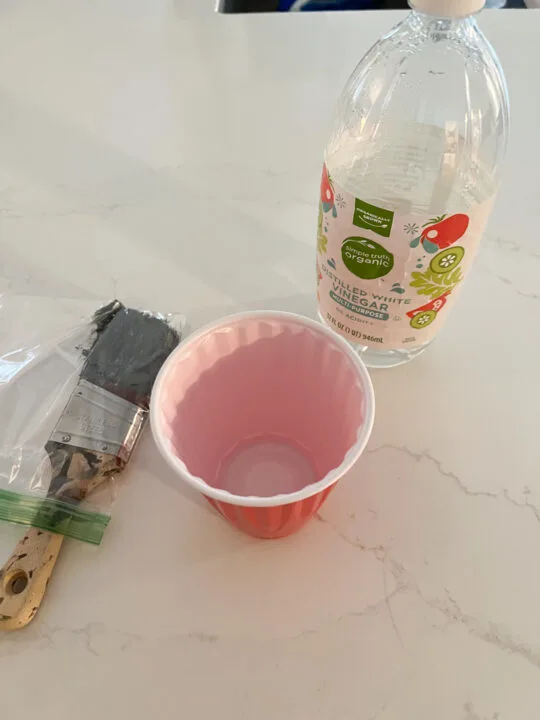
When my paintbrushes start to get a little chunky from sitting out or sitting in a fridge for too long, vinegar is the secret cleaning solution to use!
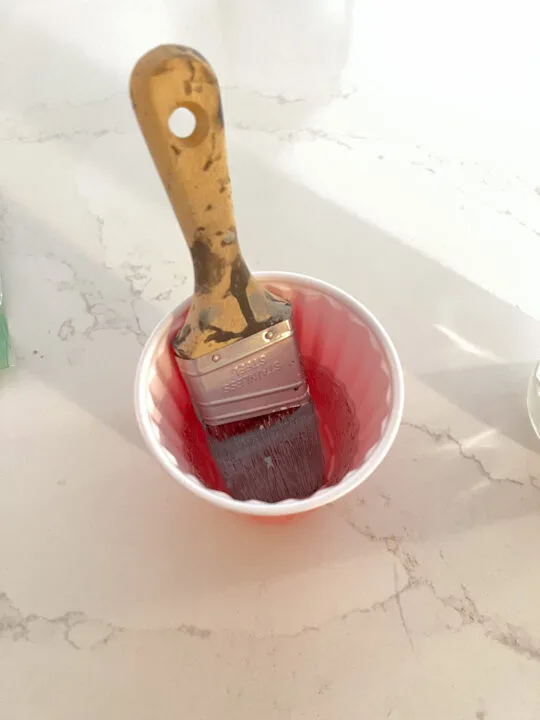
Fill a disposable cup with a drop of dish soap, warm water, and vinegar so that the dried paint is fully submergedand let it soak for 30 minutes.
This solution will loosen the dried paint and allow you to clean the bristles with warm water, soap and a wire brush.
How to Dry Your Clean Paintbrush
Once your paint brush is sufficiently clean, it is important to remove as much excess water as possible.
My preferred method for drying a paintbrush is flicking it fast toward the bottom of the sink. This simple step will keep your bristles flexible and ready for your next DIY project.
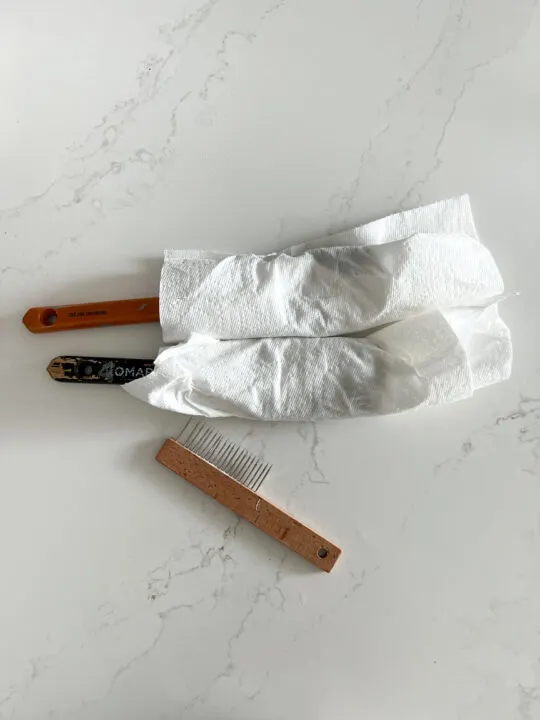
Finally, lay the damp paint brush on a paper towel and let it completely dry.
I hope these tips help you to extend the life of your paintbrushes and save you time and money!
