Last Updated on July 17, 2023 by lindseymahoney
I say this all the time, but paint is so transformative! This beginner’s guide to easily painting a room will give you the confidence to paint every inch of the interior of your home.
It can turn a dull and uninviting room into a space that makes you truly feel at home. While paint can drastically improve the look of a space, a messy application or choosing the wrong paint sheen can draw attention for all the wrong reasons.

I recently completed my first One Room Challenge and compiled a full tutorial on painting my dining room. I have spent countless hours painting walls throughout the years and consider myself somewhat of an expert!
With the right materials and the proper painting technique, you too can paint your room like a pro. Let’s get started!
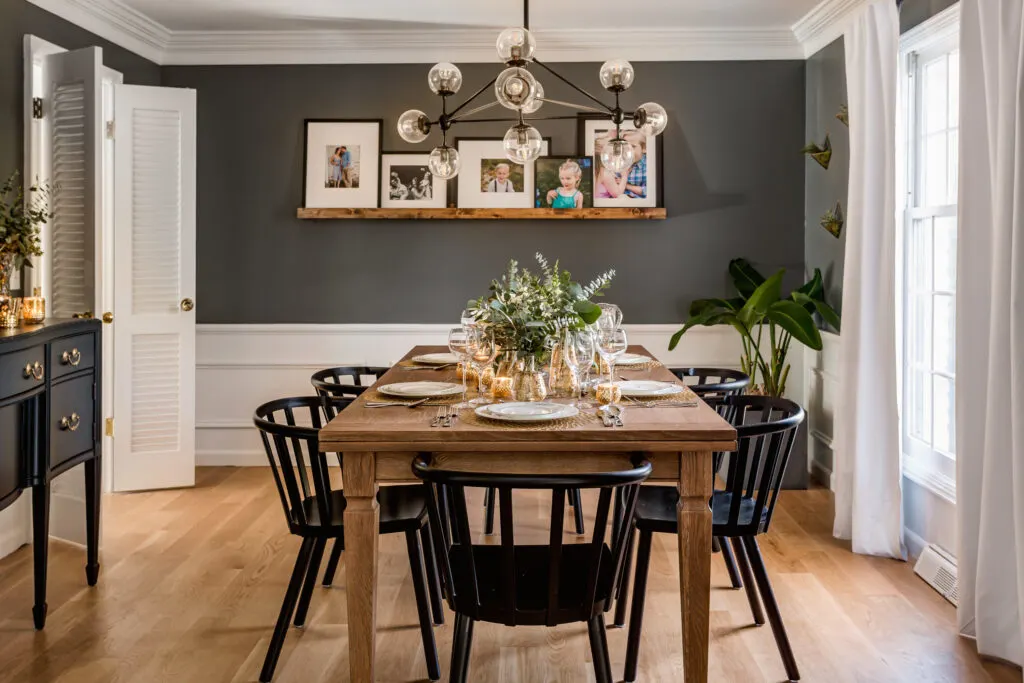
Beginner’s Guide to Painting a Room at Home
Disclosure: I received compensation to complete this project using FrogTape painter’s tape products. All opinions, projects, and ideas are based on my own experience.
For a list of materials used to paint, scroll down to the bottom of this post.
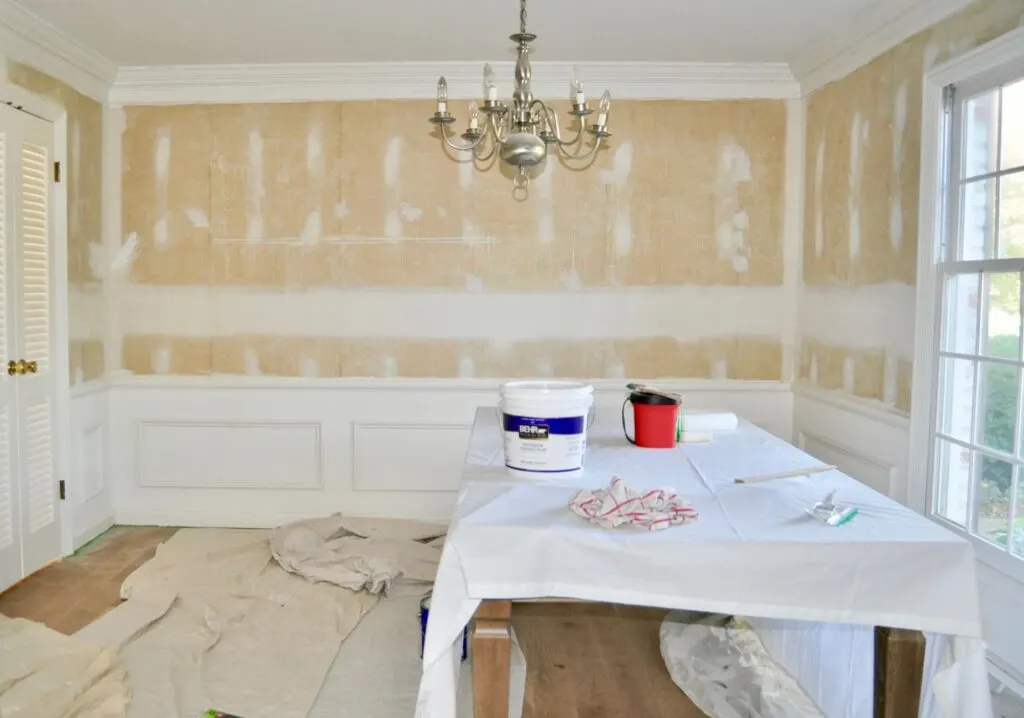
Dining Room Before
Here is the dining room when we first moved into our home.
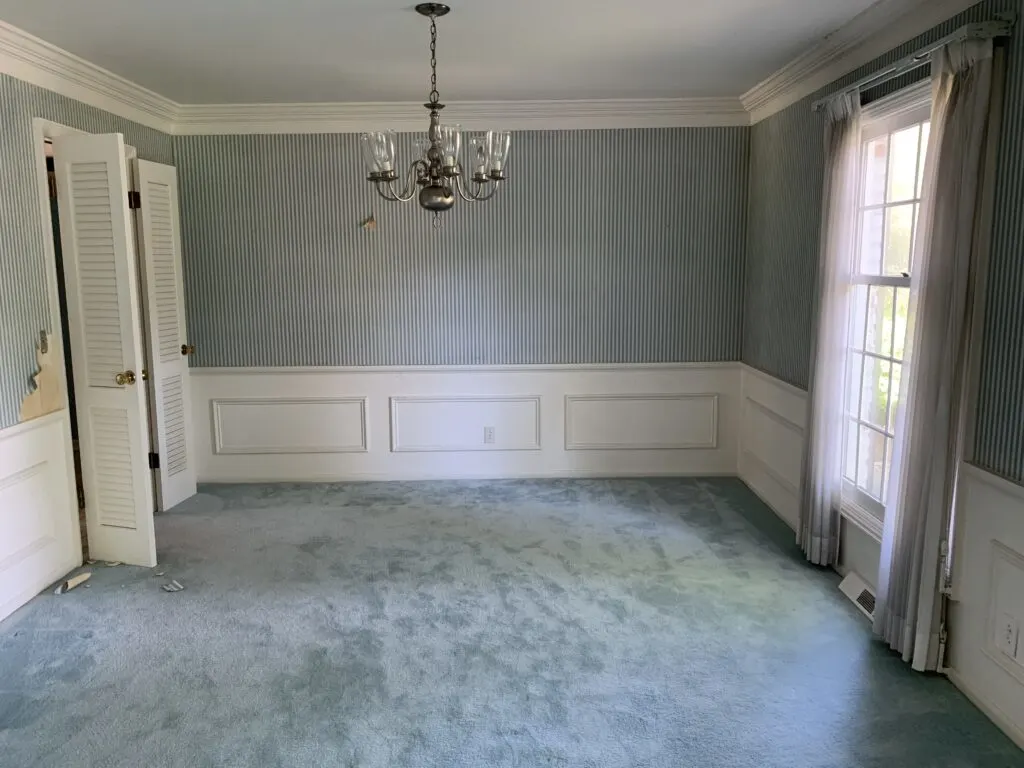
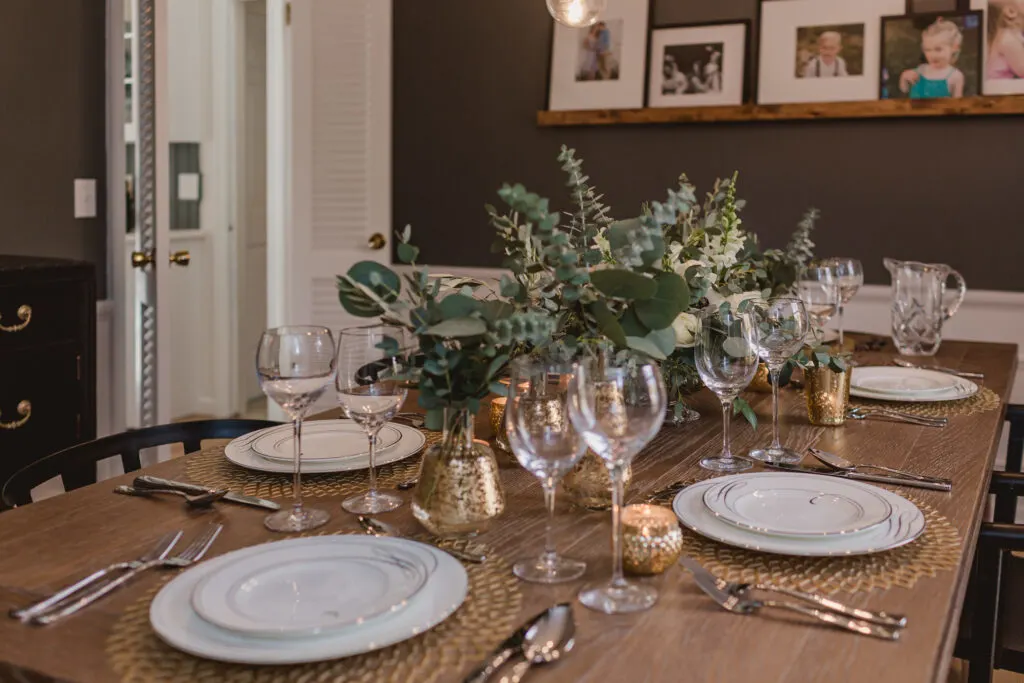
My dining room was in dire need of an update and I decided to paint my walls a dark, moody gray to serve as the foundation for the design in the room.
1 | Prep the Walls
Before I could begin painting, I had to prep the walls. First, I removed the wallpaper using a steamer and a scraper. I filled any holes I saw with spackle and used a sanding block to get the walls as smooth as possible.
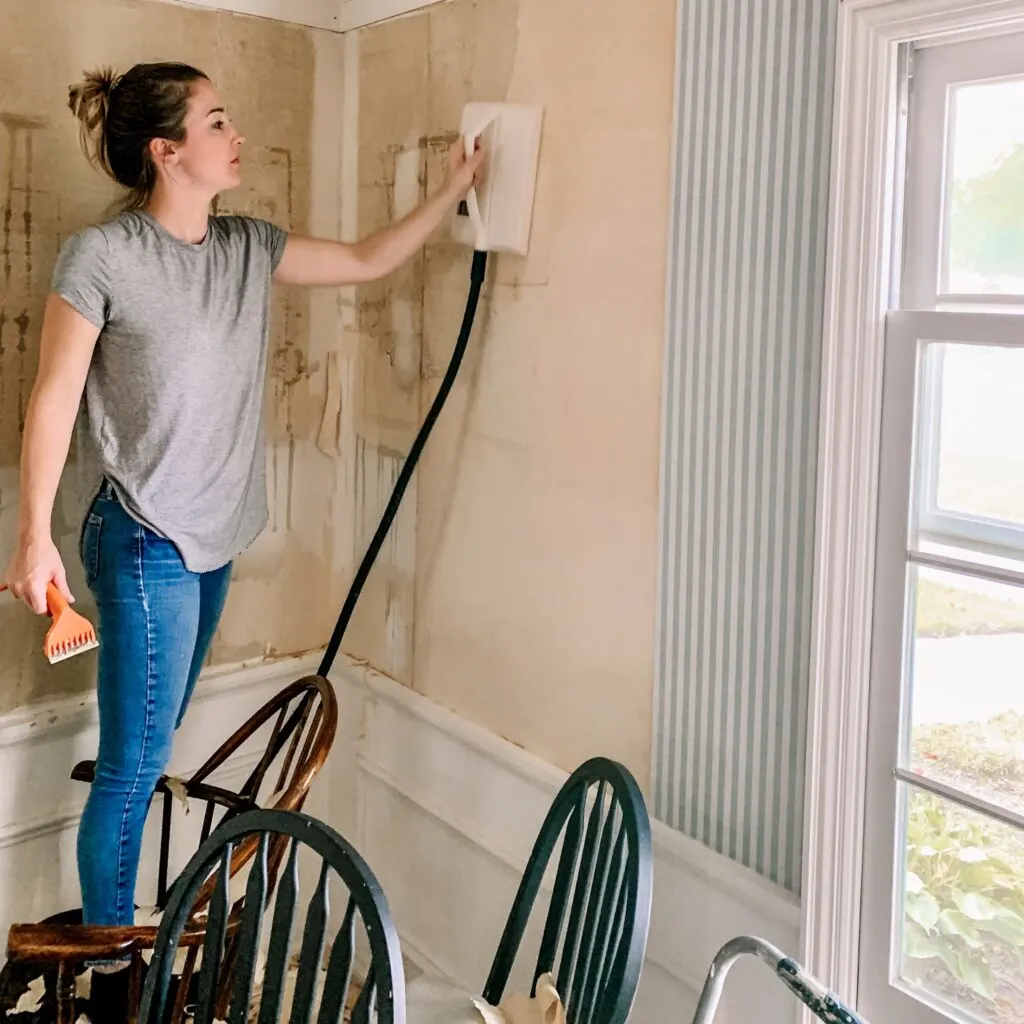
I used joint compound on areas of the wall that were a little rough and uneven. This is especially important after removing wallpaper to remove any remaining glue left on the walls.
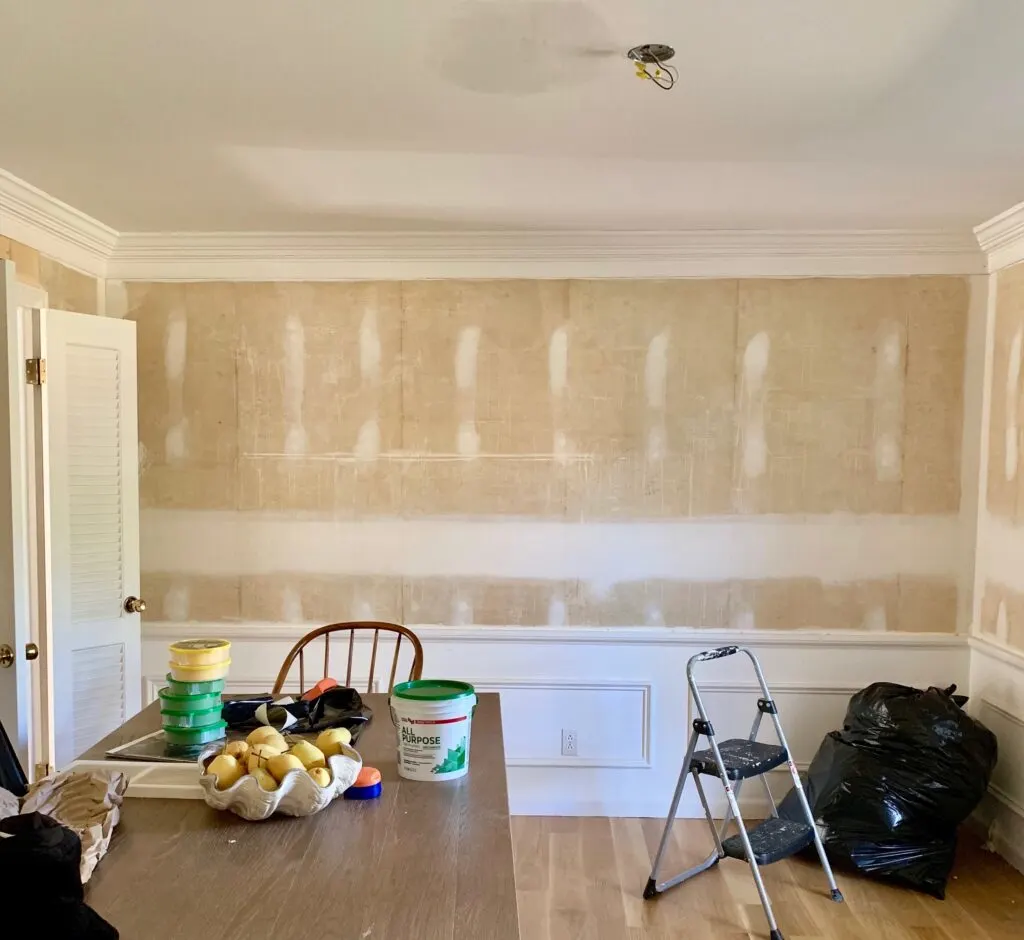
2 | Protect Floors & Remove Switch Plates/Lighting
Before painting begins, protect your floors and furniture with a dropcloth. Remove all switch plates (DON’T paint around the plates) and re-install or replace them once the room has been painted.
3 | Paint the Ceiling
There are two guidelines I follow when I begin painting a room.
- Paint the room from top to bottom (or ceiling to floor)
- Paint the room from light to dark
I don’t have a preference for rolling or trimming ceilings with paint first, so you can choose whatever order you prefer.
For the ceiling, I generally buy the standard flat ceiling paint they sell at Home Depot. If your ceiling is in relatively good condition, you may be able to get away with 1 coat, but 2 coats are preferred for complete coverage.
Paint Roller
I use a paint roller and extension pole to paint the ceilings in my home. The texture of your ceiling will guide you with the best length of roller nap.
Our ceilings are smooth, so I like to use a shorter nap to keep a smooth look. You will want a thicker nap if your ceiling is textured (ex: popcorn). Once the paint is on the roller, apply an even amount of pressure as it is rolled onto the ceiling.
You want to avoid creating paint lines. If a thicker paint line appears on the ceiling, gently roll over it to blend the paint into the rest of the ceiling paint.
Trim Ceiling with Paintbrush
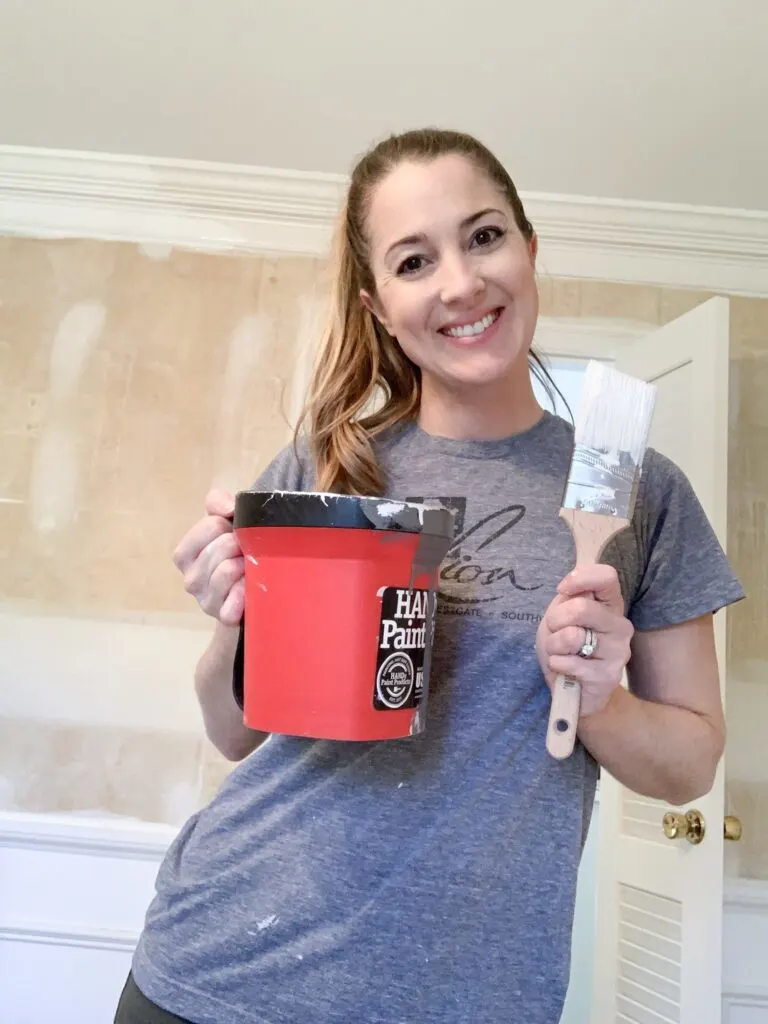
When the ceiling has been rolled with paint, the perimeter of the ceiling will need to be trimmed out with a paintbrush.
A paintbrush can be used to trim around light fixture boxes that the roller could not fully reach. I prefer to use a small stepstool and a handheld paint cup with a magnet on the side to prevent the paintbrush from falling deep into the paint.
4 | Paint Crown Molding
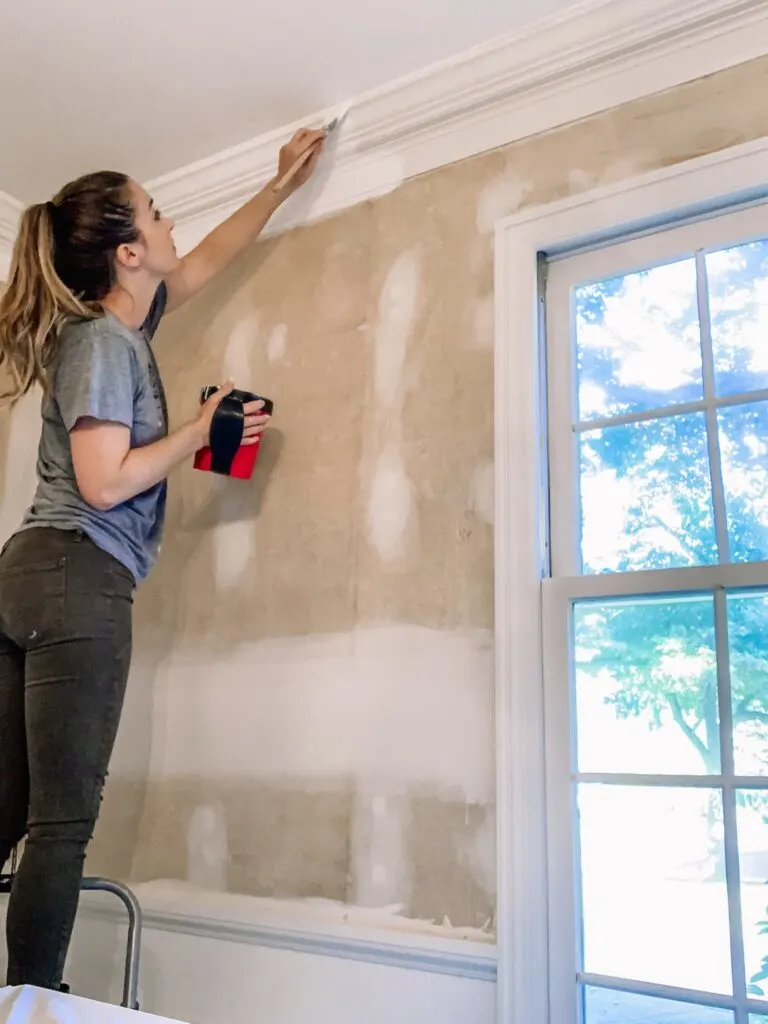
If you do not trust your steady hand, tape off the ceiling before you begin painting with the delicate surface Frogtape. This is a great option for beginner painters.
Personally, I like to trim out the ceiling myself, especially when the trim and ceiling paint colors are so similar.
I am not as careful as I paint the lower portion of the crown molding because I know I will be painting the wall color over anything that goes outside of the molding.
For the trim paint color, I kept it simple with a standard white (semigloss) so I could reuse any leftover paint in other rooms of my house.
5 | Paint Remaining Trim
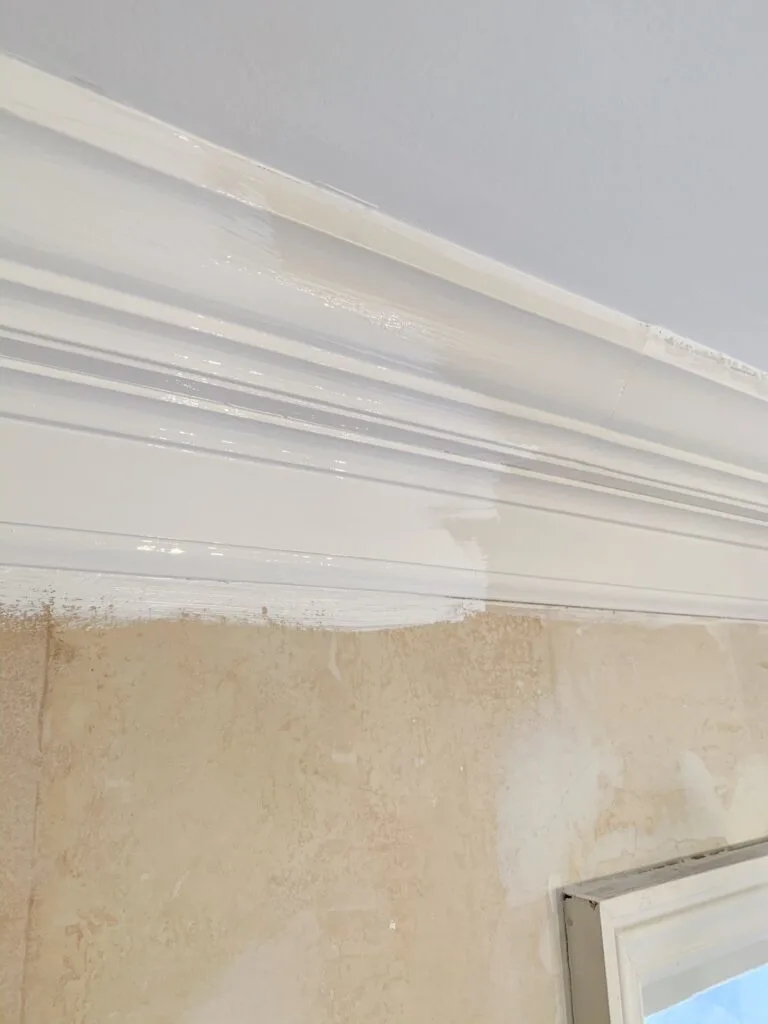
Because the wall color is so much darker than the trim color, I painted the trim before the drywall. Using the same paint color, I painted the crown molding, chair rail, and baseboards. and window/door trim at the same time.
I painted a crisp paint line against newly painted sections of the room and then “painted outside of the lines” in areas that still needed to be painted.
If the trim were a dark color with light walls, I would be much more careful because the dark could bleed through the lighter color.
I applied 2 coats of white paint and used a combination of the paintbrush and ultra-smooth small roller to paint below the chair rail. Be careful with paint drips when you are painting decorative features and corners.
6 | Cut in the wall color
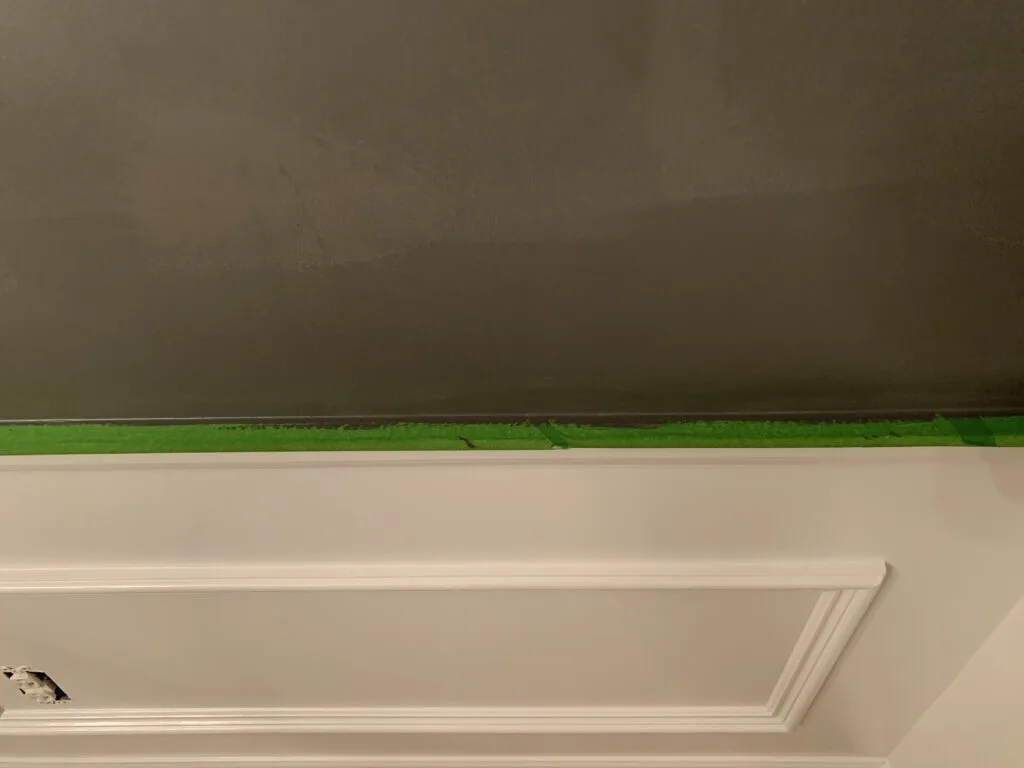
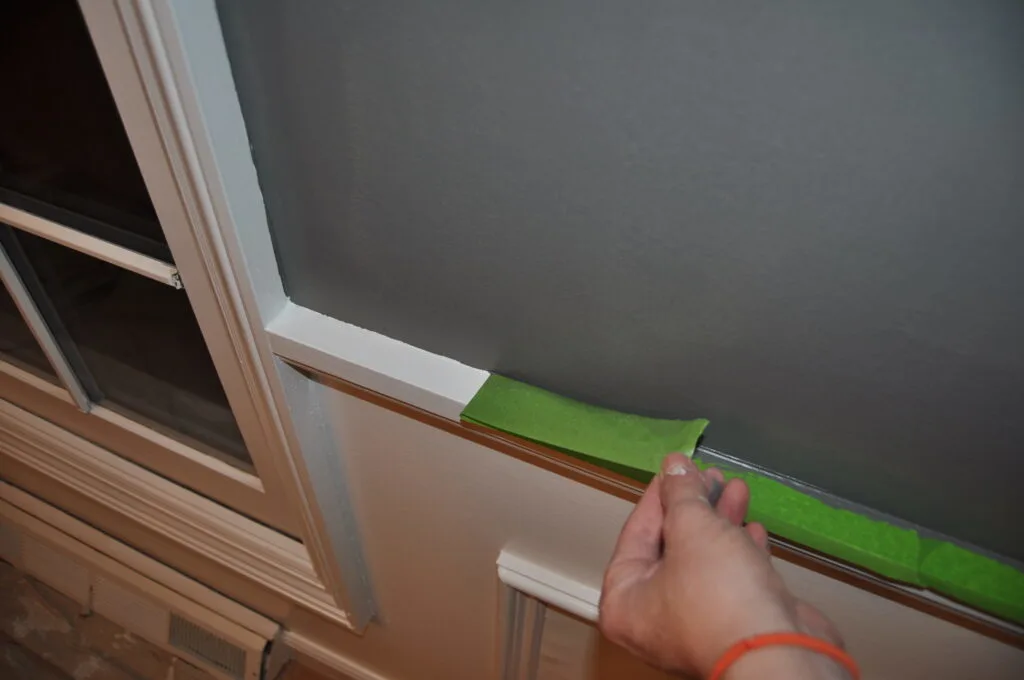
Once the white trim paint cured overnight, I prepped the room for the dark gray wall color. To achieve a crisp straight line at the chair rail, I applied FrogTape on the painted white trim.
I used the angled paintbrush to cut in around the doorways windows and ceiling. For best results, remove the tape while the paint is still wet.
7 | Paint the wall
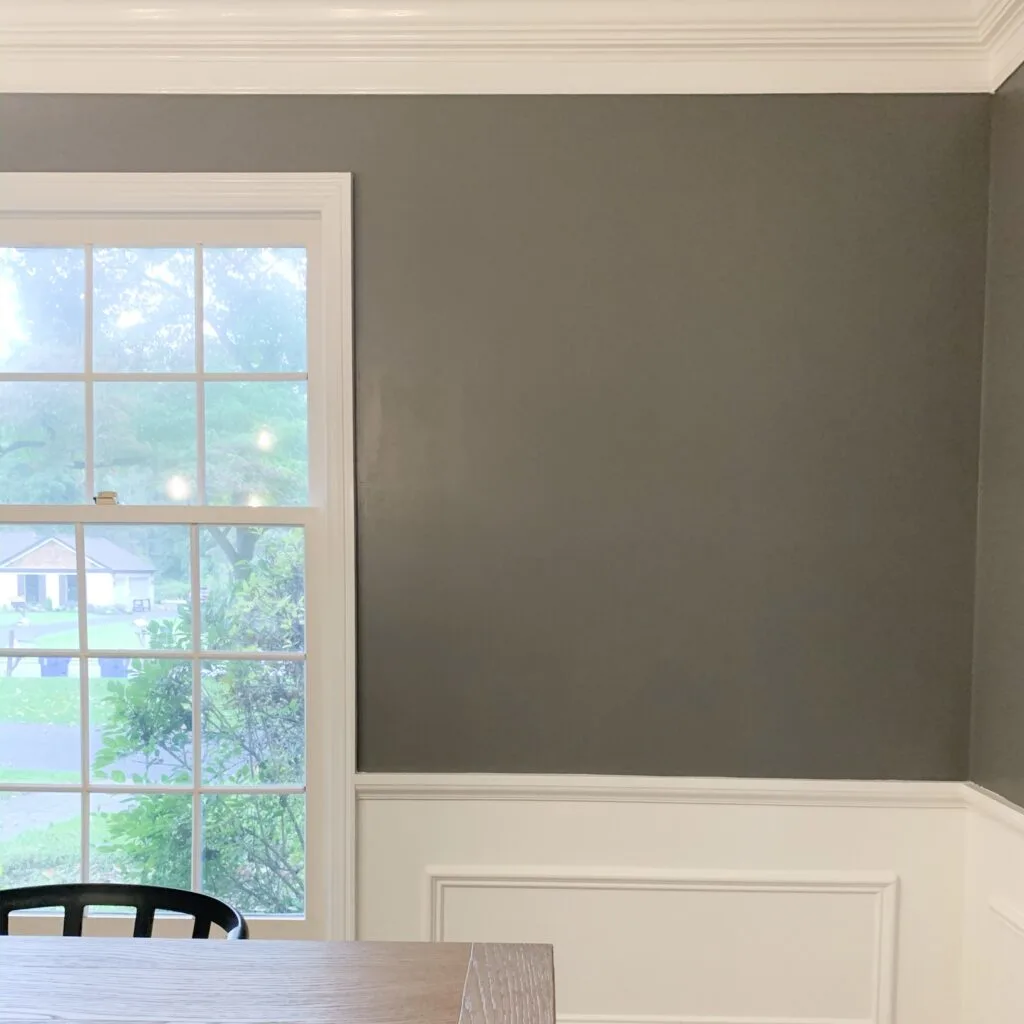
For the wall color, I worked with my Sherwin-Williams rep to color match the same dark gray on my kitchen island.
I used a satin sheen on the walls but eggshell also works great for interior spaces. While this gray is a custom color, it is a very close match to Peppercorn, by Sherwin Williams.
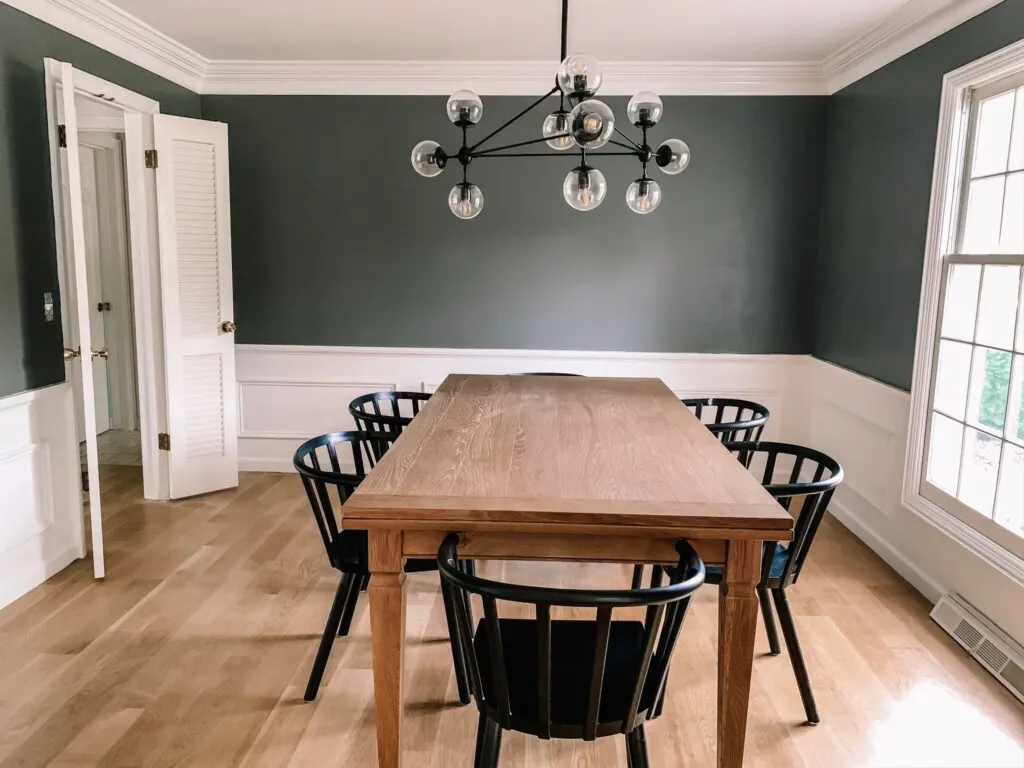
Dip the paint roller in the paint tray and remove excess paint so that the sleeve is covered but not dripping.
You want to avoid putting too much paint on the wall at once to avoid drips on the wall. If you find a spot that has a drip, roll over it to smooth out that part of the wall.
Painted Dining Room After
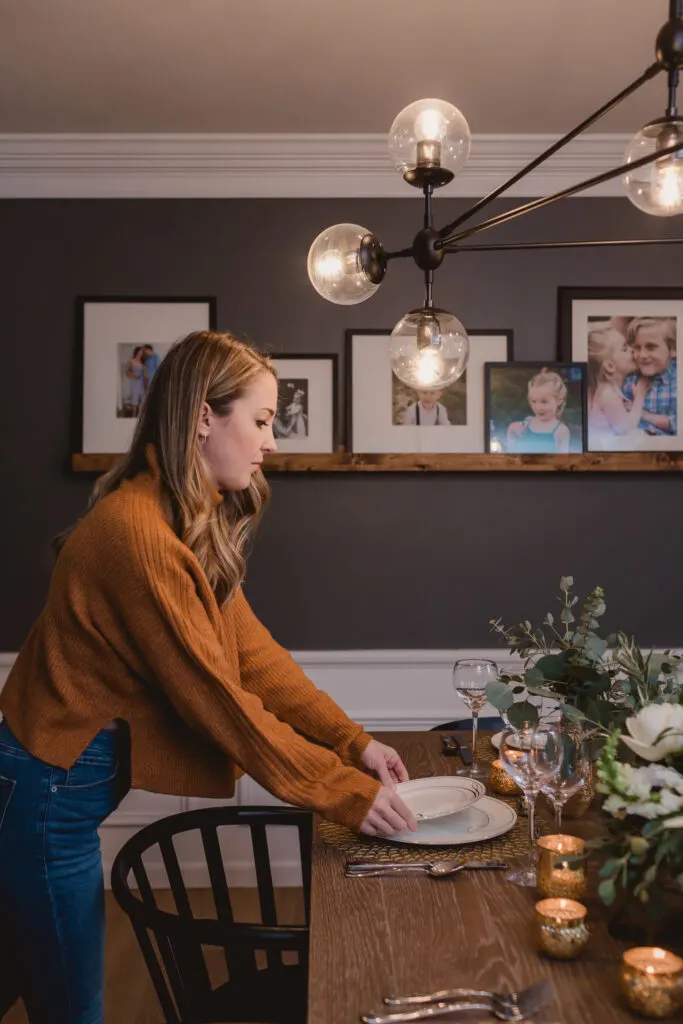
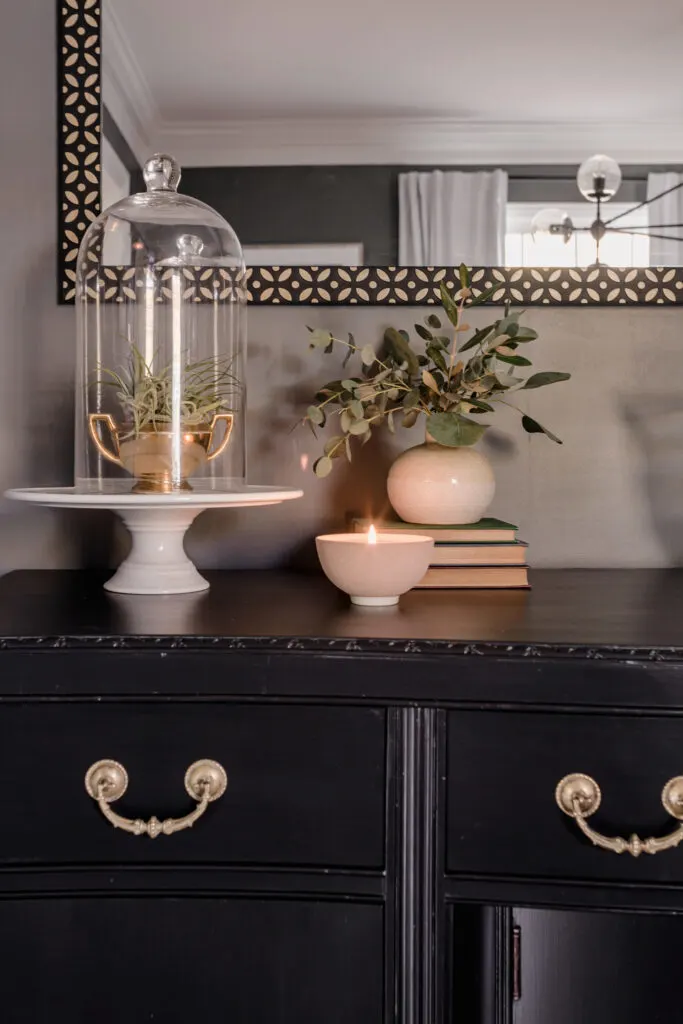
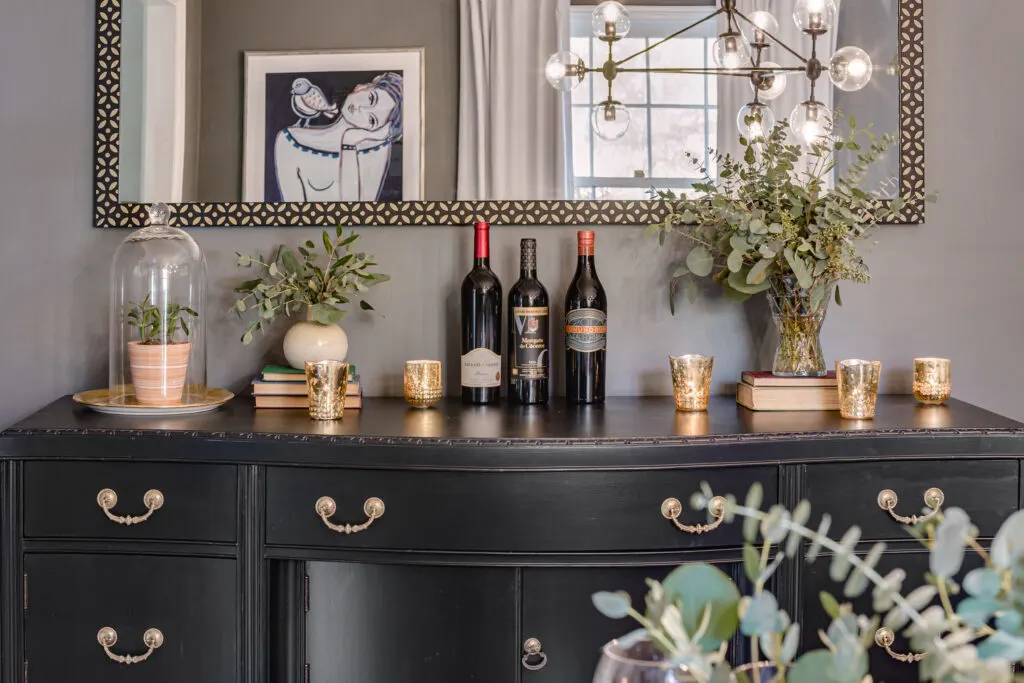
Give yourself a pat on the back and celebrate the transformation of your room! Add your favorite family photos and artwork to the walls and enjoy your beautiful space.
Similar Content You Will Love
- I Applied Latex Over Oil-Based Paint | How to Fix
- How to Paint a Dated Rock Fireplace | DIY
- Install Picture Frame (Box) Molding | Easy DIY
- How to Paint Concrete Basement Floors Using Epoxyshield
- How to Paint A Room with Carpeting | Tutorial
- The Best Supplies for Painting Interior Spaces
- How to Paint an Exposed Basement Ceiling
- How to Paint Your Old Floors Using Rust-Oleum HOME

To see more exciting One Room Challenge transformations check out my son’s modern bedroom makeover and our master bedroom reveal!
Purchase List
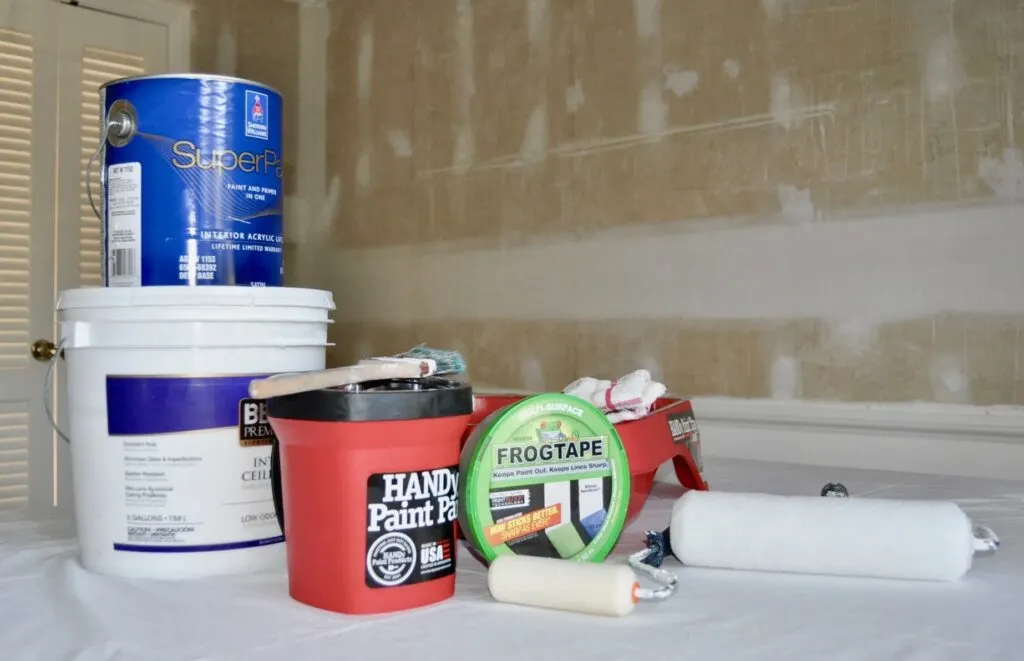
- Paint – Your ceiling, trim, and walls will need different paint sheens. Consult your paint supplier on the appropriate sheen or check out my cheat sheet below*
- Green FrogTape / Yellow FrogTape – Use this painters tape to achieve crisp paint lines and hassle-free clean-up
- Paintbrush – Use an angled brush when trimming the room. (I prefer 2″ brush)
- Paint tray and liner & paint cup & cup liner – using a liner makes for easy cleanup once the paint job is finished
- Roller sleeve – This will depend on the texture of your wall. For a smoother surface, get a shorter nap (1/2″, 3/8″ or 1″) if your wall has lots of texture, go for a thicker nap for better coverage
- Paint Roller
- Extension pole – To paint your ceiling
- Ultra-smooth roller sleeve & 4″ roller – This is used for tighter spaces, (around the chair rail detailing in my photos)
- Wet rag – To clean up any drips or smudges
- Dropcloth – To protect your floors & furniture. You can buy these or use old bed linens
- Spackle (and/or joint compound) & sanding block – to fill any holes in the wall and sand smooth once it dries
- Step ladder
- Wallpaper removal tools
*Paint Sheen Cheat Sheet
- Ceiling Sheen: Flat (some people go with a higher sheen for ceilings in bathrooms)
- Trim & Door Sheen: Semi-gloss
- Wall Sheen: Satin or Eggshell
- Cabinet Sheen: Satin


Brittany
Friday 30th of July 2021
Hi, what colors did you use in your dining room? Was the ceiling the same color as the trim and lower half of the wall?
lindseymahoney
Monday 2nd of August 2021
Hi there! For the lower half of the wall, I used untinted white in a semi-gloss sheen. To be honest, if I did it over again I would have done a satin sheen. The semi-gloss is a little shinier than I was hoping for but it still works in the space! I used the same untinted white for the crown molding. The ceiling is standard ceiling paint (untinted white) in a flat sheen. The walls are actually a custom color but very similar to Peppercorn by Sherwin Williams. I had my local Sherwin Williams store color match the gray cabinets we used for our kitchen island and used it in the dining room. This same gray is also used on the fireplace in our living room.
Molly
Wednesday 3rd of February 2021
What color is the bedroom with the Hemnes dresser, the blue ish gray color? Love love love it
lindseymahoney
Thursday 4th of February 2021
Thank you! The wall color is Outerspace by Sherwin Williams in a satin sheen on the walls and semi-gloss on the trim.
Bill
Wednesday 3rd of June 2020
Looks great. What sheen did you use for the white wall under the chair rail?
lindseymahoney
Wednesday 3rd of June 2020
Thank you so much! I used semi-gloss but a satin would look nice too if you want a little less shine.
Heather
Wednesday 18th of December 2019
Where did you get your kitchen chairs?
lindseymahoney
Wednesday 18th of December 2019
They are from Arhaus! :)