
Last Updated on August 8, 2023 by lindseymahoney
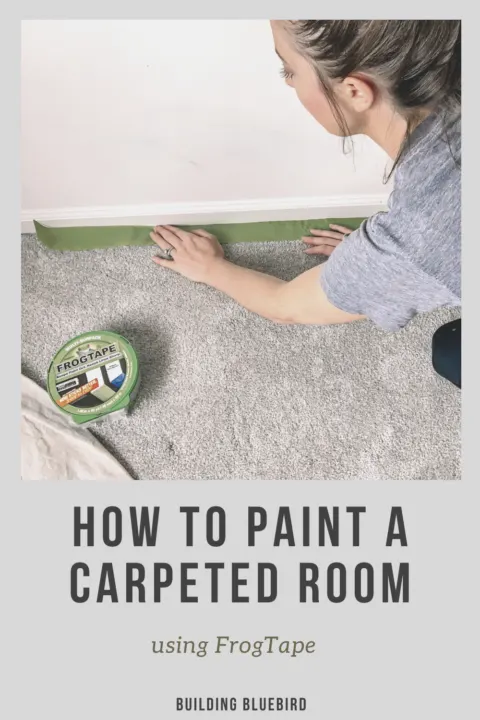
Whenever I begin a room makeover, I always start with painting the walls. The wall color lays the foundation for the design and a fresh coat of paint makes it feel fresh and new. Today I am going to take you through how to paint a carpeted room in 5 easy steps.

If you are new here, I am participating in the Spring One Room Challenge and updating my 7-year-old boy’s bedroom! Take a tour of his bedroom and check out my design plans here.
The One Room Challenge is an online experience where designers, bloggers, and social media accounts renovate a space in their home and share all of the details throughout the 8-week process. It is a great way to get inspired and motivated to complete a project in your home.


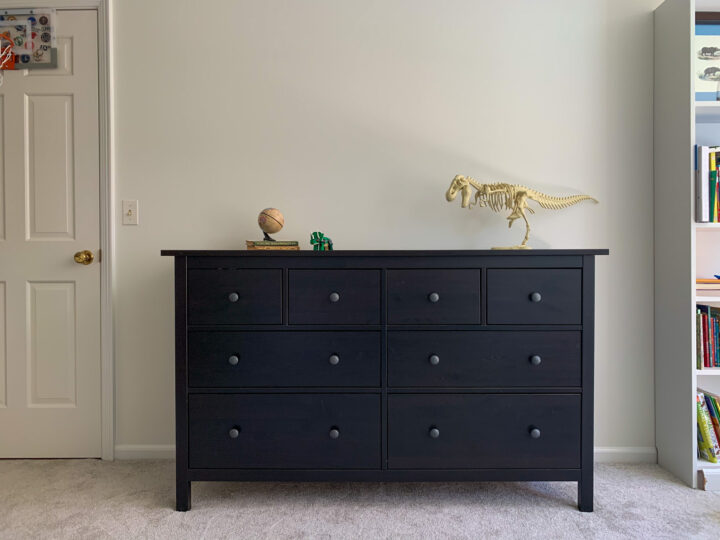
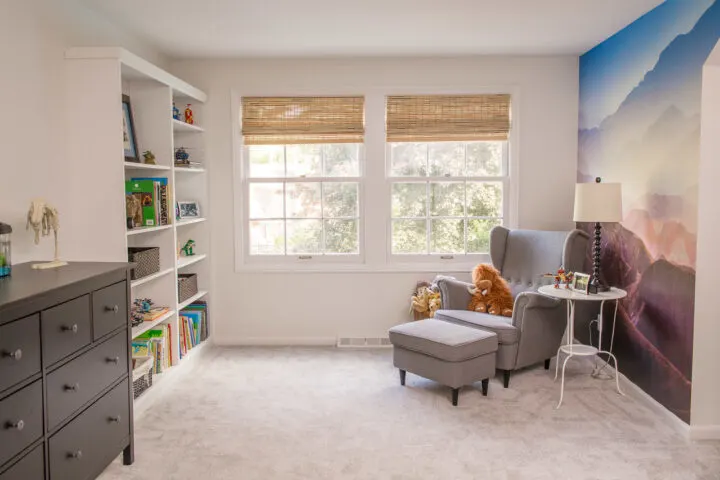
Boys Bedroom Before
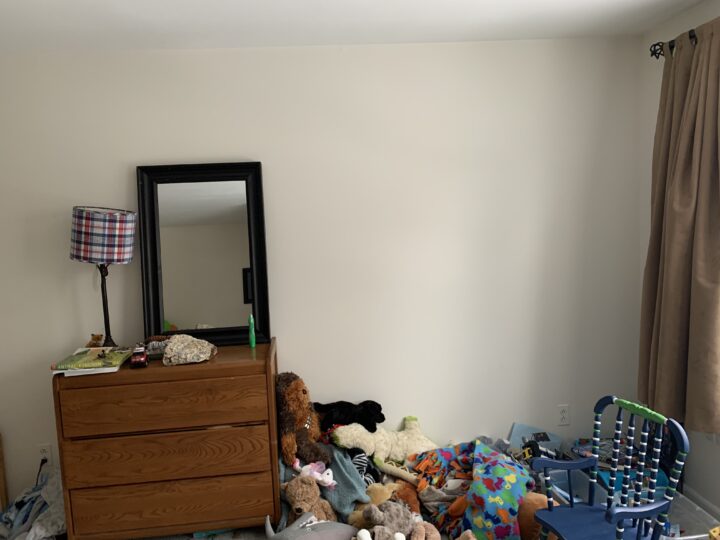
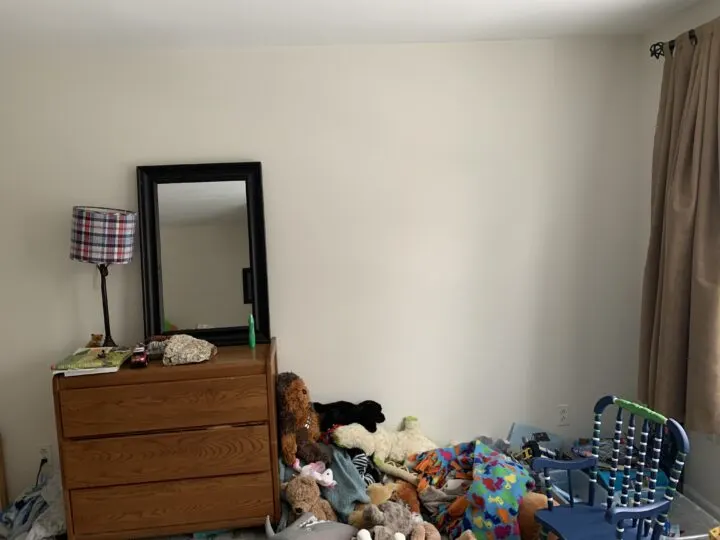
The walls don’t look too bad in the before picture of my son’s bedroom, but they were quite scuffed and yellowed from over the years.
The plan is to paint a fresh coat of white to brighten up the space.
It is amazing what new paint on the ceiling walls, and trim can do to make a room feel like new! I chose a warm, neutral paint color for the base of my design – Alabaster by Sherwin Williams.
My goal is to design a room that will allow him to grow up in this space without any major changes. I want him to feel inspired in this space that brings him joy.
I will be adding elements of his personality to the decor in the bedroom that I will be sharing in the coming weeks. Let’s get started!
How to Paint a Room with Carpeting
*This post is sponsored by FrogTape. All content and opinions are my own.
Watch the full video tutorial on YouTube below!
Source List to Paint a Room

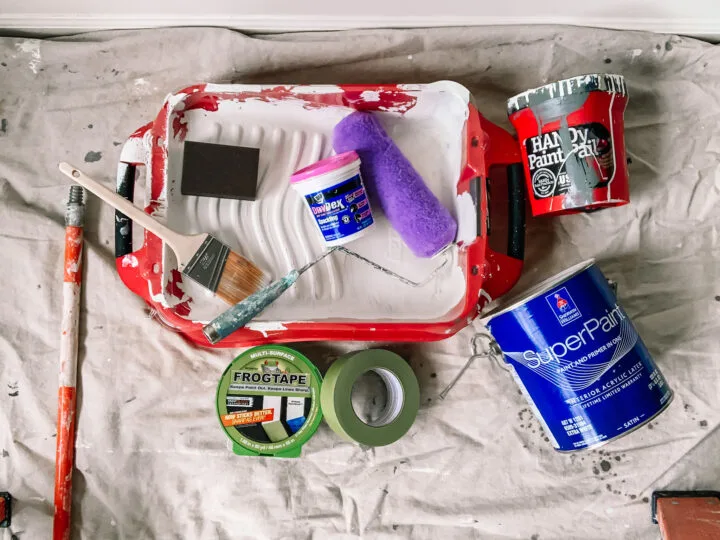
- Ceiling Paint for the ceiling, trim, and walls (check out this paint sheen cheat sheet)
- FrogTape – to protect the carpeting and crisp paint lines
- Dropcloth – to protect the floor and furniture (you can also use old bedsheets)
- Spackle & sanding block – to fill any holes in the wall and sand smooth once it dries
- Paint tray and liner & paint cup & cup liner – using a liner makes for easy cleanup once the paint job is finished
- Paint roller & sleeve – My walls are smooth so I use a shorter paint roller nap (use a thicker nap for more textured walls)
- Angled paintbrush – I prefer 2 to 2 1/4 inch size brush
- Extension Pole – to paint the ceiling
- Step Ladder

Step 1 | Prep the Room for Paint

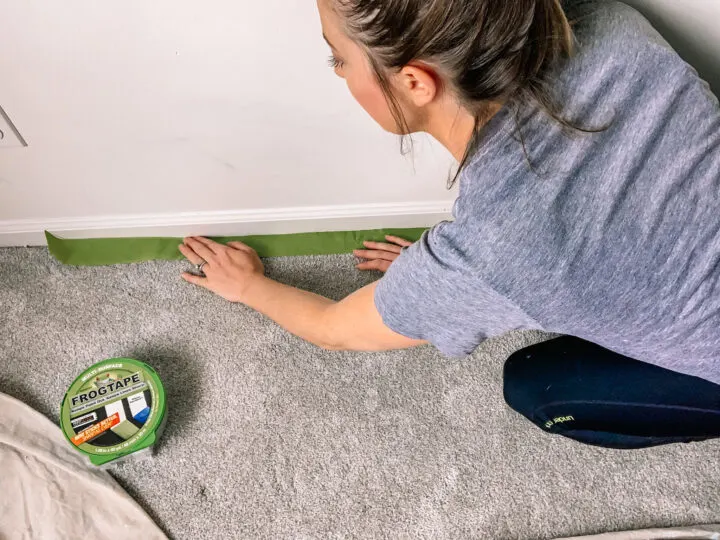
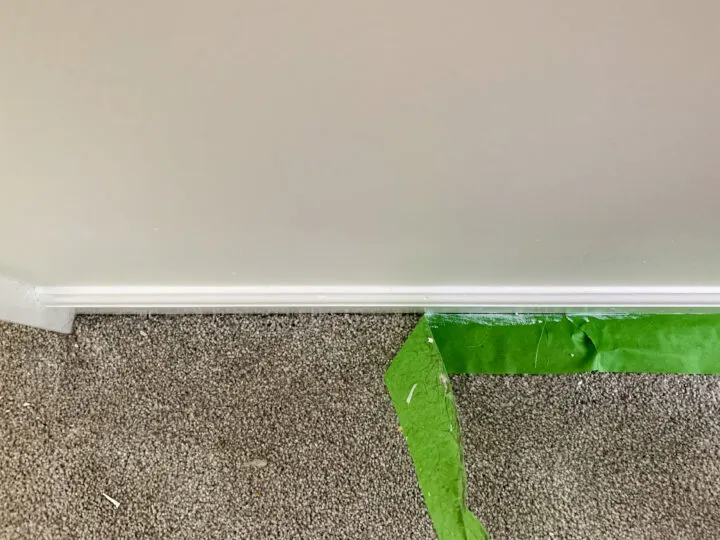
Apply FrogTape around the perimeter of the room to protect the carpet.
Lay it right against the baseboard and press down tight to the carpeting. This will allow you to paint the entire baseboard without getting any paint on the carpet.
Apply tape to the perimeter of the windows as well to paint the window trim.

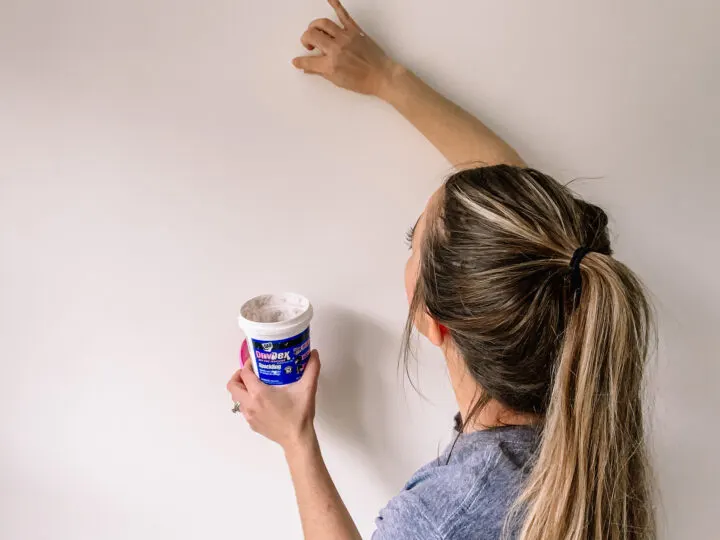
Fill any nail holes with spackle. You can use a putty knife if you prefer, but I just use my fingers to apply the spackle and remove any access on the wall.
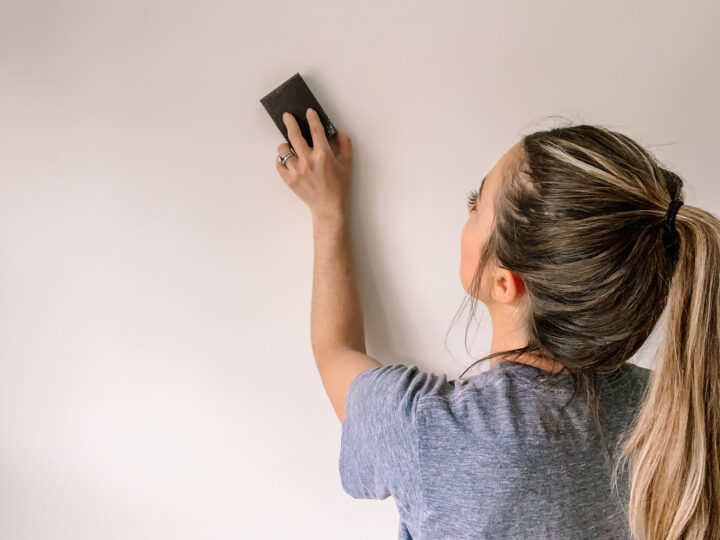
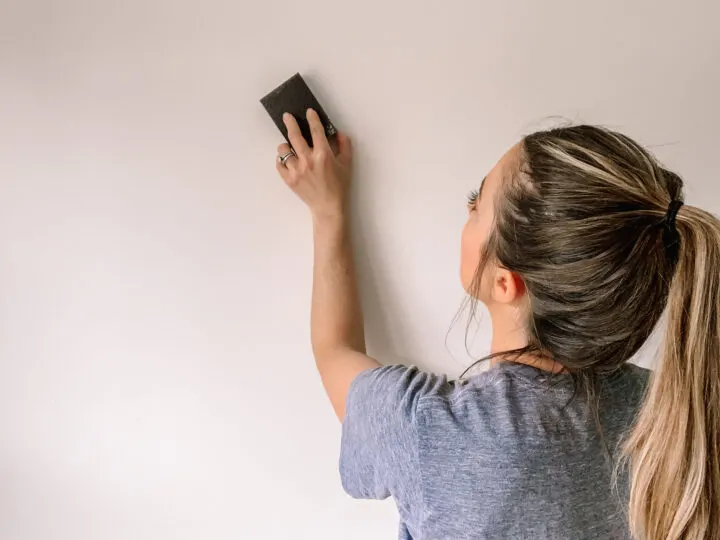
Let the spackle dry for one to two hours. Once it is dry, use a sanding block to make the wall smooth.
Lay down your drop cloth to protect the floor and furniture when painting. Finally, remove the faceplates of your outlets and switches to paint around each.
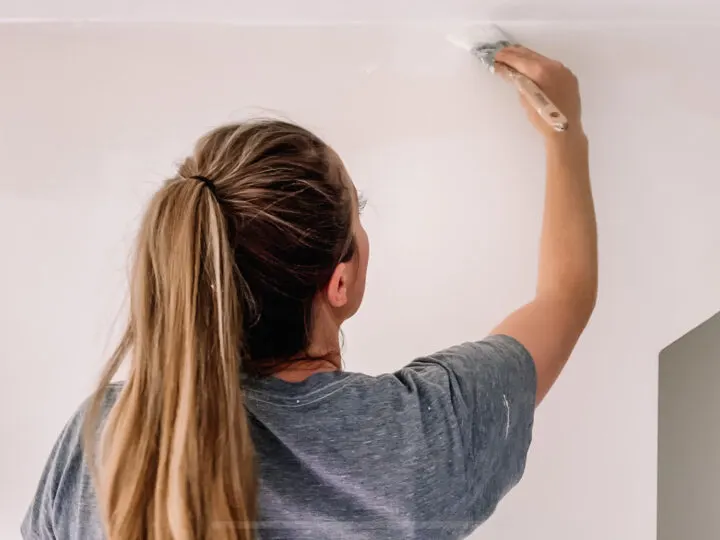
Step 2 | Paint the Ceiling

My go-to ceiling paint is the standard white in a flat sheen.
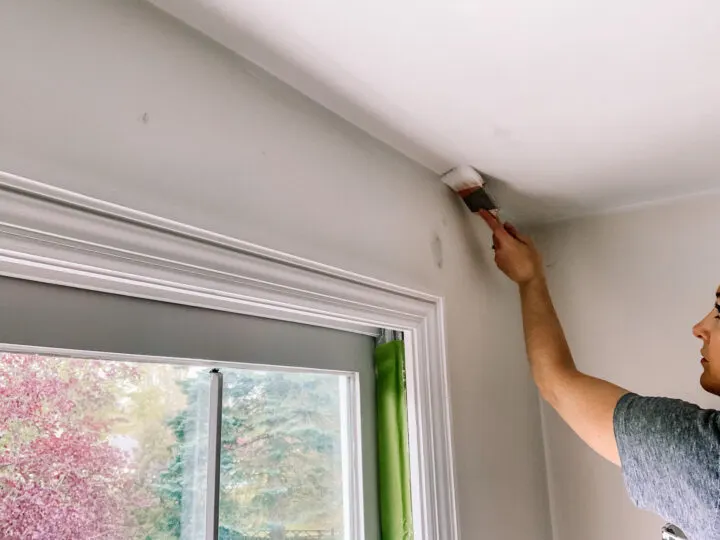
Begin by trimming out the ceiling with your paintbrush. Don’t worry about painting a straight line at the edge because you will be painting over the walls with your wall color.
Once you have painted the perimeter of the ceiling, use your short nap roller sleeve to paint the remainder of the ceiling.
Attach the extension pole to easily reach the ceiling with your roller. When painting the ceiling, use long strokes and apply even pressure.
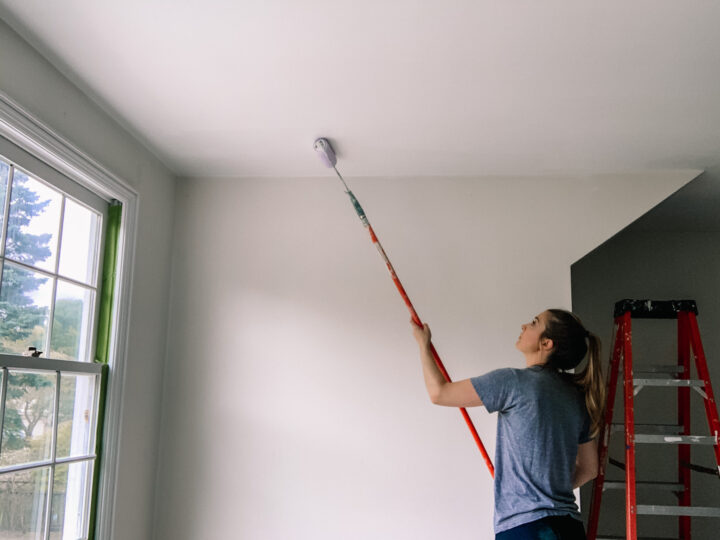
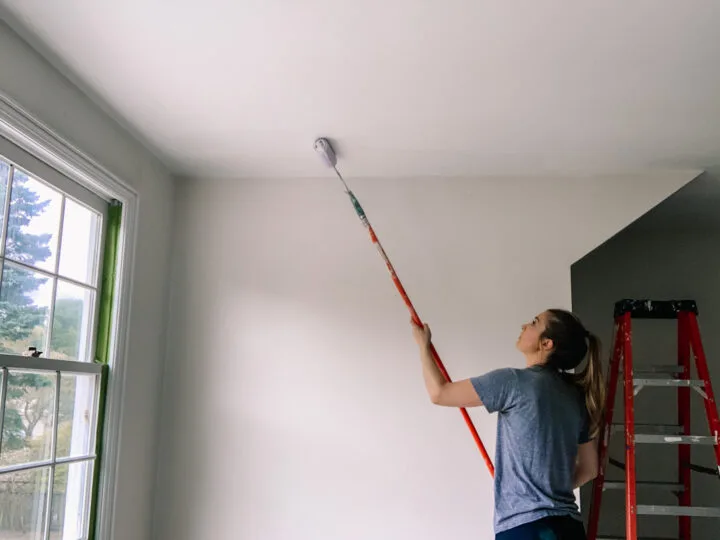
Roll over any paint creases that may appear if you apply too much pressure on the ceiling. Applying two coats of ceiling paint will provide the best results.
Step 3 | Paint the Baseboards & Trim
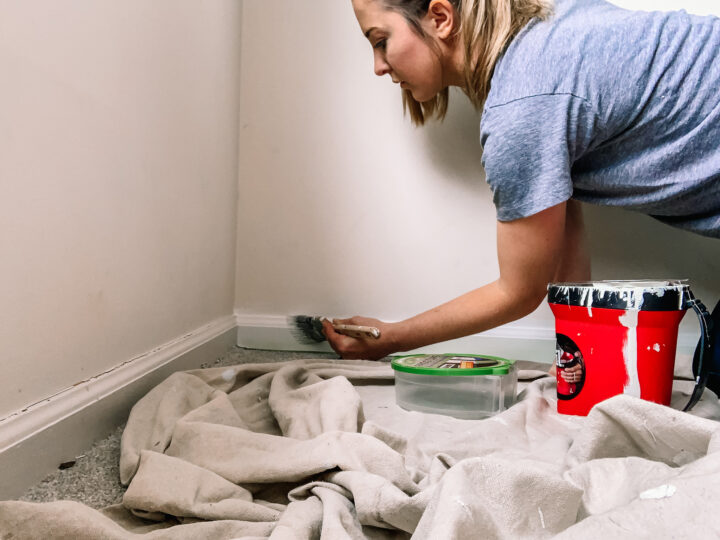
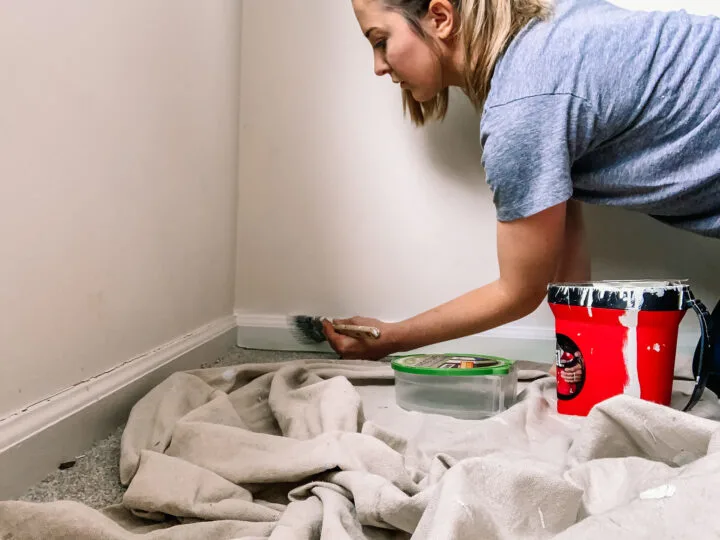
Next, I paint the baseboards and trim around the windows and doors using semi-gloss paint in standard white.
Because I paint the walls last, I do not worry about painting within the lines where the trim meets the wall. Again, two coats of paint will give full coverage and provide the best results.
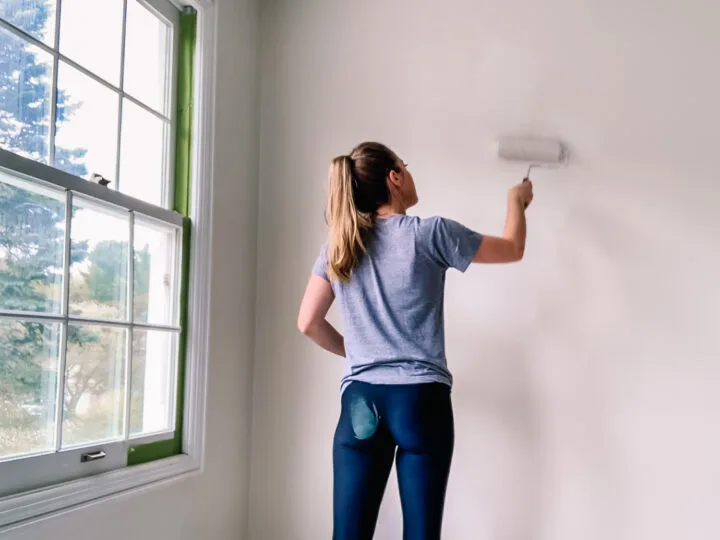
Step 4 | Paint the Walls

I chose Alabaster by Sherwin Williams for the wall color, which is one of my favorite neutrals. I like to start by painting the trim against the ceiling.
Because I am painting this room a warm white and I am confident in my steady hand from many years of practice, I will cut around the ceiling, baseboards, and window trim on my own.
If I was not confident in painting straight lines or if I was painting a darker color on the wall, I would apply the yellow FrogTape, which is best for delicate or freshly painted surfaces.
Taping out all of the trim will create a nice crisp paint line.
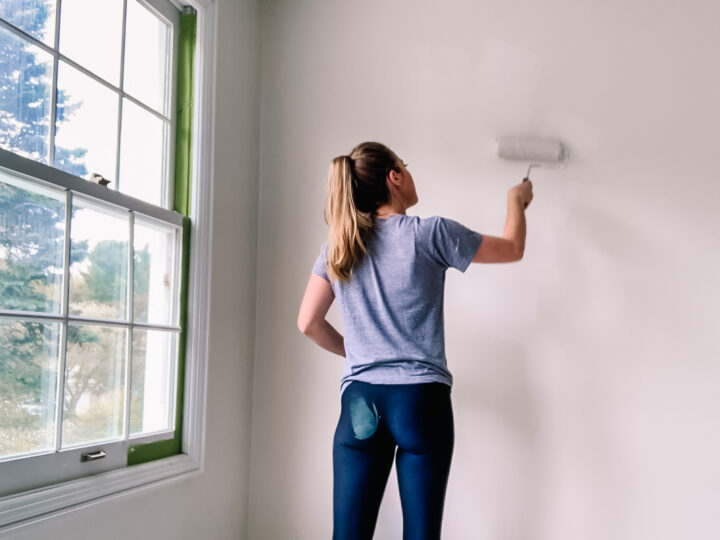
I use my paintbrush to trim against the ceiling, baseboards, window, and door trim, the corners of the room, and around the outlets and switches.
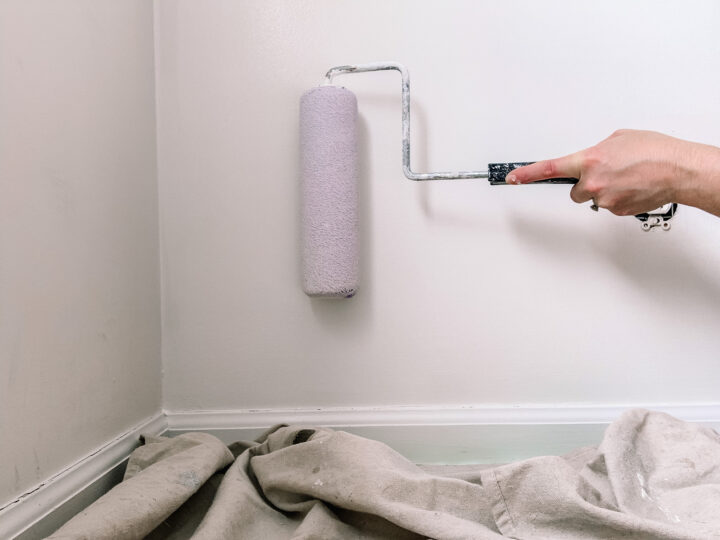

Then I used my paint roller to paint the rest of the walls. Apply two coats of paint on the wall.
Step 5 | Remove Tape & Clean Up

Pick up the drop cloths and attach the outlet and light switch faceplates.
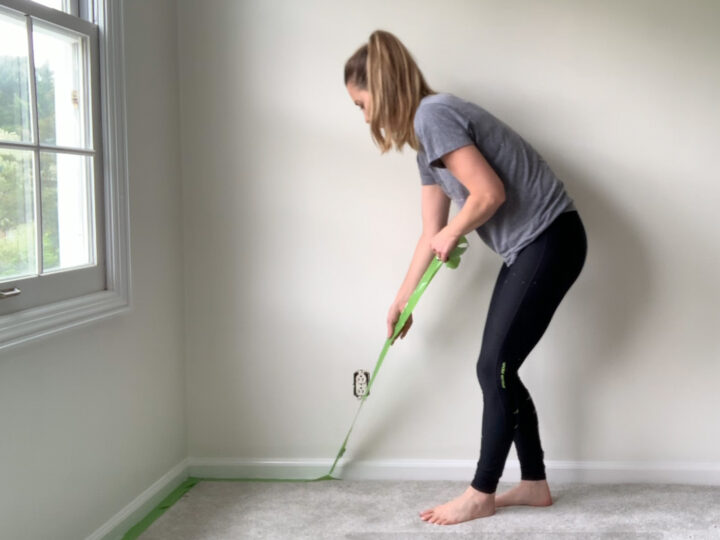
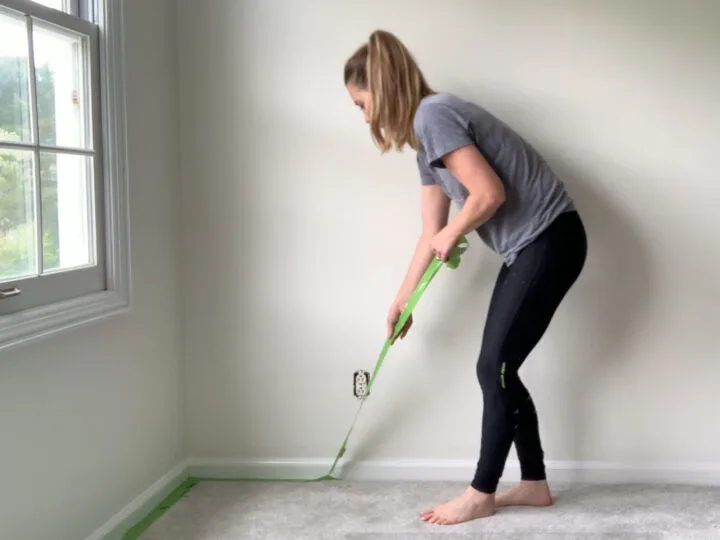
Remove the FrogTape around the windows and carpeting.
Move your furniture back into the room and enjoy your freshly painted walls!

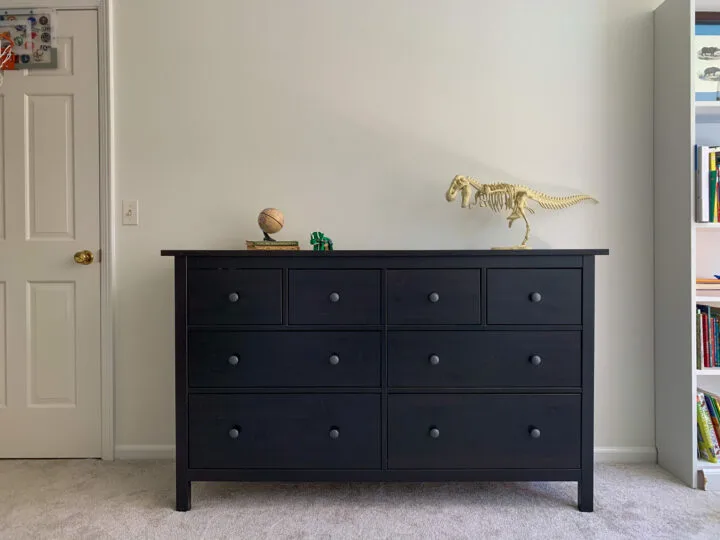
Painted Walls Reveal
A fresh coat of crisp, white paint looks so good and doesn’t have to be boring.

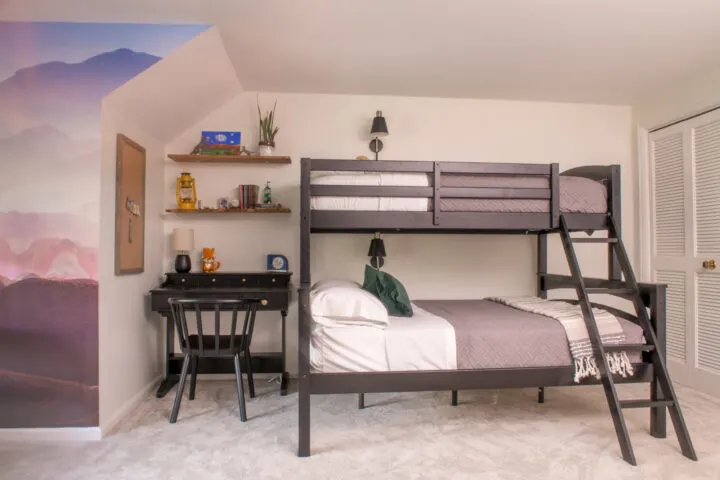
On one wall, I installed a mountain mural to add a pop of color to the room.

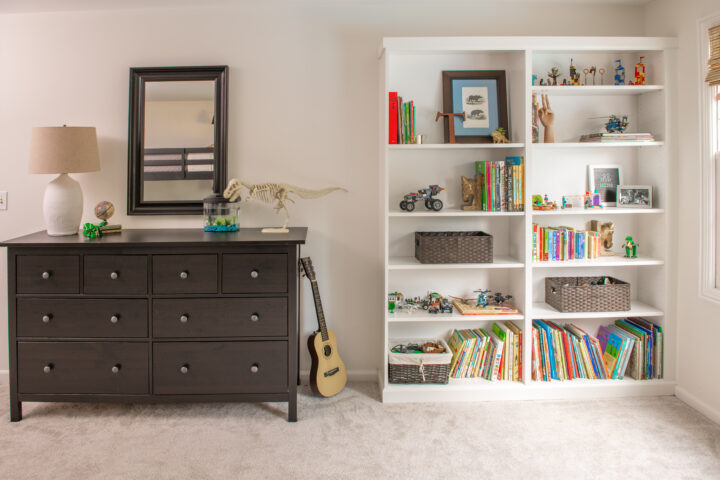
The IKEA bookcase hack is the perfect spot for my child to display the books and items that he loves.

My boy’s bedroom makeover created a perfect blank slate for him to add his own personality to the space. The clean white walls are now filled with posters and LED lights lining the bunk bed.
I hope this tutorial gives you the confidence to paint a room with carpeting in your own home!
By prepping your space and using the right materials, you can paint a room in your house and achieve professional results.
More Content You Will Love
- How to Paint Concrete Basement Floors Using Epoxyshield
- The Best Mushroom Paint Colors for Your Home
- How to Paint an Exposed Basement Ceiling
- I Applied Latex Over Oil-Based Paint | How to Fix
- How to Paint Your Old Floors Using Rust-Oleum HOME
- The Best Supplies for Painting Interior Spaces
P.S. Don’t forget to check out the progress from all of the other OCR participants on the One Room Challenge blog!
painter nz
Thursday 26th of November 2020
Hey thanks for posting this useful information about how to paint a carpeted room orc week-2, I really hope it will be helpful to many. It will help a lot; these types of content should get appreciated. I will bookmark your site; I hope to read more such informative contents in future. Appreciative content!Great to find Touchofclass.co.nz which has same kind of wonderful tips, if possible then visit.
Caitlin
Thursday 14th of May 2020
Fresh paint makes such a difference! Great tips Lindsey! Excited to follow along :)
lindseymahoney
Friday 15th of May 2020
Thank you so much!