
Last Updated on February 26, 2025 by lindseymahoney
Let’s DIY the popular bobbin frame trend that is showing up in all of our favorite designers homes! I looked into buying one of these picture frames and could not find one for under $50! This easy and affordable DIY achieves the same look for a fraction of the cost.


Let’s get started!
Table of Contents
- DIY Bobbin Frame Materials Needed
- How to Easily Make Your Own Bobbin Frame for Less
- 1 | Attach Bobbins to the Frame
- 2 | Add a Pop of Color to Your Frame
- 3 | Hang Your DIY Bobbin Frame and Enjoy!
- More Content You Will Love
DIY Bobbin Frame Materials Needed


- Picture frame – Use a picture frame with a simple flat design, without any ridges
- Wooden bobbins – measure the width of the frame and purchase bobbins closest to this size (mine are 1/2 inch)
- Tacky glue or hot glue gun
- Paint (or spray paint)
- Primer (optional)
How to Easily Make Your Own Bobbin Frame for Less
[Affiliate links are included where I receive a small commission at no additional cost to the consumer. Thanks for supporting Building Bluebird!]
1 | Attach Bobbins to the Frame


Before attaching any of the wooden bobbins to the frame, place them on the frame to determine the best amount of bobbins. Once you determine the number of bobbins for the top and bottom of the frame, begin to attach them to the frame using glue.
Hot glue or craft glue works for this project, but I found craft glue to be an easier option. Place a small amount of glue on the back of the wooden bobbin and press onto the frame. Try not to apply too much glue because it will seep out of the sides creating a “DIY look”. The craft glue also allows for a little wiggle room if you need to move any of the bobbins slightly once you complete one side of the frame.


Using the same number of bobbins, apply them to the other side of the frame to create a mirror image. Continue adding the bobbins until the frame is complete.
2 | Add a Pop of Color to Your Frame
Once the bobbin frame dries (I would wait 24 hours), it is time for paint!

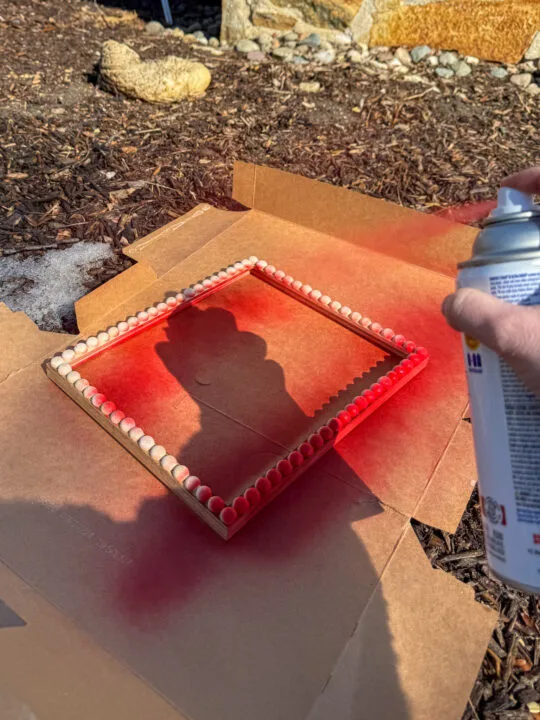
For more DIY bobbin frame, I used spraypaint. This was a quick and easy way to paint the frame, however, I would consider a different approach if I did it again.
To create a truly professional look, adding a paint primer first is a good idea. This creates a smooth and even surface for the paint to better adhere. I would also like to try applying paint with a paint brush to maximize coverage across the picture frame.

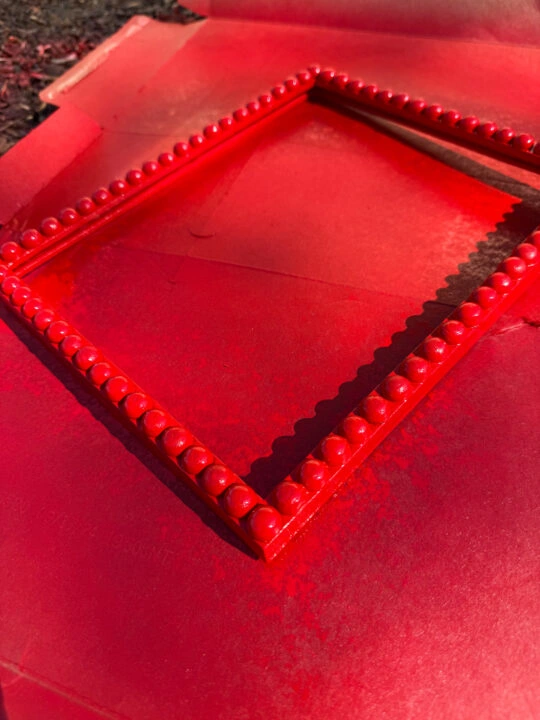
Once the paint is applied, seal the entire picture frame with a clear lacquer. Personally, I like the high gloss look and prefer this finish to satin or matte.

Let the frame dry for 24 hours.
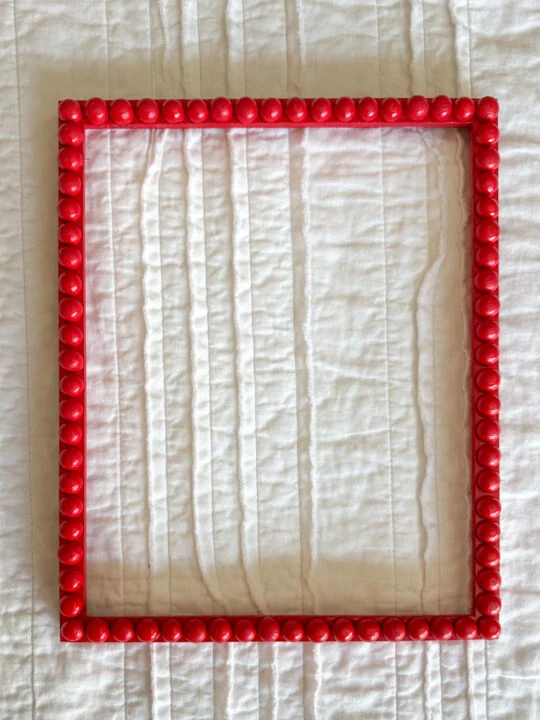
3 | Hang Your DIY Bobbin Frame and Enjoy!

Once the picture frame is dry, reassemble the glass, matting (if included) and artwork. Admire your custom picture frame on the wall or displayed on a table!


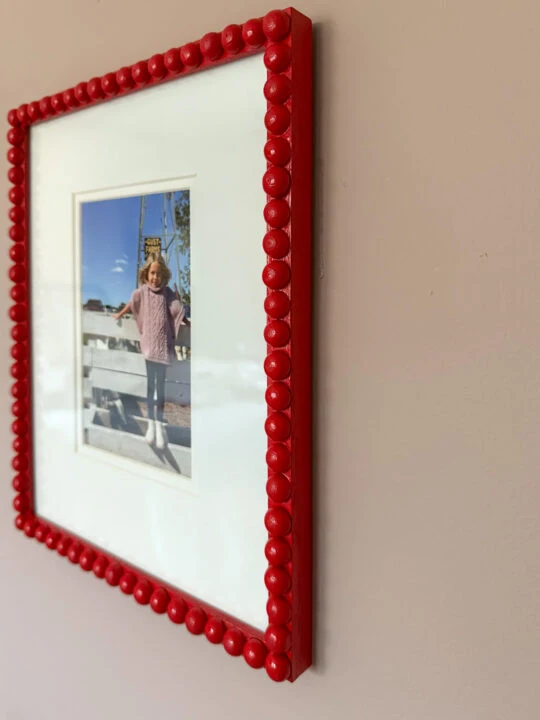
The walls in my office are a muddy pink and I knew a pop of red on this picture frame was the perfect way to add a little personality to the space.
This DIY bobbin frame is the perfect project for beginners that will give a high-end look to your home decor. Good luck!