
Last Updated on May 6, 2024 by lindseymahoney
If you’re looking to give your bedroom a fresh new look, painting your bed frame is a great idea! Not only does it provide a clean, modern look, but using leftover paint is also an eco-friendly and budget-friendly choice. With just a few supplies and some basic steps, you can transform your bed into a stylish centerpiece of your room. Follow this step-by-step guide to learn how to paint a bed frame.
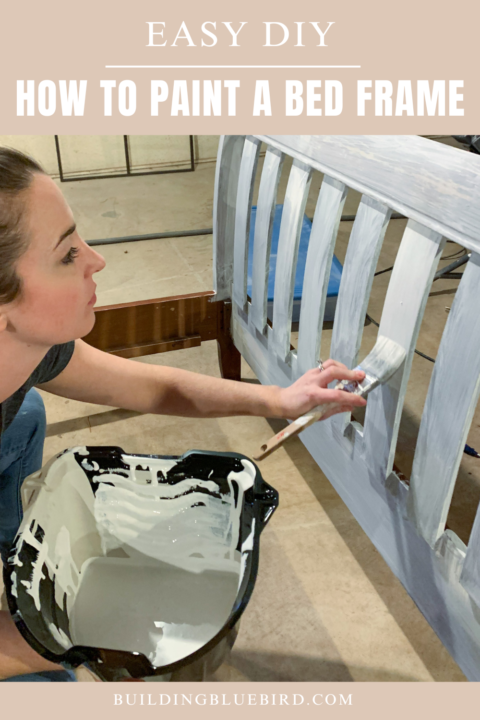

Table of Contents
- How to Paint a Bed Frame with Primer & Latex Paint
- 1 | Gather Your Paint Supplies
- 2 | Prepare the Area
- 3 | Clean and Sand the Bed Frame
- 4 | Apply the Paint Primer (2 coats)
- 5 | Apply Paint to the Bed Frame
- 6 | Apply a Protective Finish (Optional)
- 7 | Reassemble the Frame and Enjoy
- More Furniture Makeover Posts You Will Love
- Frequently Asked Questions
- Looking for More Easy DIY Projects for the Home?
How to Paint a Bed Frame with Primer & Latex Paint
Affiliate links may be used, thanks for supporting Building Bluebird!
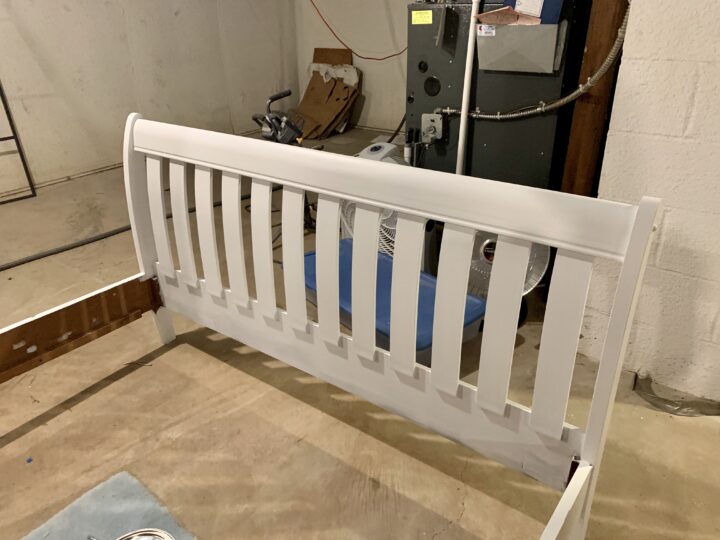
I purchased this wooden bed frame off of Facebook Marketplace in 2014 with every intention of painting it for my sons’ bedroom. Well, life got in the way and that DIY project never happened!
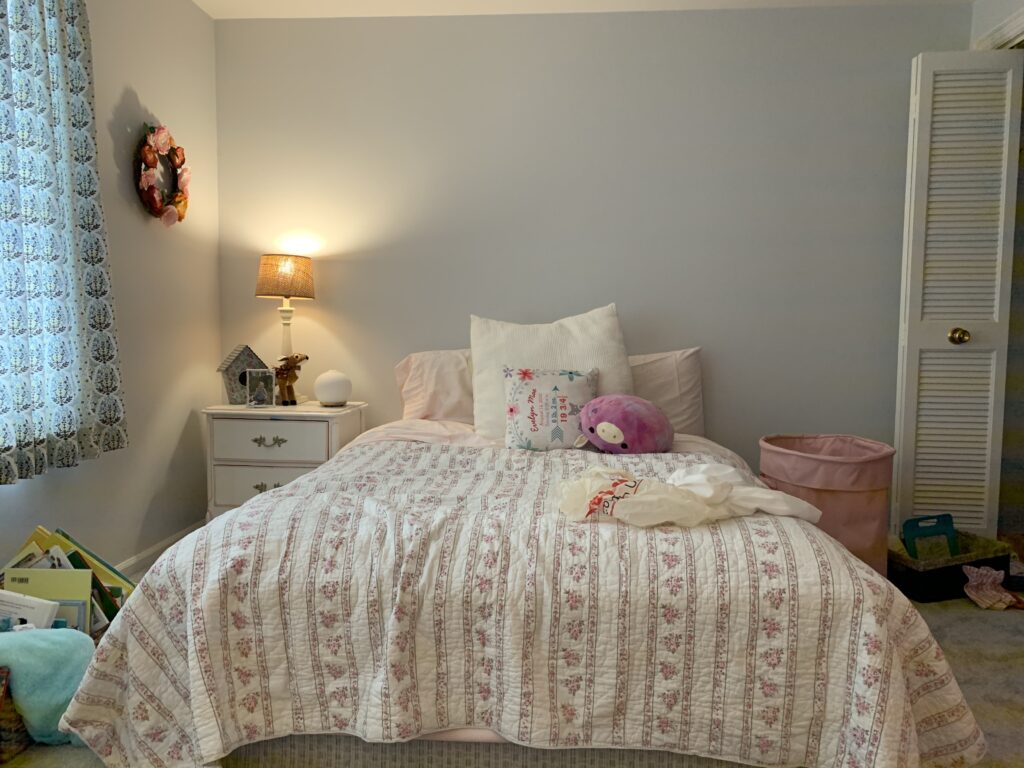
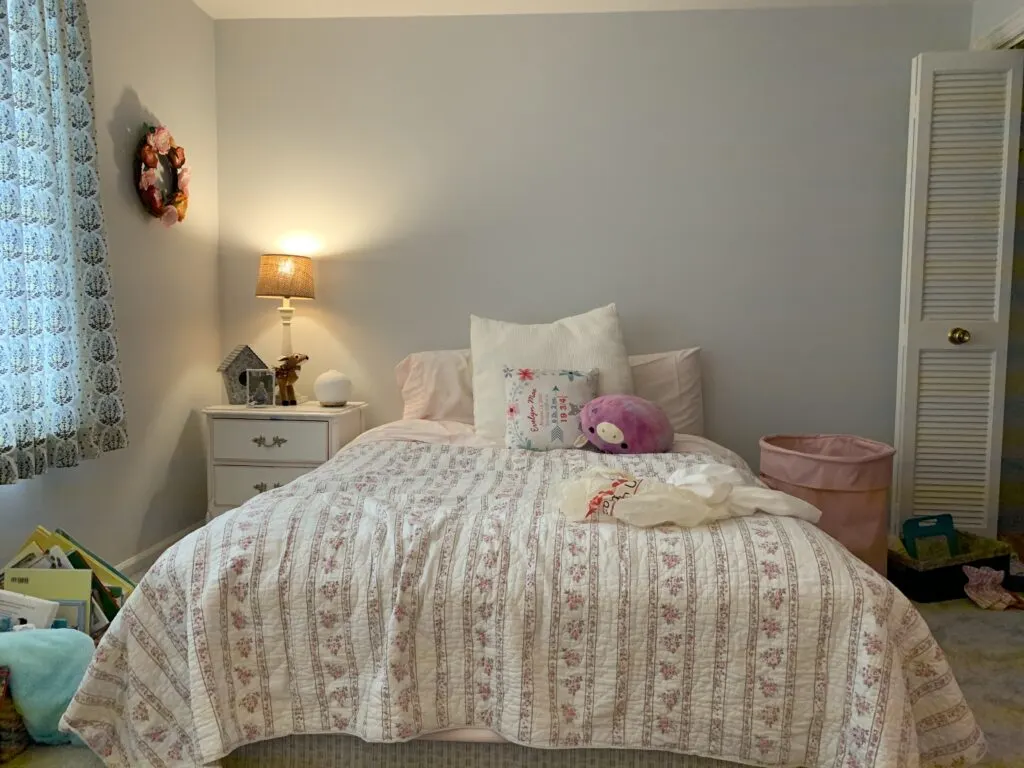
When we moved into our new home in 2019, my daughter was ready to transition into a big girl bed. This was the perfect time to finally paint the bed frame for our new bedroom! Here is my daughters bedroom when we first moved in and the mattress on the floor.
If you have followed my DIY journey, you know that I kinda fly by the seat of my paints when it comes to home projects. If the mood strikes me to tackle a DIY project, I go with it and use what I have!
That is exactly what happened with this project where I used leftover white paint and it turned out great. I also saved money which makes my heart happy!
1 | Gather Your Paint Supplies
Before you begin painting your bed frame, you’ll need to gather all the necessary supplies.
Materials for This Project

- Sanding Block – I recommend 120 and 220 grit
- Angled Paint Brush – 2″ preferred
- Paint Roller
- Paint primer – I had Kilz on hand to use – highly recommend if you are painting dark wood
- Satin White Paint – or whatever paint you have leftover that you want to use
- Handy Paint Pail Container & Liners
- Damp Rag
- Drop cloth or area you don’t mind paint drips
While I used leftover paint and it worked just fine for this bed, there are more durable paint products that I recommend if you do have to purchase paint for this project.
2 | Prepare the Area
Clear the Space
Move the bed frame to a well-ventilated area, preferably outside or in a garage. If moving the bed frame is not possible, ensure good ventilation by opening windows and using fans.

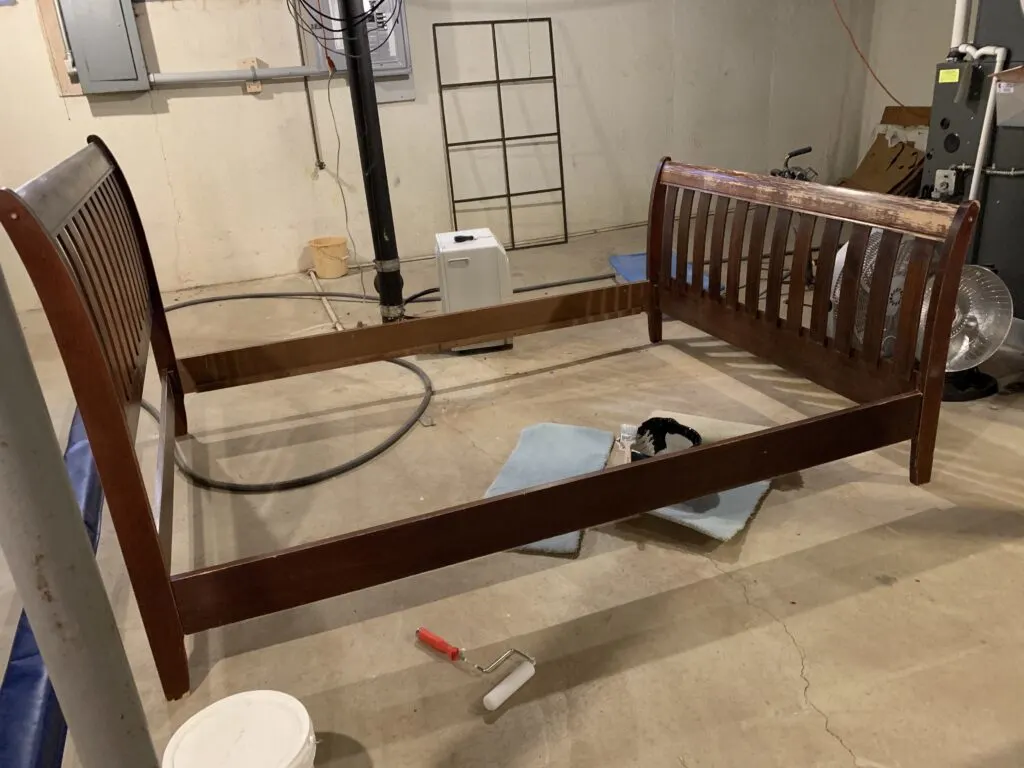
Because I tackled this DIY paint project during the winter months, I set up the bed frame in our unfinished basement.
Protect the Surroundings
Lay down a drop cloth or old sheets to protect the floor and nearby furniture from paint splatters.
Disassemble the Bed Frame (Optional)
Take off the mattress and any bedding to expose the bed frame. Use a screwdriver to carefully disassemble the bed frame if possible. This will make painting easier and ensure an even coat.
I don’t always follow my own rules so I painted the bed frame as it was assembled so I could paint both sides of the headboard and footboard more quickly.
3 | Clean and Sand the Bed Frame
Clean the Surface
Wipe down the entire bed frame with a damp cloth and cleaning agent (if necessary) to remove dust, dirt, and oils. Let it dry completely.
Sand the Frame
Lightly sand the bed frame with 120-grit sandpaper to scuff up the surface, which helps the paint adhere better. For a smoother finish, follow with 220-grit sandpaper. Wipe away sanding dust with a clean cloth or tack cloth.
4 | Apply the Paint Primer (2 coats)
If your bed frame is made of a dark wood or has a glossy finish, applying a primer is recommended. This will help the white paint cover better and last longer.
For this project, I used Kilz (water-based primer) because I had a can sitting in my basement.
If you find that the wood bleeds through the primer or makes your white paint look yellow in some areas, I recommend Zinnser oil-based primer. Oil-based primers are a great option for a smooth finish, however, they are really stinky and should really be used in a well-ventilated area or outdoors.
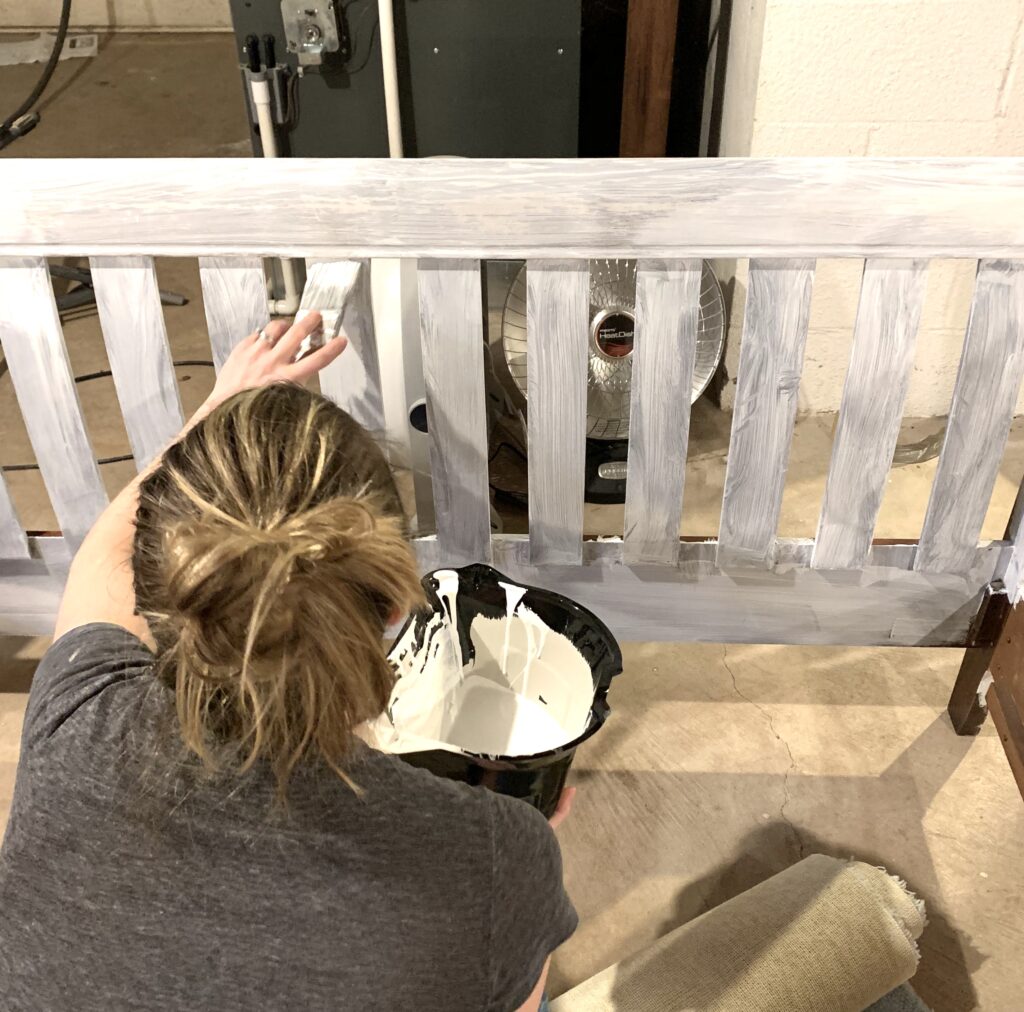
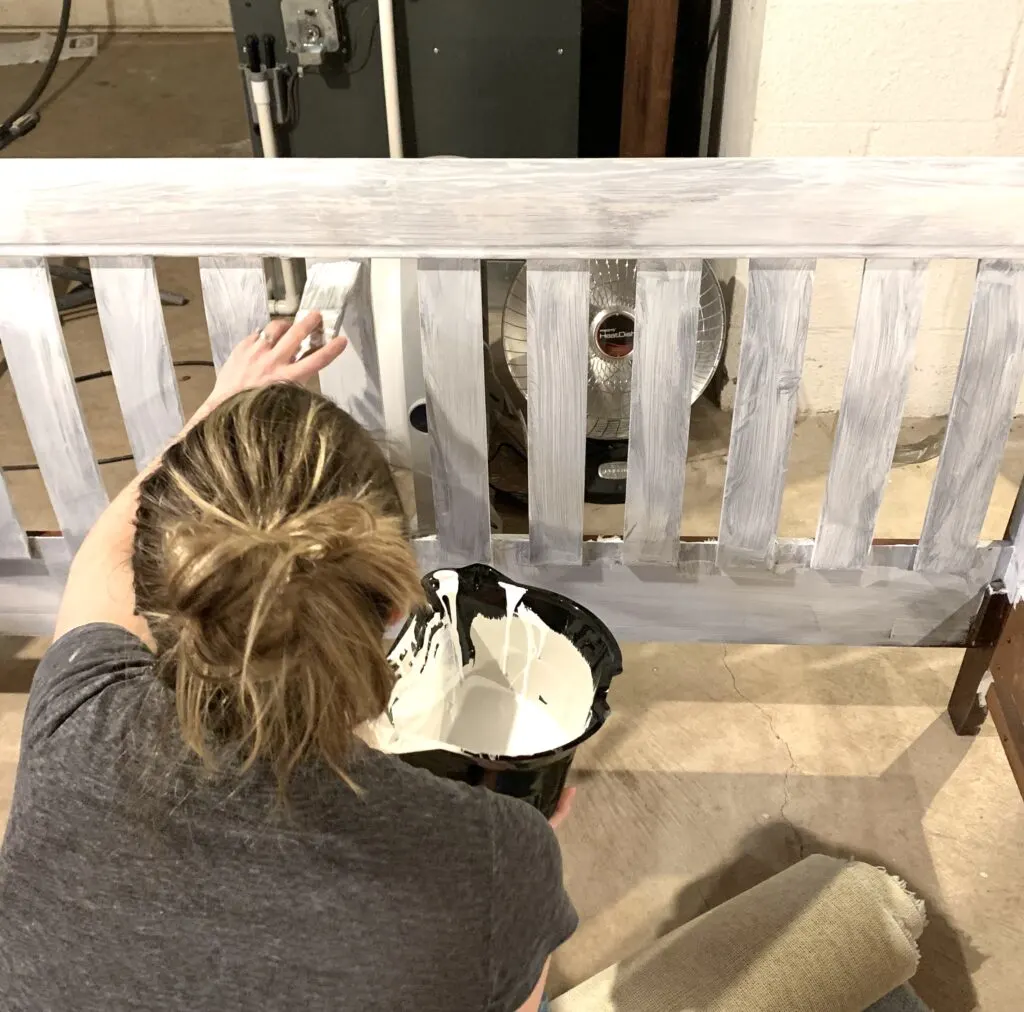
Use a paintbrush or roller to apply the primer evenly to the bed frame. Be sure to cover all areas, including any nooks and crannies.
In my experience, I preferred using the paint paintbrush over the roller, I felt like I could move more quickly.
Allow the primer to dry completely before moving on to the next step. Depending on the type of primer you use, this could take anywhere from 30 minutes to a few hours.
Apply a second coat of primer to ensure complete protection from wood grain bleeding through.
5 | Apply Paint to the Bed Frame

Stir the Paint
Open your leftover white paint and stir it well to ensure even consistency. I like to shake the can a bit before opening too.
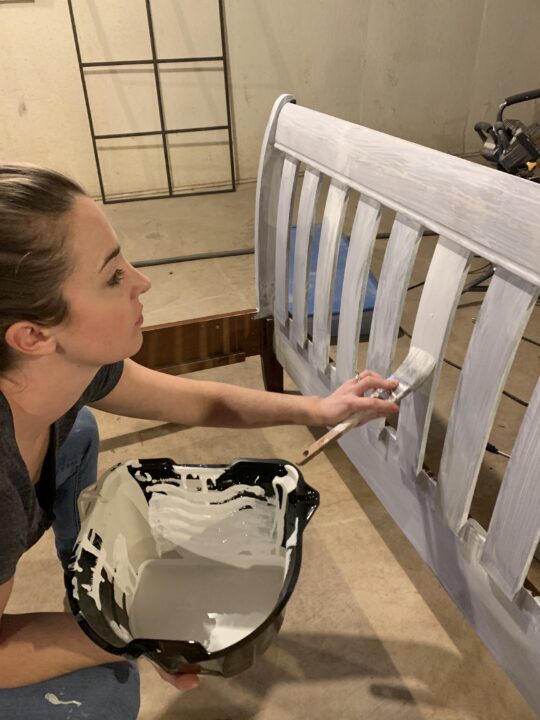
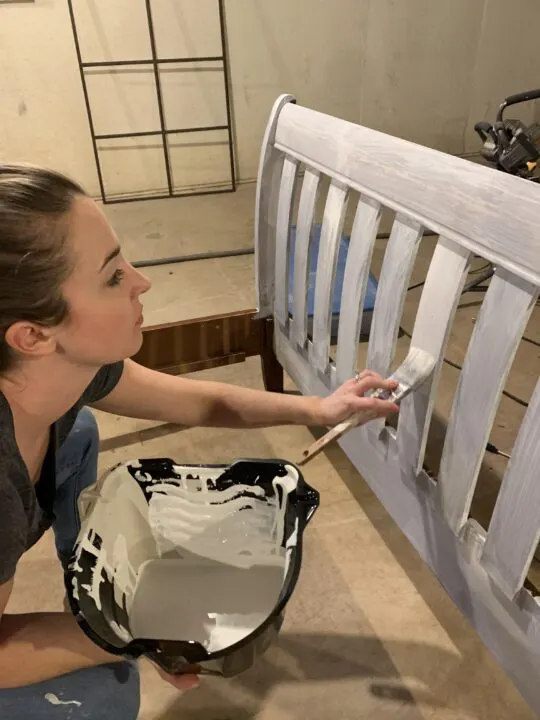
Apply the First Coat
Using a paintbrush or foam roller, apply the first coat of paint in long, even strokes. Be mindful of drips and brush marks.

Start with the larger areas of the bed frame and work your way to the smaller details. Be sure to apply the paint in thin, even coats to avoid drips and uneven coverage.
Lightly Sand Between Coats (I skipped this step)
For a smooth finish, lightly sand the bed frame with 220-grit sandpaper between coats. Wipe away the dust with a clean cloth.
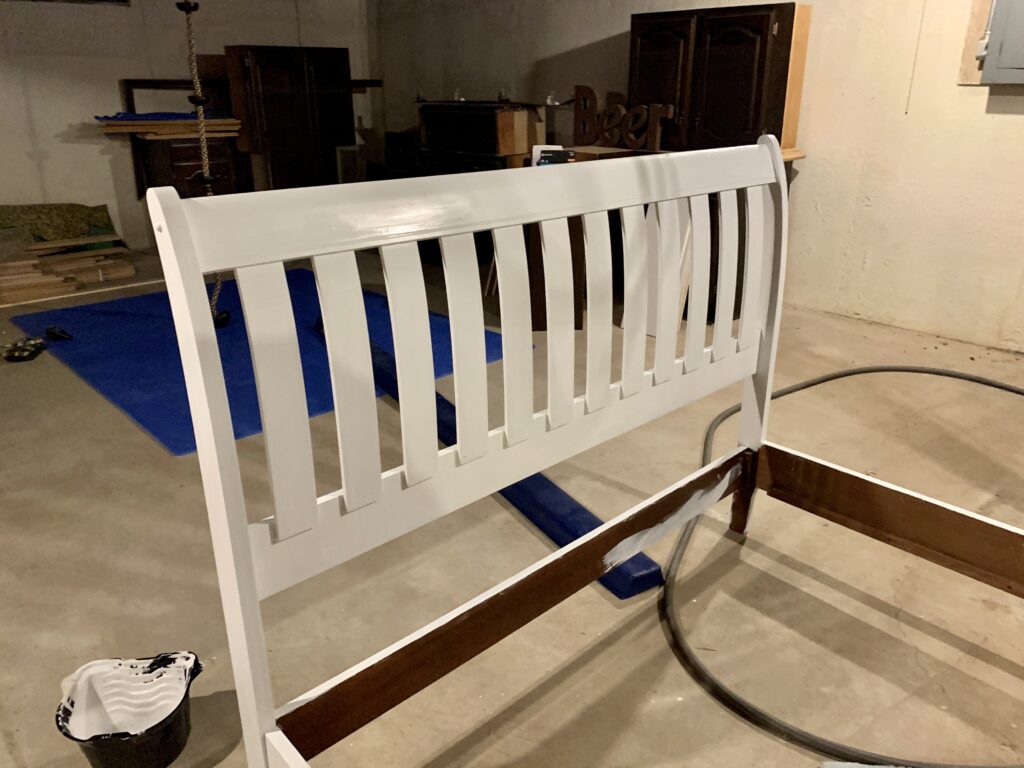
Apply Additional Coats of Paint

Apply a second coat of paint, and if necessary, a third coat, ensuring each coat is fully dry before adding the next. Lightly sand between coats for a professional finish.
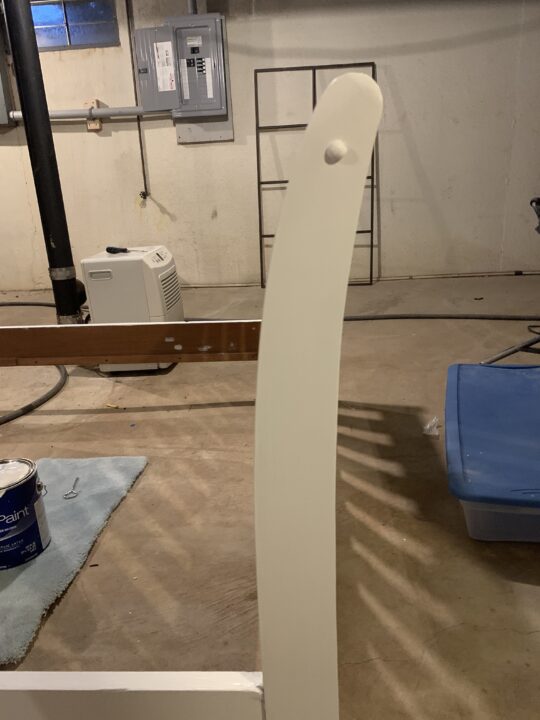
6 | Apply a Protective Finish (Optional)
I skipped this step, but a protective finish is a smart idea if you want the paint to last longer.
Choose a Finish
For added durability, especially if the bed frame is frequently used, apply a protective finish. Polyurethane is suitable for a durable, glossy finish, while wax can be used for a softer, matte look.
Apply the Finish
Follow the manufacturer’s instructions to apply the protective finish. Allow it to cure fully before reassembling the bed frame.
7 | Reassemble the Frame and Enjoy
After applying the final coat of paint, it’s important to let the bed frame dry completely before reassembling it. This will prevent any smudging or damage to the newly painted surface.
Depending on the type of paint you used, drying time can vary from a few hours to a full day.

*Check out my daughters bedroom makeover from the One Room Challenge in 2021!
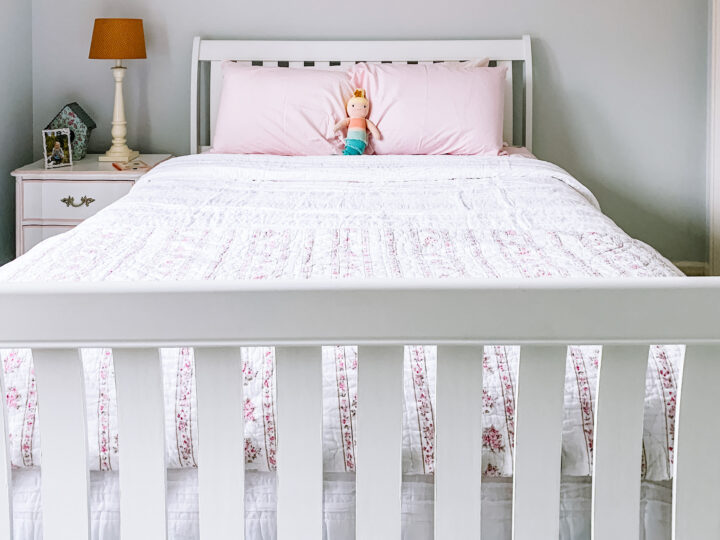
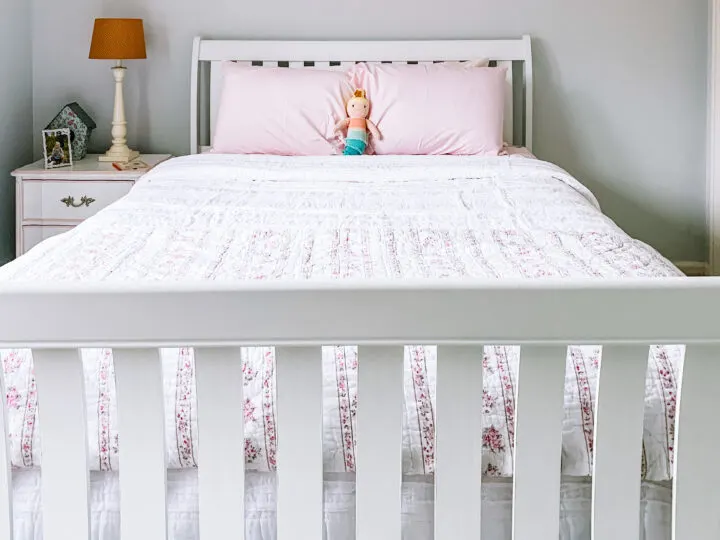
Once the paint is completely dry, carefully reassemble the bed frame according to the manufacturer’s instructions. Take your time and make sure all the pieces are securely in place before using the bed.
Place the mattress and bedding back on the frame to complete the look.
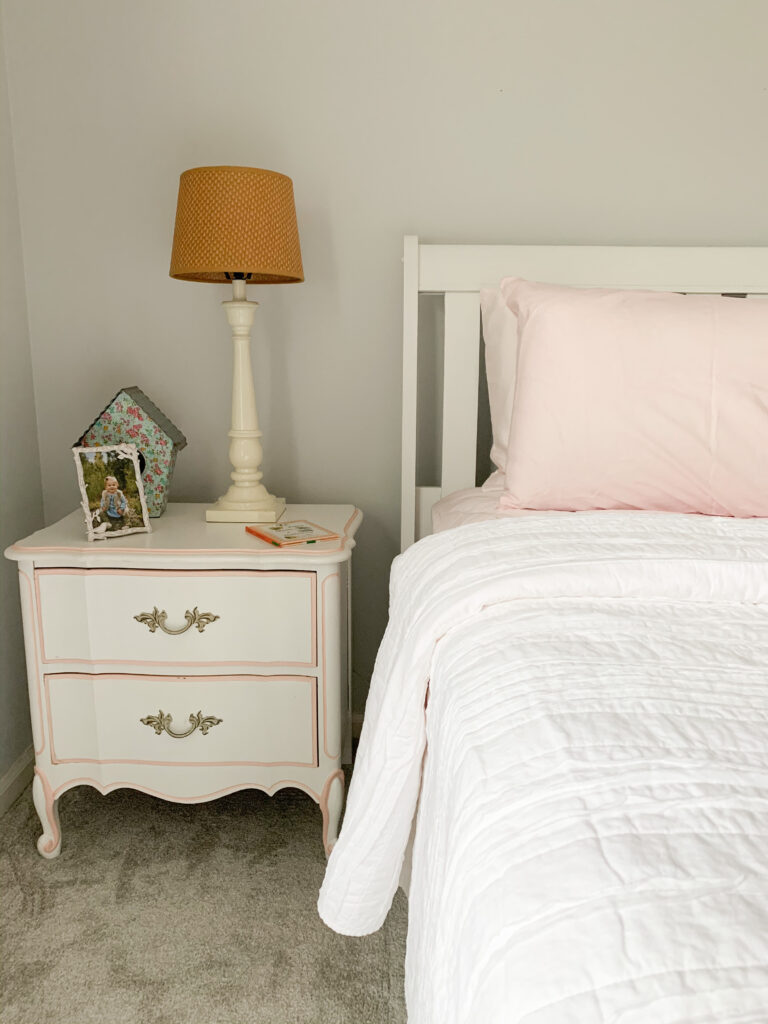
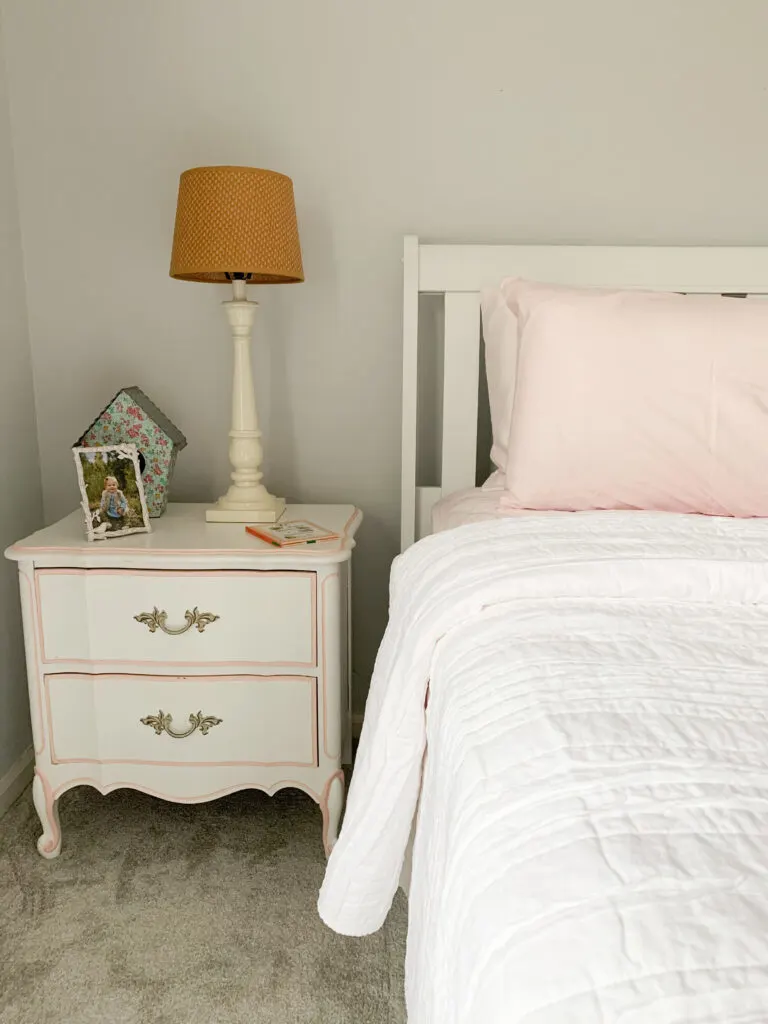
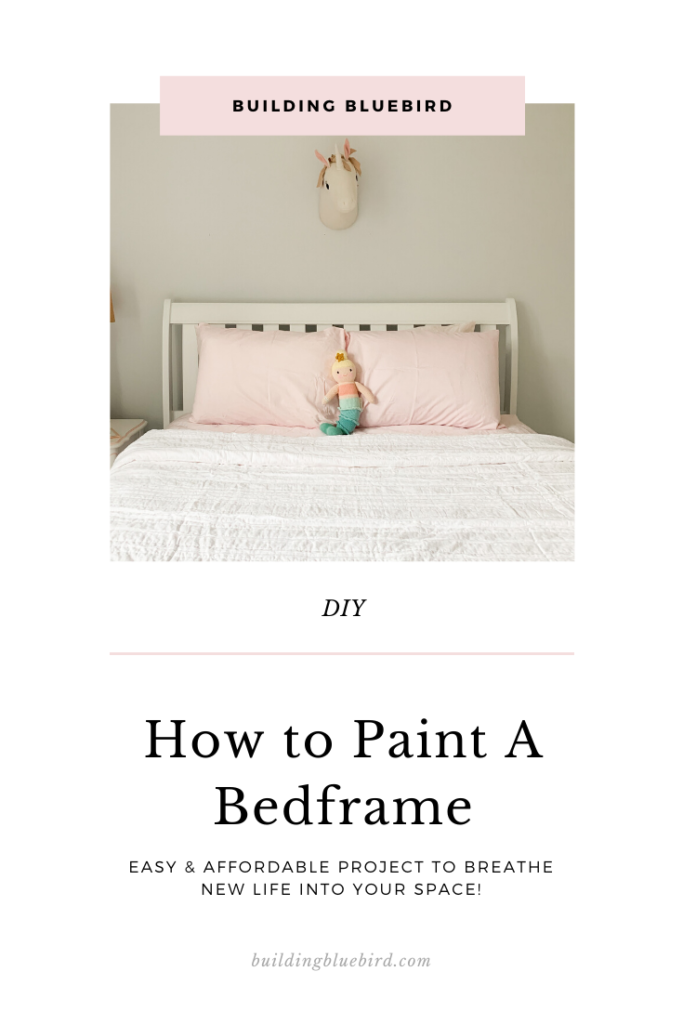
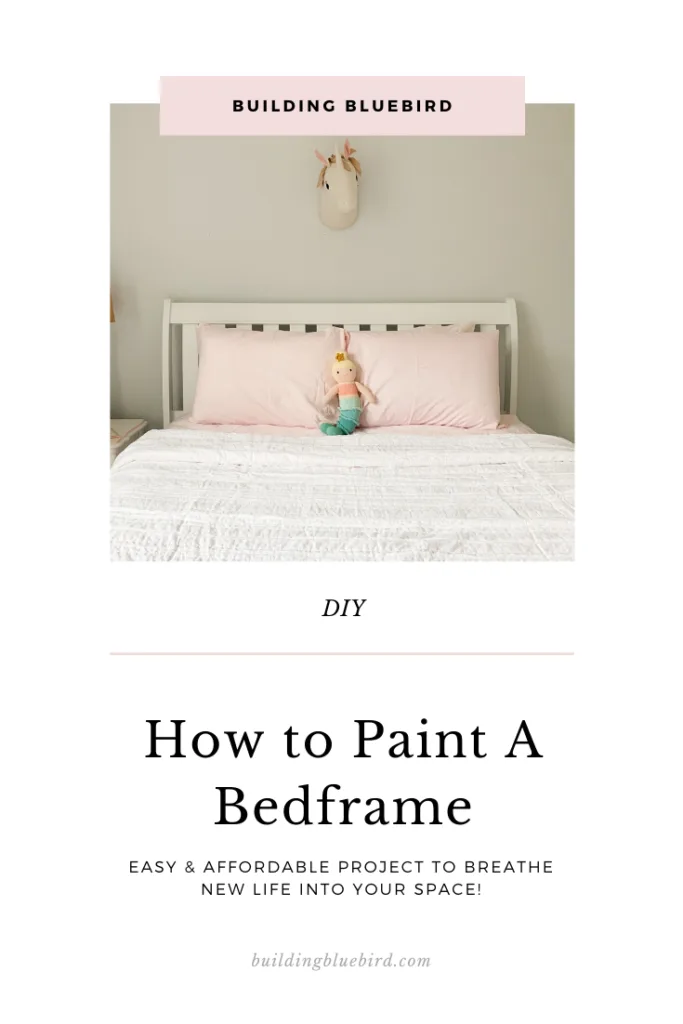
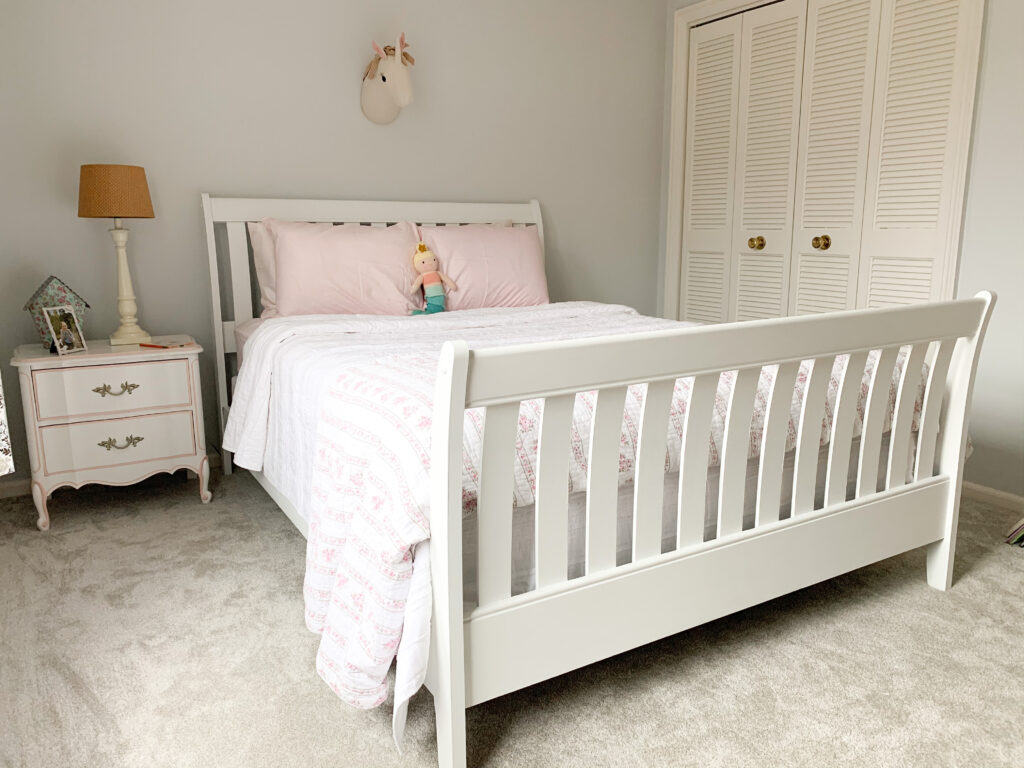
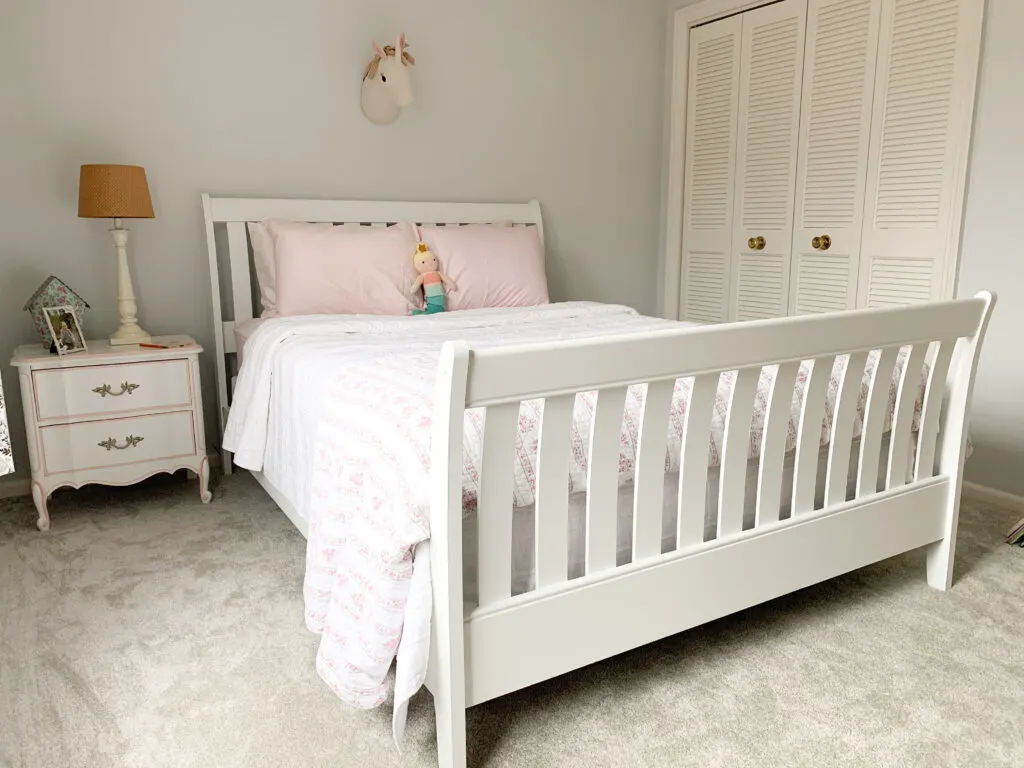
Step back and admire your handiwork. Enjoy the fresh, clean look of your newly painted white bed frame! This room is much more put together now and is super cozy for my little princess.
Starting with one project in a room that requires lots of work always gets me energized! We still have a lot to do in my daughter’s bedroom, including painting the walls, but this is a GREAT start!
There are so many beautiful furniture pieces for sale at thrift stores and second-hand stores that just need a little love. I love this eco-friendy and affordable DIY!
I hope you enjoyed this DIY bed frame project and plan your own furniture paint project soon!
More Furniture Makeover Posts You Will Love
- Painting Furniture DIY | Ultimate Beginner’s Guide
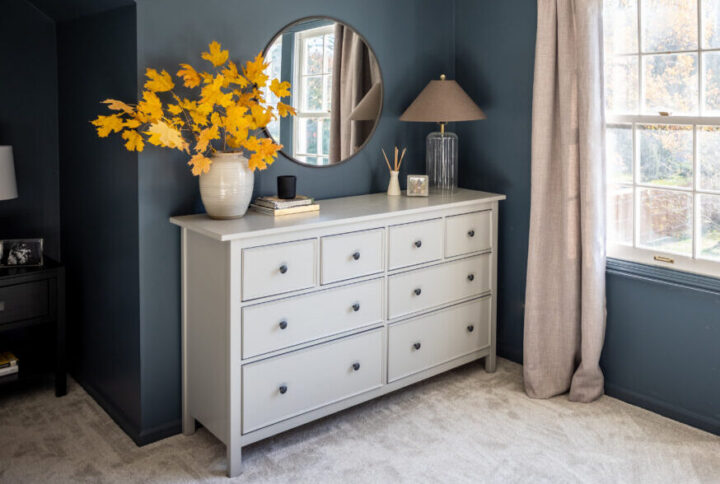
- Easy IKEA Hemnes Dresser Hack to Try at Home
- Old Swing Set Makeover Reveal | Easy DIY
- How To Easily Make A Scalloped Shelf | IKEA Hack
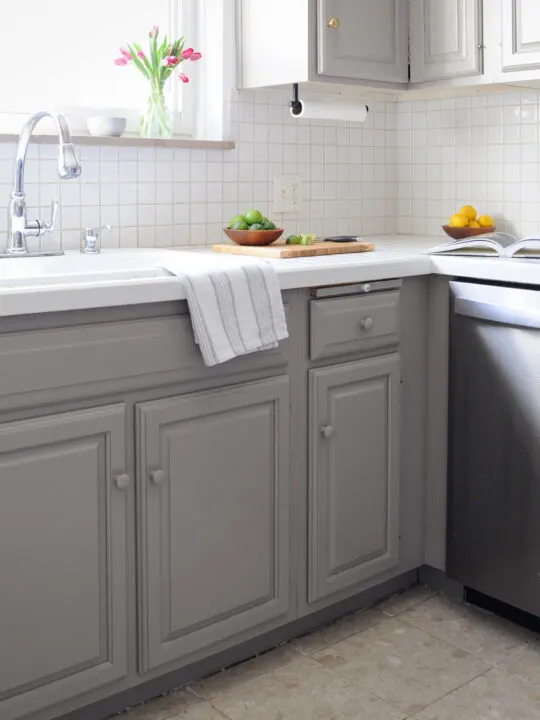
- How to Paint an Old Cabinet the Perfect Green | DIY
- Popular Ikea Billy Bookcase Hack | DIY
Frequently Asked Questions
Do you have to sand a bed frame before painting?
It depends. In most instances, and for this project specifically, giving your furniture a light sanding will help the paint adhere to the surface.
Before applying paint, be sure to clean the surface thoroughly to remove any dust.

There are painting kits available that do not require any sanding of your furniture.
I used Rust-Oleum’s Cabinet kit (a furniture kit is also available) and I had to wipe down the surface with a de-glosser instead of using a sanding block. I used this kit when painting my brother’s kitchen cabinets and it is extremely durable.
*Check out the $200 kitchen makeover at my brother’s house!
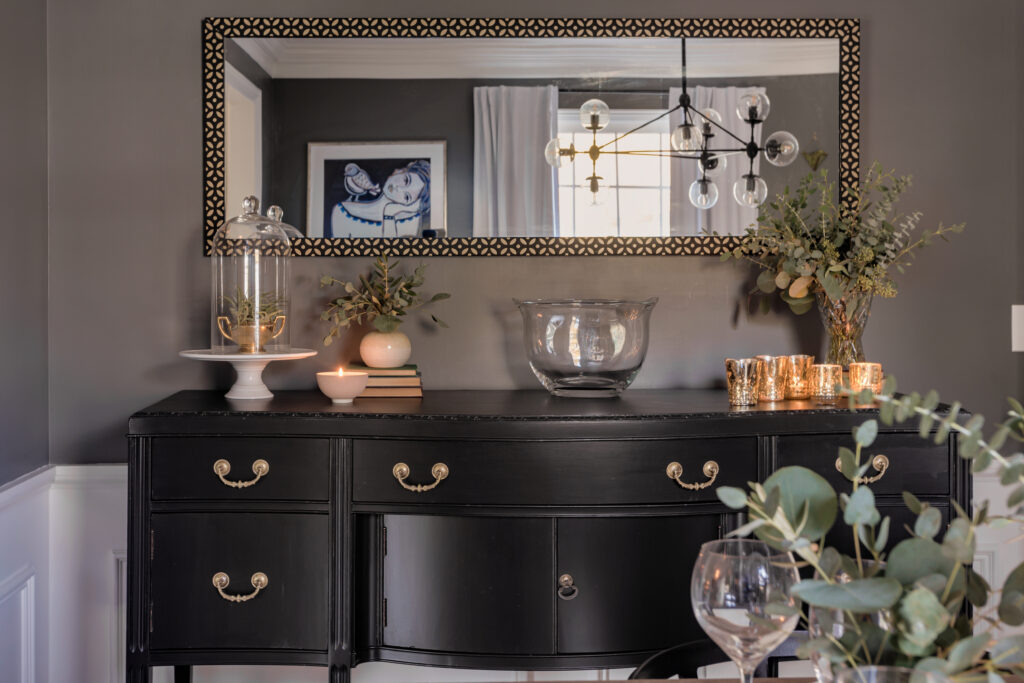
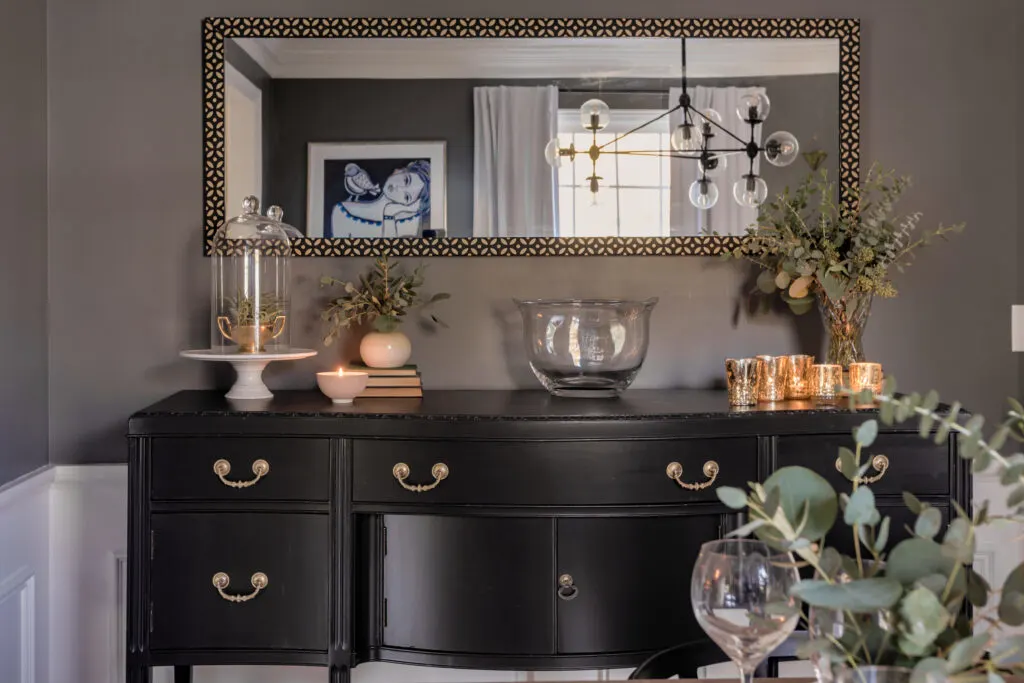
I have used this kit on our bedroom dresser and a dining room buffet and it works great.
Do I need to prime the wood before painting?
I recommend applying at least one coat of primer before painting wood furniture.
The primer layer prevents any of the wood colorings from bleeding through the regular paint.
Paint primer also creates a strong base layer for the furniture paint to adhere to and prevent the paint from chipping.
Do I need a topcoat on painted furniture?
Adding a topcoat, like polyurethane, will extend the life of your painted furniture.

When I used the paint kit from Rust-Oleum, it included a matte topcoat to apply to the furniture over the paint.
Can I use normal paint on furniture?
You can do anything you want, although certain types of paint will hold up better than others.
When I painted our wooden bed frame, I applied a coat of primer and then used normal, latex paint to finish the piece.
My daughter used the bed frame for 2-3 years and it held up perfectly. It may not have held up as well on a piece of furniture that is used more often, like a table.
What is the best furniture paint to use?
For the best results, I always recommend using a furniture-specific type of paint or a furniture painting kit.


When I painted a music sheet cabinet for my living room, I used an Extreme Bond Primer from Sherwin Williams as the base coat.
I bought a quart of Emerald Urethane Trim Enamel interior paint from Sherwin Williams and applied two coats of paint to finish the cabinet.
This trim enamel paint is more durable than standard drywall paint and will hold up to more wear and tear.
Furniture painting kits are also a great option. I mentioned Rust-Oleum cabinet kits and furniture kits.
I have only used the cabinet kits and have used a single kit to paint multiple pieces of furniture.
alex
Thursday 10th of November 2022
Thank you for the tutorial, this is very helpful. What is the color that you used on the bedframe?
lindseymahoney
Friday 11th of November 2022
I just used an untinted white can of paint that I had in our basement.
Lori Tseng
Thursday 25th of August 2022
Thank you for this well written article. Can you tell me how to determine whether old paint is oil based or water based?
lindseymahoney
Thursday 25th of August 2022
Absolutely! If you suspect that paint may be oil-based, put some denatured alcohol (nail polish remover will work) on a cotton swab and rub it against the paint. If any paint comes off onto the cotton ball, it is latex paint and you can paint over it. If no paint is removed with the cotton swab, the paint is oil-based and needs to be primed first.
Betty
Friday 1st of April 2022
This is a great tutorial; but I missed how much pain should be purchased for a bedframe? Or how much was used for this (twin? full?) one.
lindseymahoney
Friday 1st of April 2022
I am glad you found it helpful! I used paint I already owned that was leftover from a previous project. You can definitely get away with purchasing a quart of paint for a bed frame. The bed frame I painted was a queen.
Rina
Wednesday 12th of May 2021
Hello, this was very helpful but did you have to seal it after you finished painting it? Or is the satin paint enough?
lindseymahoney
Wednesday 12th of May 2021
Hi there, I did not seal the bed frame, only satin paint! After one year I have not seen any chips or issues on the bed frame even with a very active 4-year-old climbing all over it!
Erin
Monday 1st of February 2021
Thanks for the article. If I want to paint an off-white wooden bed frame pure white, do I need to sand it first?
lindseymahoney
Monday 1st of February 2021
Hi Erin, it depends on the type of paint on the bed! If it is oil based paint, you will need a deglosser or specific primer to get your new paint to adhere. I just ran into this issue in my mudroom where I painted old doors and trim and then learned they had oil based paint and the new paint just scraped off. If the bed has regular paint, I would give it a quick sanding with a sanding block. I also like using Rust-Oleum transformations cabinet kits for furniture because it comes with a deglosser and requires no sanding.