
Last Updated on September 12, 2019 by lindseymahoney
Phase 2 of our kitchen renovation at Flip 3 is complete just in time for Friendsgiving! I don’t know about you, but hosting an event always gives me that push I need to complete lingering home projects. I love our kitchen updates in this home and can’t wait to share the finished product with you!
But lets take a step back for a minute and remember what this kitchen looked like when we first moved in.
Kitchen When we Moved in…
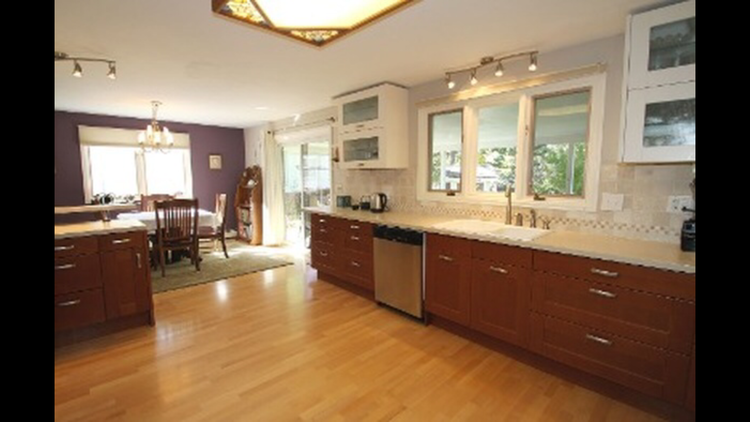
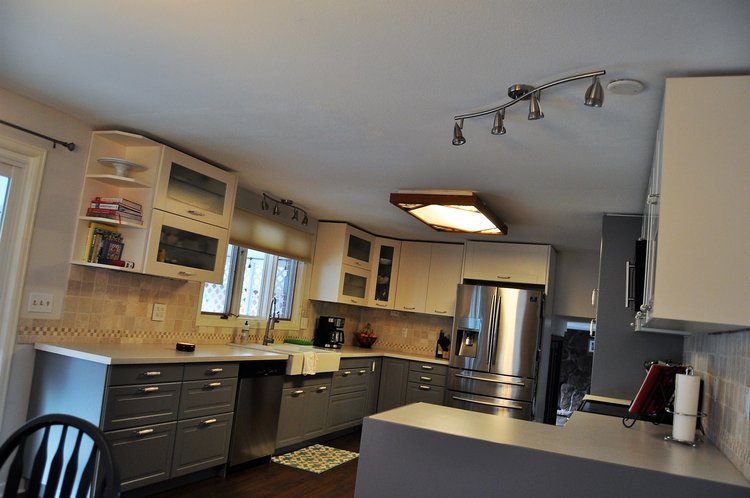
Here are a few photos from Zillow when we first purchased the house 1.5 years ago. The light fixtures were not our style.
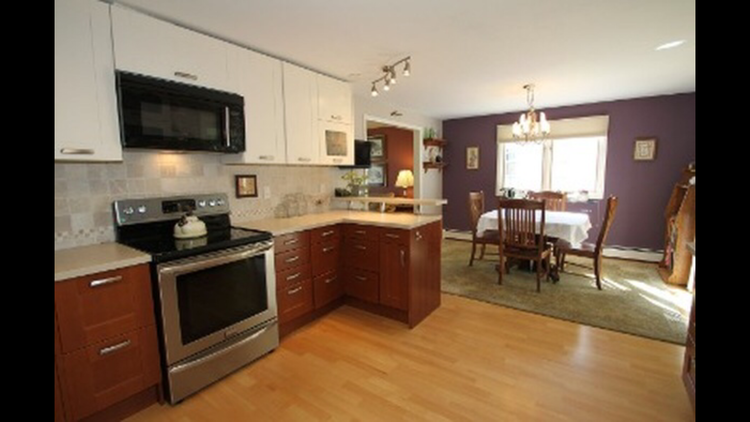
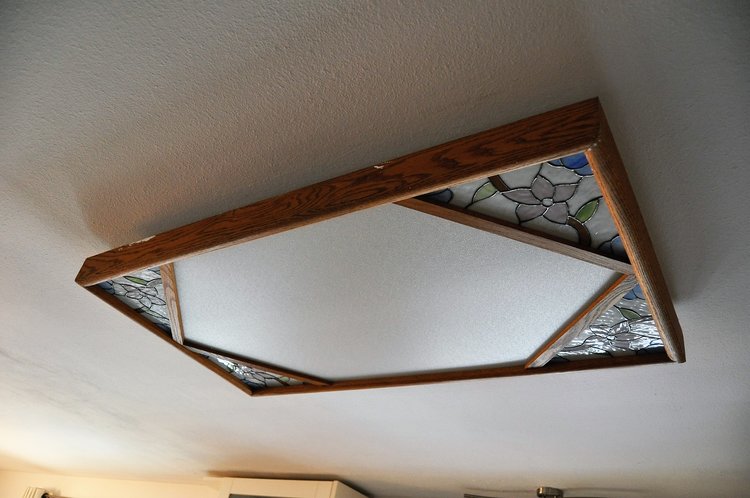
The track lighting and florescent light majorly dated this kitchen.
It’s so fancy because it has stained glass…
Phase 1 Renovation Included…
- New floors – Consistent with the rest of the house
- Paint
- New lower cabinets
- New drawer pulls
Check out the Phase 1 Kitchen Renovation in my previous blog post.
Phase 2 Renovation Included…
- Recessed lighting & pendants
- New countertops
While the updates in phase 2 were a little more subtle, I know this will have a big affect on potential buyers.
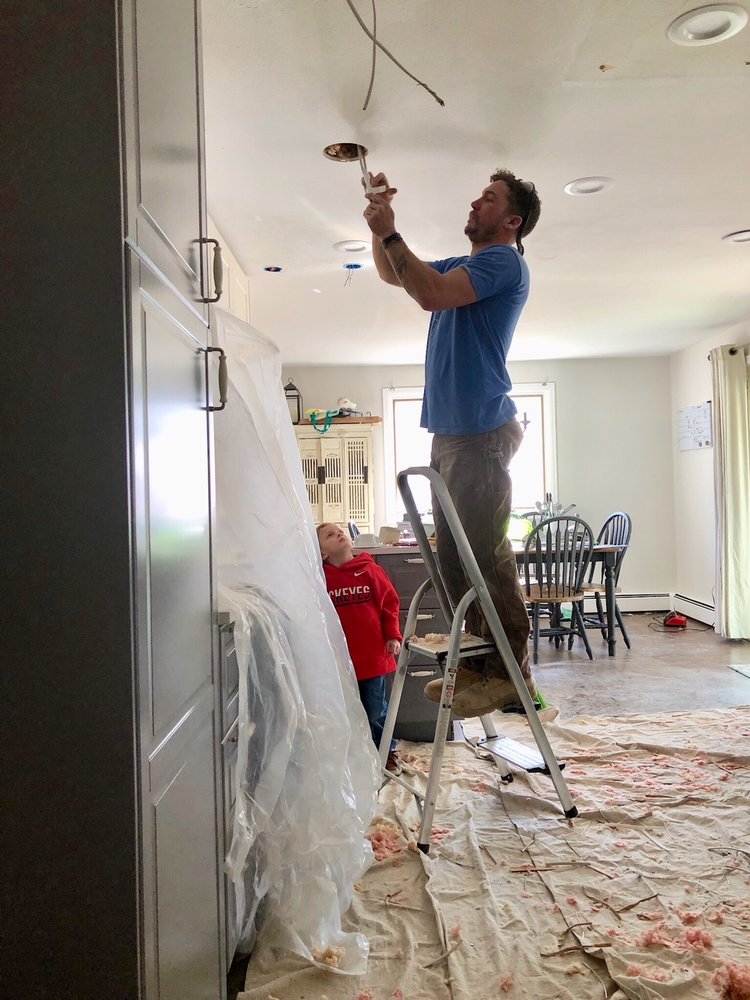
Recessed Lighting Before:

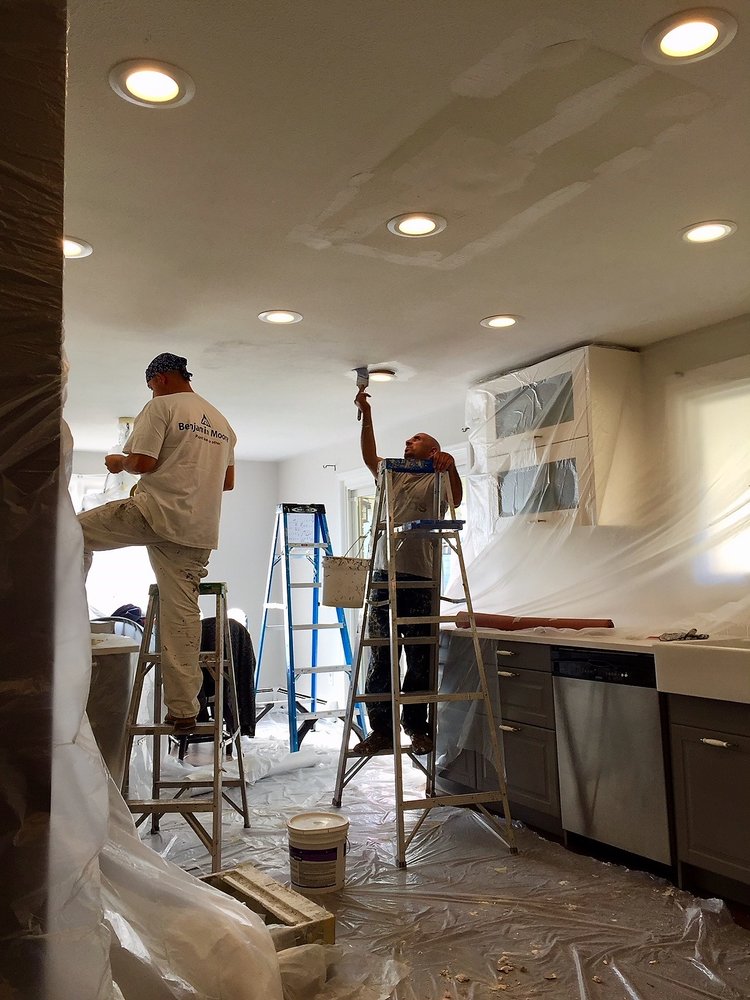
Recessed Lighting Installation:
We called in the professionals to install the recessed lights and move the position of the pendant light over the sink.
Next, we hired a drywall professional on Thumbtack and were able to get a good deal with this guy painting the ceiling as well.
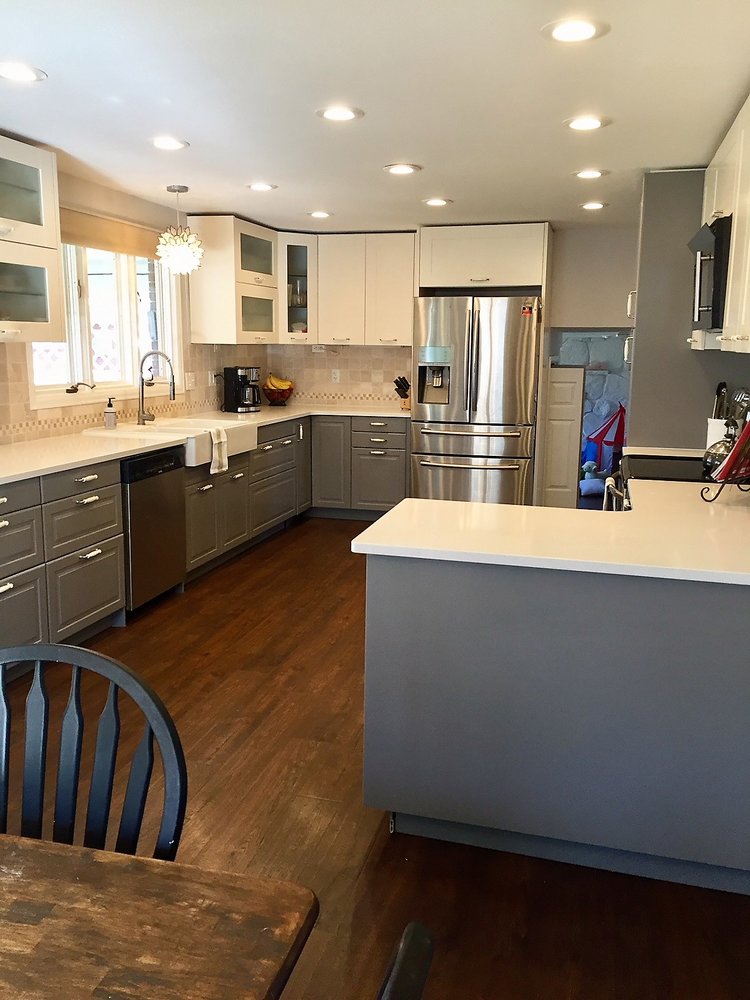
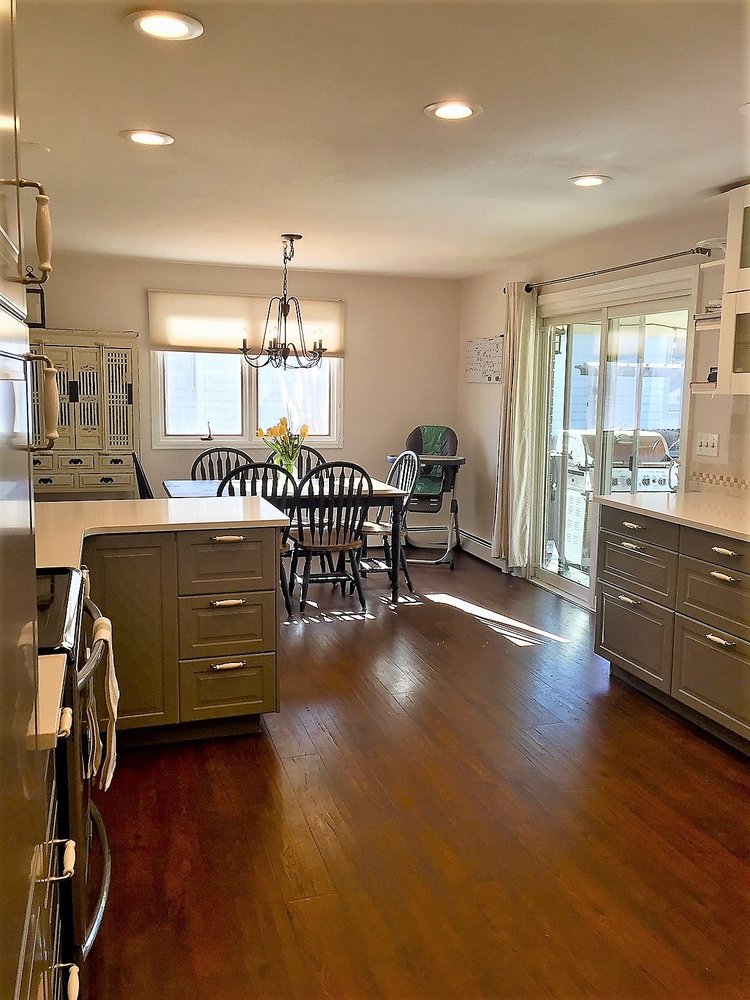
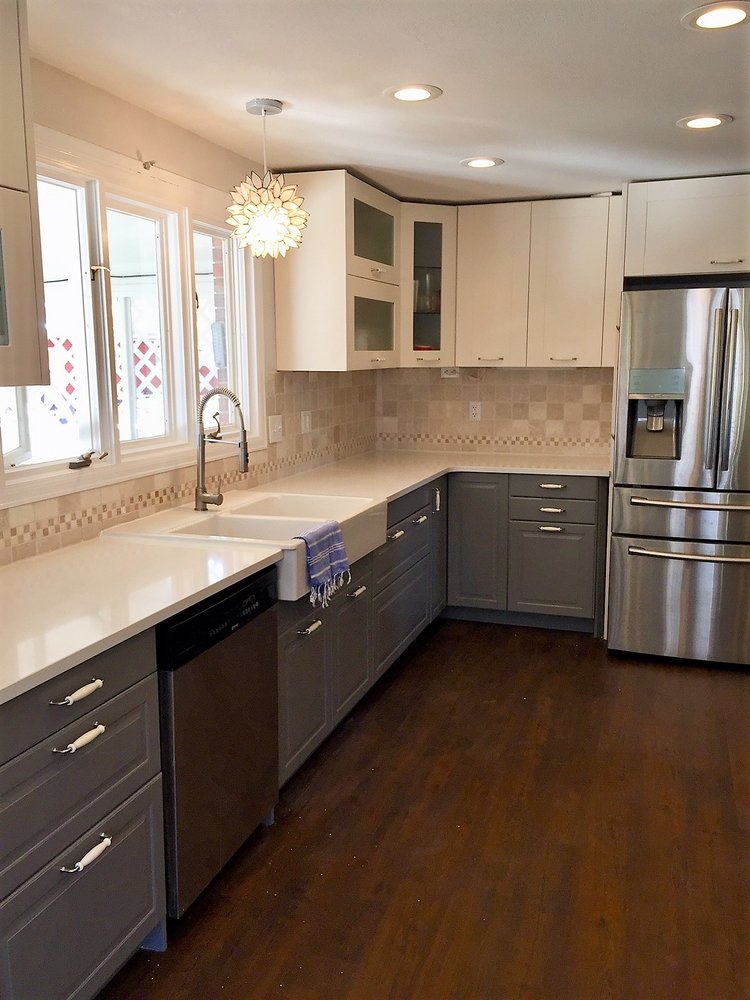
Recessed Lighting After:
The recessed lights COMPLETELY brightened up this space! The pendant light from World Market over the sink adds some character to the space. I just love it.
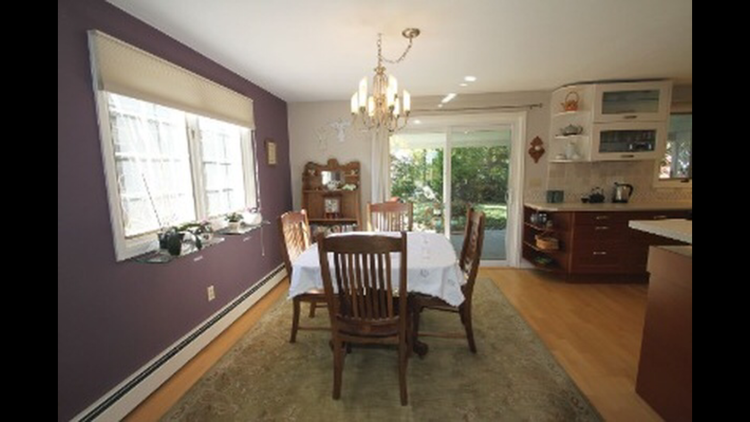
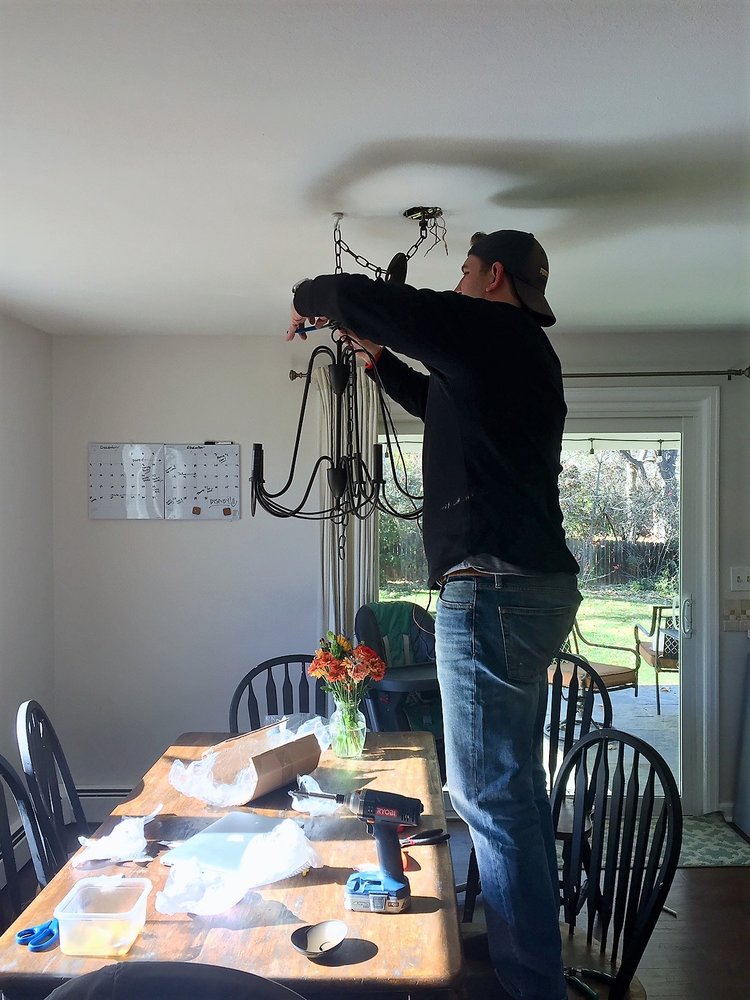
Dining Room Chandelier Before:
I don’t know why I disliked this chandelier over the table so much, but I did. We called it the octopus light. I was happy to see it go!
Chandelier Installation:
We replaced it with a more traditional chandelier from Lowes. Luckily, we could do this on our own and not hire it out!
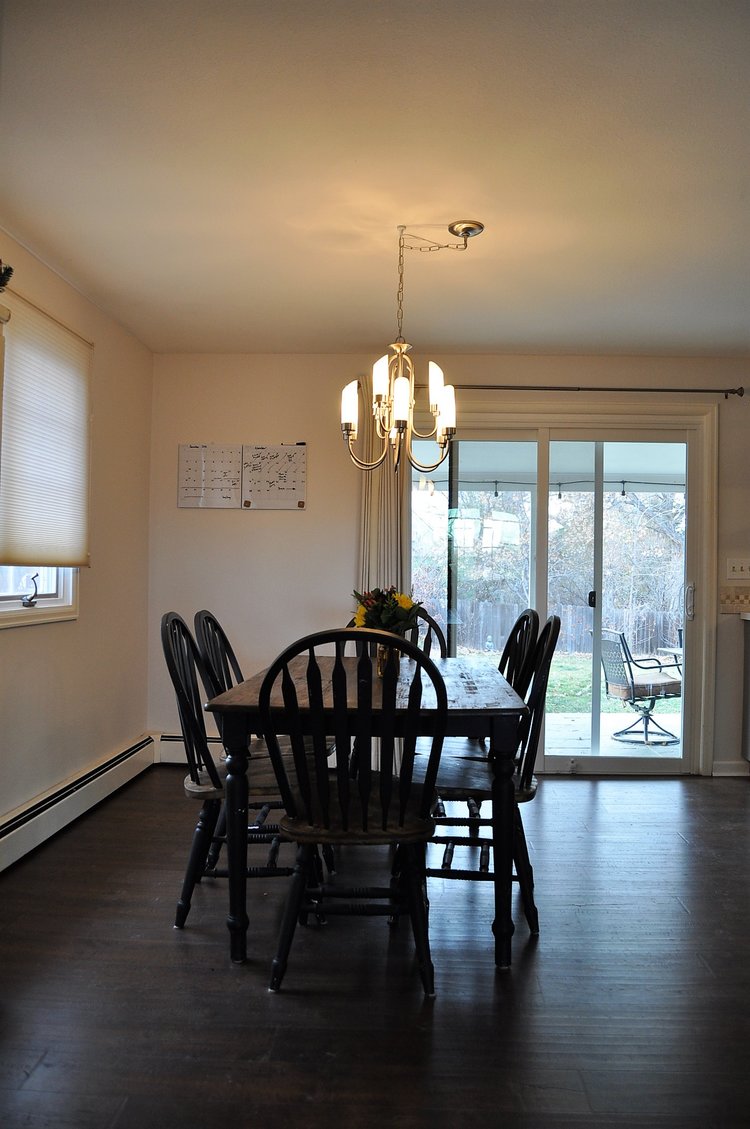
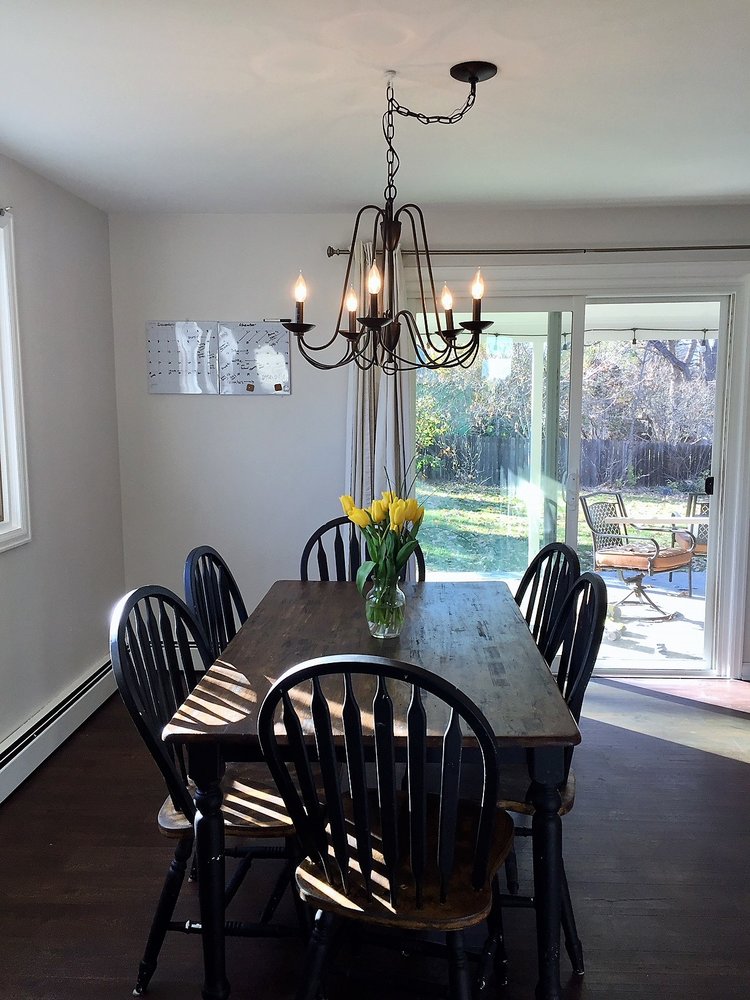
Dining Room Chandelier After:
This Lowes chandelier looks so much better!
Countertops Before:
The original countertops had a raised counter on the peninsula that acted as a breakfast bar. When we completed phase 1 of the kitchen reno, we replaced it with inexpensive countertops from Ikea and it did not align properly with the edges of the peninsula. We knew in phase 2 that we would have to replace it with quartz to appeal to the potential buyers we were hoping to attract.
Countertop Installation:
First, we ordered the counter tops from Home Depot and scheduled the installation. The day before installation we had to remove the current counter tops and the sink.
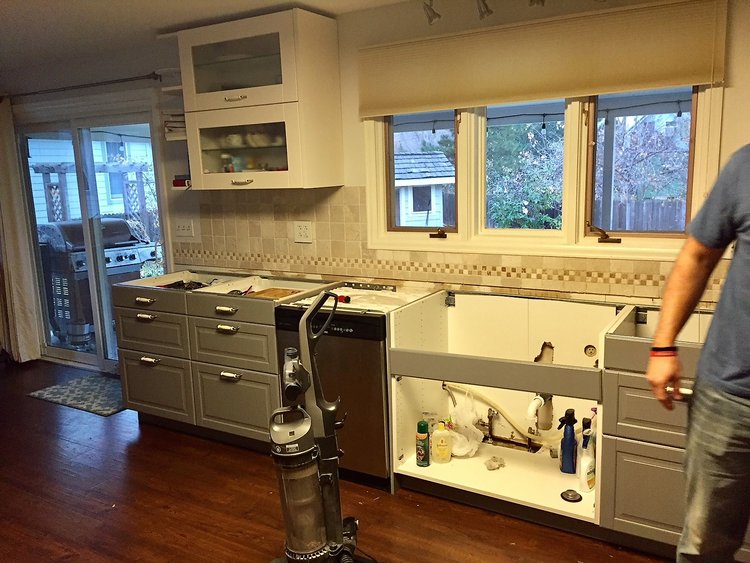
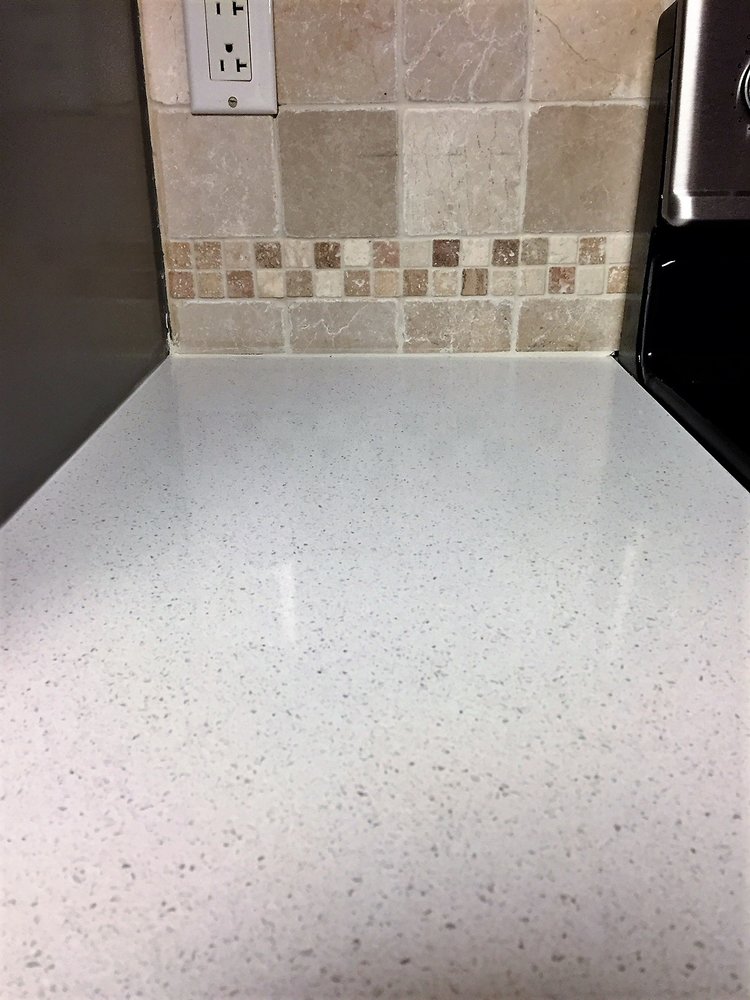
We were so happy the the new counter tops fit under the tile, but there ended up being a pretty big gap between the tile and counter. I spent a night grouting the seam and it looks like new!
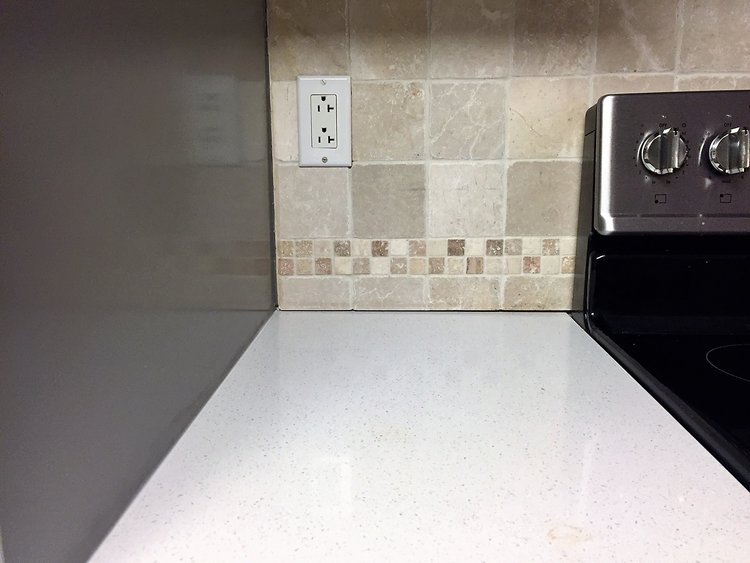
Tile & Backsplash Before:
Tile & Backsplash After:
You can see in this picture the visible seam between the tile and counter.
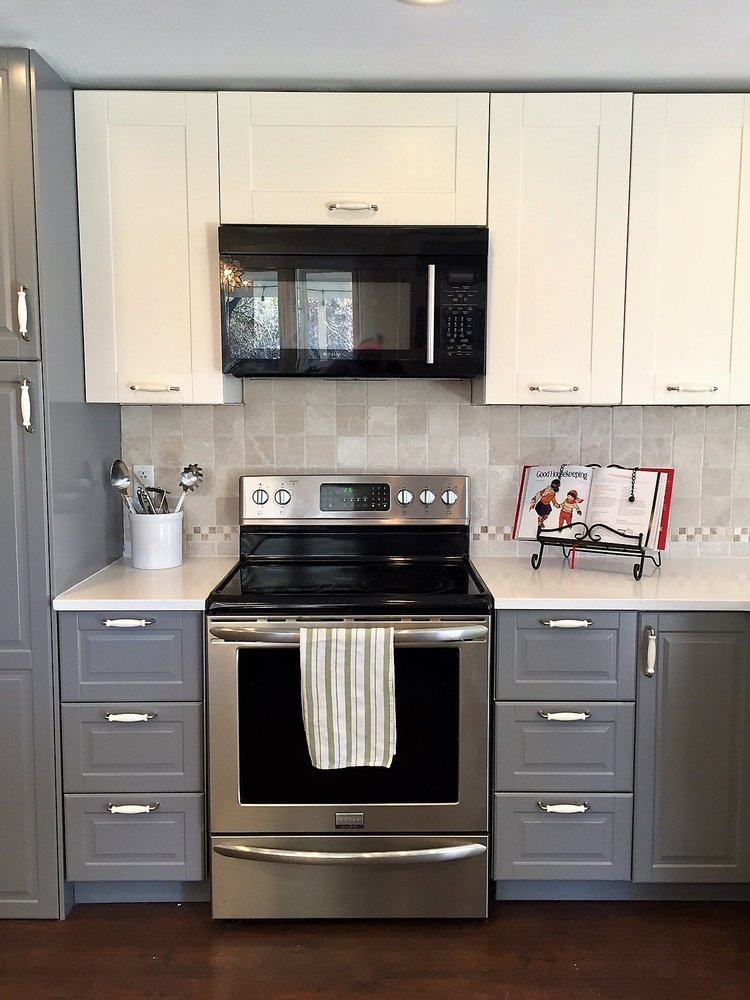
Countertops After:
The quartz is much more durable and looks so much better!
The next project of ours will be continuing the trim/ceiling painting and finishing the hallway updates!