Last Updated on May 12, 2023 by lindseymahoney
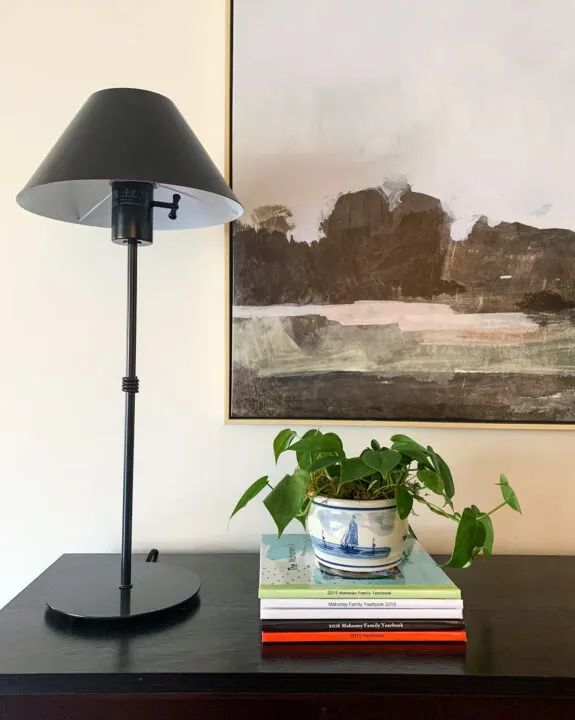
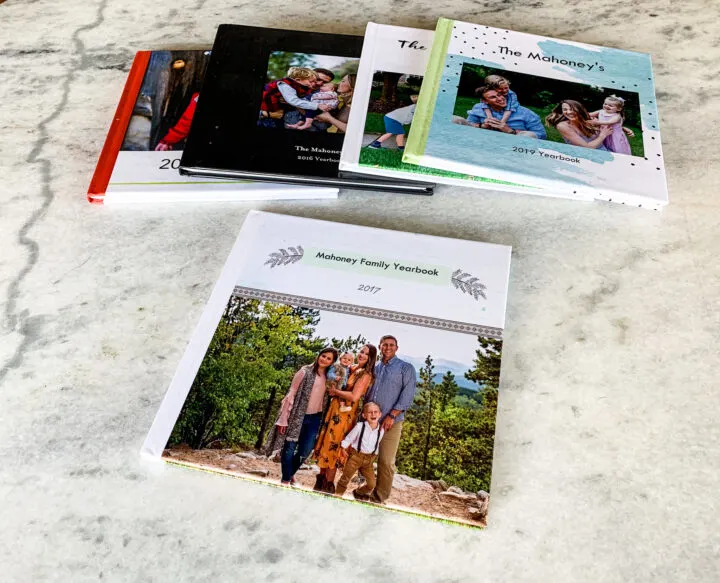
For the last 8 years, I have used the Shutterfly program to create our family yearbook. It is rare that I print physical photos anymore and these yearbooks are a great way to compile all of our memories and favorite photos each year.
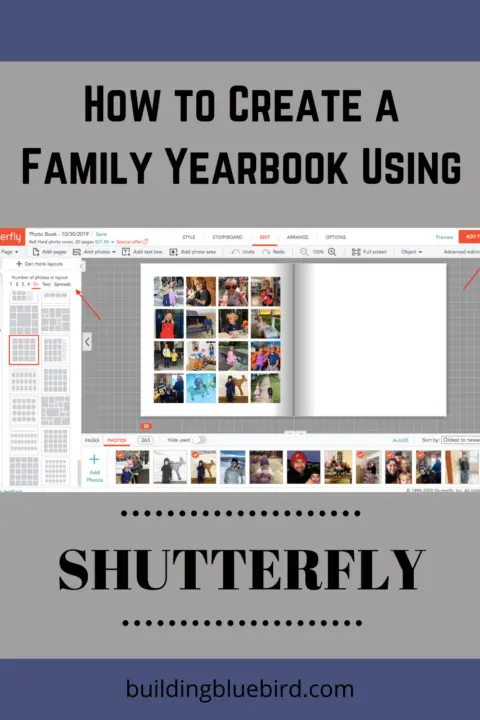
They also make great Christmas gifts for grandparents! Over the years I have made my process more efficient and wanted to share my top tips and tricks with all of you!
How to Design and Create Your Own Family Yearbook
[Affiliate links are included in this blog post, thanks for supporting Building Bluebird!]
1 | Choose Your Yearbook Size
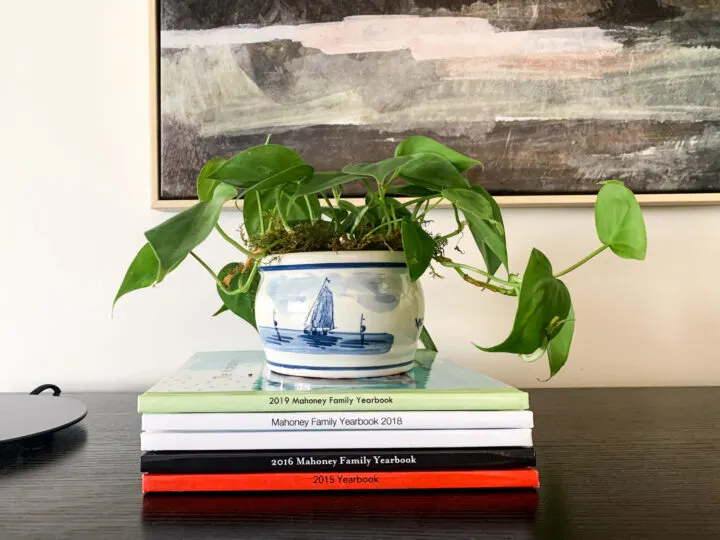
My go-to photo book size is 8×8 which includes 20 pages (more can be added).
The 8×8 size is nice and compact, however, I accidentally made an 8×11 book last year and really enjoyed the larger images. A larger book size may be a better choice if you are making it for grandparents who don’t have great eyesight.
I always choose the hardcover book option and never upgrade to the flat lay option, since it doesn’t seem necessary. The flat lay option is created so that the book can lay open without the pages flipping one way or the other and this is an added cost.
2 | Create a Photo Album for the Year on Your Phone
We all use our phones to capture 95% of our family photos. Create an album on your phone for the specific year and begin saving your favorite photos.
I like to scroll back to January of that year and begin selecting my favorite pictures until I get up to the present day. This will start the process of narrowing down all of the great pictures you may want to include in the book.
3 | Download the Shutterfly App & Upload Photos
Download the Shutterfly mobile app. I used the app for the first time last year and it was a game-changer! I was able to upload the entire album I created on my phone in a matter of minutes.
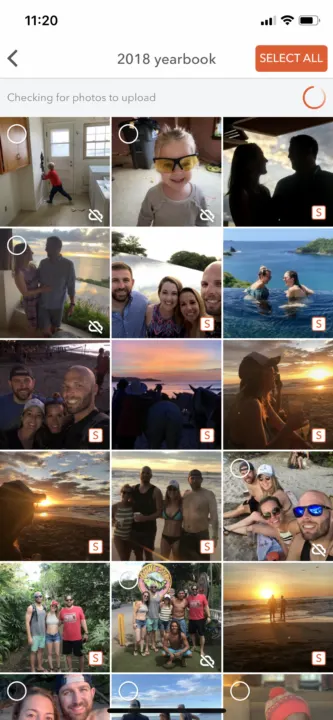
Once the photos are uploaded onto the app, you can easily access them through a desktop and start creating the yearbook.
3 | Choose the Yearbook Style
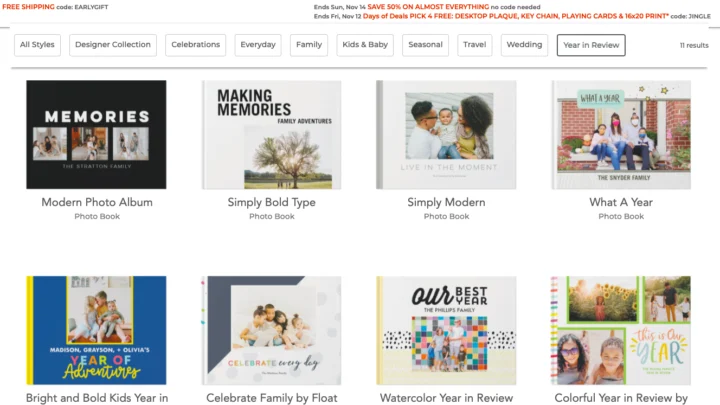
Shutterfly offers multiple styles for their photo books and for the yearbook theme specifically.
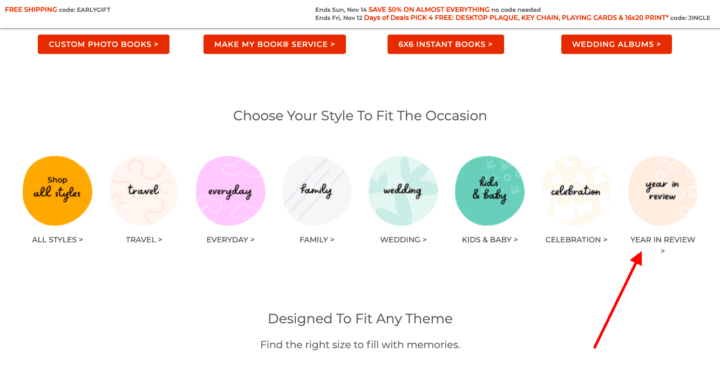
Each style includes different layout options, stickers to add, and fonts.
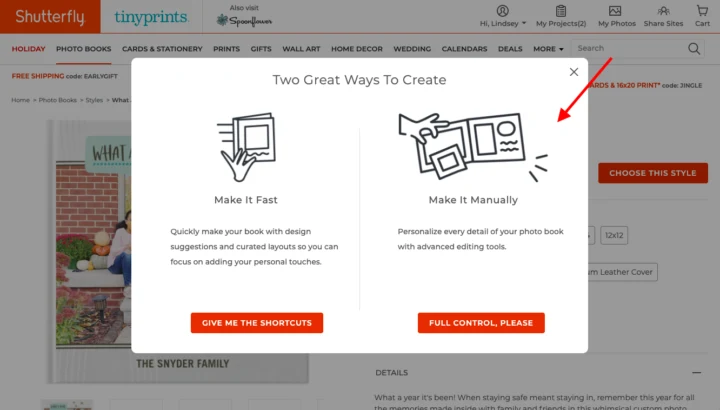
Once you choose the style you like, Shutterfly will ask if you want your photos to auto-populate in the book. I recommend adding your pictures manually so that you can organize them chronologically or based on certain events of the year.
4 | Determine Yearbook Layout
Determine how you want to tell the story for the year. When I first began creating our yearbooks I organized them chronologically, highlighting each month. This felt a bit lopsided since some months were very slow and other months were packed with photos and memories.
In the last few years, I have organized the yearbook around events and it has worked out well. The events included can be placed in chronological order in the yearbook. I now think about the year in categories and create the pages based on these buckets.
Because we gift these yearbooks to the grandparents each year, I am mindful of including all extended family members and not just creating a shrine for my kiddos (although it is easy to do this!). It is really fun to see our nieces and nephews grow up over the years.
When choosing photos, remember to include candid and unposed images too!
I love including little moments like our kids eating breakfast in the morning or playing with a toy that they are really into at that age. These images will bring back memories of everyday activities over the years. On some of the pages, I like to include a text box with memories about the kids or a particular event.
5 | Designing Your Yearbook Pages
I prefer to customize the pages of our yearbook. This gives me control of the total amount of images per page, the background design and embellishments, and where I want to add text boxes.
You can edit the page design using the 4 icons on the left side of the screen.
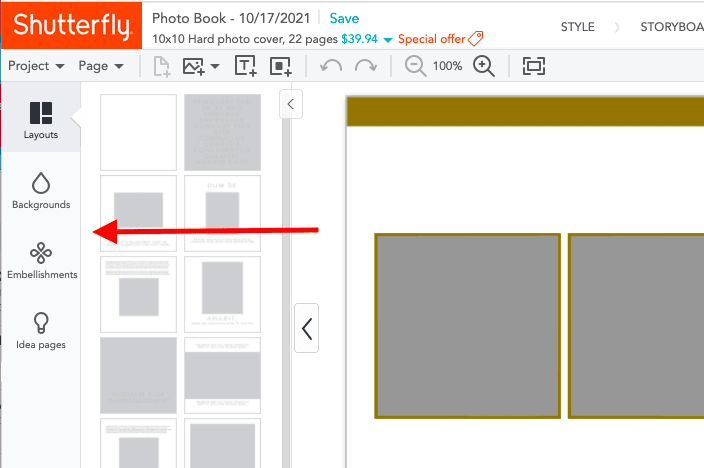
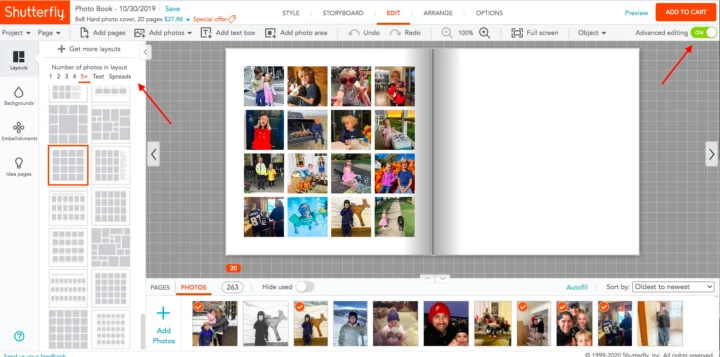
1. Layout
I change the layout page by page, depending on how many photos I have for that specific event. I usually avoid using the full-page spread layouts because I don’t like images split at the center book seam.
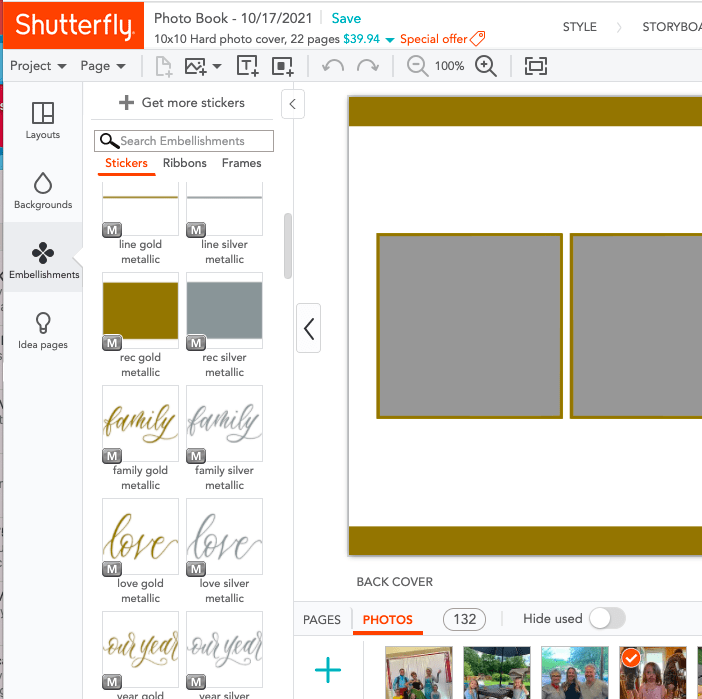
2. Backgrounds & Embellishments
Remember that you can edit these pages any way you want. I change the background color based on the season or my child’s favorite color. I also choose my own embellishments when I want to give a little extra flair.
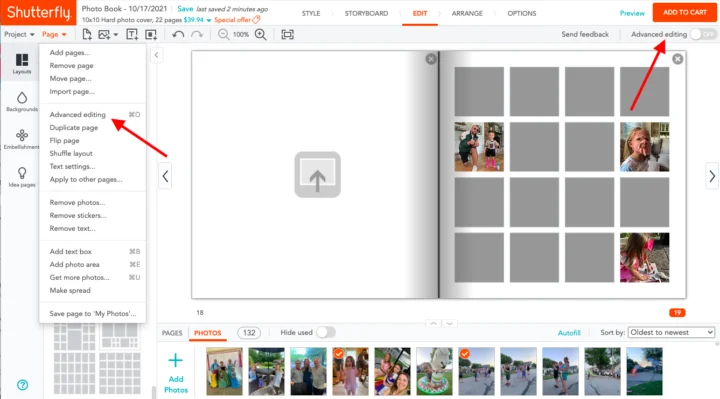
3. Advanced Editing
To move images, stickers & text boxes, click on advanced editing. You can either click the advanced editing slider in the top right corner or go to the Page dropdown and find it. Advanced editing allows you to move each item around the page to create your own custom layout.
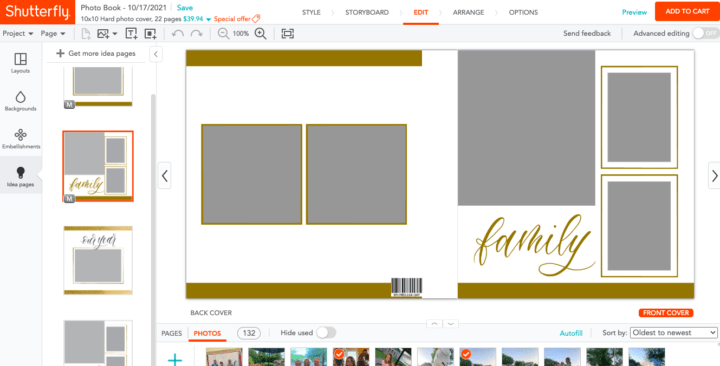
4. Shutterfly Idea Pages
If you are totally stumped on how to design a page that you want, check out the idea pages tab. You can choose their layout or gather ideas and create your own that is similar to their idea page.
Additional Ideas for Family Yearbook Pages
Yearbook Cover
While I tend to pack lots of photos inside the yearbook, I like to keep it simple on the cover. If you took professional family photos this year, the cover is a great spot to display them.
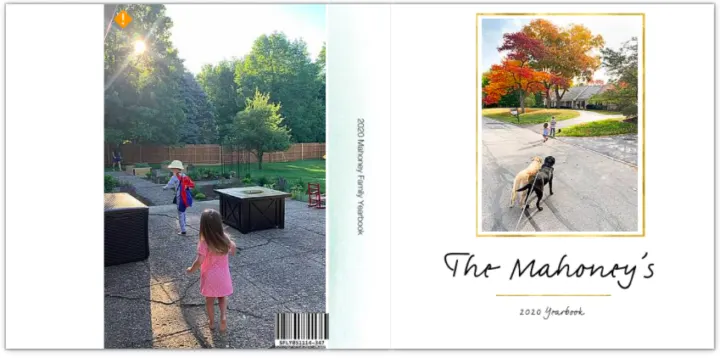
Photos can also be added to the back of the yearbook. I don’t plan it this way, but I tend to use images taken from behind on the back cover of the book.
Dedicated Spread for Each Child
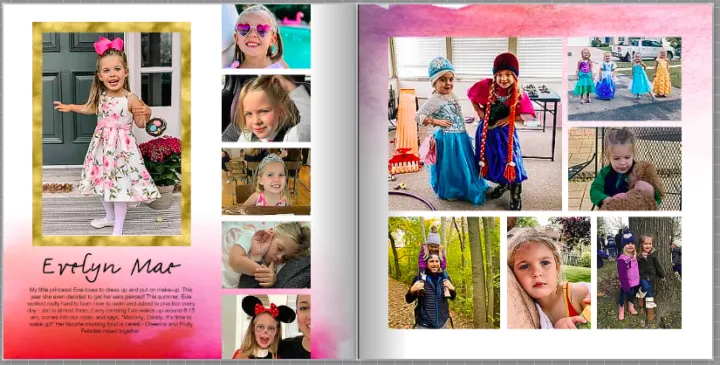
Each year I create a full-page spread (2 pages next to each other) for each of my kiddos. I look for the pictures that best describe their personalities at that age and any activities they really enjoy.
This is where I like to share any big milestones or funny anecdotes about them from the year in a text box.
Did they have a really funny phrase they began saying?
Were they super into a certain TV show?
Write it all down so you can remember it for years to come!
Memorable Events
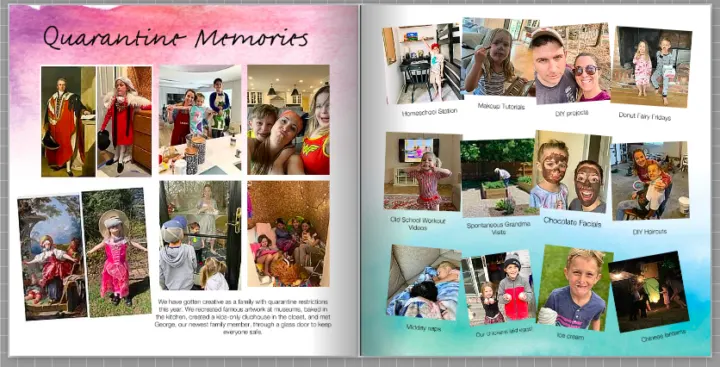
2020 was a very different year and I wanted to capture some of the changes we made during quarantine. Like all families, we did what we could to make the best of our situation with quarantine and the pandemic.
Document Family Vacations
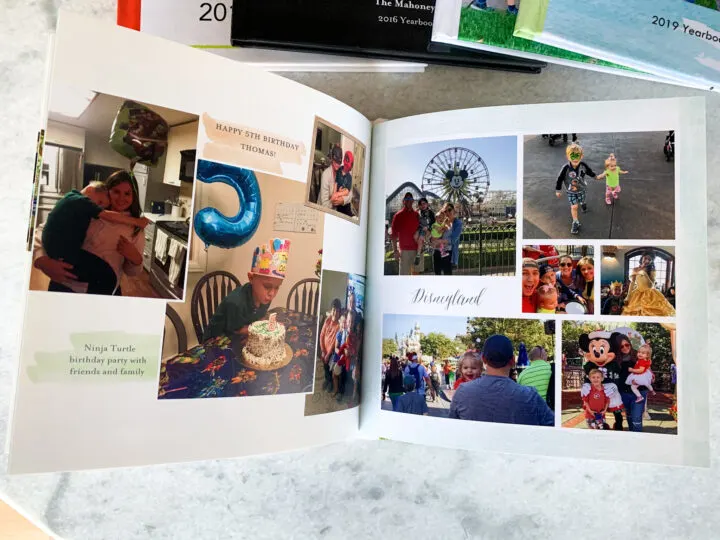
Family vacations always get 1-2 pages in our yearbook. Our annual vacations to each family lake house over the summer are always well documented.
I also dedicate a page to bigger vacations we might take that year, like Disneyland.
Photo Dump Final Page
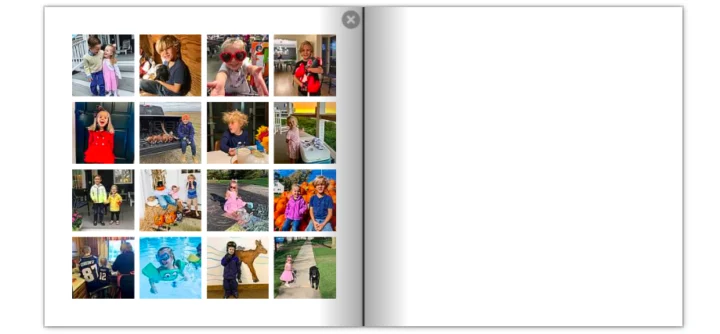
Inevitably there will always be random photos left over that don’t fit in the pages you create!
On the last page of our yearbook, I use the 16 square photo layout to add any leftover photos from that year and it is always one of my favorite pages.
Core Family Page
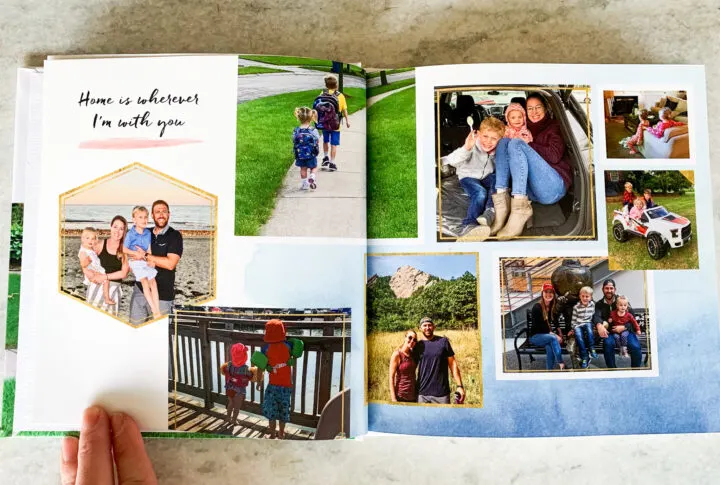
This 2-page spread is focused on our family and some of our favorite memories of the four of us.
More Yearbook Page Ideas…
- Child & their highlights of the year
- Vacations
- Celebrations – holidays
- Quarantine life
- Masking Up – activities wearing masks
- Parents page
- Summer fun
- Birthdays – you can do a full page for a single birthday or a page for all of the birthday celebrations that year
- Friends page
- Kids “getting along” page
- Core family page
- Pet’s page
- Sports
Shutterfly Discount Codes
When you are ready to purchase your yearbook, check for discount codes!
I always find a discount code on the homepage or with a simple Google search, especially around the holidays. I hope these tips inspire you to create a Shutterfly yearbook of your own!
More Content You Will Love
- How to Paint a Shed Yourself | Beginner’s Guide
- 20+ Easy Wall Decor Ideas and DIYs to Try
- How to Make the Perfect Christmas Bow
- 10+ Affordable Unfinished Basement Ideas
- How to Make Cheap Garland Look Expensive
- How to Make Dried Orange Garland for the Holidays
