
Last Updated on October 24, 2024 by lindseymahoney
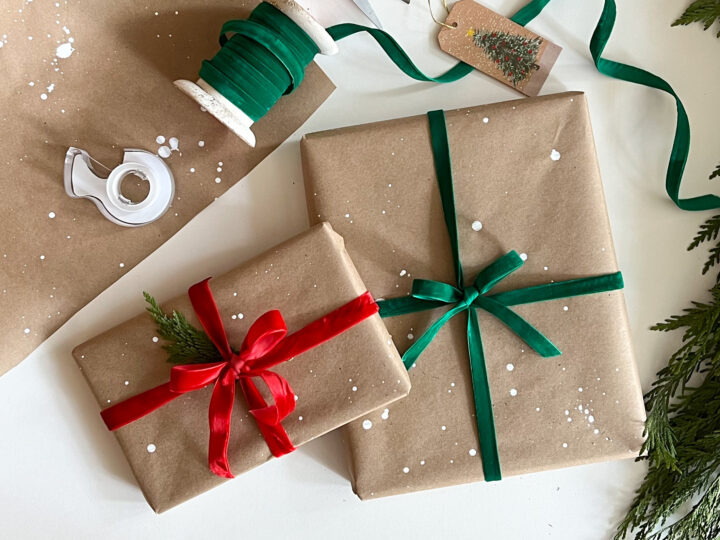
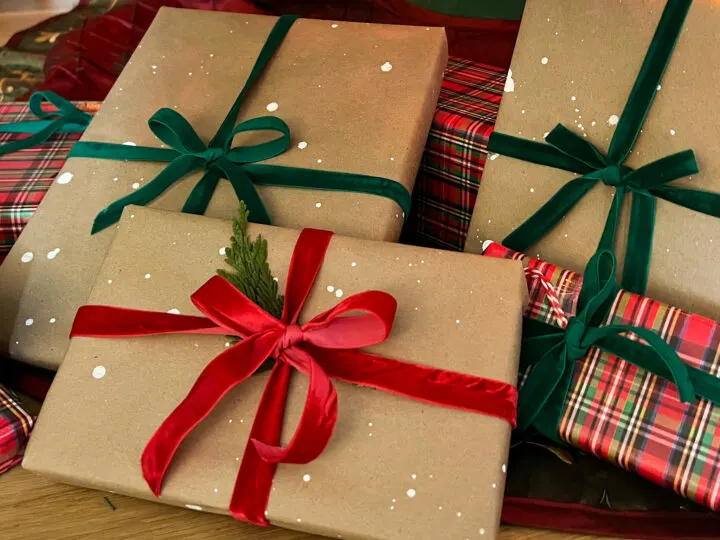
My husband’s family has always had beautifully wrapped gifts with bows of ribbon adorning each package under the Christmas tree. A festive ribbon wrapped around both sides of the present and a simple bow on top is my favorite look.

With this type of gift bow, the recipient can easily unravel the ribbon with a tug of one tail. I asked my mother-in-law for a tutorial on how to make these gift bows and I have been making them ever since!
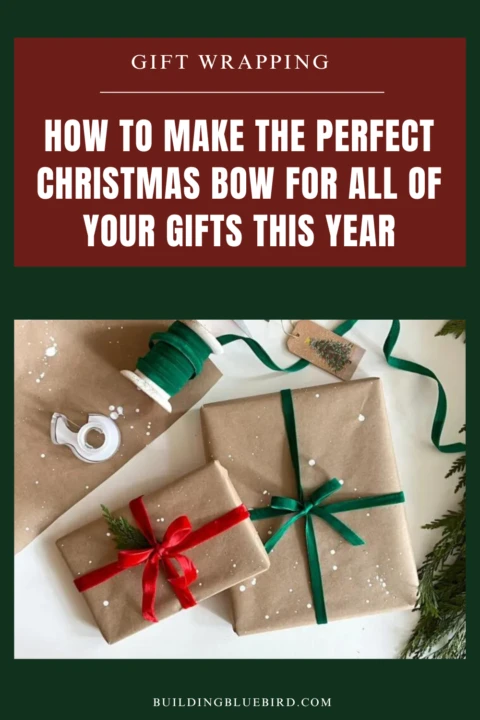
How to Easily Make Gift Bows with Ribbon
[Affiliate links are included in this blog post, thanks for supporting Building Bluebird!]
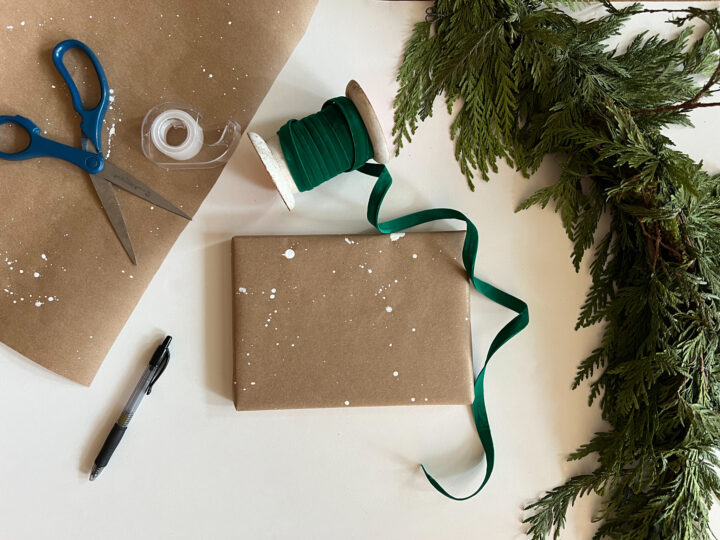
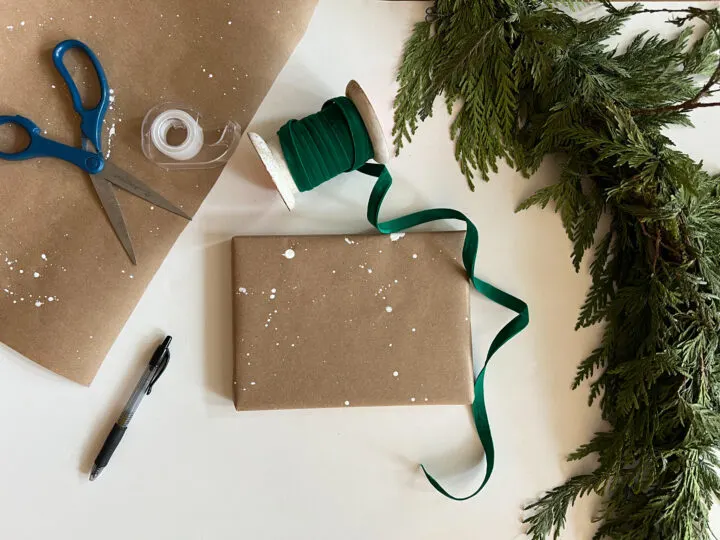
Crossover Gift Bow Materials Needed:
- A present!
- Wrapping paper or craft paper
- Ribbon (similar) – I purchased the velvet ribbon at Home Goods
- Scissors
- Tape
- Name Tag (optional)
*Not super confident in your gift-wrapping skills? Check out my detailed tutorial for wrapping a present!

In all honesty, I struggled to type out exactly how to make this bow with ribbon, so the video tutorial is very helpful! Check it out below.
Before learning this technique, the biggest mistake I made when adding a bow with ribbon to gifts was twisting the ribbon at the bottom of the package.

Now I twist the ribbon to change directions at the top of the package and the ribbon on the bottom of the present lies flat.
**Check out how to DIY this cute wrapping paper on this blog post tutorial!
1 | Measure the Ribbon for the Bow
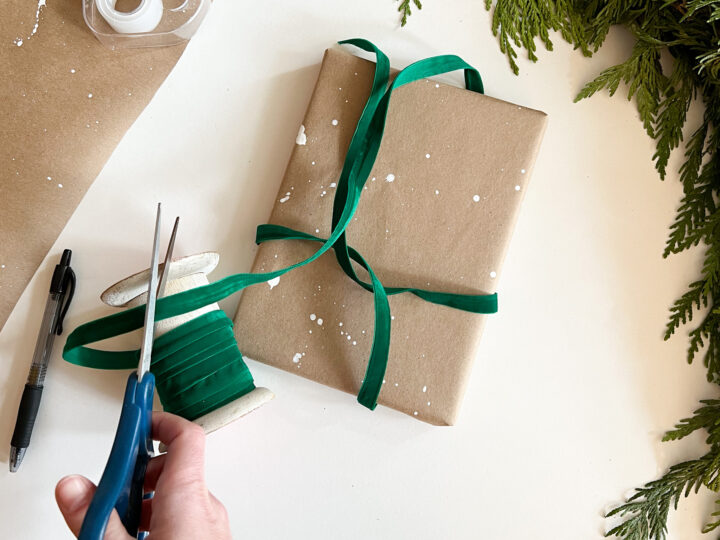
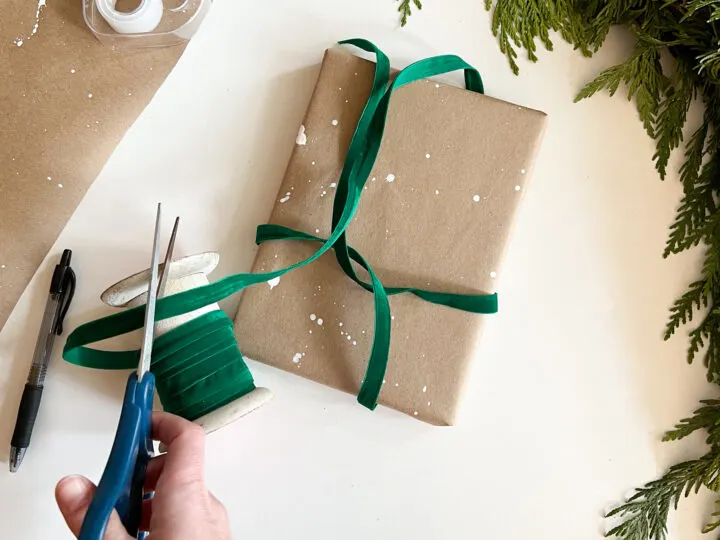
Measure the amount of ribbon you will need for the gift. I loosely wrap the present with the ribbon and give myself a little extra length to ensure my bow isn’t too small.
2 | Wrap Ribbon Around the Gift

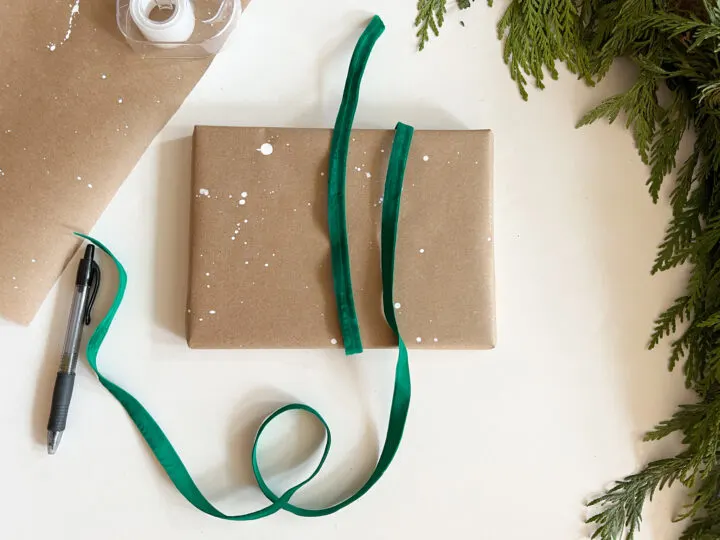
Begin the gift bow with one end of the ribbon at the top of the package. Wrap the long end of the ribbon around the gift so the ribbon on the bottom of the package is flat.
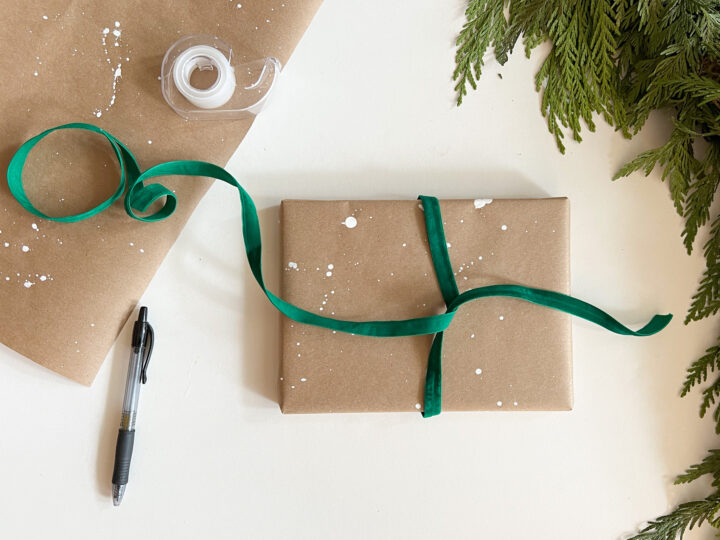

When the ribbon’s long end reaches the center of the package, twist both sides of the ribbon 90 degrees.
3 | Wrap Ribbon Around the Other Side of the Gift
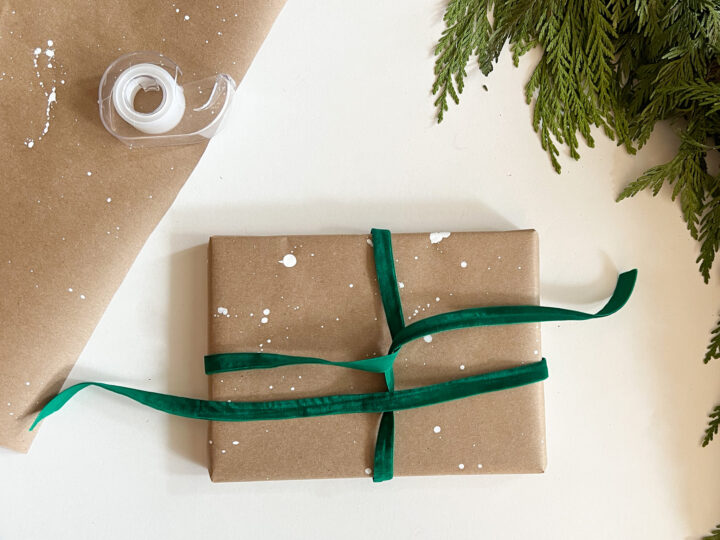

Take the long end of the ribbon and wrap it under the gift. Bring it back up to the top of the present.
Because I started my bow with the short end of the ribbon at the top of the gift and twisted the long end of the ribbon to the left, I want the end of the ribbon to be below the short end of the ribbon.
4 | Pull the Long Ribbon End Through the Center

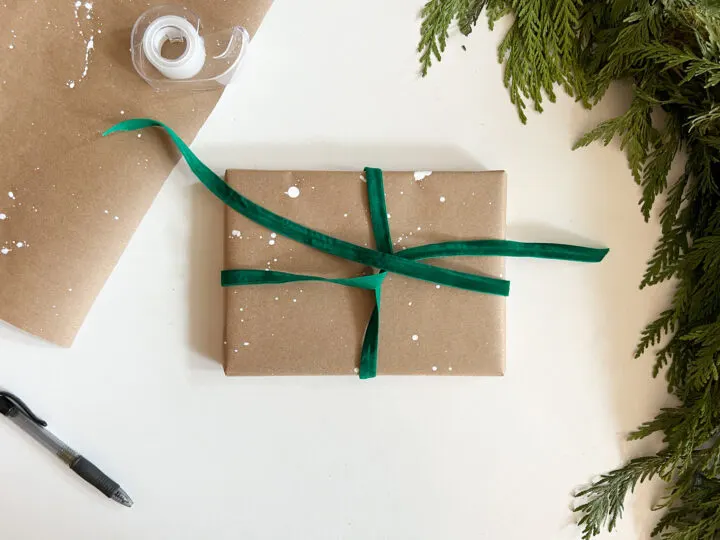
Place the long end of the ribbon over the crisscrossed ribbon at the center of the package.

Pull the long ribbon edge under the center of the ribbons to the bottom right corner of the package.
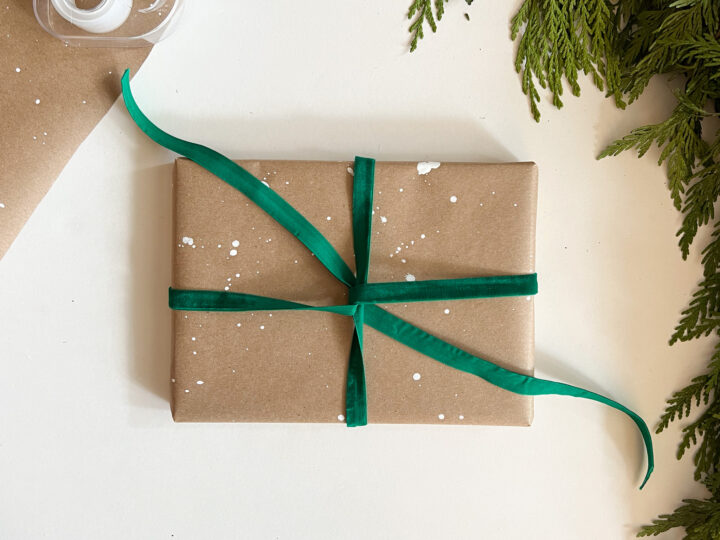
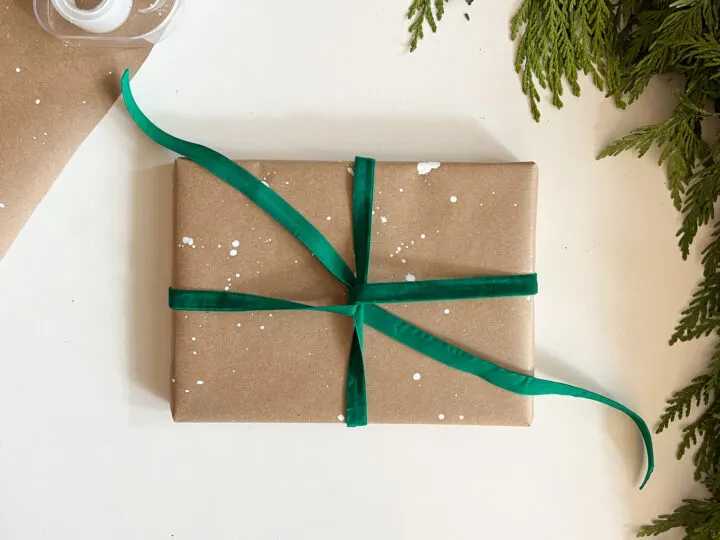
Now pull both ribbon edges diagonally so the entire ribbon is wrapped tightly around the gift.
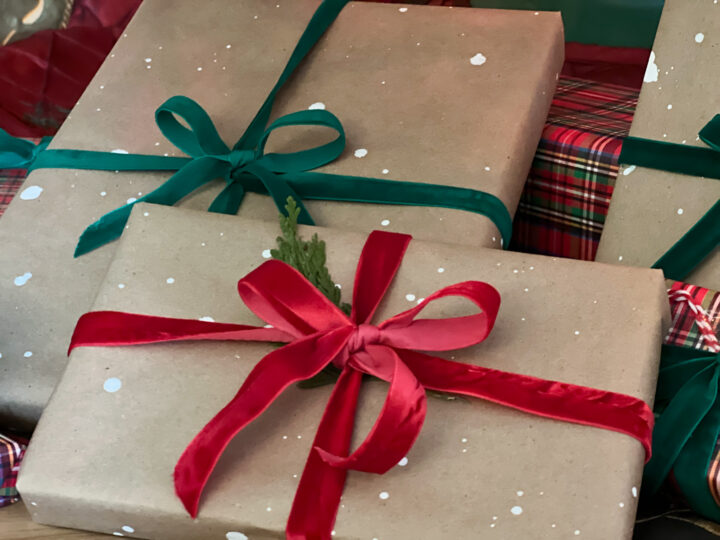
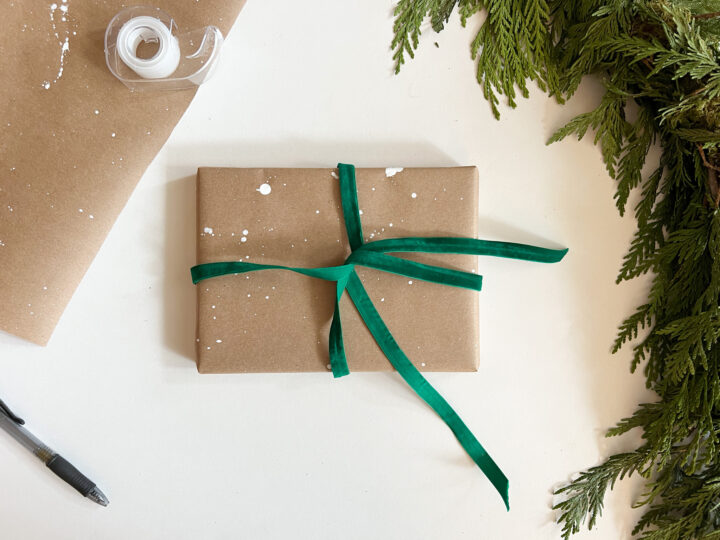
5 | Make the Gift Bow
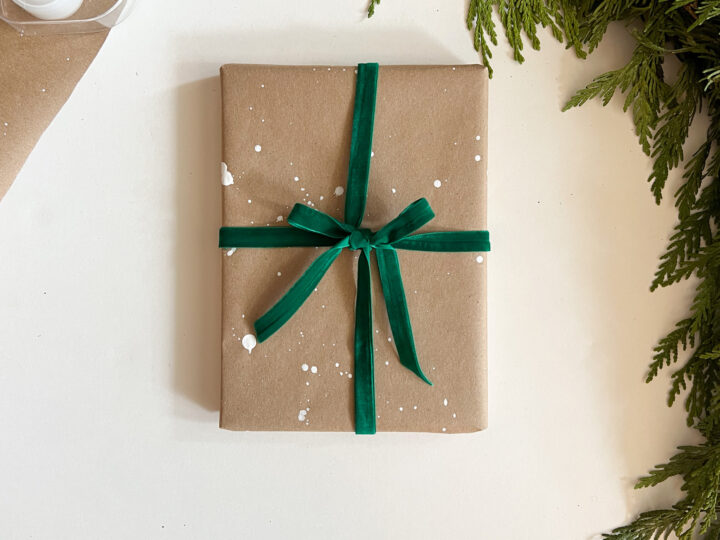

Make your bow and cut the ends of the ribbon to your desired length.

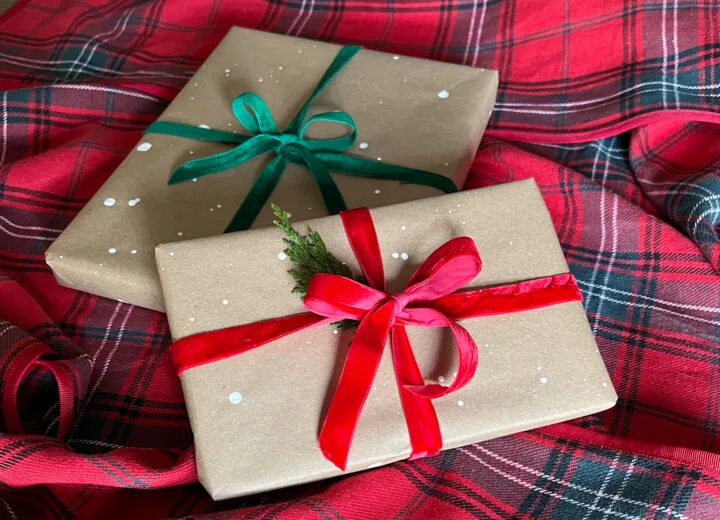
I love this new way of wrapping because the bow is so simple and beautiful! The ribbon can be removed with a tug of one bow tail and can even be reused for another gift.
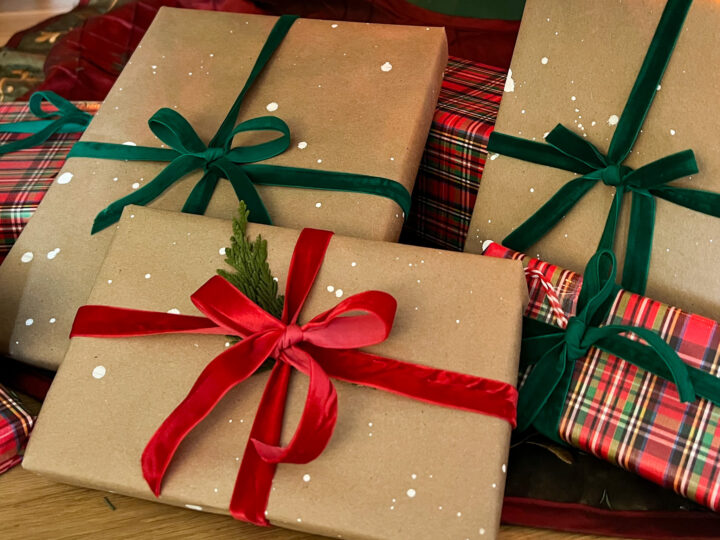
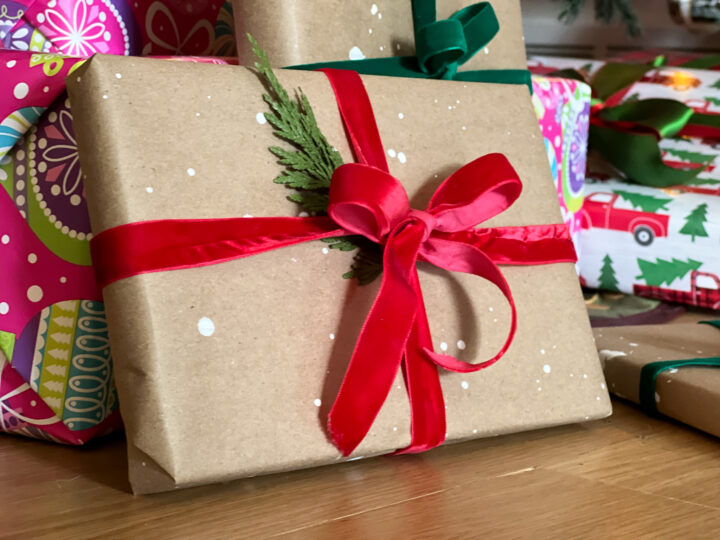
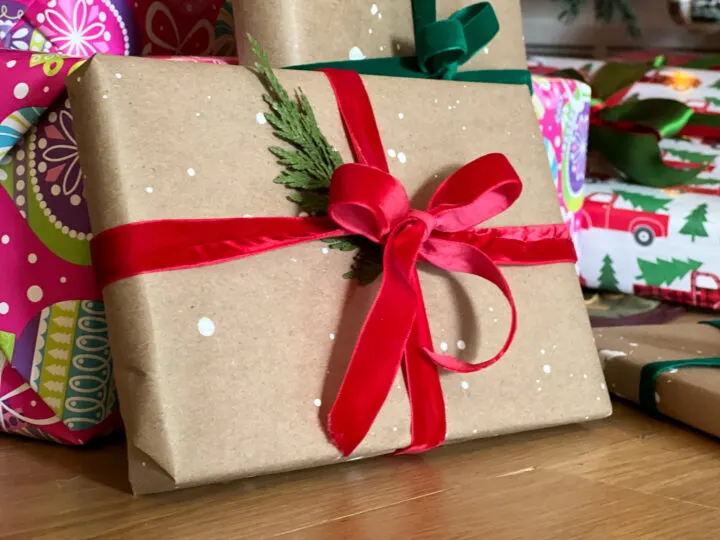
For a little extra flair, I like to add a sprig of cedar or pine behind the bow. I always end up with leftover cedar garland or tree trimmings and this is a fun way to use them.
*Check out how to make a pom pom bow for your gifts this holiday season with my simple tutorial!
Where is the best place to find ribbon
My favorite place to find beautiful ribbons at a low price is at estate sales.
You can find gorgeous ribbons for Christmas packages priced at $3 or less. I like to collect ribbons throughout the year to use during Christmas time. My drawers are filled with seasonal ribbons in velvets and beautiful plaid patterns.
Costco and Hobby Lobby also have great selections of ribbons perfect for gift bows.
More Holiday Content You Will Love
- How to Hang Garland Outside with Christmas Lights
- Stunning Blue and White Christmas Decor Ideas
- How to Flock a Christmas Tree | DIY
- Create a Beautiful Christmas Garland Mantel | Affordable DIY
- How to Create a Shutterfly Family Yearbook | DIY
- How to Make Dried Orange Garland for the Holidays
- Classic Red and Gold Christmas Tree Ideas
- How to Hang Beautiful Garland on Your Stairs for $20
- Thoughtful DIY Christmas Gift Ideas For Loved Ones
Common Questions Answered
What type of ribbon should I use to make a pretty gift bow?
There are many options when it comes to the type of ribbon you can use to decorate a present.
A ribbon with wire edging will give a more structured look to your bow. While I like using wired-edged ribbons, I also like using other materials like velvet ribbon and twine. It really depends on the look. you want to achieve!
What other types of bows can I make for gift packages?
While I only shared this gift with a simple ribbon bow, there are many other ways to make a bow:
- Rosette Bow
- Pom-pom Bow
- Dior Bow
- Tiffany Bow
- Curly-cue Bow
- Paper Bow

Where do you buy ribbons for the bows on your gifts?
There are so many places to buy beautiful ribbons for gifts, especially during Christmas time! For large rolls of ribbon, I like shopping at Costco.
Michael’s is another favorite spot to purchase ribbons and online I like finding beautiful ribbons via Etsy or Amazon.
Does it get expensive to add beautiful ribbon bows to all of your gifts?
Nope!
Because these bows can easily unravel without scissors, I get to reuse the ribbon year after year. It not only saves me a ton of money, but it is more sustainable too!