
Last Updated on August 8, 2023 by lindseymahoney
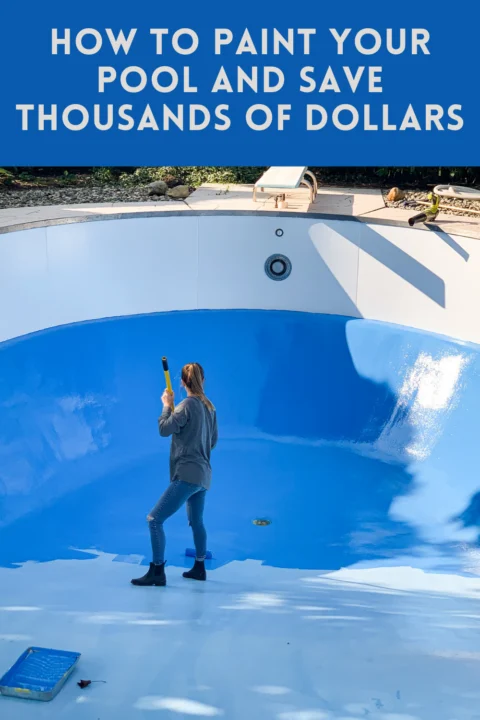
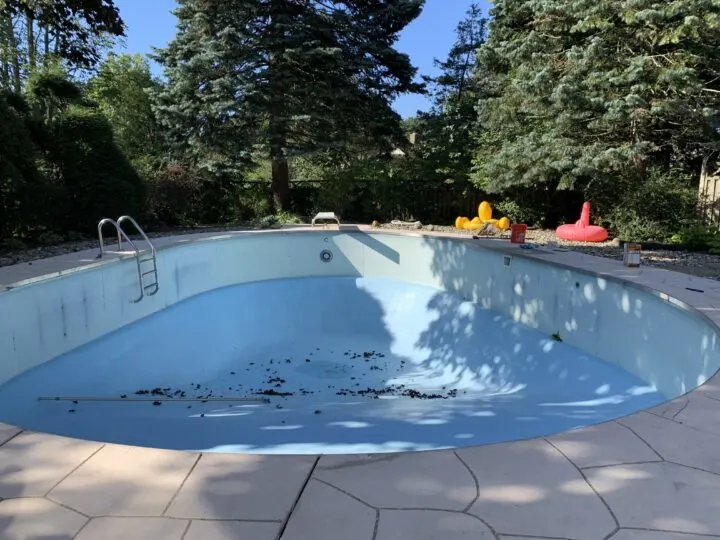
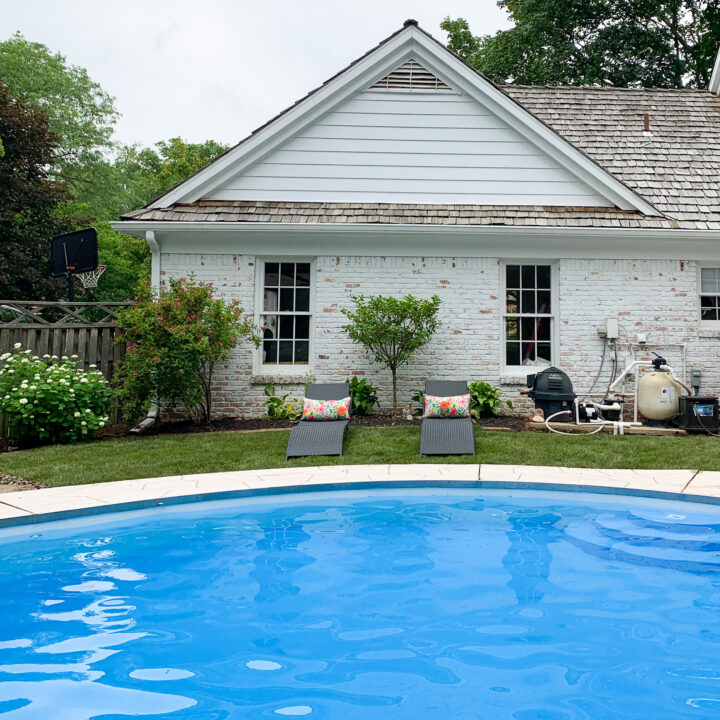
Today I am excited to share how to paint a pool (like ours) and save thousands of dollars! Would you believe me if I told you we almost walked away from our house because there was a pool in the backyard?

We have young kids and the idea of having a pool was really intimidating to me. I was scared that a child could drown and also that it would be super expensive to maintain (I was right).
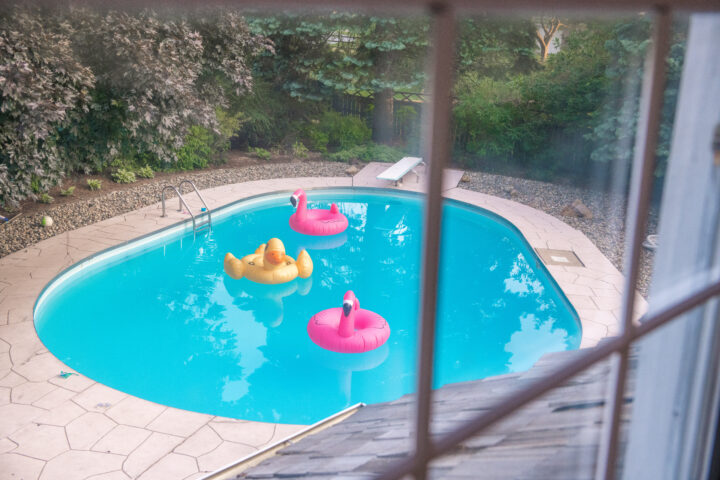
In the end, we decided to buy the home and I quickly grew to love our pool.

The first summer owning a pool, we relied heavily on a professional company to maintain it and to open/close it for the season. I finally had an ah-ha moment when I watched them open it up at the beginning of the summer.
They removed the tarp, added some water and chemicals, and then sprayed the concrete clean. The price tag for this was STEEP! Chris and I agreed that we would tag-team managing the pool ourselves for the summer.
My role was to brush and vacuum the pool a few times a week and Chris took the lead on adding the chemicals.
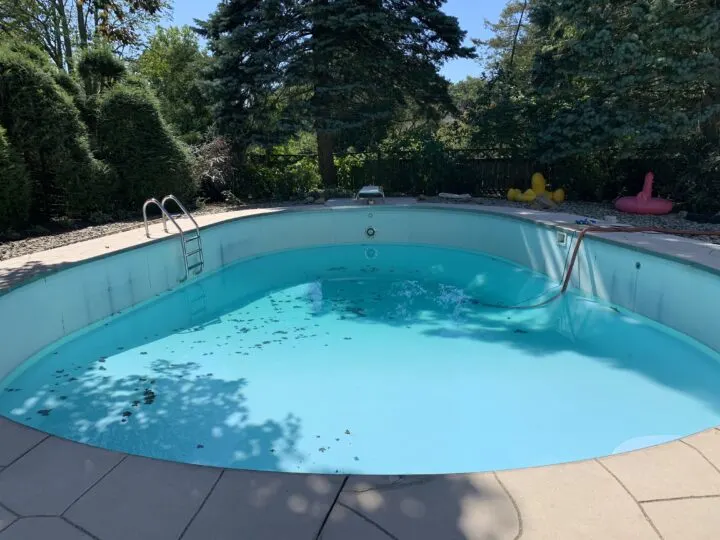
We knew that our 1970s pool would need to be repainted this fall and when we got a quote back from the pool company it was going to cost over $5,000!
Painting projects have never scared us away so we quickly decided to DIY this project ourselves. It’s funny how just one year earlier I didn’t even want to own a pool and now I was planning to paint our pool!
This DIY project will vary based on the age and material a pool is made of so I highly recommend consulting your local pool store to determine what you will need.
How to Paint A Pool Yourself
[Affiliate links are used in this post, thanks for supporting Building Bluebird!]
Scroll to the bottom of the post for a complete list of items to purchase to complete this project.

1 | Consult Your Local Pool Store Experts
Before tackling this big project I highly recommend talking it over with an expert at your pool store. For us, that was Leslie’s Pool store. They will be able to advise you about what you will need for your specific pool.
Leslie’s Pool store helped Chris come up with the list of materials needed to paint our pool properly.
Because we painted our pool in September, we had to watch the forecast to make sure there would be consecutive warm days and a low chance of rain. Once we determined a good week, we got started!
2 | Drain the Pool
To drain our pool, we rented a submersible pump.

We dropped it into the center of the deep end and rolled the hose towards the street. Once the pump got started, it took about 12 hours to empty our pool.
If you live in Toledo, Ohio, we rented the pump from Great Lakes rental & equipment services.


When the water was lower than the suction of the pump, we used a squeegee to push the water toward it.

Next, we used the wet vac to remove the remaining water and debris from the bottom of the pool.
3 | Acid Wash the Pool
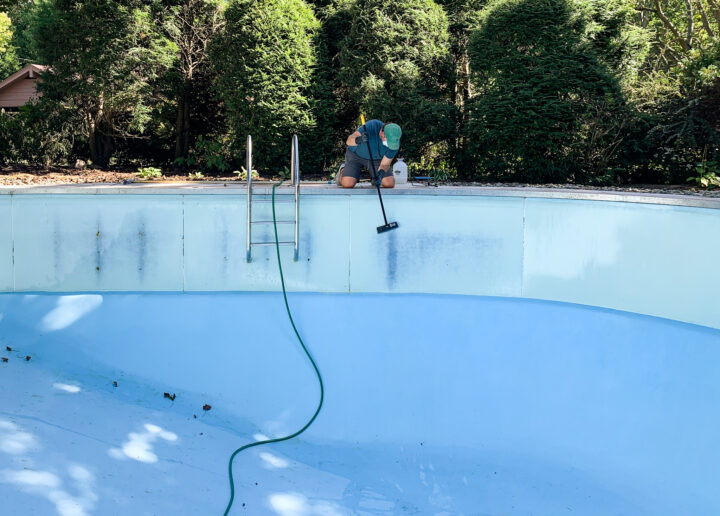

Before painting the pool, you want to remove as much of the dirt and grime as you can.
We used the Smart Seal Clean & Etch acid solution found at our local pool store and followed the instructions.
Chris scrubbed the walls with the solution so that the dirt would drain down to the bottom of the pool.

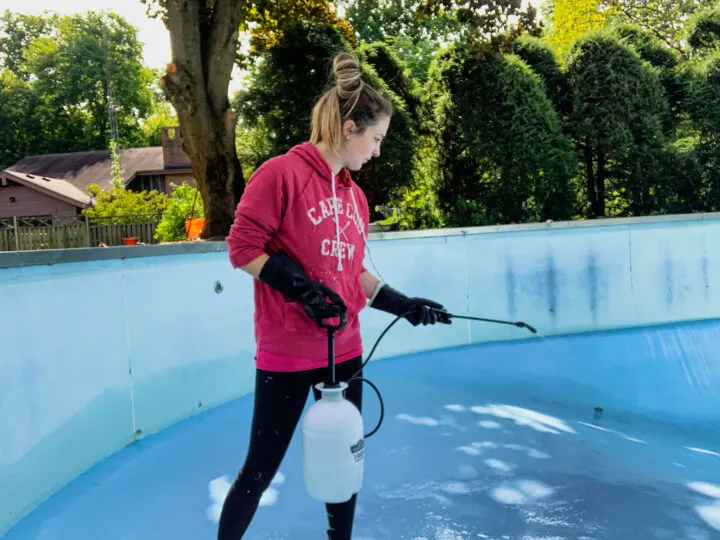
Once the walls were cleaned, I focused on the floors and worked in sections.
First, I wet the surface with our garden hose, then I sprayed the solution until it began to foam. We used rubber gloves to protect our skin from the chemicals.

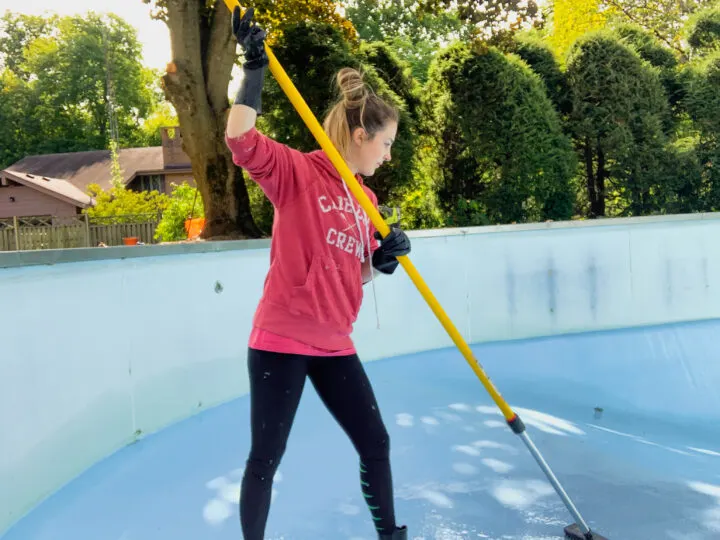
I used a deck scrub brush to remove the dirt and then rinsed it away. We used the submersible pump again to remove the water from cleaning the pool.
Our goal was to remove as much debris and flaking material as possible, not to remove every stain.
4 | Paint the Sides of the Pool

Apply Primer to Fiberglass Walls
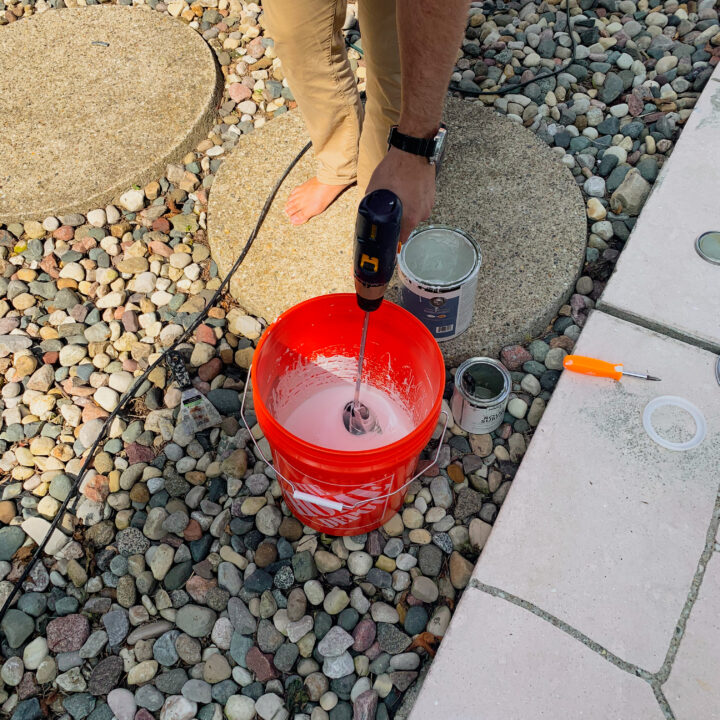
Each gallon of primer came in two containers.
The gallon can is filled about three-quarters of the way and a quart of epoxy is included in the packaging. Mix the two cans together using a paint mixing attachment found at the hardware store.

Chris researched tips online for painting a pool and many recommended mixing in a large bucket.
We tried it in the bucket and then we tried mixing the epoxy right into the gallon can. Both work fine, but I actually prefer using the gallon can because there is less mess.
The problem with the bucket was trying to reuse it. The paint becomes chunky quickly and it is not easy to clean for reuse. Mixing in the paint can require more focus but is easier in my opinion.

The walls of our pool are made of fiberglass and have never been painted. We first had to apply a primer to the walls to ensure the paint would adhere properly. Let the primer cure overnight.
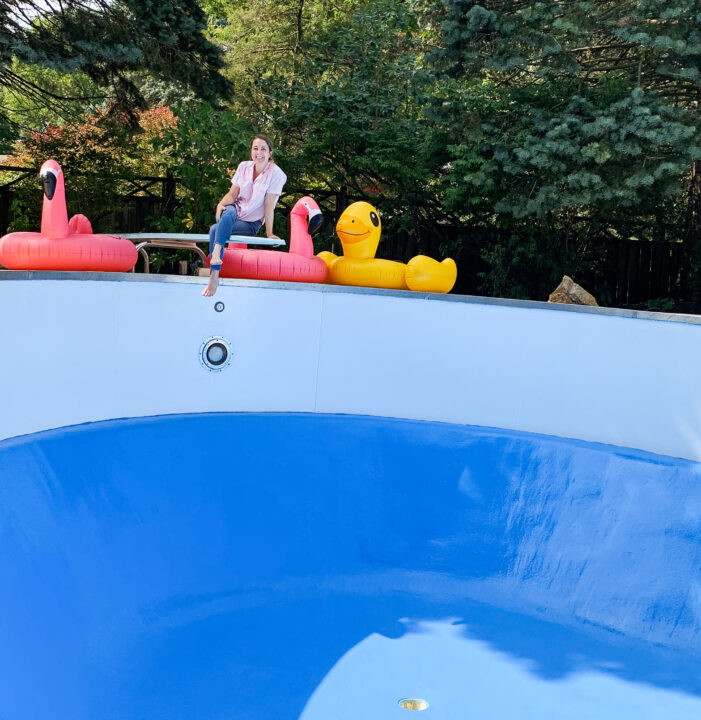
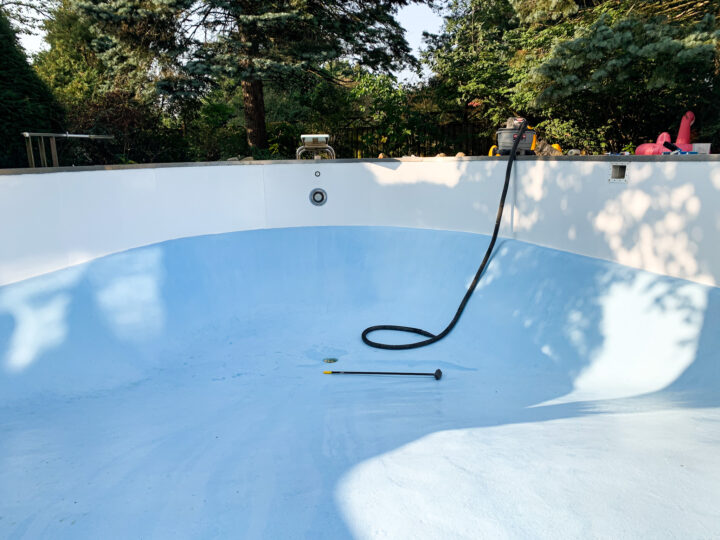
Apply White Epoxy Paint Over Primer
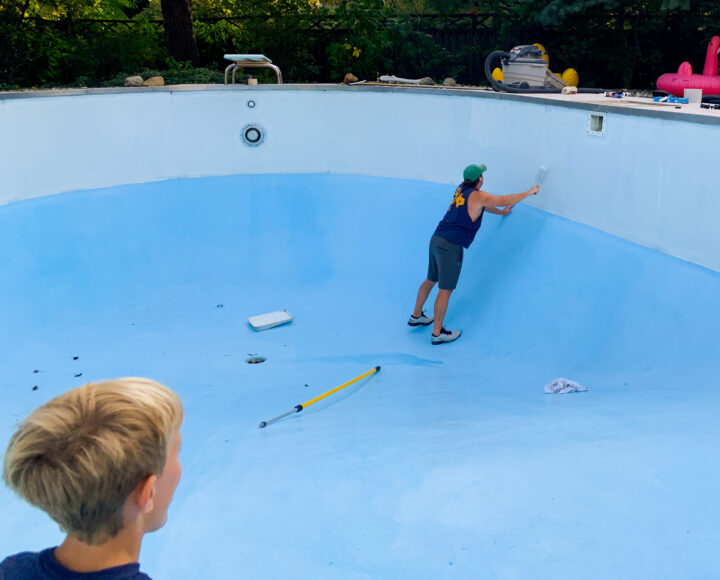
The next day we applied the white epoxy paint to the walls. The paint is a little tricky because it is thicker than normal.
The brand recommends application within one hour of when you mix the paint and epoxy together. The best process for us was when the two of us worked together.
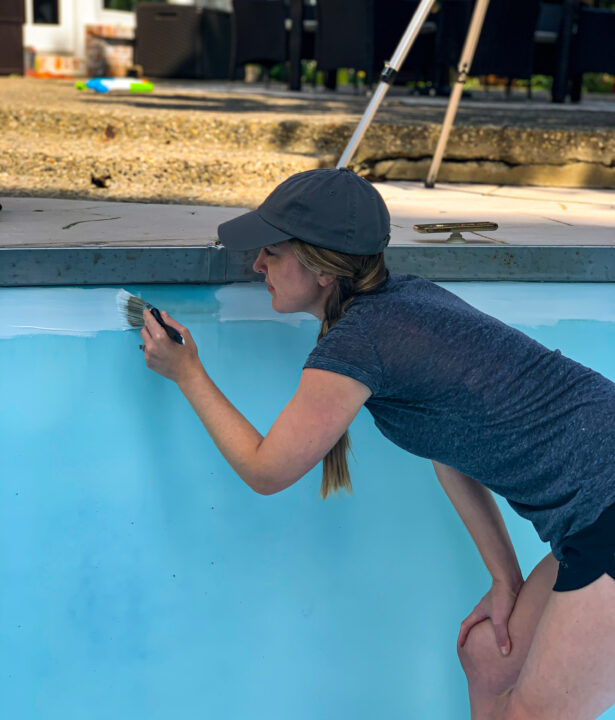
Chris handled the paint roller and I focused on trimming with a paintbrush.

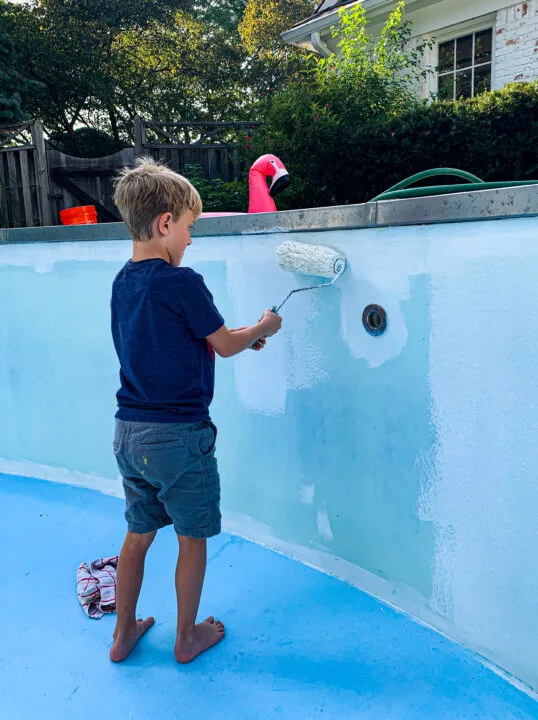
The kids LOVED this project and were super excited to run around the empty pool. They both wanted to help with the painting too.
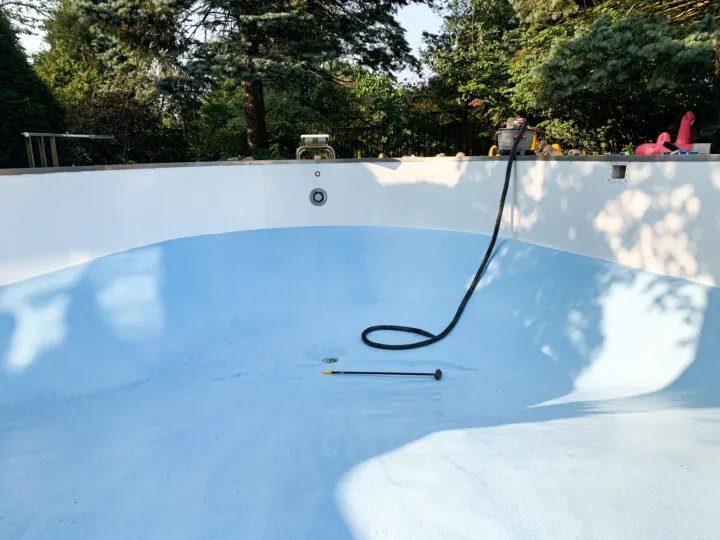
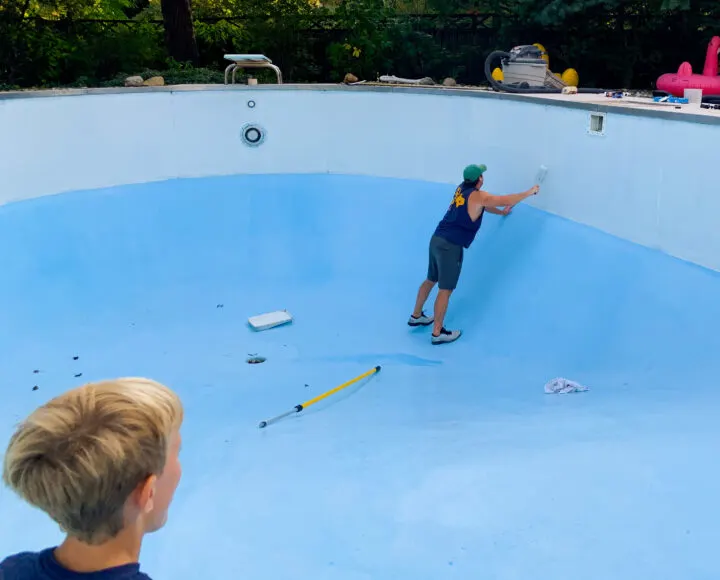
When we couldn’t paint together, I found that the best process was to work on sections at a time. I rolled two panels and then quickly trimmed them out with the paintbrush.
Because the paint is thicker, I recommend checking your work 10 minutes after to see if any drips are forming.
If you see paint starting to sag down the wall, use the roller to clean up the drips. When trimming the edges, I was careful painting around the top edge.
At the bottom of the wall, I didn’t worry about painting straight since I needed to cut in the blue paint on the floor. Let the paint dry overnight.
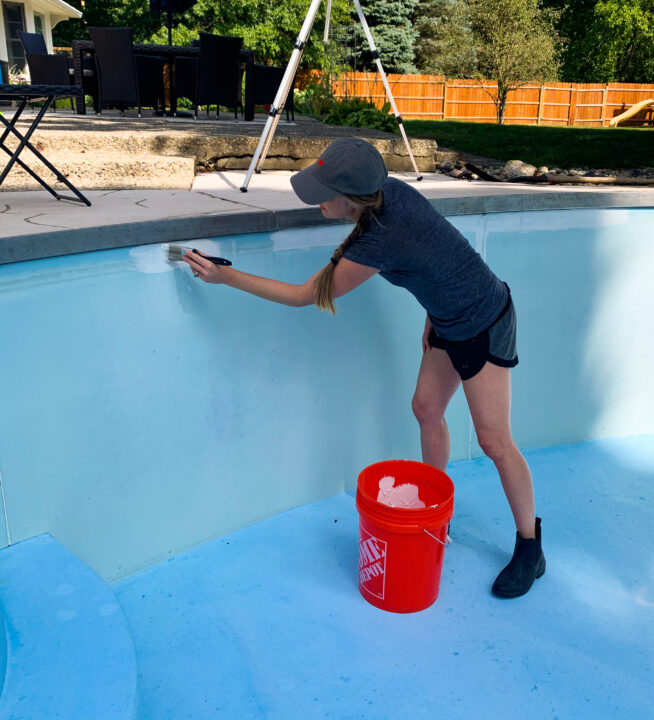
5 | Paint the Bottom of the Pool
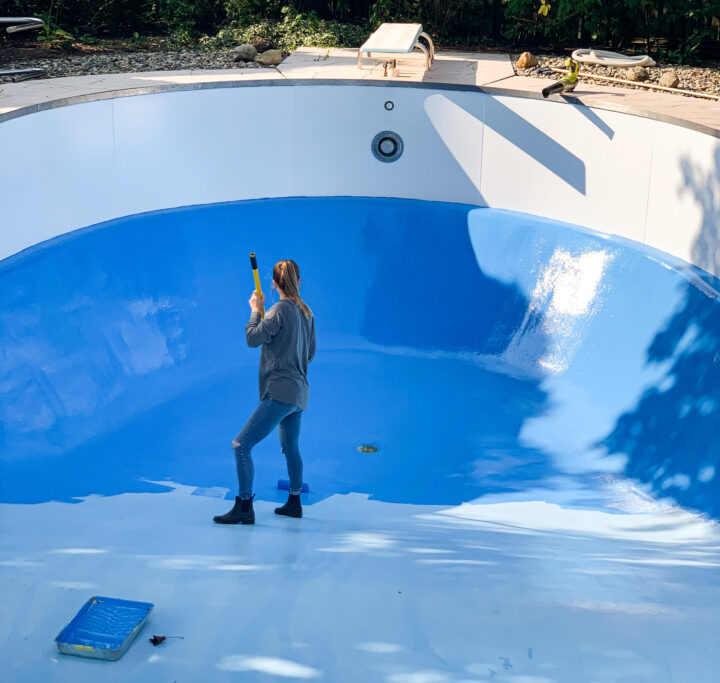

For the floor of the pool, we chose the darker blue option called Blue Heaven. We chose a glossy finish that should last up to 8 years. This paint application only requires a single coat of paint.


I started by cutting the edge with a paintbrush where the floor met the white walls.
It was definitely not a perfectly straight line, but it won’t be noticeable underwater.

It was a very awkward angle to paint. Chris used the paint roller to apply the paint at the deep end of the pool.
Remember to start at the bottom of the pool and work your way out.

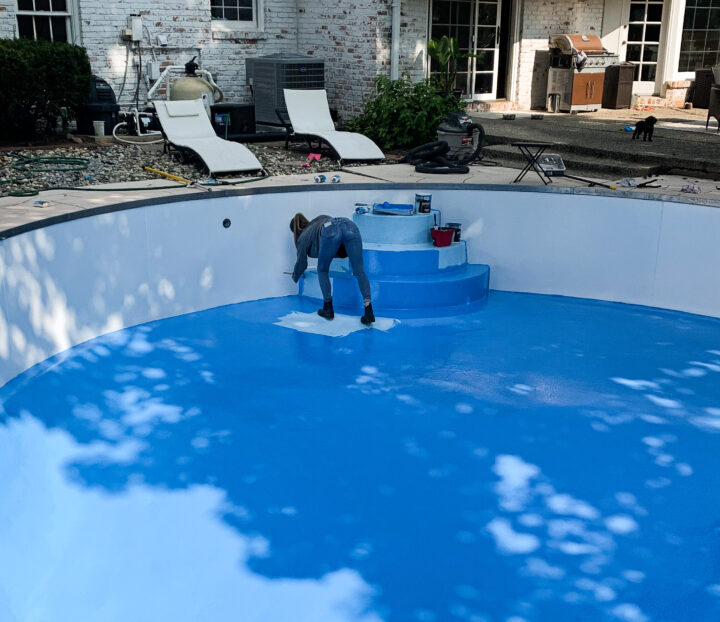
I wrapped up the second half of the pool and painted myself into the corner where the stairs were located.

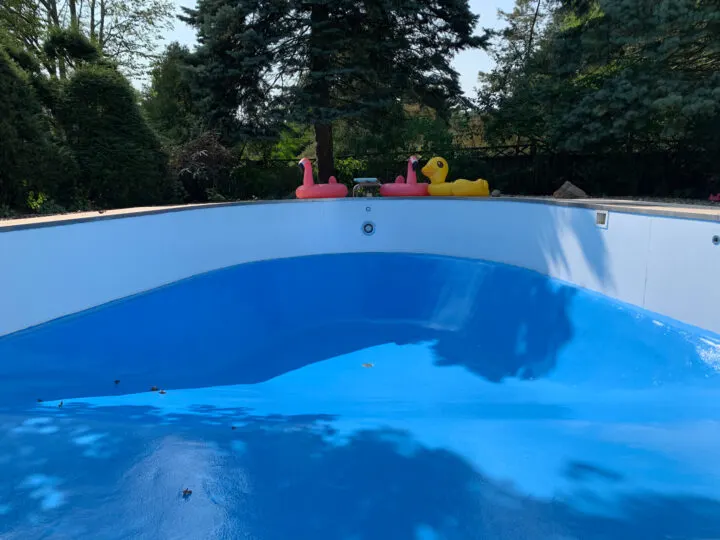
6 | Fill the Pool with Water


Once the painting was complete, we let the paint cure for 5 days before filling it back up with water.
Even though we are about to close up the pool for the winter, it is important to fill it with water to prevent damaging the pool surface.
If the pool stays empty, the walls or floor can get damaged from the thawing and freezing of the earth around the pool.
The most cost-effective way for us to have our pool filled was by calling a company to have it delivered. This option is less expensive and faster than filling your pool with a garden hose.
The pool is almost ready to close since we cleared the drain lines and removed the stairs before painting the pool. The only remaining item left is attaching the pool cover over top.

TIP: When we open the pool next spring, we will need to fill in more water. I was told that if you call the water company and tell them this is happening, they will charge you less for the water used to fill your pool. I love tips that will save me money!
A few years later I added a charming brick border around the edge of the pool patio and love how it turned out!
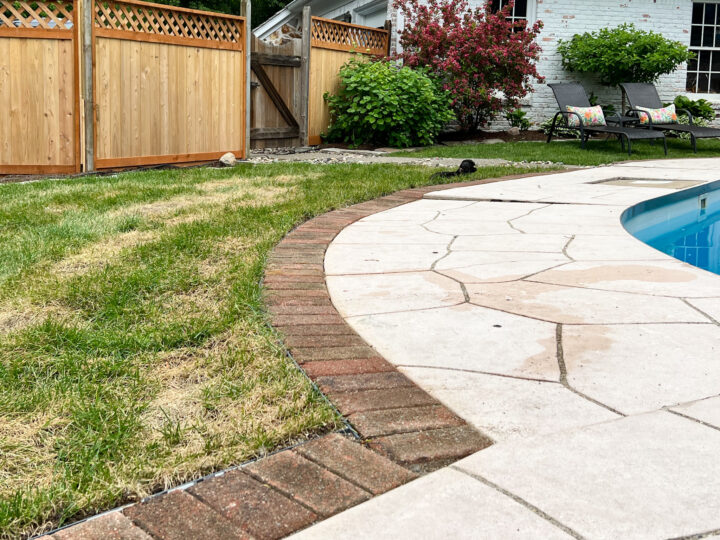
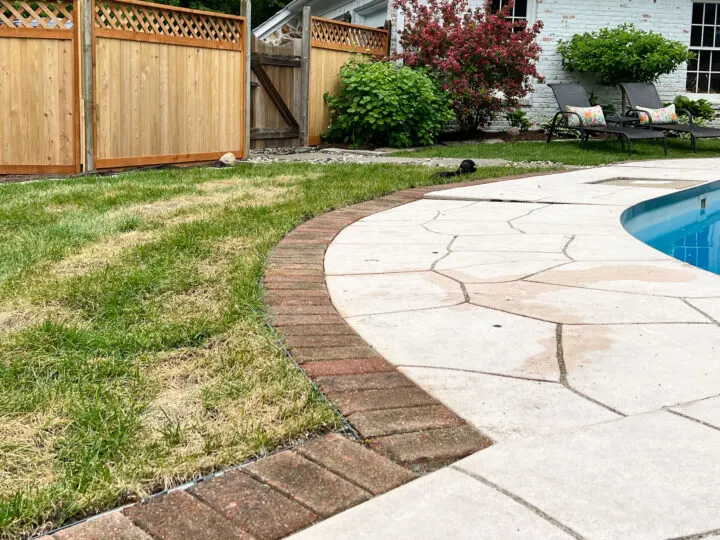
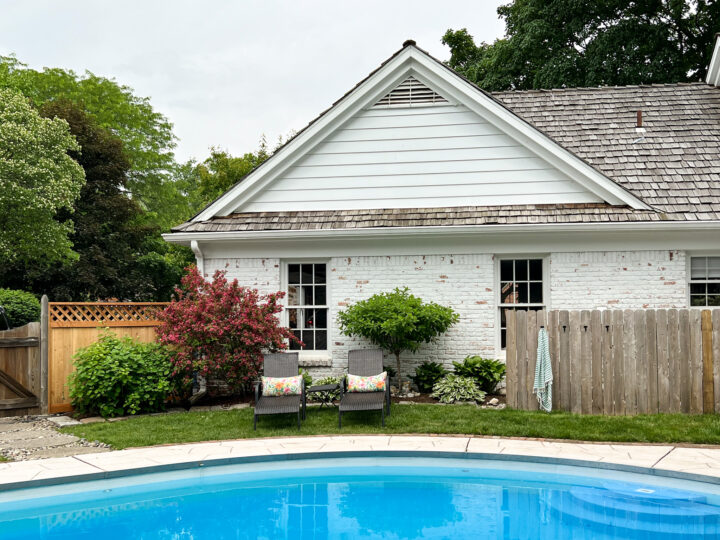
We removed the large pine trees behind the pool to let in more sunlight and replaced the rocks with grass.

More Outdoor Projects You Will Love
- How to Add a Charming Brick Border to a Flower Bed
- 21 Stunning Garden Shed Ideas for Your Backyard
- How To Create A Beautiful English Cottage Garden
- My Favorite Tools I Recommend to New Gardeners
- How to Camouflage Your Electrical Meter | DIY
- Beautiful Perennial Plants You Can Divide & Transfer
- 25+ Easy Outdoor DIY Projects to Try This Year
Project Source List

- Smart Seal Primer (for fiberglass walls)
- Submersible Pump
- Smart Seal White Paint (for walls)
- Smart Seal Blue Heaven Paint (for floors)
- Acid Cleaning Solution
- Deck Scrub Brush
- Rubber Gloves
- Chemical Sprayer
- Shop-Vac (owned)
- Roller Sleeve & Roller Cage
- Paint Brushes
- Paint Mixer Attachment
- Extension Pole
- Orange Bucket
- Paint Tray & Tray Liners
After reading this tutorial, do you think you could paint a pool on your own? If you are a pool owner, I hope this post gives you the confidence to tackle projects like this!