Last Updated on June 3, 2024 by lindseymahoney
Basement floors often suffer from being dull, drab, and neglected. However, with a little effort and the right materials, you can transform your concrete basement floor into a durable, attractive surface. Epoxy paint kits are perfect for this job, providing a tough, long-lasting finish that is resistant to stains, chemicals, and wear.

Here’s a comprehensive guide to help you paint your concrete basement floors using an epoxy paint kit.
Table of Contents
- Our Unfinished Basement Makeover
- Painted Concrete Floors Tutorial
- Step 1 | Measure the Room
- Step 2 | Clean the Concrete Basement Floors
- Step 3 | Etch the Concrete Flooring (Optional)
- Step 4 | Rinse the Concrete Floor & Dry
- Step 5 | Mix Part A & Part B Together
- Step 6 | Apply Basement Floor Paint
- After | Painted Concrete Basement Floor
- Common Questions When Painting Concrete Floors
- More Content You Will Love
Our Unfinished Basement Makeover
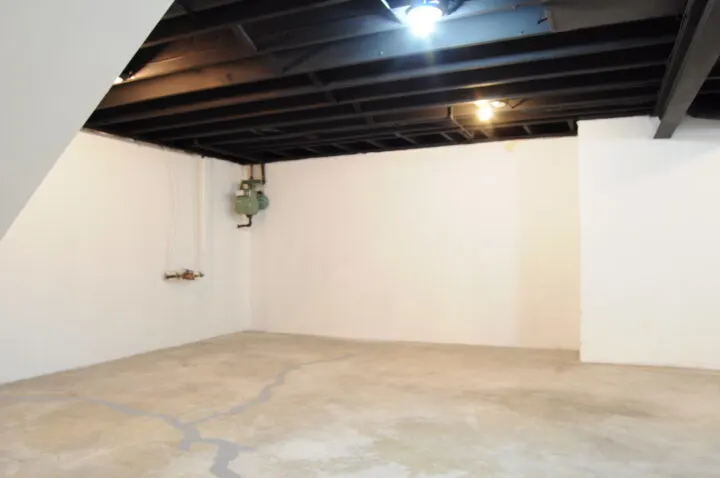
When we moved into our home two years ago, our unfinished basement was kinda creepy and we mainly used it for storage.
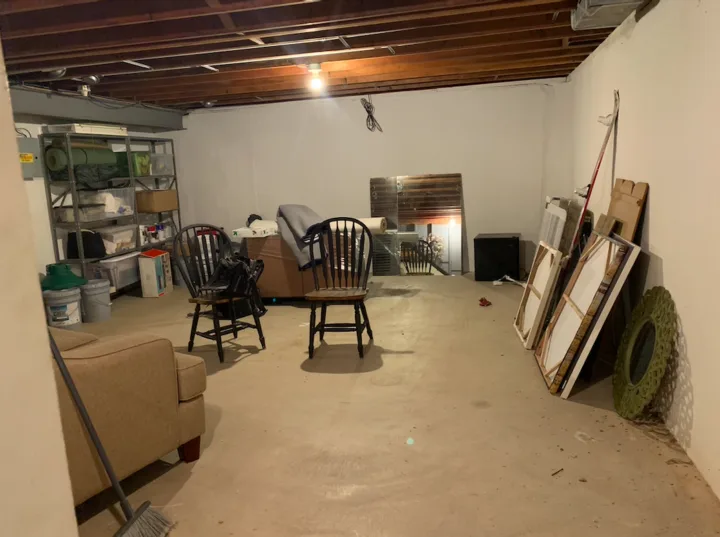
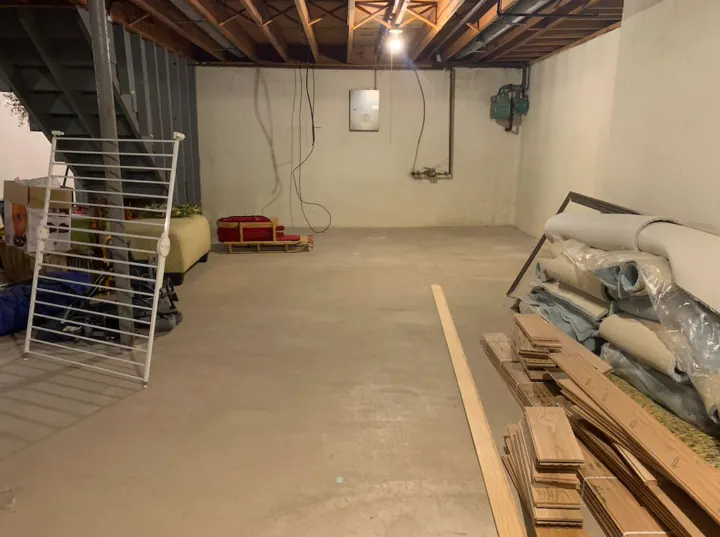
While in quarantine in 2020, we realized that our kids needed a dedicated space to run around and play with their toys. We created a makeshift playroom in the unfinished basement and it worked out great!
This year, I really wanted to give our unfinished basement a more finished look and began planning a budget-friendly basement makeover.
When going through our flooring options, I decided to use Rust-Oleum’s Epoxyshield Garage Floor Coating kit instead of carpeting because of its durability and clean finish.
With two kids and three dogs, I wanted low-maintenance floors where we didn’t have to work about spills or accidents.
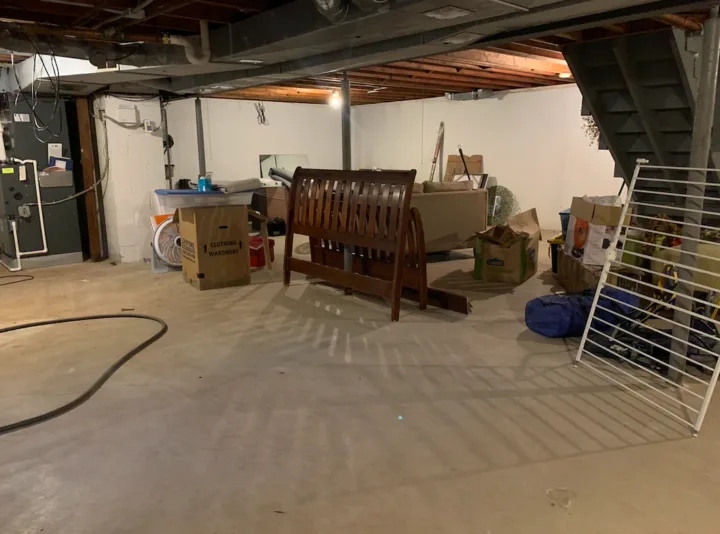
The drab concrete floor went from looking like this:
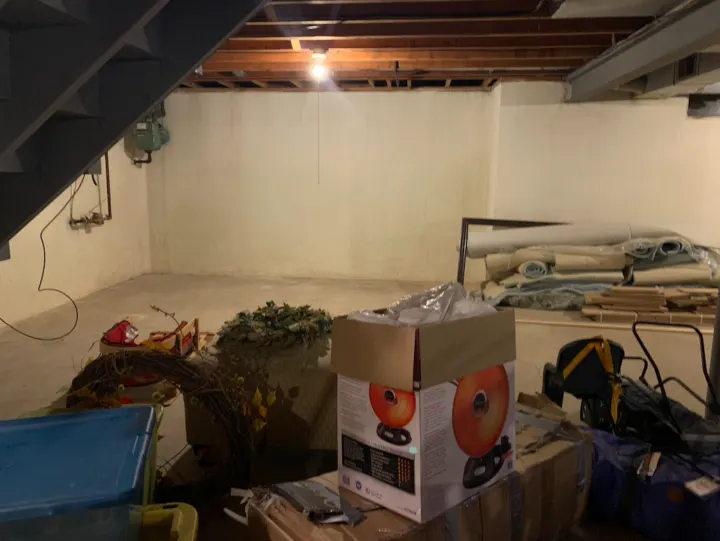
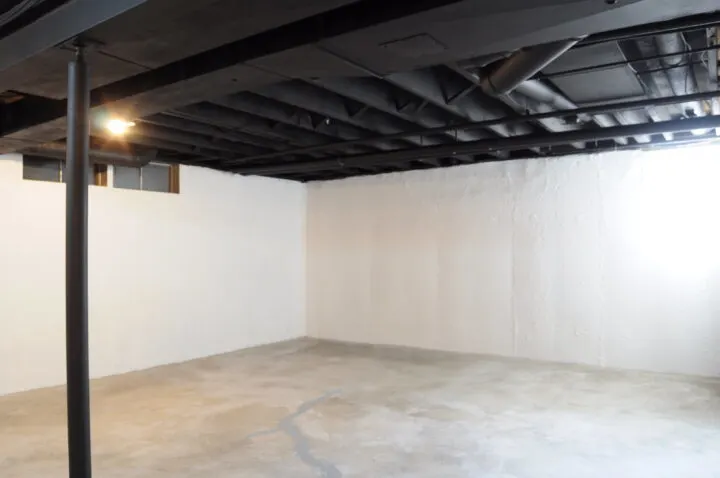
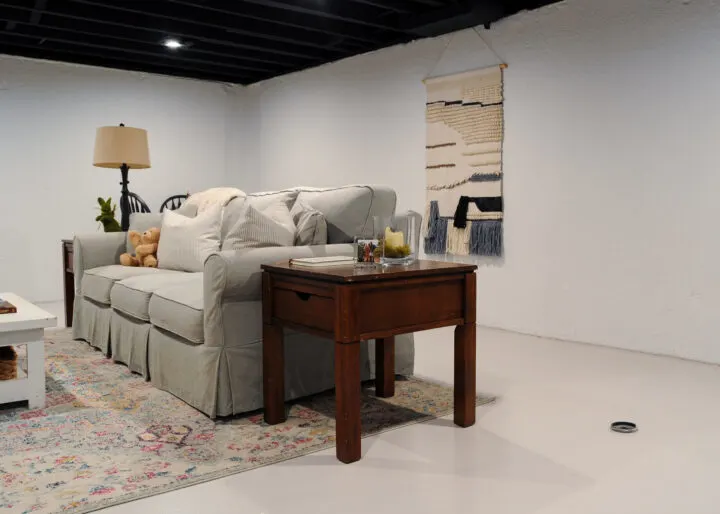
To this:

*Check out the complete unfinished basement makeover reveal here!
Painted Concrete Floors Tutorial
*This post is sponsored by Rust-Oleum. All content and opinions are my own.
When painting surfaces, like a concrete floor, it is important to use the right type of paint. An epoxy paint is much more durable than your standard interior latex paint.
Must-Have Supplies:
- Rust-Oleum Epoxyshield Garage Floor Coating Kit – $200 per kit, I used 6 (gifted)
- Anti-Skid Additive – $15 per bag, (I used 6) (gifted)
- Rust-Oleum Cleaner & Degreaser $22 (gifted)
- Scrub Brush – $8
- 5 gallon Bucket – $0 (owned)
- Watering Can – $0 (owned)
- Squeegee – $30
- 3/8 inch nap Roller Sleeve – $5
- 9″ Roller Frame– $0 (owned)
- Extension Pole– $0 (owned)
- Floor Fan– $0 (owned)
- Wet / Dry Vacuum– $0 (owned)
- Paint tray – $0 (owned)
- Paint Mixer– $0 (owned)
- Paintbrush– $0 (owned)
Step 1 | Measure the Room
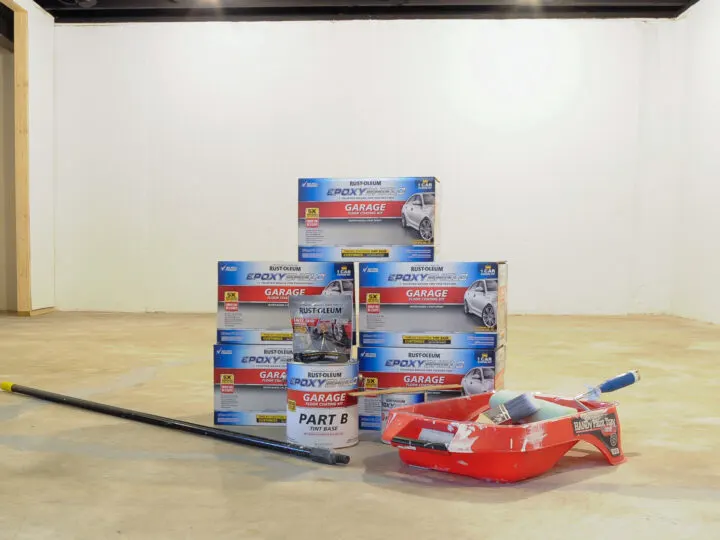
Measure the size of the concrete surface to determine how much paint and the number of kits to purchase. My basement was roughly 1,500 square feet, so I purchased 7 kits and used 6.
Choose Your Paint Color
You can find the Epoxyshield Garage Floor Coating kit at your local Home Depot. The Epoxyshield Garage Floor Coating kit is 5x more durable than one part epoxy on interior concrete floors. If garage floor paint is strong enough to withstand a car driving on the surface, I know it will be strong enough to withstand high-traffic areas in our basement!
This particular paint kit offers various colors to choose from and must be mixed by the paint department at the store.
From their color options, I chose the paint color, New Concrete, for our floors because it is a light, neutral color that will go nicely with all of our furniture.
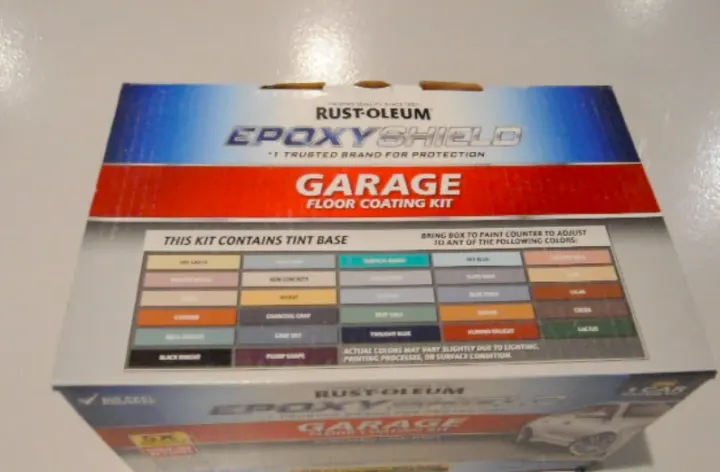
If you want to order the product directly to your house or curbside pick-up, Rust-Oleum offers a premixed option, EpoxyShield Garage Floor Coating Kit in Gray Gloss, Dark Gray, or Tan. They come in 2.5 car kits so you won’t need to order as many kits.
**I accidentally forgot this step and used an entire untinted kit before noticing that it was not the correct color. I don’t think it registered right away because I chose such a light tint. I took it all back to Home Depot and the nice woman at the paint desk let me know that I essentially painted a can of glue on the floors!
Each kit includes one base gallon (Part B), one quart of the activator (Part A), a mixing stick, a bag of concrete etch, and decorative chips.
Step 2 | Clean the Concrete Basement Floors
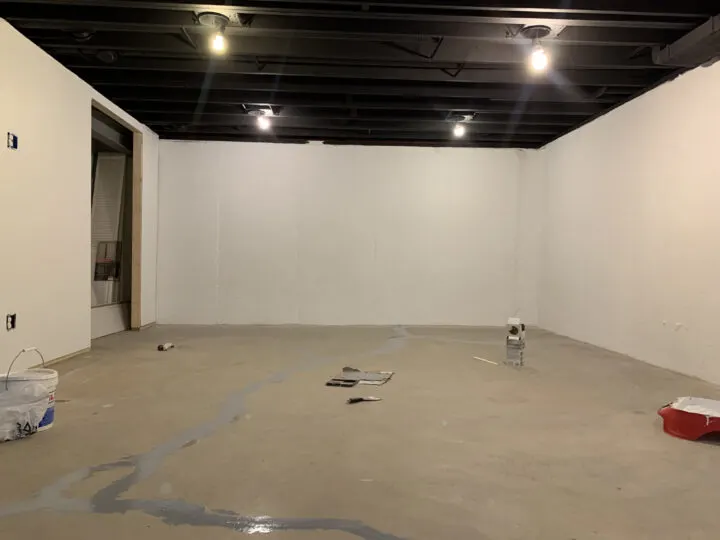
First, I began removing all items from the entire floor and thoroughly sweeping the surface with a broom and shop vacuum.
Clean & Degrease the Concrete Floors
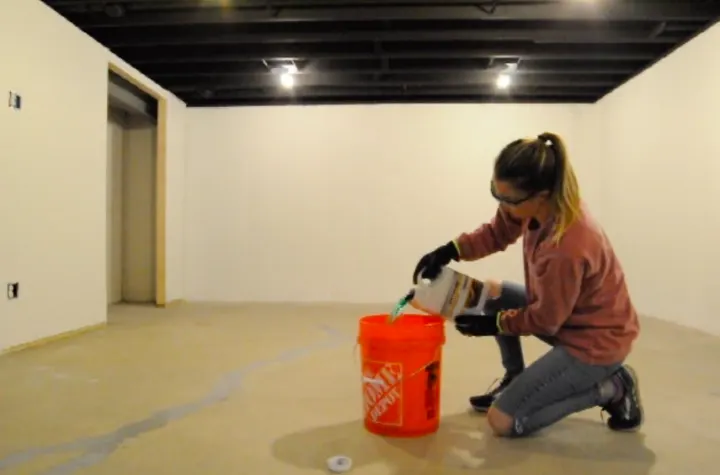
Next, I used the Rust-Oleum Cleaner and Degreaser solution to remove as much dirt and concrete stains as possible before applying the new paint.
I followed the instructions on the bottle and mixed the solution with water in a large bucket.
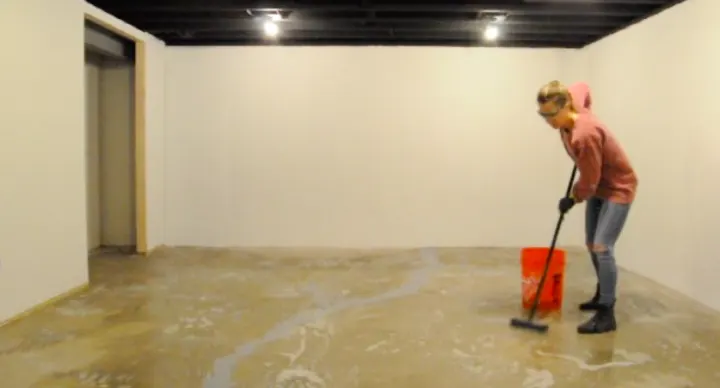
Working in sections, I poured the cleaning solution onto the concrete. I used a deck scrub brush to clean the surface to remove as much dirt as possible.
Sometimes a section of the concrete would begin to dry up before I removed the dirty water, so I would pour clean water over those sections.
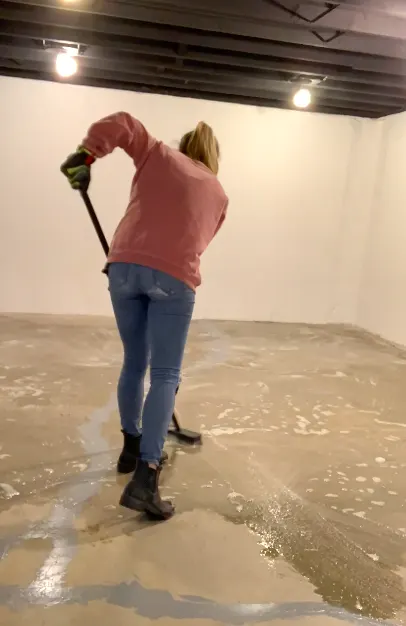
Squeegee and Vacuum Dirty Water
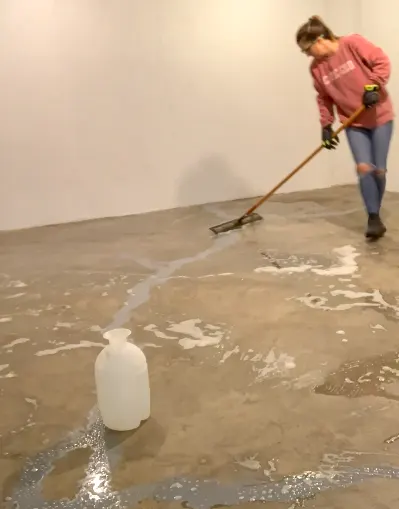
Next, I used a floor squeegee to pool the dirty water together and vacuum up the dirty water.
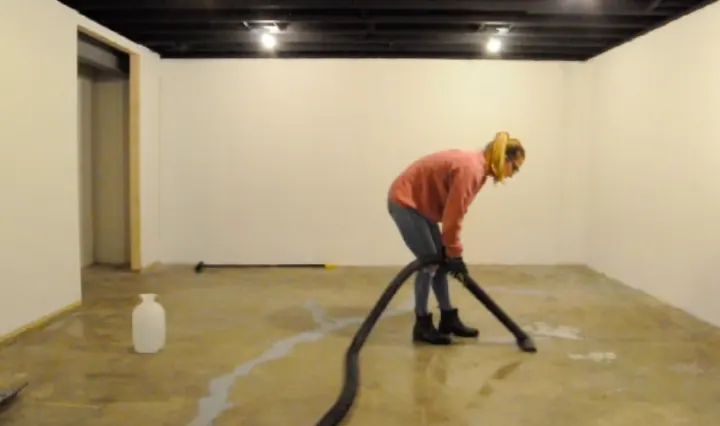
Cleaning the concrete basement floors took a full day to complete because of the size of the basement (1,500 SF) and the process of carrying the shop vac upstairs and dumping out the water. For the best results, it is important to have a clean floor to ensure paint adhesion.
Step 3 | Etch the Concrete Flooring (Optional)
Disclaimer: Etching the basement floor adds durability and increases adhesion, but this step is not required. If you are using his product on your garage floors, etching is an important step for durability with cars driving on it.
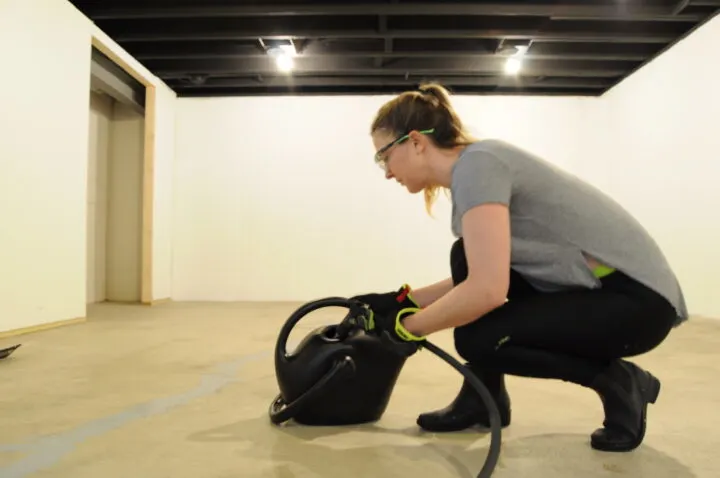
Mix the bag of concrete etch provided in the kit with 2 gallons of water in a watering can until it is dissolved.
Using a hose, pre-wet the floors and evenly distribute the etching solution over the bare concrete floor. Vigorously scrub the floors with the bristle brush to loosen dust and dirt.
Once you have finished scrubbing, use the floor squeegee to pool the solution together and remove it with a shop vac.
Step 4 | Rinse the Concrete Floor & Dry
Rinse the floor with water one more time to remove any remaining etch solution.
Use the squeegee and vacuum to remove the water from the floor. Once the floor is dry, rub your fingers over the ground.
If dust or powder comes off, repeat scrubbing and rinsing until the floor is clean. Turn on a few fans and allow the floors to dry for 24 hours.
Step 5 | Mix Part A & Part B Together
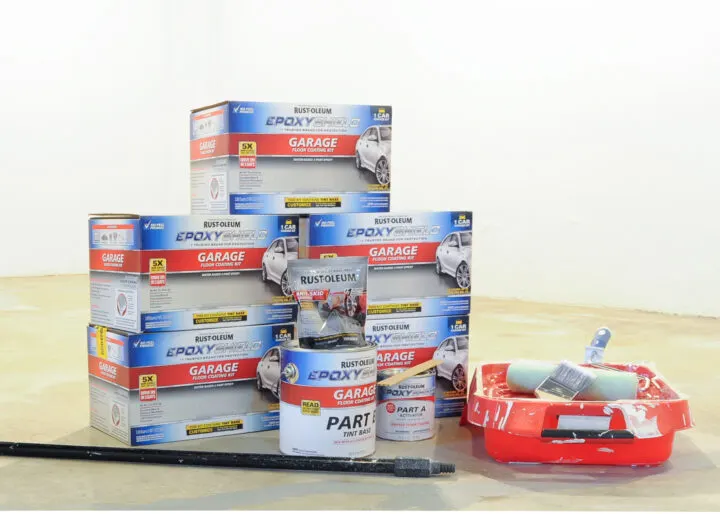
To activate the epoxy floor paint, mix the two cans in the kit together to begin the chemical reaction.
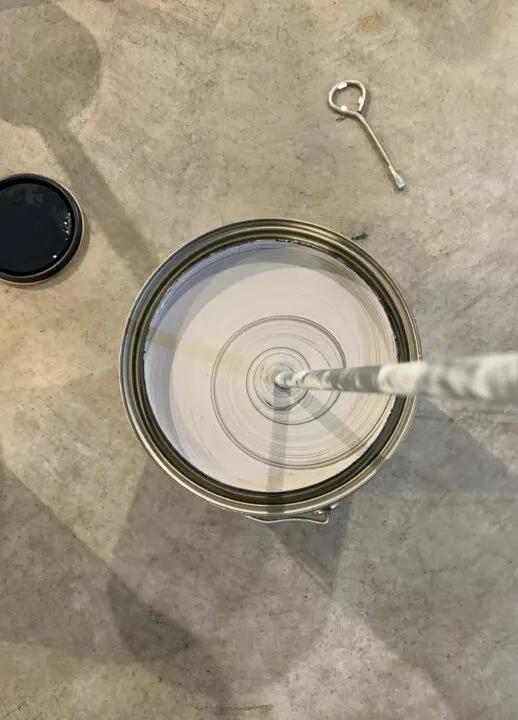
I poured Part A, the activator, into the gallon can of Part B, the base. The two cans should be mixed thoroughly for 3 minutes.
I tried the stir stick with the first kit, but it wasn’t mixing well. I quickly upgraded to the paddle paint mixer attachment for my drill.
For an additional cost (not in the kit), I added Rust-Oleum Anti-Skid Additive to the epoxy mix. This helps to prevent slipping when the floor inevitably gets wet.
When the epoxy floor paint is mixed, it has been activated and should be applied within the set time frame indicated in the instructions. Luckily, this particular paint kit has a low odor, however, I recommend you open windows for ventilation if it is possible in your basement.
Step 6 | Apply Basement Floor Paint
When you are ready to begin, choose the furthest corner of the room and work your way toward the exit.
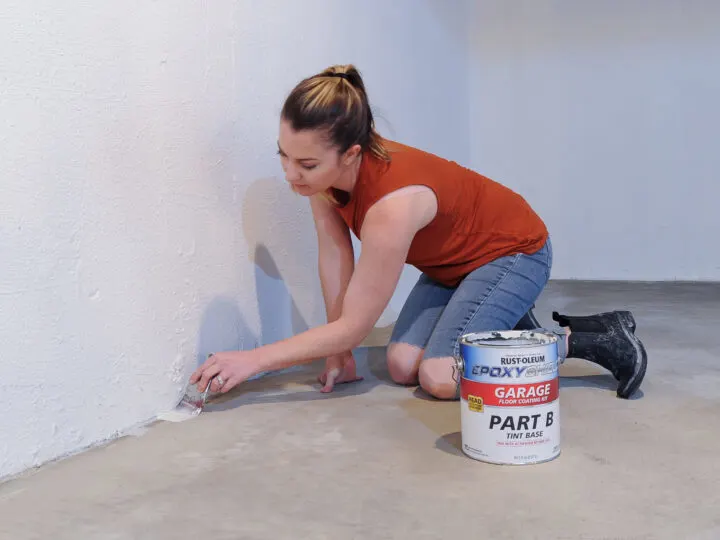
Working in 4×4 sections, use a synthetic paintbrush to first trim the edges of the basement with the epoxy paint.
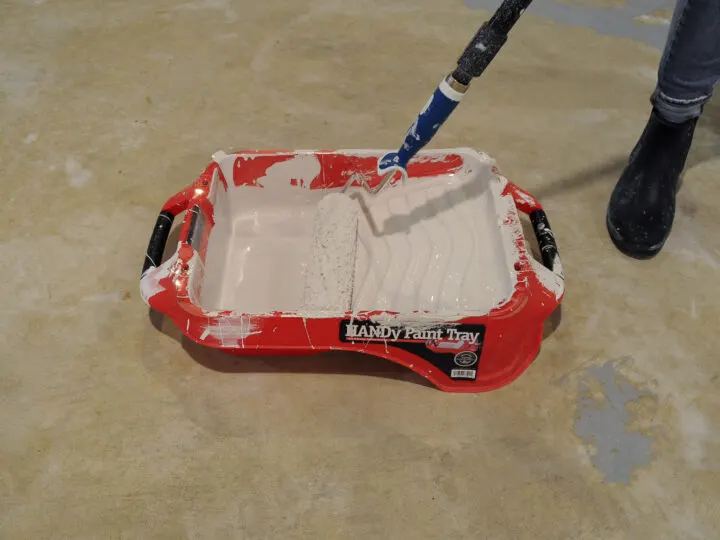
Use a ⅜ inch nap and 9” paint roller frame to apply the floor paint in the 4×4 section.
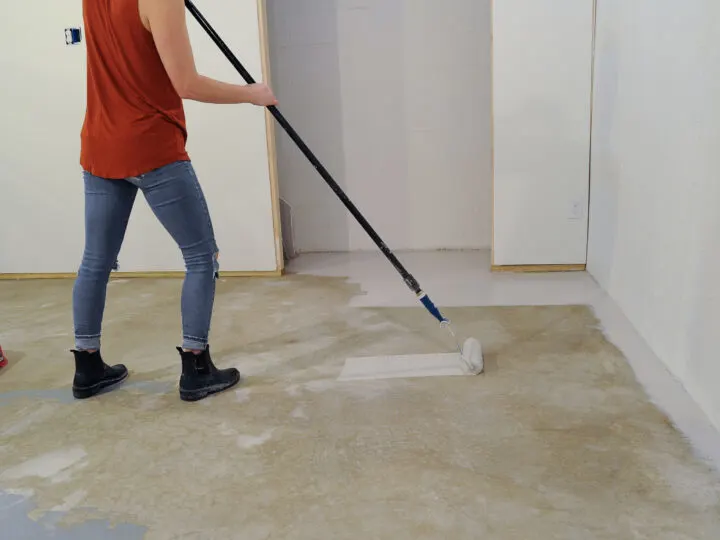
Continue brushing the edges and rolling the paint until you complete the concrete basement floors.
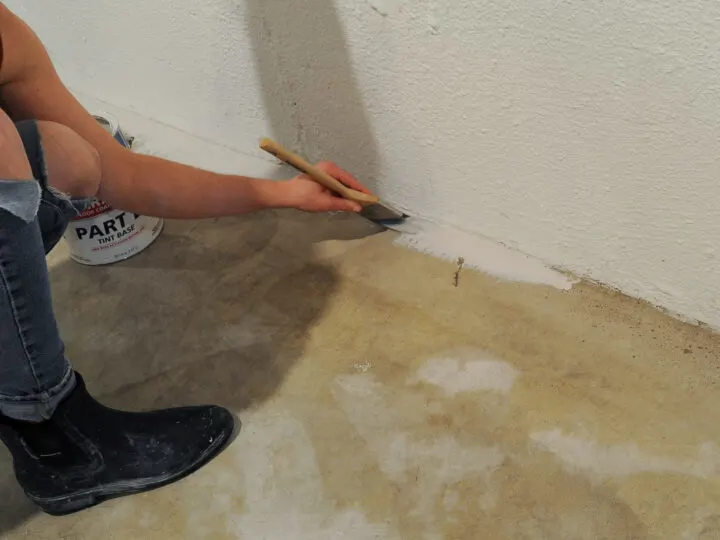
I skipped the step where you sprinkle decorative chips on the wet paint. The chips are included in the kit and provide a textured finish. The solid color on the concrete floors has a smooth finish, which I prefer.
This product only requires one coat of paint, however, you may be able to see dark blemishes with the lighter tints.
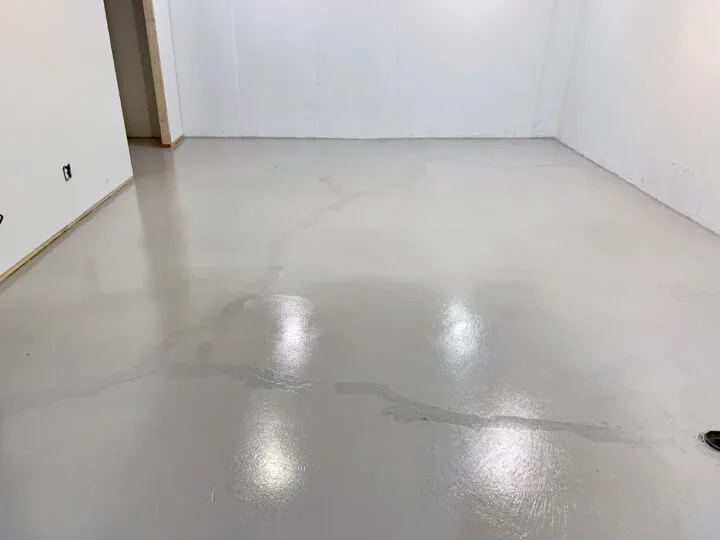
Before painting our floors, I filled a few hairline cracks. First, I removed any debris from the cracks using a wire brush. Next, I used a putty knife to fill the cracks with dark gray concrete filler.
You can see where I filled in the cracks with a single coat of epoxy paint.
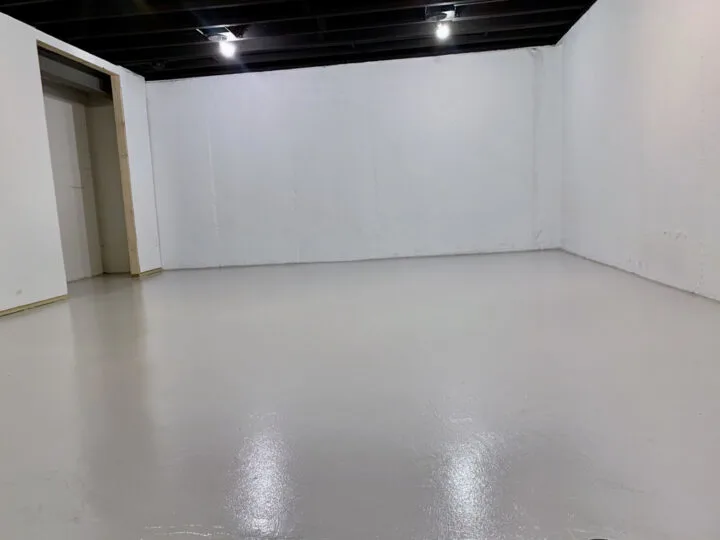
I applied a second coat of paint to this area and the darker spots went away!
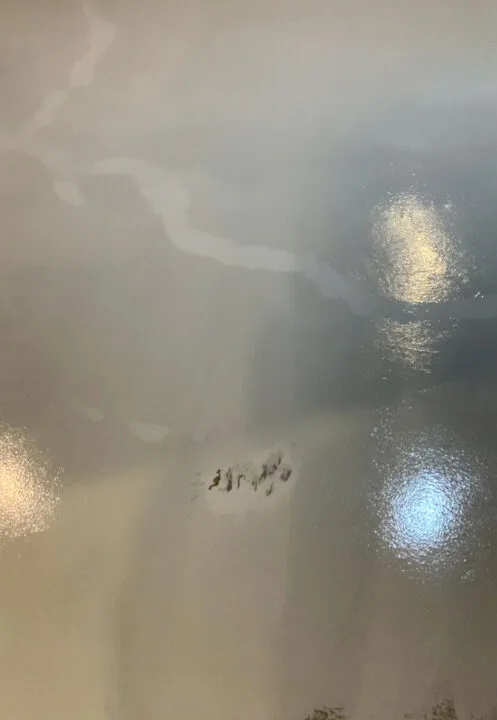
There were a few small spots on the floor that would not take the epoxy paint. I must not have removed all of the gunk from the floors.
Once the first coat of paint dried, I fixed these spots by painting a second coat on the areas where the concrete was showing.
It was an easy fix and they blend seamlessly into the concrete floors!
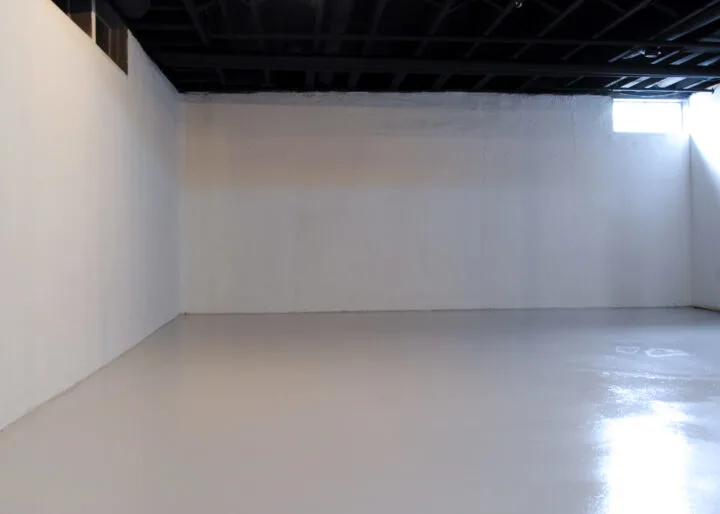
After my touch-ups, I allowed the painted concrete floor 24 hours to dry and then put the basement back together!
After | Painted Concrete Basement Floor

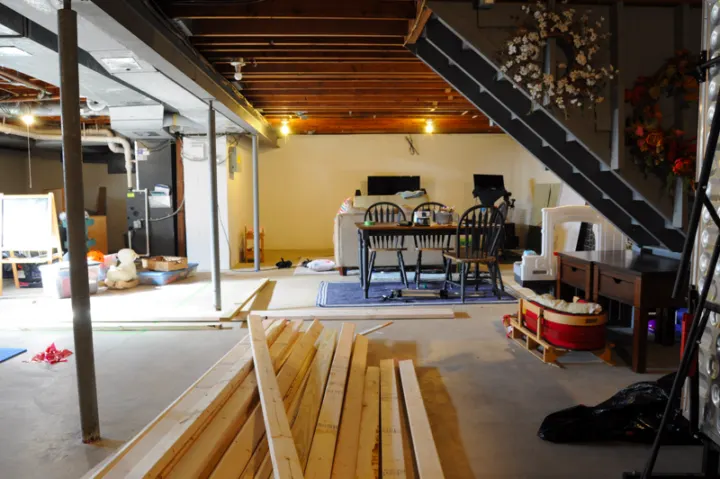
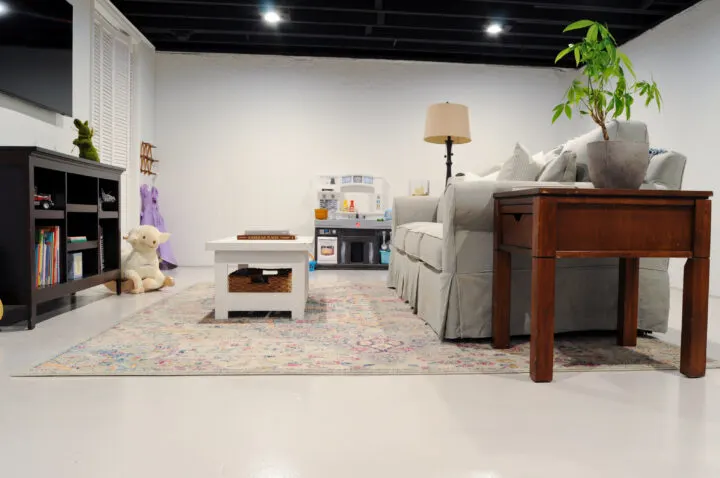
The finished product of our painted basement floors is even better than I could have imagined?! We now have so much useable living space in the unfinished basement.
Here is another angle of the basement before the makeover:
And the same area after!

Before:
After:
Before:
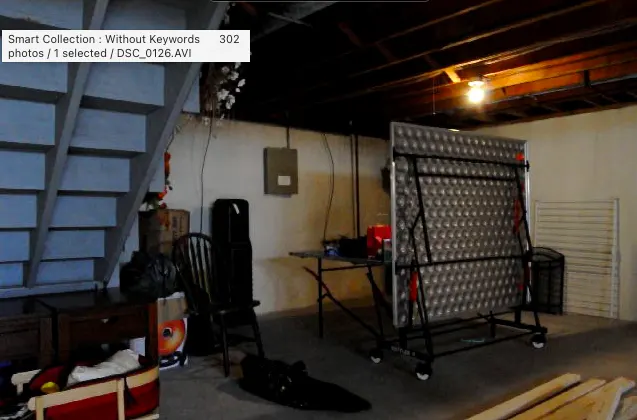
After:

This was a pretty physical DIY project and a lot of hard work, but totally worth it to get these results. While I wouldn’t say this was an easy job, I do think using a paint kit made this project easier than purchasing all of the materials separately.
With the kit, we didn’t have to apply a primer coat or concrete sealer which simplified the process. This made the epoxy floor paint kit the best choice for us.
By choosing a basement floor paint that can be used in a garage as well, I know they will be durable and withstand the wear and tear of our family.
I hope you found this DIY helpful and that it gives you the courage to try it yourself and update the look of your basement!
**Check out the awesome basement stairs makeover using only leftover materials in my storage room!
Common Questions When Painting Concrete Floors
How much did it cost to paint the basement floors?
Based on the paint product alone and for the size of my basement. (1,500 sq ft), the cost was around $1,300.
The remaining cost will vary based. on materials you already own, for example, I did not need to purchase a wet vac. Check out the source list above to see all of the materials needed and a link with their cost.
In full transparency, I partnered with Rust-Oleum for this DIY project, so the cost was minimal to purchase the remaining supplies (less than $100).
Does the basement floor paint smell bad or have fumes?
In my opinion, the fumes from the concrete paint were not bad at all. I had fans going and two open windows so it was not a super strong smell.
There is definitely an odor but it is not as strong as an oil-based primer, for example.
How have the painted basement floors held up?
It has been over three years since painting the concrete basement floors and they still look great! We are in the basement every day either working out or the kids running around and playing. There is a lot of activity on the floors and I haven’t noticed any wear and tear.
How to Paint Concrete Basement Floors

Learn how to paint your basement concrete floors with this detailed tutorial!
Materials
- Rust-Oleum Epoxyshield Garage Floor Coating Kit
- Anti-skid additive
- Paintbrush
- Paint roller
- Paint mixer extension
- Extension pole
- 5 gallon bucket
- Rust-Oleum cleaner and degreaser
- Deck brush - to wash the floor
- Squeegee - to remove water
Tools
- Wet vac - to clean up the water
- Floor fan - to dry the floor
- Electric drill - for the paint mixer extension
Instructions
- Measure the room to determine how many gallons. of paint are needed
- Clean the concrete floors using the Rust-Oleum cleaning solution and a deck brush.
- Rinse the floors with clean water. Use the squeegee to pool the water together and suck it up with the wet vac. Set out the floor fan to help the concrete dry
- Fix the epoxy together in a large bucket and mix in the anti-skid additive
- Apply two coats of paint to the basement floors
Notes
Allow the floors to cure for at least 24 hours before putting the room back together.
More Content You Will Love
- Transform Your Concrete Patio with a Fresh Coat of Paint | How To
- Budget-Friendly Home Gym in an Unfinished Basement
- How to Paint Your Old Floors Using Rust-Oleum HOME
- 25+ Easy Outdoor DIY Projects to Try This Year
- How to Add a Charming Brick Border to a Flower Bed
- 10+ EPIC Exposed Basement Ceiling Ideas
- Easy IKEA Hemnes Dresser Hack to Try at Home
- Popular Ikea Billy Bookcase Hack | DIY
- The Easy Way to Paint Kitchen Cabinets (no sanding!)


Ms.Floor
Friday 7th of April 2023
Nice! Painting your concrete basement floor with high-quality paint will help preserve it from moisture while also giving it a polished look. https://epoxylouisvilleky.com
Juan
Tuesday 29th of November 2022
Nice job and good explanation. Cost approximately?
Juan
Tuesday 29th of November 2022
Nice job and good explanation. Cost approximately?
lindseymahoney
Wednesday 30th of November 2022
The cost will depend on the size of your basement and how many kits are needed. For my basement I estimated 1,500 SF (6 kits) and the cost of the paint materials was about $1,300.
Meredith
Thursday 29th of September 2022
Hello! I'm considering using this product on our basement floor, and I'm wondering if you can comment on how it has held up now that it's been in use in your basement for a while. Thanks, and thanks also for your super detailed tutorial on how to apply!
lindseymahoney
Friday 30th of September 2022
Hi there, I have not had any issues with the painted floors in two years. Our kids play down there every day and it still looks great!
Susan
Sunday 28th of August 2022
How bad is the smell?
lindseymahoney
Monday 29th of August 2022
Not bad at all. I had fans going and the two basement windows cracked so it was not a super strong smell. There is definitely an odor but it is not as strong as an oil-based primer, in my opinion.