
Last Updated on October 3, 2024 by lindseymahoney
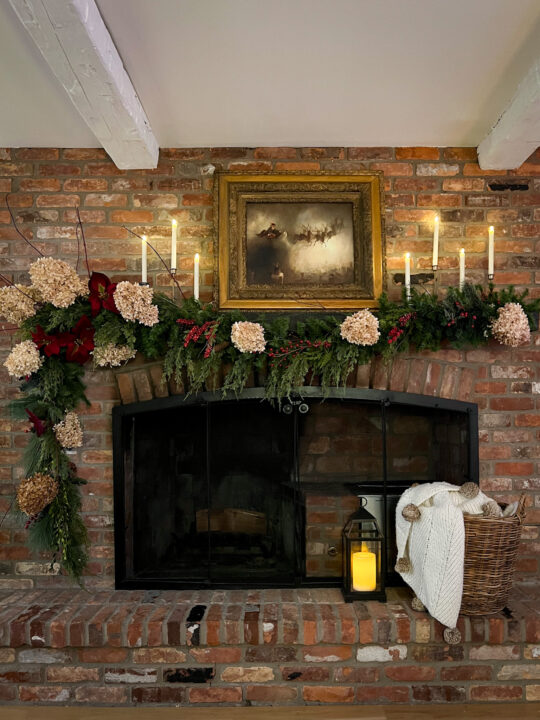
I am thrilled with the asymmetrical Christmas garland mantel DIY I created for this year! Just like every other holiday season, it can be a struggle to design the magical winter wonderland I have in my imagination without spending a fortune, but I do love the challenge.
This year I bought two new faux garland strands from Michael’s for a total of $40. The rest of the garland materials I reused from our previous Christmas decor collection.
Table of Contents
- Christmas Mantel Garland Materials
- My Christmas Garland Design
- How to Hang Christmas Garland on a Mantel | DIY
- 1 | Hang the First Garland Strand
- 2 | Secure the Remaining Garland Strands
- 3 | Add Volume to the Garland with Faux Greenery
- 4 | Attach Dried Hydrangeas
- 5 | Insert Twigs and Branches
- 6 | Fill Thin Spots with Faux Flowers and Greenery
- REVEAL | Vintage Inspired Christmas Garland Mantel DIY Using Natural Elements
- Common Questions Answered
- More Content You Will Love
On their own, all of the materials for the garland were incredibly cheap, but when they are put together they create a lush Christmas garland that looks expensive!
Christmas Mantel Garland Materials
- Green garland for the base (similar) – I found mine at an estate sale
- Two cedar garland strands with pinecones (similar)
- Floral wire
- Brad nails and hammer
- Dried hydrangea clippings (cut from our garden)
- Twigs, red branches, and boxwood clippings from our backyard
- Faux flowers (similar) and winter greenery: Owned
My Christmas Garland Design
This Christmas season I am really leaning into the traditional Christmas look that feels classic and a little bit vintage. My interpretation of traditional Christmas design means that I am keeping the color palette to green, red, and cream.
Once the Christmas garland is complete, I plan on adding candlesticks and a vintage Santa print to finish off the look.

Before I began securing the garland to the mantel, I very loosely created the Christmas garland to make sure I liked the vision.
Once I confirmed that the design worked, I took it down and began putting it all together and securing it to the mantel.
Let’s get started on this fun and festive DIY!
How to Hang Christmas Garland on a Mantel | DIY
[Affiliate links are included in this blog post. When you purchase an item through these links, I receive a small commission at no additional cost to you. Thanks for supporting Building Bluebird!]

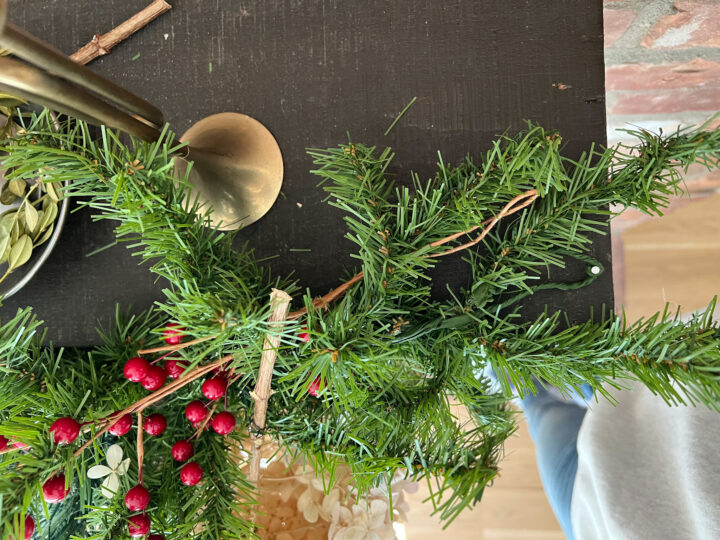
1 | Hang the First Garland Strand
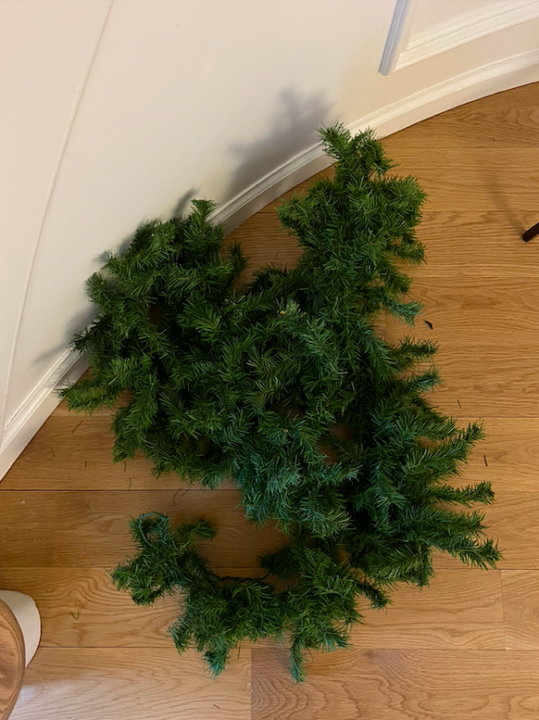
A few years ago, I purchased a bundle of basic garland from an estate sale and it is probably 50 years old.
On its own, it looks quite sad, but once it is fluffed and a few more elements are added to the artificial garland, it will look like a million bucks!
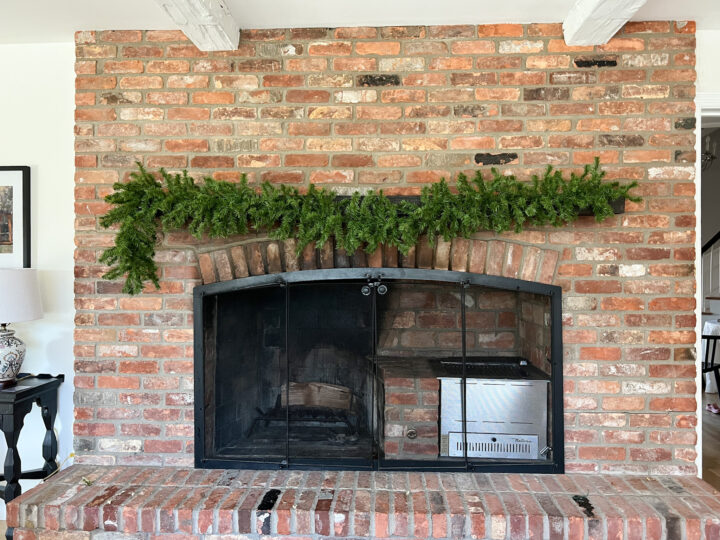
This strand of garland is used as the base of the asymmetrical design for the mantel this year. The Christmas garland will hang down on the left side of the mantle.
I attached the end of the garland to the right side of the mantel, left a small swoop in the center, and then secured the left side of the garland on the mantel, with the remaining greenery hanging off the side.
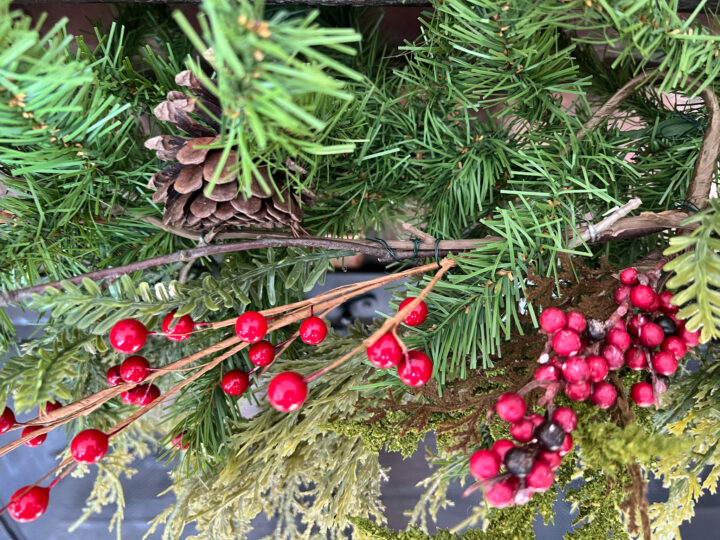
2 | Secure the Remaining Garland Strands
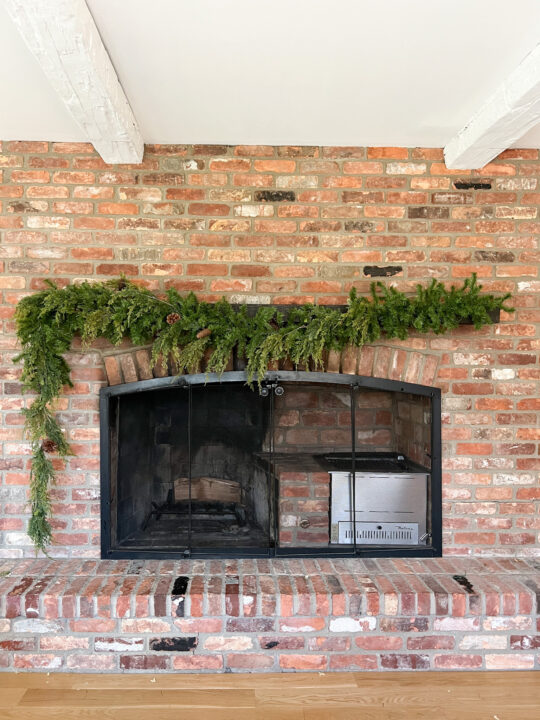
The remaining two garland strands are cedar strands with pinecones. I like how the cedar strands add dimension when layered with the green base garland.
The second garland creates the overhang on the left side of the mantle. Once I decided the distance I wanted the Christmas garland to hang, I secured the remaining garland to the base garland on top of the mantel.
Because I wanted the left side of the garland to feel beefier, I overlapped the third strand with the other two pieces on the left side of the garland and then attached the remaining garland across the mantel.
The hanging garland needs some attention to make it look thicker and more proportionate to the design.
3 | Add Volume to the Garland with Faux Greenery
Using faux greenery items we already owned from the past Christmas, I attached them to the hanging garland strand.
QUICK TIP:
Faux flowers can get expensive quickly so I am going to share a clever tip, although you may find it a bit odd. When the holidays are over, my grandmother visits loved ones at the cemetery and then stops by their dumpster on her way home.
She finds tons of faux flower arrangements that visitors have discarded and then brings them home to me! My grandmother also loves thrifting and she drops off bundles of faux flowers as a way to help me decorate our home. It is kind of genius!
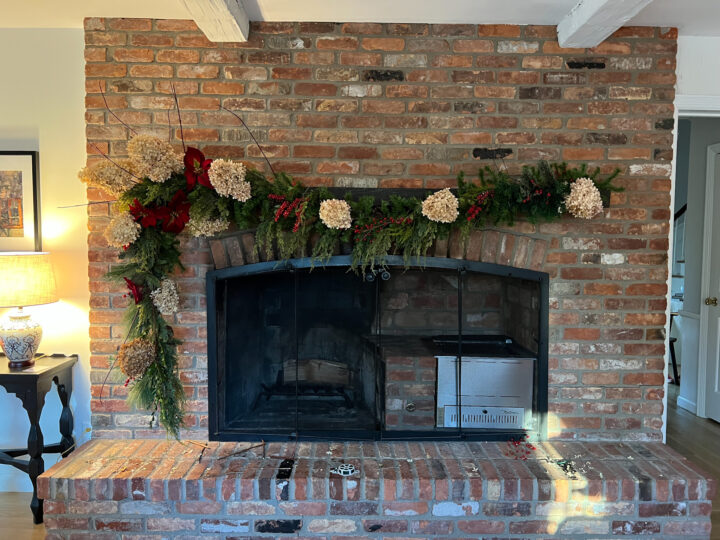
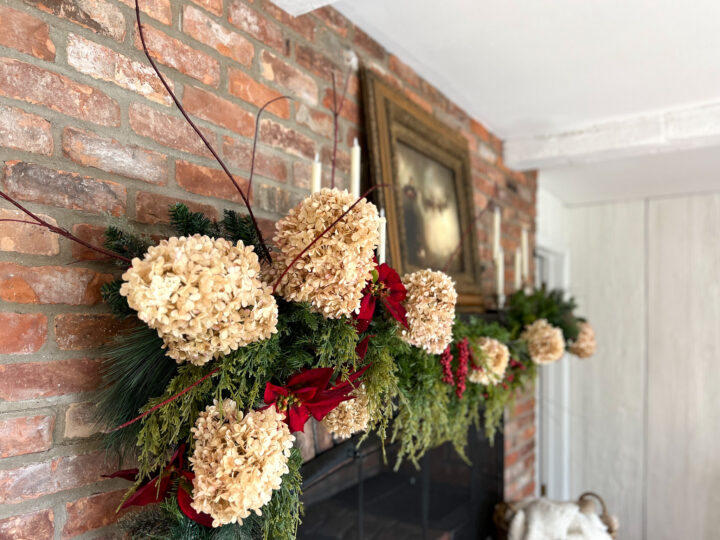
4 | Attach Dried Hydrangeas
Dried hydrangeas are the perfect natural element to incorporate in this Christmas garland mantel DIY to create the volume I wanted.
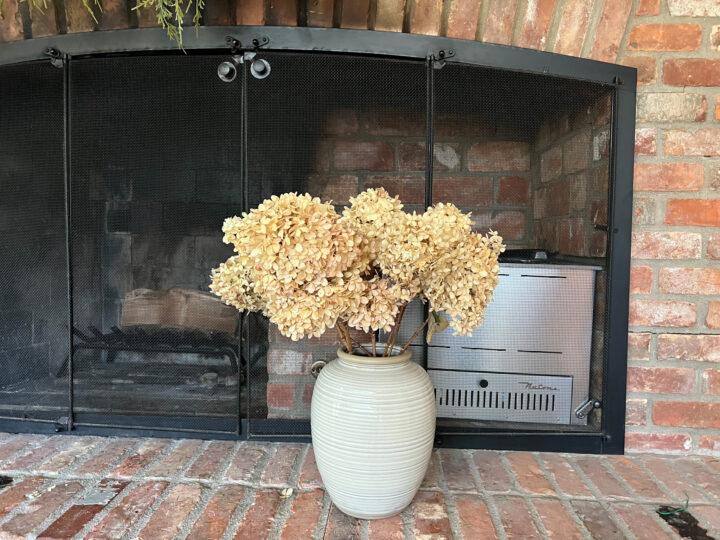
I have a collection of dried hydrangeas from our yard and the creamy brown puffs looked beautiful paired with the greenery.
Because I wanted the left side of the Christmas garland to have the most volume, I used the largest dried flowers in this area. To create a natural flow, I added a few smaller hydrangea heads to other areas of the garland.
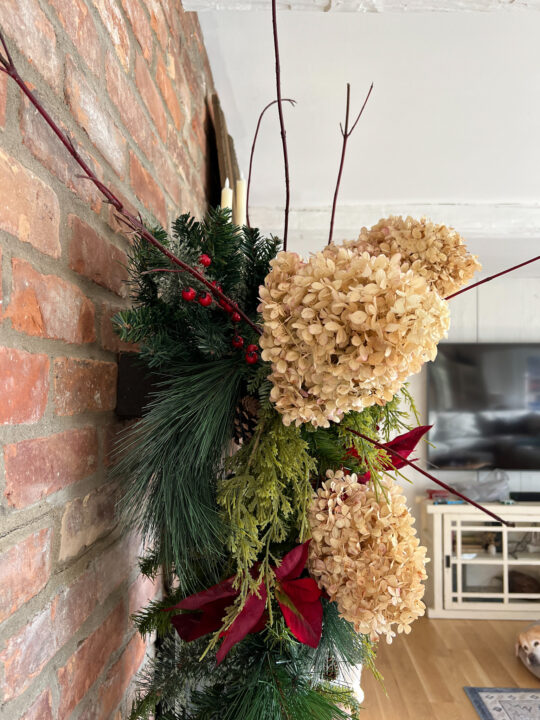
5 | Insert Twigs and Branches
Twigs and branches are my favorite trick to really make a flower arrangement or Christmas garland come alive. They add tons of visual interest and give the garland a high-end look.
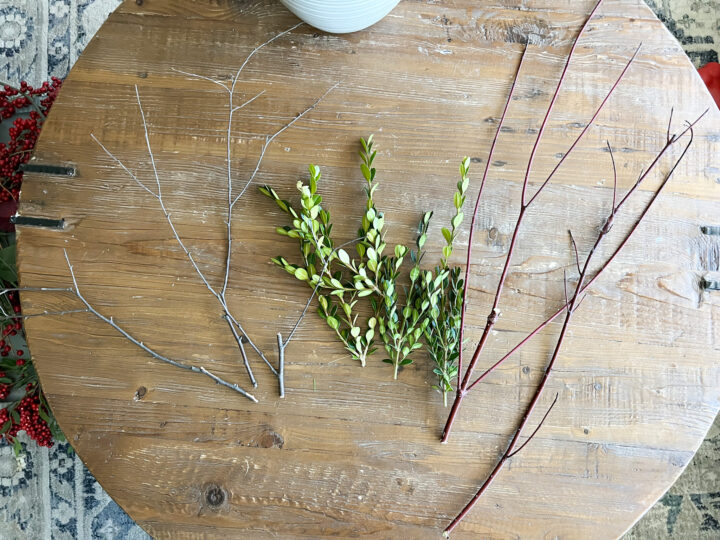
I used brown twigs I have stored away and used for the last few years as well as beautiful red branches I cut from a bush in our backyard.
If your DIY garland still feels a bit thin, use what you have in your yard! Evergreen branches are great for filling in your garland.
If you have boxwood or holly bushes, these clippings look fabulous when incorporated into the garland.
6 | Fill Thin Spots with Faux Flowers and Greenery
The garland now has enough greenery and creamy dried hydrangeas, but it needs a pop of red!
Using my bin of faux flowers, I pulled out red berries and deep red poinsettias. I attached each flower to the garland using floral wire and the look is complete!
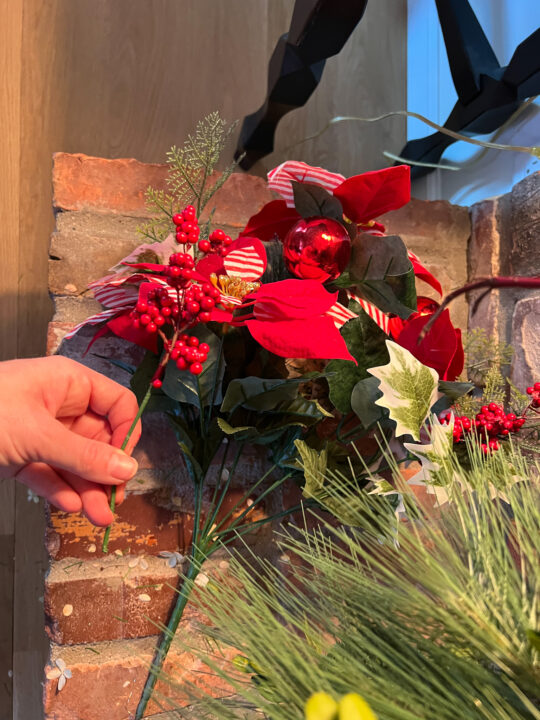
Some faux flower bunches had elements that I did not want included in the Christmas garland, so I cut the areas I wanted to add.
The beautiful Christmas garland is complete and the mantel is ready to be styled!
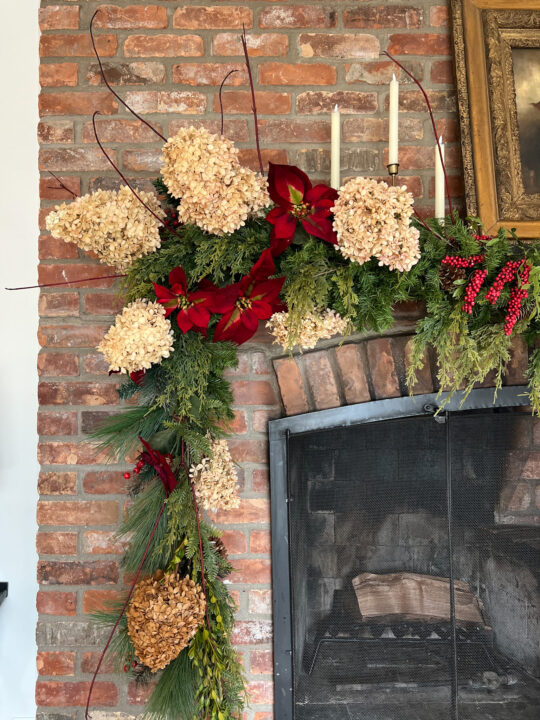
REVEAL | Vintage Inspired Christmas Garland Mantel DIY Using Natural Elements
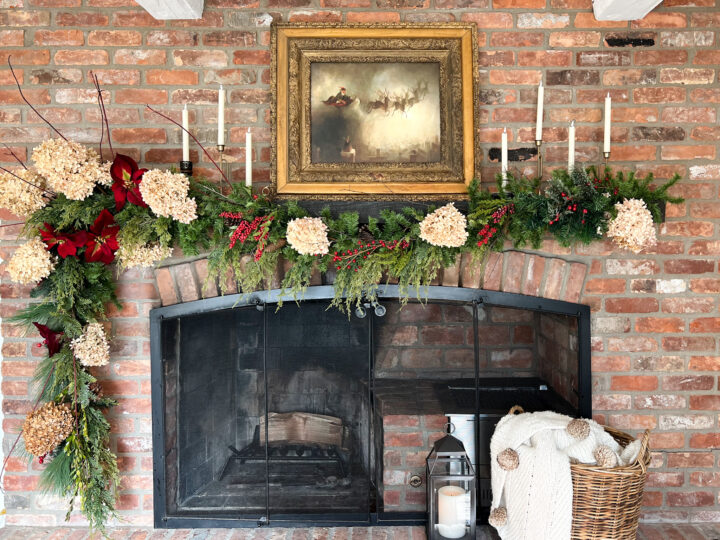
It is so satisfying to create something beautiful without spending a fortune.

Keeping the color scheme to primarily green, red, and cream creates a classic look that feels timeless. Honestly, this garland can be used for Thanksgiving and Christmas if you want to add drama to your fireplace mantel.
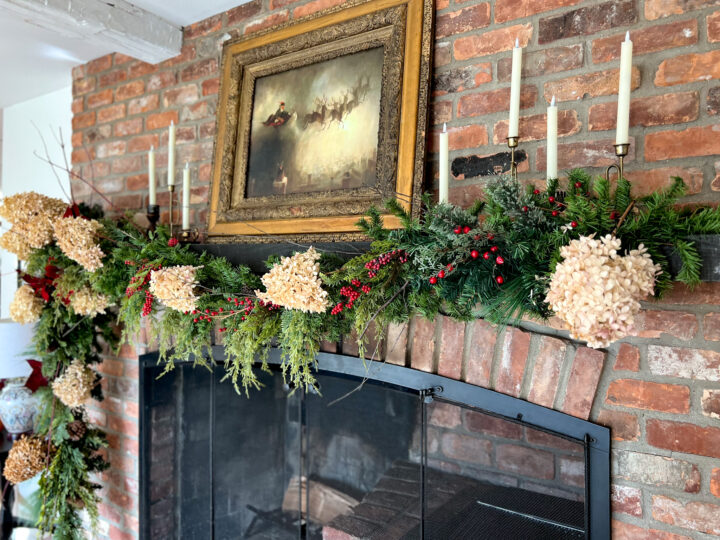
The vintage Santa artwork and brass candlesticks really bring the mantel to life.
I hope this DIY Christmas garland mantel inspires you to create something that you love in your home this season. With a little creativity, you too can deck the halls this holiday season without breaking the bank!
Happy Holidays!
*Check out how I decorated this same fireplace mantel for Halloween!
Common Questions Answered
How do you hang a Christmas garland so it is asymmetrical on the mantle?
For this Christmas garland design, I achieved an asymmetrical look by layering three garland strands. I focused on adding volume to the side of the mantel where the garland hangs down.
How do you attach Christmas garland to a mantle?
For our mantel, I hammered a few brad nails into the top of the wood mantel and secured the garland using floral wire.
If you do not want to make holes in your mantle, command hooks are a great option! To create a lush garland, hanging chicken wire to attach garland and faux flowers is a great hack as well!
What can I add to my mantle garland to make it look more expensive?
The world is your oyster! Truly, anything can be added to a Christmas garland, depending on the look you are going for.
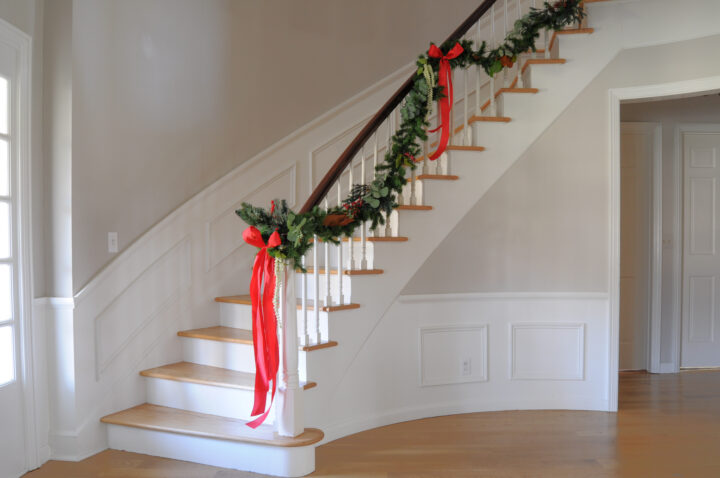
When I decorated our staircase with Christmas garland, I flexed my creative muscles again to create a beautiful design for $20!
Here are a few ideas of items to add to your garland:
- Real greenery
- Dried flowers
- Dried orange slices
- Ribbon
- Pom poms
- Natural materials like faux flowers, berries, magnolia leaves, twigs, and branches
- Brass bells
- Wooden beads
- Ornaments
- Twinkle lights for a little sparkle
- Christmas Picks – peppermints, gumdrops, icicles, etc
I hope this time of year brings you peace and joy and this tutorial inspires you to create your own Christmas decor without breaking the bank.


Merry Christmas!
More Content You Will Love
- 15+ Thrifted Christmas Decor Items to Buy This Year
- How to Make a Stunning Gift Bow Out of Ribbon
- Stunning Blue and White Christmas Decor Ideas
- How to Flock a Christmas Tree | Trendy Holiday DIY
- Classic Red and Gold Christmas Tree Ideas for the Holidays
- How to Hang Christmas Garland Outdoors with Lights