
Last Updated on May 8, 2023 by lindseymahoney
Get ready to take your Christmas tree game to the next level with the latest DIY trend: flocking! Along with sharing a step-by-step guide throughout the flocking process, I am sharing my honest opinions on all of the challenges and problems that we encountered along the way.


From selecting the right flocking material to achieving a professional finish, we’ve got you covered.
So, grab your apron, and let’s transform your Christmas tree into a snowy masterpiece that will dazzle your family and friends this holiday season.
What is a flocked Christmas tree?
Flocking a Christmas tree involves adding a layer of artificial snow to create a stunning winter wonderland effect. Not only does it give your tree a touch of elegance, but it also brings a cozy and magical feel to your holiday decor.

Step-by-step Guide on How to Flock a Christmas Tree
[This blog post contains affiliate links, thanks for supporting Building Bluebird!]
A few years ago, my aunt bought a 9-foot, prelit Christmas tree on FB marketplace for a great deal.
She loved the shape and size of the tree, but she really wanted a heavily flocked look on the branches.
One thing that was missing from all of the online tutorials we watched was the problems they encountered throughout the process.
From what we saw, it seemed like a breeze, but there were definitely tips and tricks we discovered that will be helpful for anyone planning on tackling this DIY themselves.
Let’s get started!
1 | Prepare Your Workspace
Before you begin flocking, it’s important to prepare your workspace. Lay down a dropcloth, plastic tarp, or even an old bedsheet to catch any excess flocking material. Make sure you have all the necessary tools and materials within reach.
Tools and Materials for this Flocked Christmas Tree DIY
- Artificial Christmas tree: We used a prelit Christmas tree that was 9 feet tall and purchased on Facebook marketplace
- Sno-flock flocking powder: We used 10 points of powder for a 9 foot Christmas tree
- Dropcloth: to protect the surface from wet flocking powder
- Spray bottle
- Ladder or step-stool
- Sifter (optional)

2 | Choose the Right Flocking Material
Before beginning this DIY project, you want to determine the look of your flocked Christmas tree. Do you want a light dusting of snow on the branches or clumps of snow stuck on each branch?
Depending on your preferred look, you will choose the best flocking material for the project. For our tree, sno-flock powder was the best material to achieve the realistic snow clumps we wanted.
You can also use multiple flocking materials to achieve a more “snowy” look. Flocking spray whitens the branches and flocking powder creates realistic clumps of snow.
3 | Fluff the Christmas Tree and Branches
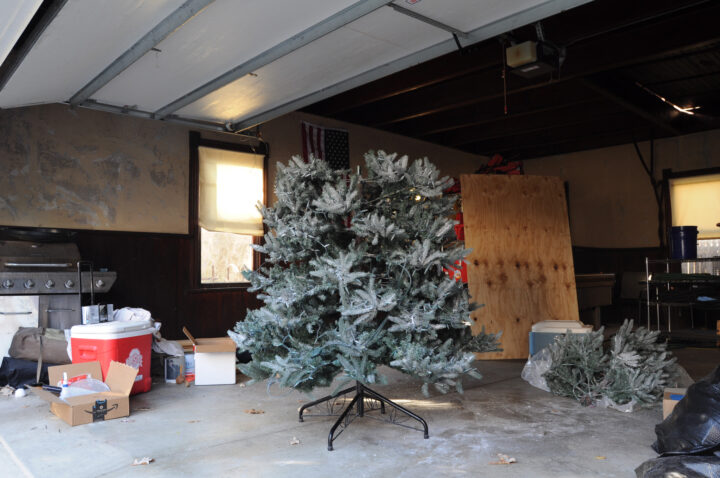
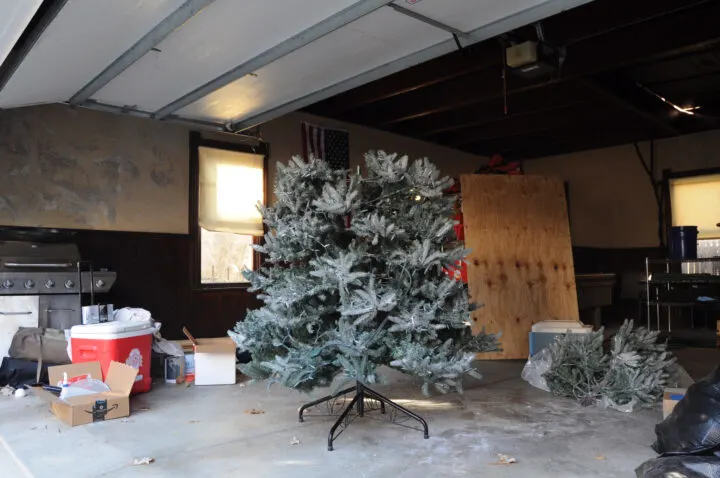
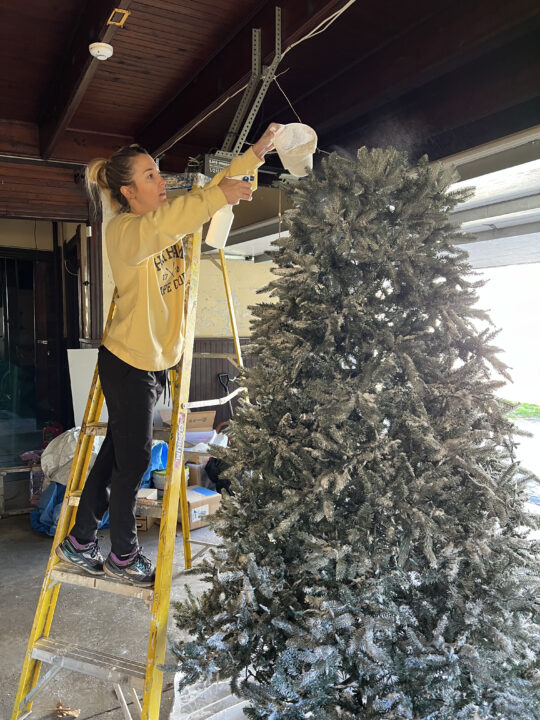
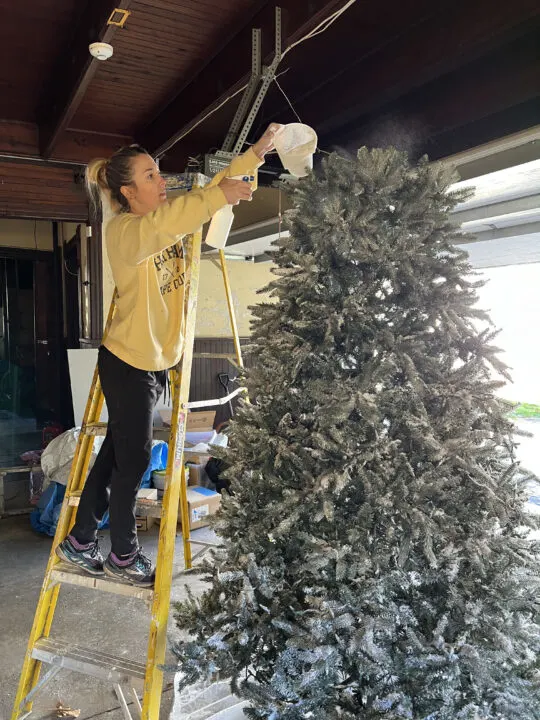
If possible, I recommend setting up your tree outside due to the mess. We set up the tree in the garage and fluffed the branches to look more realistic. To easily reach the center of the tree, we flocked the bottom section of the tree first. Once the bottom was flocked we added the middle section of the tree.
TIP: Generally, when you fluff a Christmas tree, you point the branches in various directions. With this DIY, we realized it is best to fluff them to point downward so you can see the thick snow on top of the branches.
Arrange the branches to fill any bare spots and hide the metal pole. Any remaining bare spots or views of the center pole can be hidden with ornaments.
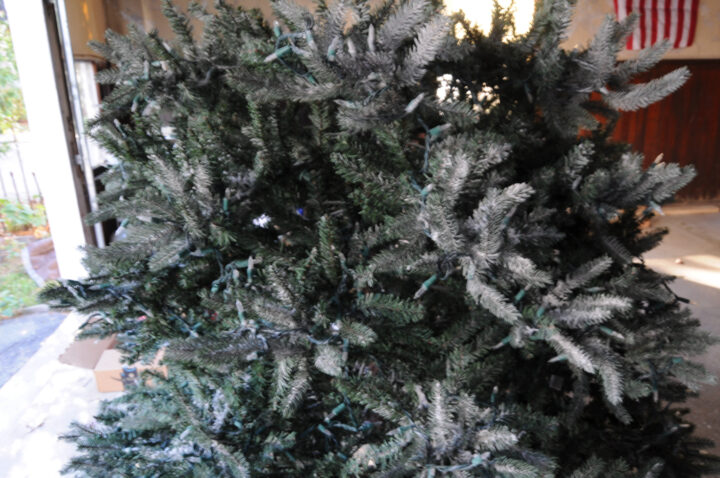
You will notice that the tree already has a lightly powdered look from my aunt’s first attempt at flocking last year. She learned quickly that she had not used enough water, so the snow was falling off of the branches.
With more experience and knowledge this time around, we tried a different approach to get that heavily flocked look.

To make our lives a little easier, we propped the top section of the tree in a box to add the sno-flock before connecting it to the top. This was much easier than leaning over the 9-foot tree on a ladder!
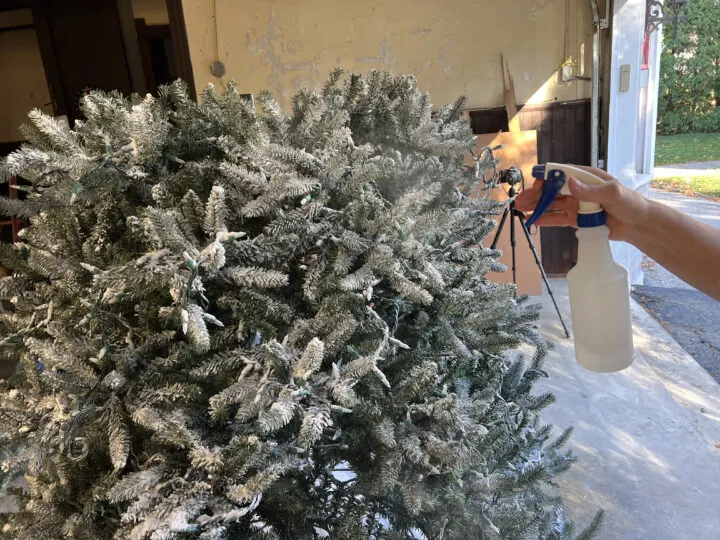
4 | Wet the Tree Branches with Water
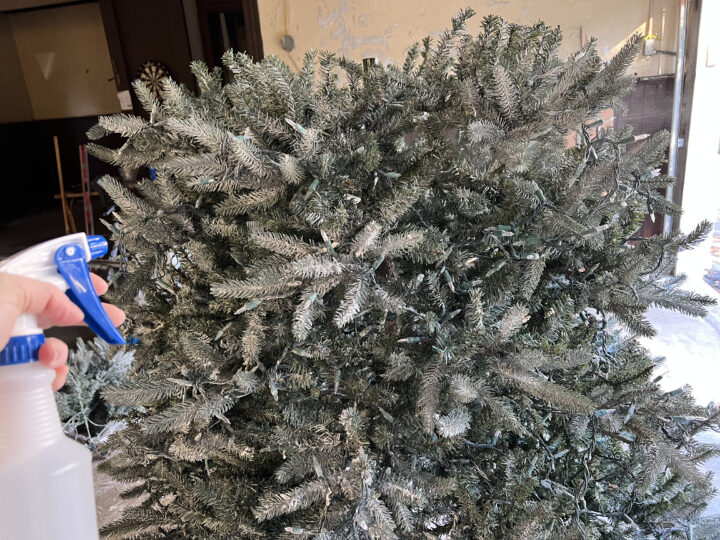

In order for the flocking powder to stick, the branches need to be very wet. Using spray bottles, we worked in sections on the Christmas tree to wet the branches and then add the sno-flock powder.

TIP: If possible, use a hose! Honestly, if the weather is warm enough (and it isn’t a pre-lit tree), a hose would work really well. We spent a lot of time refilling our spray bottles throughout this process.
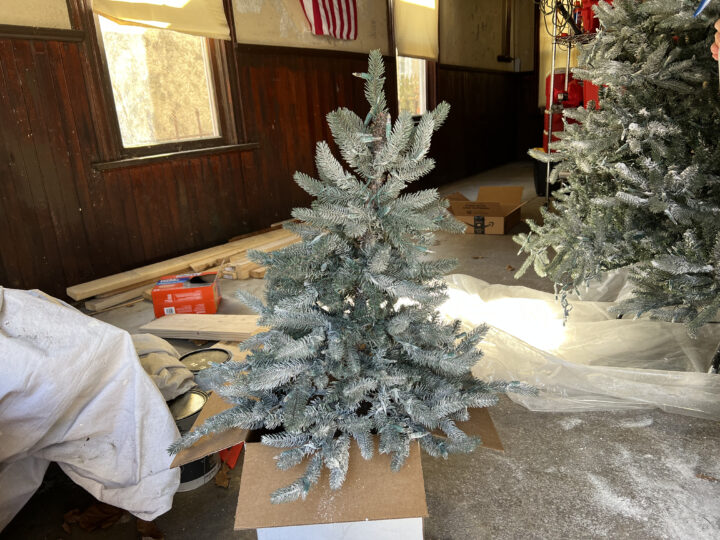
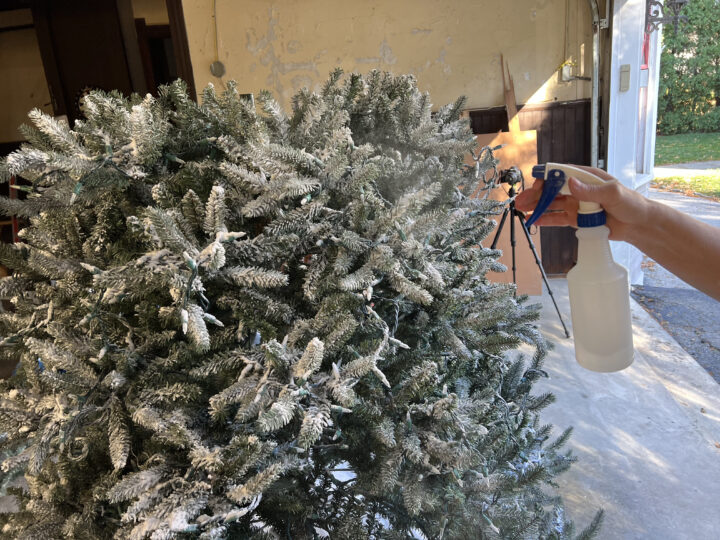
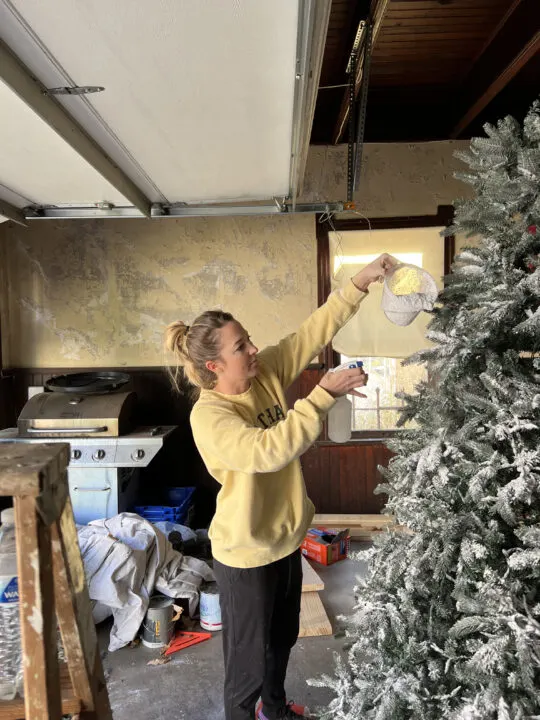
5 | Sprinkle the Flocking Powder

The technique will differ based on the look you hope to achieve.
For a light dusting of snow on the tree, a sifter will work well to spread the sno-flock material.
Because we wanted heavy clumps of snow on each branch, we ditched the sifter and I sprinkled sno-flock straight from the bag.
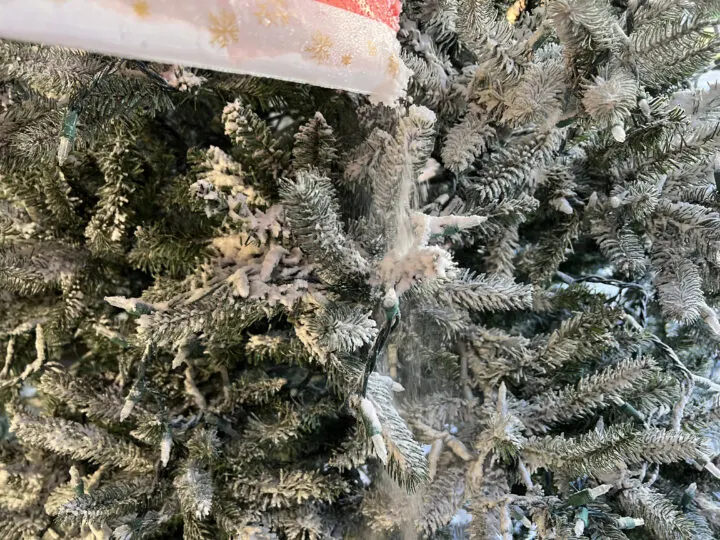
6 | Saturate the Flocked Branches with Water
Once the sno-flock was applied to a branch, we immediately sprayed that branch again to harden the material. If the powder does not get wet, it won’t harden and will fall off of the tree.

We worked our way around the tree in sections until the entire tree had sno-flocking powder attached.
TIP: Periodically step away from the Christmas tree to see how it looks. When we applied the snow flock up close, it looked great. As we stepped back, we realized how green it still looked and where we needed to add more snow.
7 | Let the Flocked Christmas Tree Dry

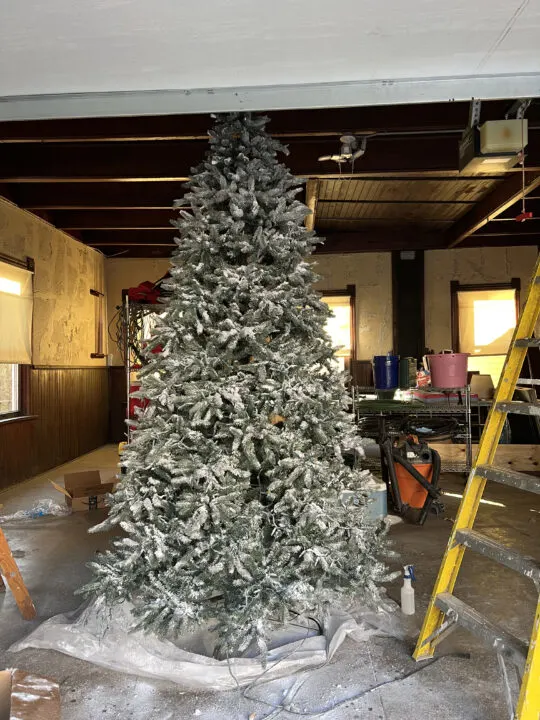
Give the tree 48 hours to completely dry before moving it to your desired location.
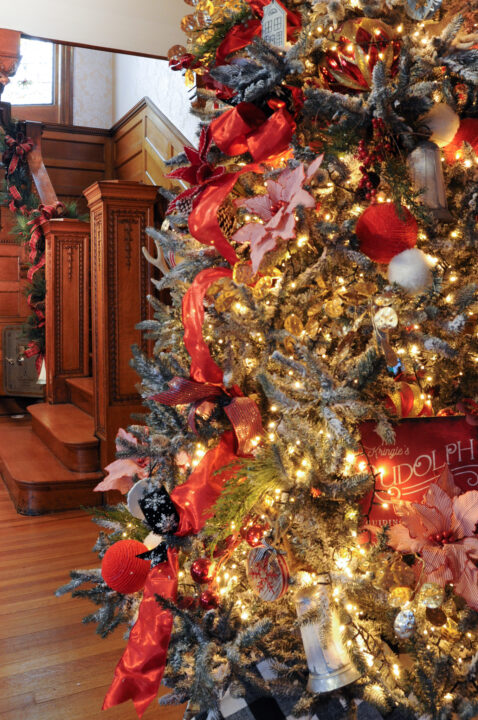
Trendy Flocked Christmas Tree Reveal


This Christmas tree turned out beautiful, but it was a lot of work to get there!
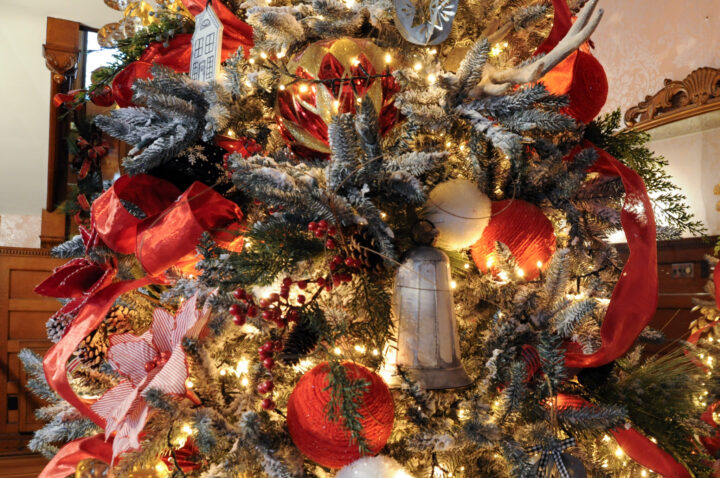

You can see the flocked branches peeking out between the red and gold ornaments and ribbon.


Issues and Challenges When Flocking a Faux Christmas Tree
Now let’s talk about what we didn’t love about this flocked Christmas tree DIY!
1. This project is time-consuming!
With two people working on this project, we probably spent 8 hours working together to flock this tree.
When tackling DIY projects, I like to consider the time required for a project and the cost of my time. If we paid our hourly rates for 16 hours of work, how does that equate to just buying a pre-lit, flocked Christmas tree from a store?
I think the final number is pretty close.
2. Flocked Christmas trees are messy!
The project itself and the finished product are pretty messy.
Even though we heavily sprayed the tree, it still drops a lot of the flocking material when the tree is moved and decorated.
Buying a Christmas tree that is already flocked may be a little cleaner with less of the material dropping. I don’t know this to be true since I haven’t bought one, but I am guessing it would be a little more secure.
3. The water broke half of the pre-lit lights!
One of the pros of this used Christmas tree was that it was pre-lit. We were so focused on wetting the Christmas tree so the snow would stick that we forgot to think about the repercussions of the lights.
When the tree was assembled in the house, the lights in the center of the tree no longer worked. My aunt spent additional time hanging more lights because we broke them with this DIY.
Similar Content You Will Love
- How to Make Dried Orange Slice Garland
- Stunning Blue and White Christmas Decor Ideas
- Timeless Dark Green Paint Colors to Try at Home
- How to Make Cheap Garland Look Expensive
- Create a Beautiful Christmas Garland Mantel | Affordable DIY
- How to Make the Perfect Gift Bow with Ribbon
- How to Hang Christmas Garland on Your Porch
- 15+ Thrifted Christmas Decor Items to Buy This Year
- How to Create a Nostalgic Christmas Tree Your Family Will Love
Frequently Asked Questions
Was flocking your own Christmas tree worth it?
In this particular situation, I would say no. For the amount of time and money spent on this project, I think spending a little more on a Christmas tree that was already flocked would be the better option.
For a shorter tree and a light dusting of snow, this could definitely be worthwhile. I also think it is a great option for garland strands.
What is the easiest way to flock a Christmas tree?
The easiest way is to purchase an artificial tree that is already flocked! Haha.
But seriously, I think this sno-flock material worked well, even though it sheds a bit. There are other products available like a flocking spray option that may be easier as well.
Flocked Christmas Trees to Purchase
If you are considering buying a flocked Christmas tree, I have found a few options to check out!
Flocking Alternatives for a Unique Holiday Look
While flocking is a popular choice for creating a snowy effect on your Christmas tree, there are alternative methods that can achieve a unique holiday look. Here are a few options:
1. Cotton batting: Instead of using flocking material, you can achieve a similar snowy effect by wrapping cotton batting around the branches of your tree. Fluff the batting to resemble snow and secure it with invisible string or floral wire.
2. Artificial snow spray: Artificial snow spray is another option for adding a touch of winter to your tree. Spray it lightly on the branches to create a dusting of snow. It’s important to follow the instructions on the spray can and avoid over-spraying to prevent clumping.
3. Tulle or netting: Wrap tulle or netting around your tree to create a soft and ethereal look. Choose white or silver tulle to mimic snow, or opt for colored netting to match your decor theme. Secure the fabric with invisible string or small clips.
4. Pom-poms or faux snowballs: Attach pom-poms or faux snowballs to your tree branches to create a playful and whimsical winter scene. Choose different sizes and colors to add visual interest and texture.
These alternatives can offer a unique twist to your holiday decor while still capturing the spirit of the season. Experiment with different options to find the one that best suits your style and preferences.