Last Updated on January 5, 2025 by lindseymahoney
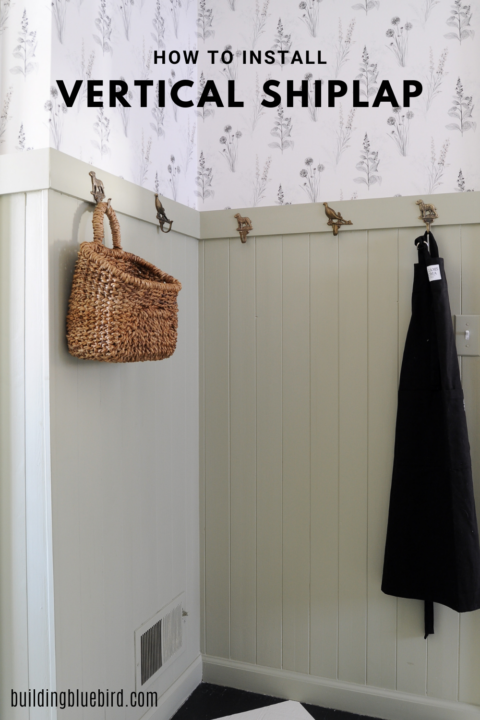
If you’re looking to add a touch of charm to your walls, vertical shiplap is a great option. I added this half wall paneling diy to our mudroom because it worked well with the traditional style of our home.

Whether you’re a seasoned DIYer or just starting out, this step by step tutorial will help you get started on your half-wall paneling project.
How to Install Vertical Planks on a Wall for Instant Charm
[Affiliate links are used in this post, thanks for supporting Building Bluebird!]
If you are new to the blog, welcome! Here are a few posts you may have missed about the mudroom makeover:
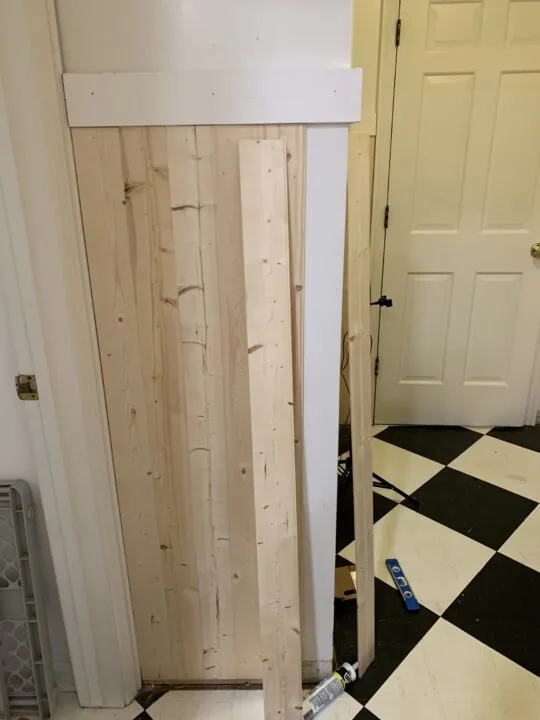
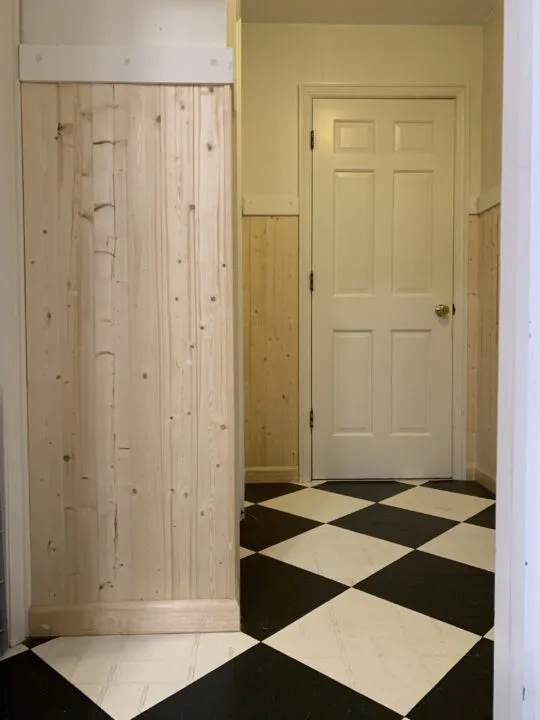
Here is what our mudroom looked like before installing the vertical panels:
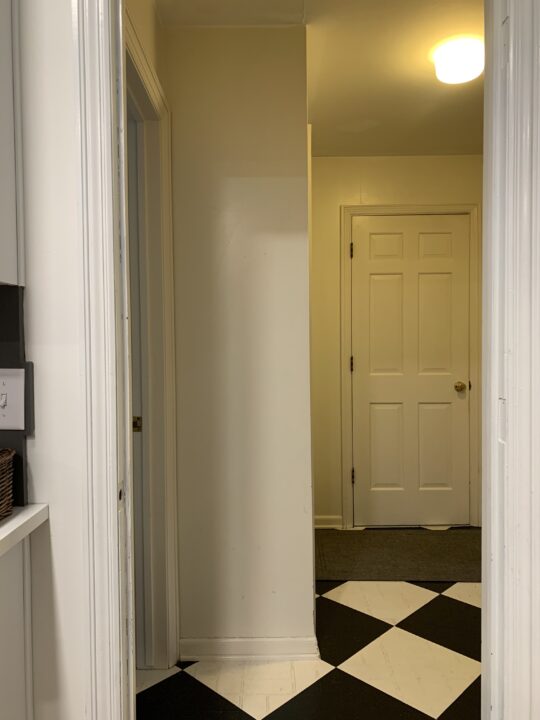
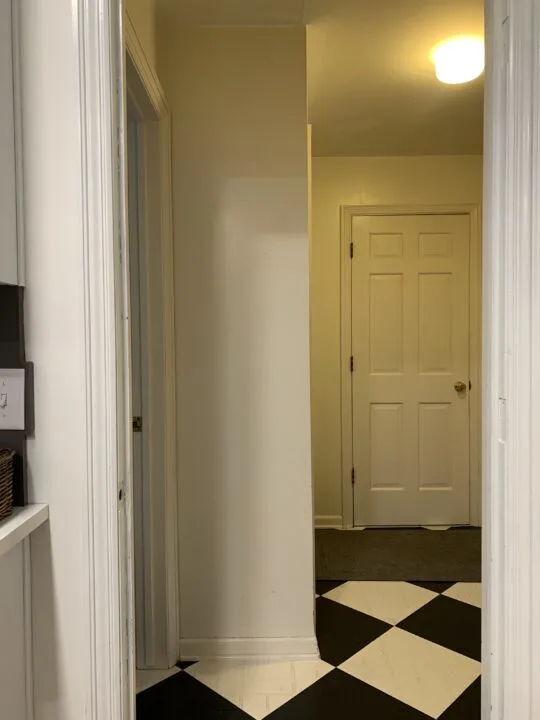
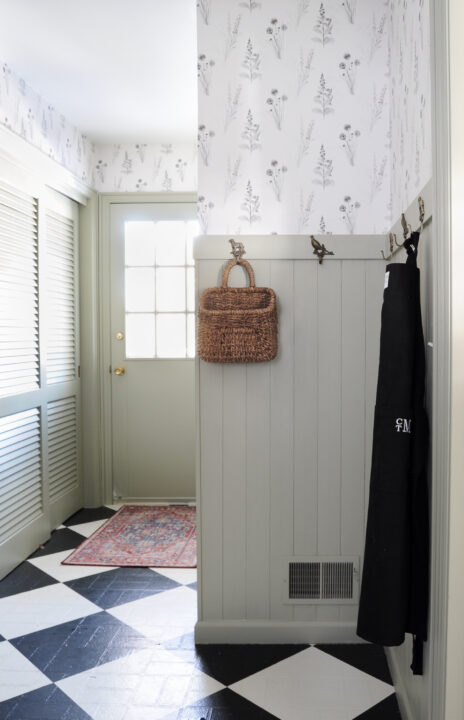
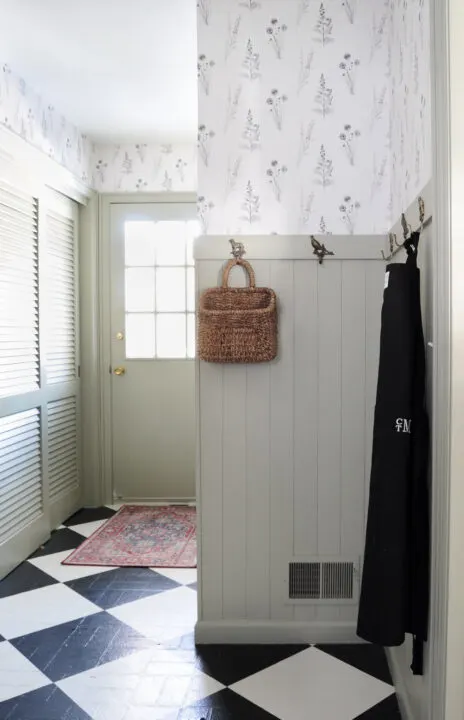
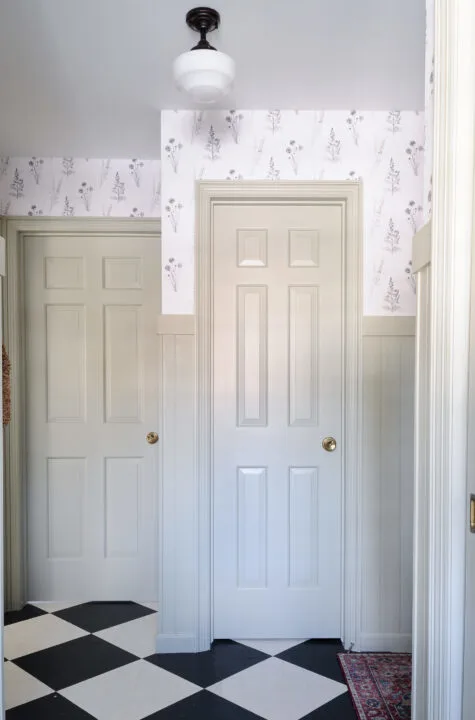
The mudroom is a great size but I really wanted to add some personality to this room. While it is a nice size for a mudroom, there are lots of doors and blank walls, that needed a little something extra.
This decorative wall paneling treatment with vertical boards was the perfect solution! The wood panels are also great for a high-traffic area because they protect the walls.

The shape of our mudroom made this project a little more complicated, but installation on a straight wall would be a breeze!
1 | Measure For Lower Wall Paneling Materials and Purchase


To determine the number of panels needed for your project, use a tape measure to measure the interior walls.
Take the total width of the walls and divide that number by the width of one MDF paneling piece.
This will give you an idea of the total number of panels you will need to use for this project.
Example: You are installing the half wall paneling on two walls. The width of one wall is 20 inches and the width of the second wall is 30 inches making the total width 50 inches. If a single plank has a width of 5 inches, you will need 10 wood panels (50/5=10) for the project.
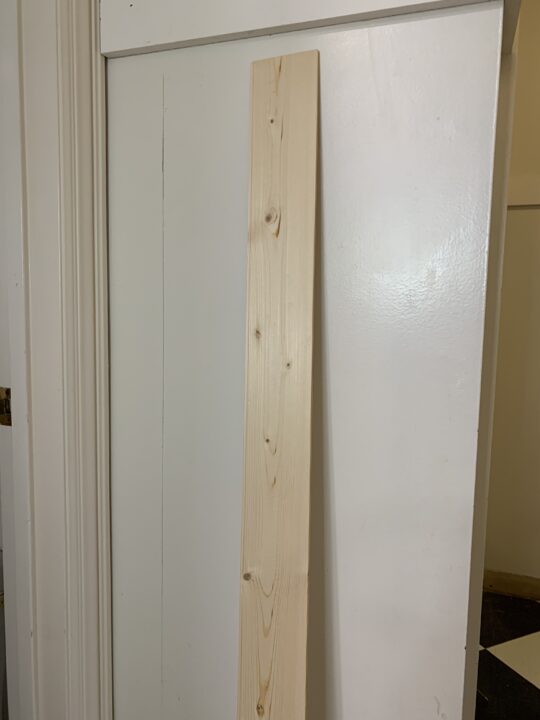
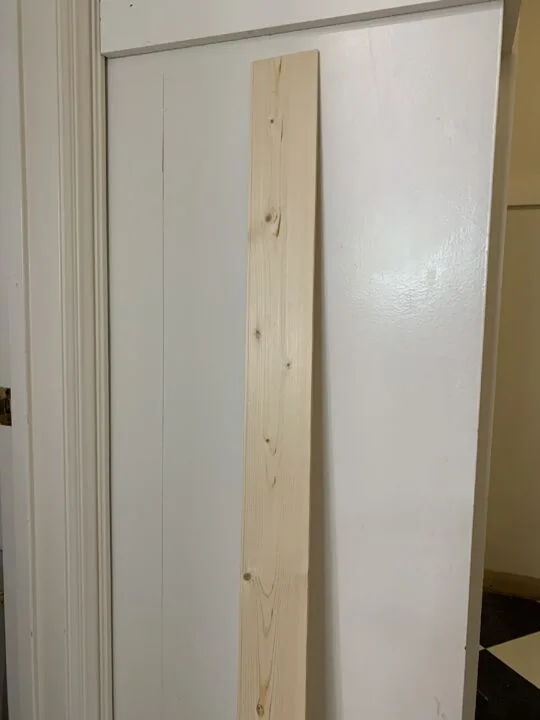
We added 10% more panels to the total to account for boards with defects or cutting errors. The vertical shiplap we went with came in a 6 pack at Lowes and was reversible with a beadboard option on the other side.
Determine DIY Wall Paneling Height
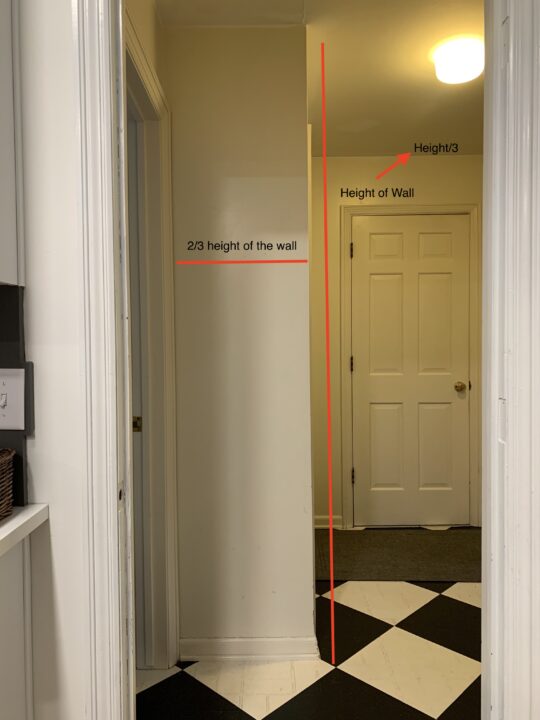

Determine how high you want the half-wall panels to go.
For the mudroom, I measured the height of the wall, divided it into thirds, and planned to install the vertical pieces 2/3 of the way up the wall. The height of your wood paneling is a personal preference. Another popular choice is installing vertical panels below a chair rail for more visual interest.
With a level and a pencil, I marked the height. If I had a laser level, I would have used that instead of a standard level, but you work with what you have!
Remove the Baseboards
Remove the baseboards to prepare for the half wall panelling installation.
DIY Vertical Shiplap Wall Materials

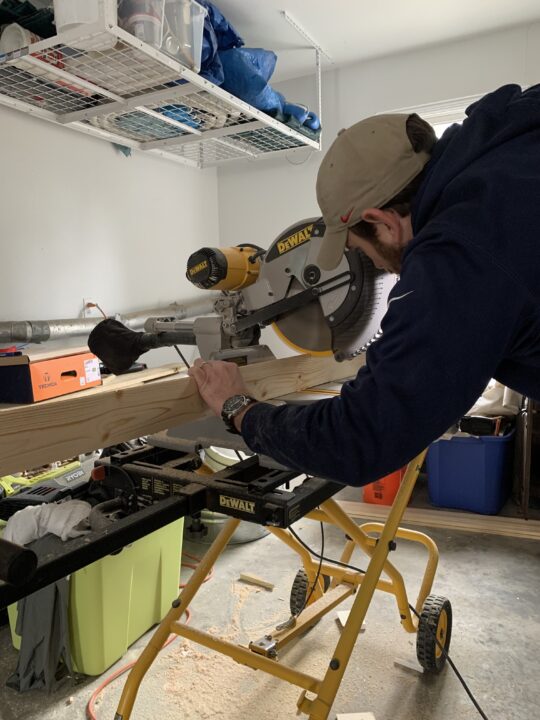
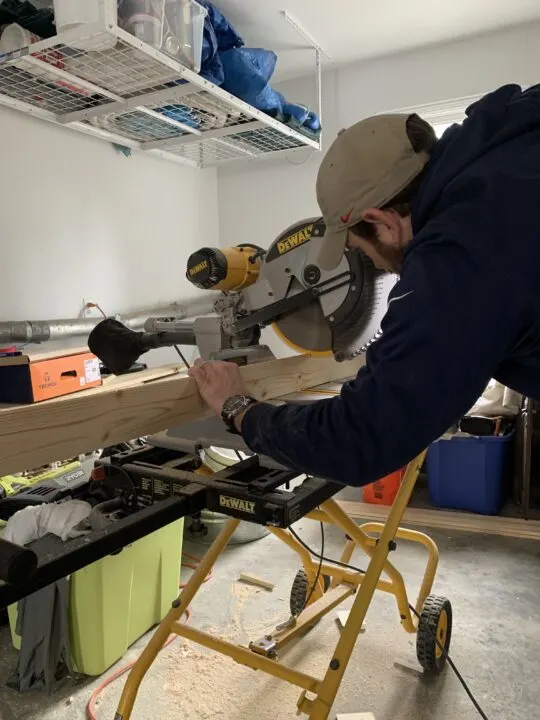
Power Tools for this DIY
- Air compressor
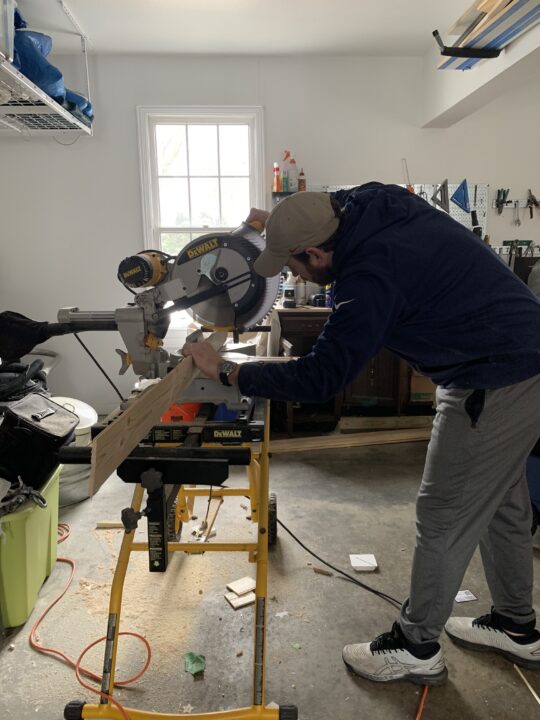
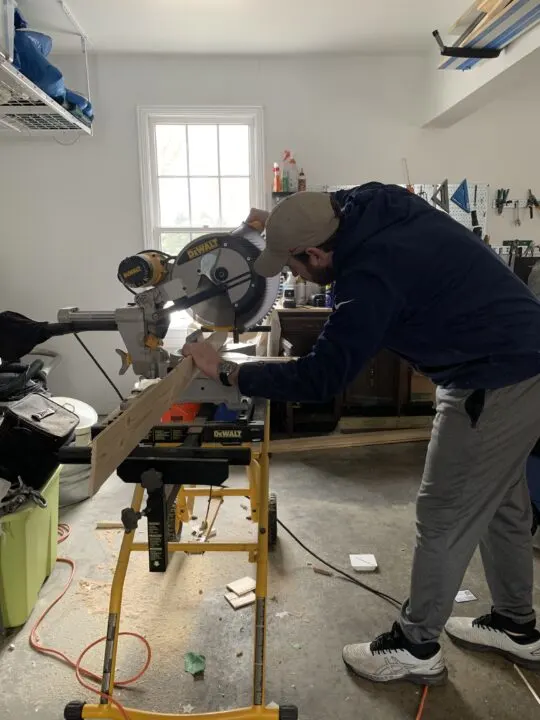
- Miter Saw
- Table Saw (when planks need to be made more narrow with a straight cut)
- Circular Saw (for cutting planks on an angle in corners)
- 18 & 16 gauge Pneumatic nailer
- Pneumatic pin nailer
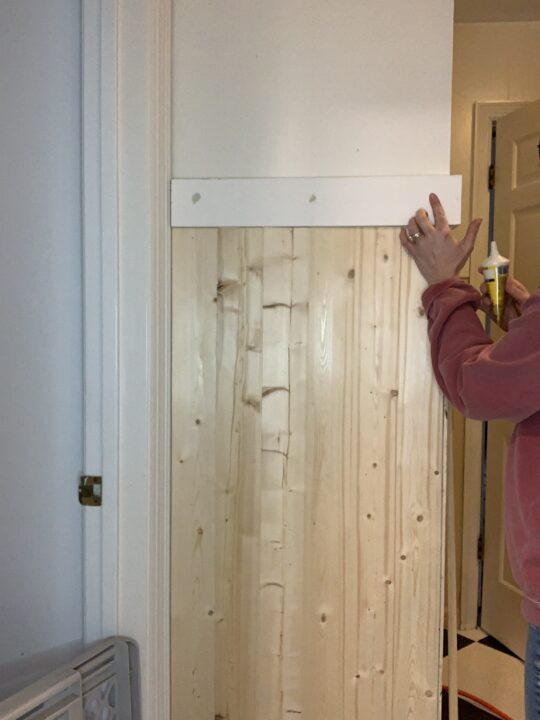
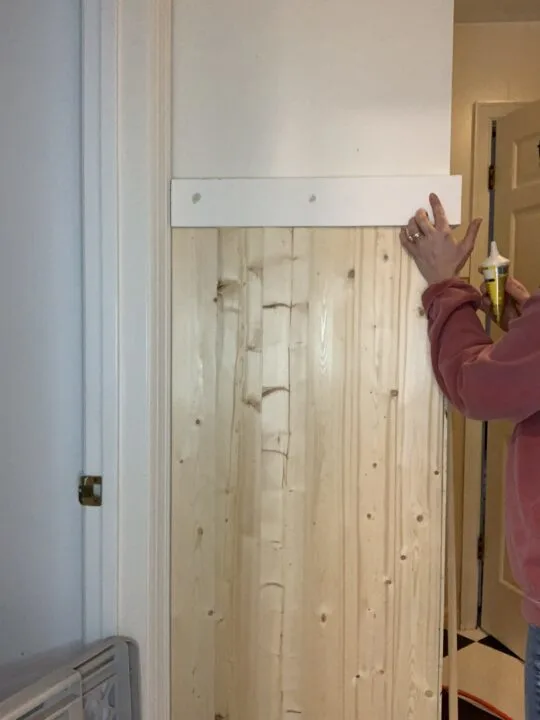
2 | Attach the Top Trim Board

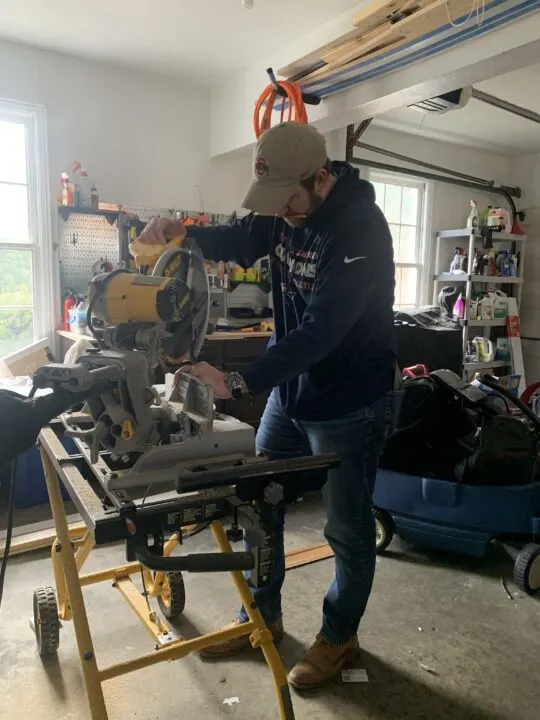
We chose a 1×4 primed wood board for the trim piece on top of the half wall panels.
First, we measured one wall from the door trim to the outside corner of the interior wall.
One side of the board ran into the door trim and required a simple straight cut. The other side of the board was an outside corner of the wall and required a 90-degree angle.
Cut the 90-degree angle first, then cut the other side with the straight cut. I like to cut the board a little bit longer than the measurement and make adjustments from there. If the board needs to be shortened, make the adjustments on the side with the straight edge.
Remember that you want the length of the board to go from the straight cut on one side to the bottom part of the 90-degree angle. For an outside corner, the top of the angle will go past the wall to connect with the board on the other wall.
Once you get the trim board cut to length, apply liquid nails to the back of the board and secure it with a pneumatic nailer using 18 gauge nails.
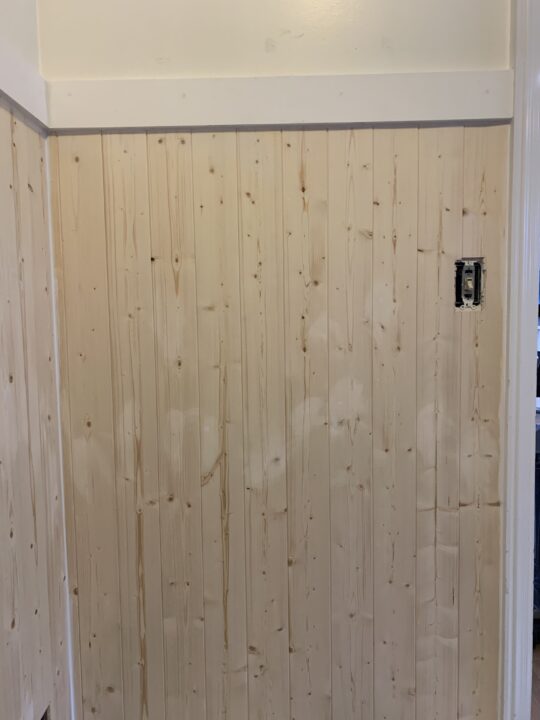
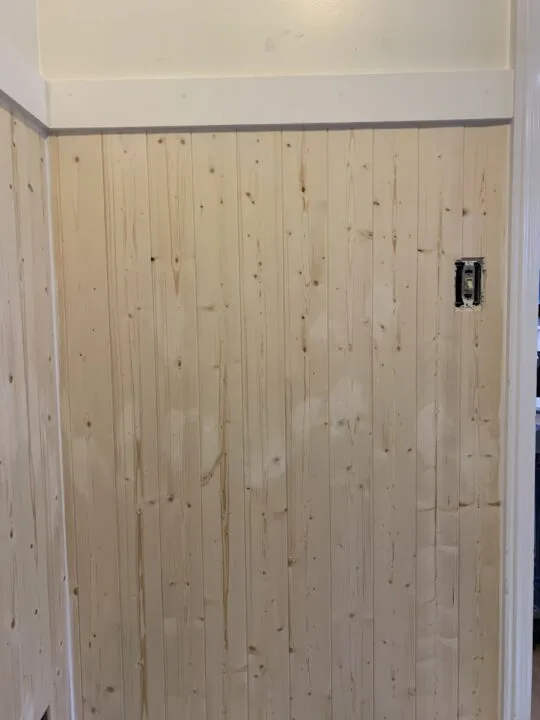
3 | Cut DIY Wall Panels to Size
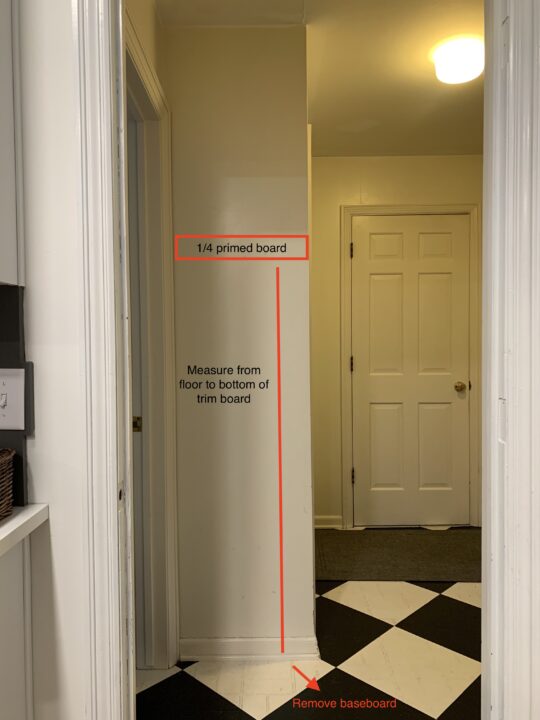

When all of the top trim boards have been attached to the interior walls, measure the distance from the floor to the bottom of the trim board. Cut the wood strips to size.
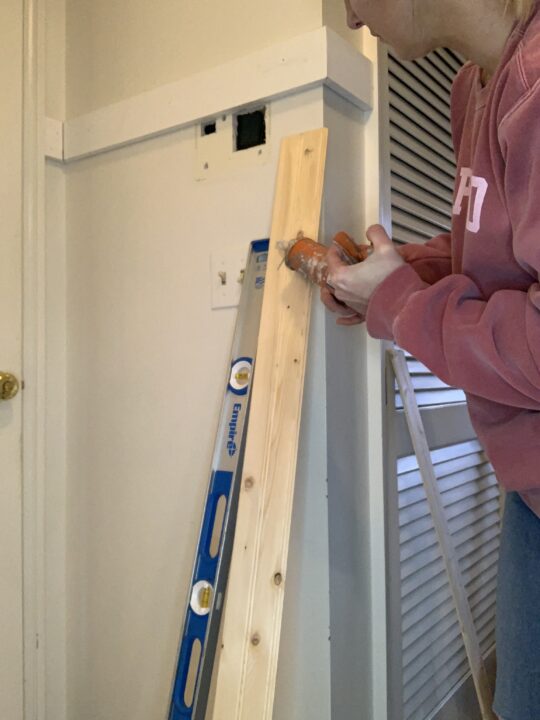
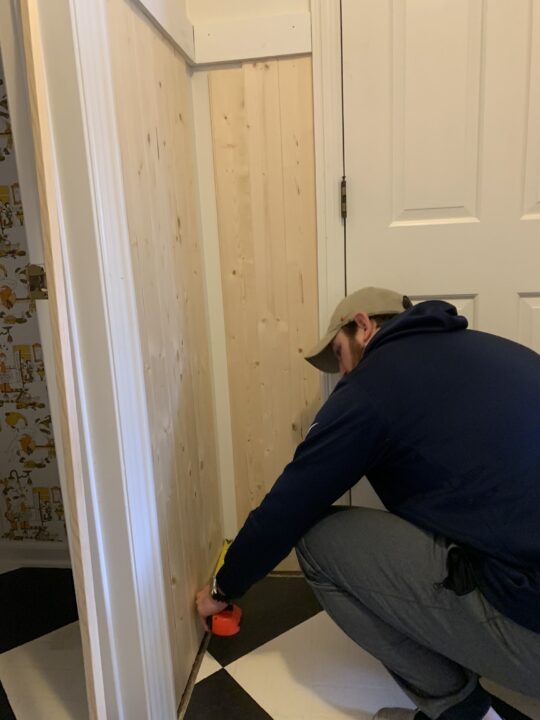
4 | Attach the First Piece of Wood Paneling
There is a very good chance that the interior walls in your home are not perfectly plumb (especially if you own an older home), so it is really important to get your first vertical plank straight.
Determine where you want to start attaching the first panel and then align the wood strip so it is vertically level. If it helps, use a pencil to mark the straight line on the wall.
If the edge gap is too large to conceal with caulk when the first plank is perfectly level, you will want to use a table saw to make an angled cut.
The table saw is not my favorite power tool to use so I rely heavily on my husband whenever a DIY project requires me to use it! Fortunately for this first board, the gap was small enough to fill with caulk.
5 | Glue & Nail the Vertical Panels in Place

Apply liquid nails to the back of each shiplap piece and place it on the wall. Before nailing the board, check one more time that it is level.

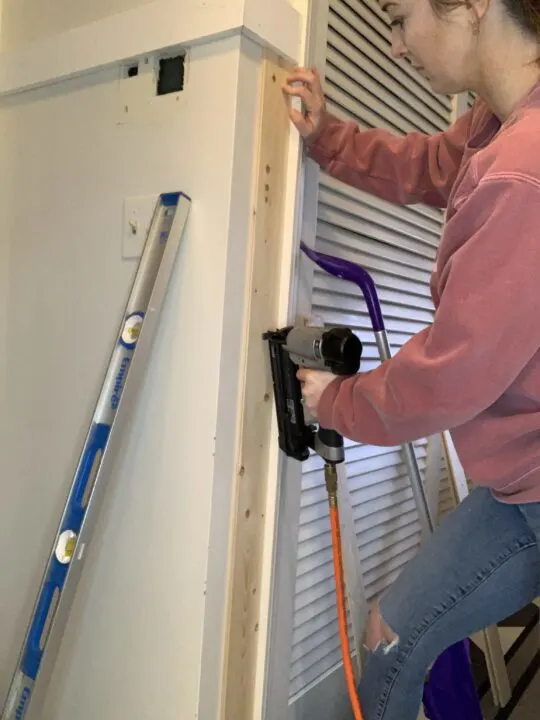
Use the pin nailer to secure the board at the top, middle, and bottom of the board. Once the first board is attached and level, the next boards that are installed should also be level since they are connected with the tongue and groove system.

I prefer to start DIY wall panelling at an inside corner and work my way over to an outside corner. This is because the outside angle will have a corner trim piece attached to the top of the two planks that meet at that corner.
We worked our way across the room attaching the wood boards. At the end of each wall, we had to use the table saw (straight cuts) or the circular saw (angled cuts) to get the final board to fit.
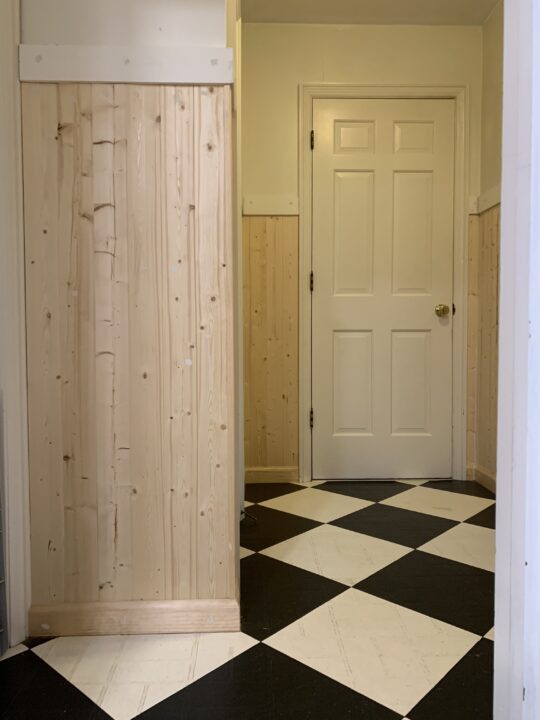
Our mudroom has lots of corners which made the half-wall wood paneling installation a little more tedious.
6 | Measure & Cut the Last Corner Board
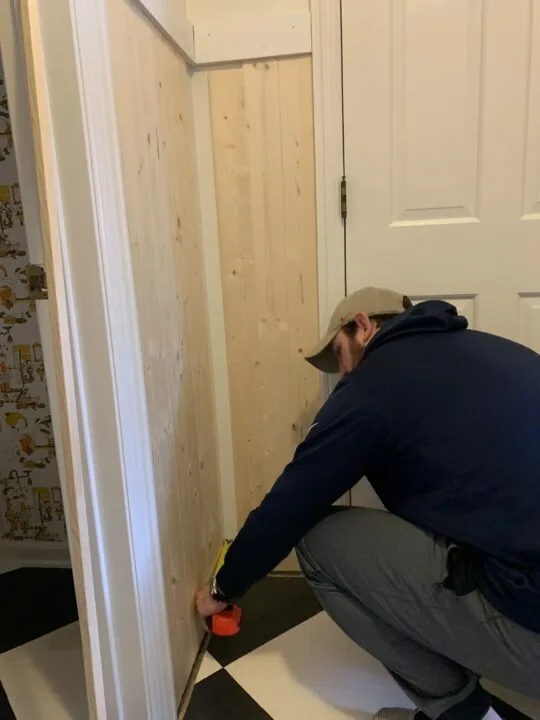
For the final board, Chris measured the distance from the previous shiplap board to the corner of the wall. He took the measurement at the top and bottom because our walls are not perfectly straight.
When the final board needed to be cut at an angle, we used the circular saw to achieve this cut.
Honestly, there are probably better power tools or easier way to make this cut, but this was our DIY process! We marked the wood panel with a pencil, secured it with clamps, and cut the board with the circular saw.


Making these more challenging cuts in the inside corner of the room helped to hide any mistakes.
Another easy way to complete a corner installation is to add an inside corner trim piece to conceal any uneven cuts.

When one of the boards needed a straight cut vertically, we were able to use the table saw which was a bit easier than our janky circular saw contraption.
7 | Cutting Around Outlets & Switches
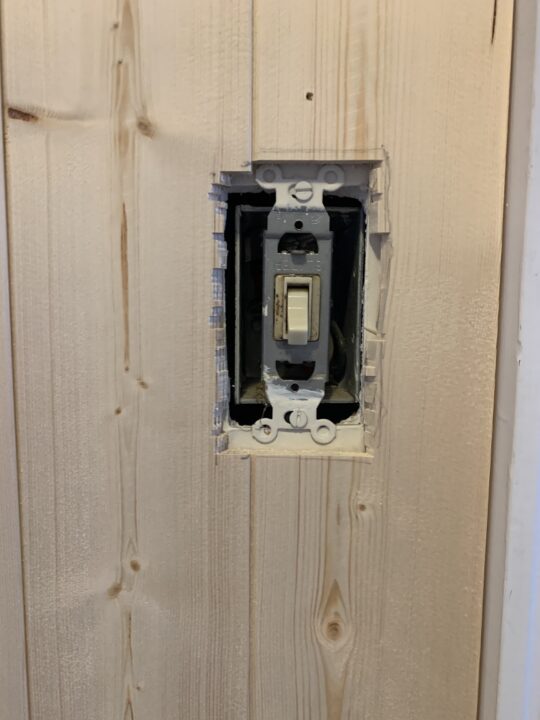

To cut holes for switches, outlets, and vents, mark the board where the cut needs to be made.
Be careful to check that the switch or outlet cover will conceal the section of vertical shiplap you are removing. For this DIY, we used a miter saw to make the cuts on the vertical shiplap boards.
Instead of placing the panels flat under the saw, you will turn it to the side and make cuts down to the line marked for the outlet.
Make small notches from one side of the cut-out to the other. The wood slivers should break off during this process. Use a chisel to break off any remaining slivers.
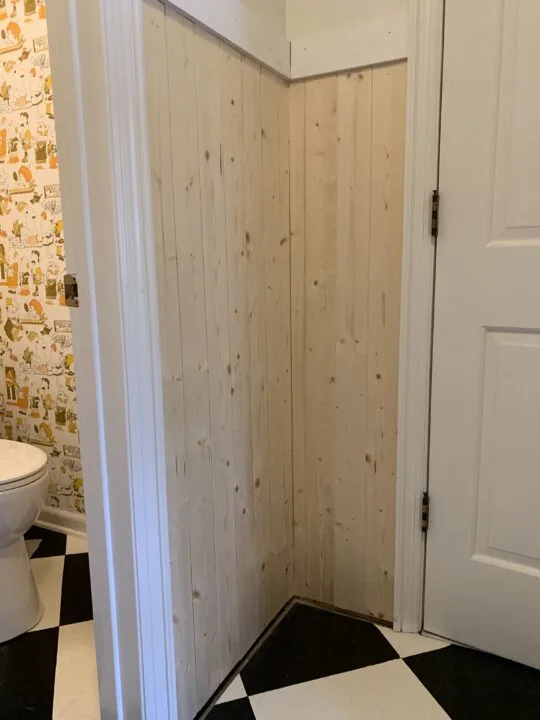
8 | Reattach the Baseboards
Once the vertical shiplap boards are attached, reattach your baseboards. We decided to purchase new baseboards and attached them using liquid nails and 18 gauge nails with the pneumatic nailer.
9 | Attach the Outside Corner Trim Pieces
Measure the distance between the bottom of the trim board and the top of the baseboard and cut the corner trim piece.
Attach the corner piece with liquid nails and a pin nail & the pneumatic nailer. The same process can be followed if you use trim pieces for an inside corner.
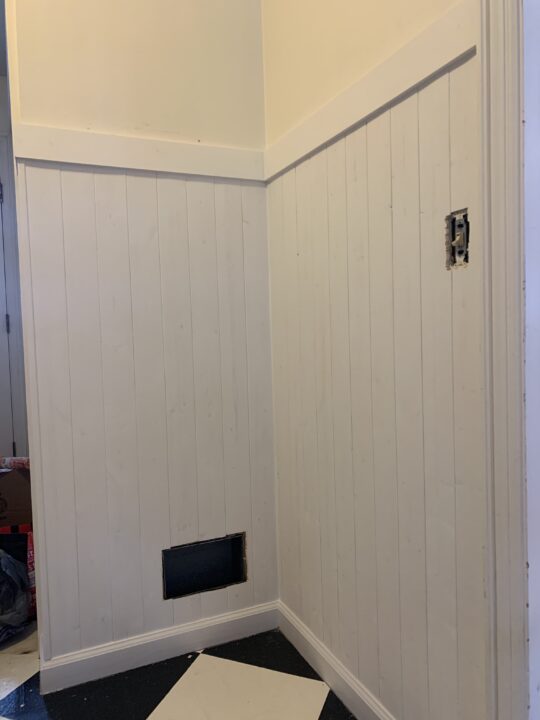
10 | Fill the Nail Holes & Sand
Use plastic wood filler to fill all of the nail holes, and there are a lot! Once the filler dries, sand your vertical shiplap wall so it is smooth.
11 | Caulk the Seams
Next, caulk the seams across the entire wall. This includes above and below the top trim board, all corners, and the top of the baseboards.
12 | Prime & Paint
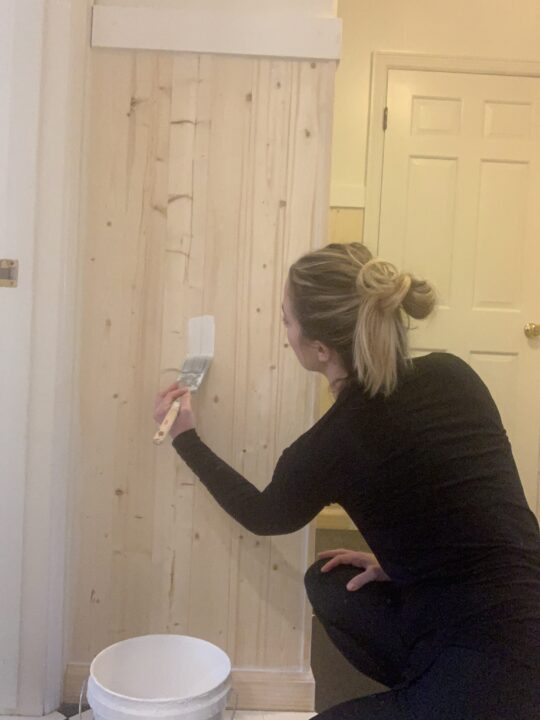

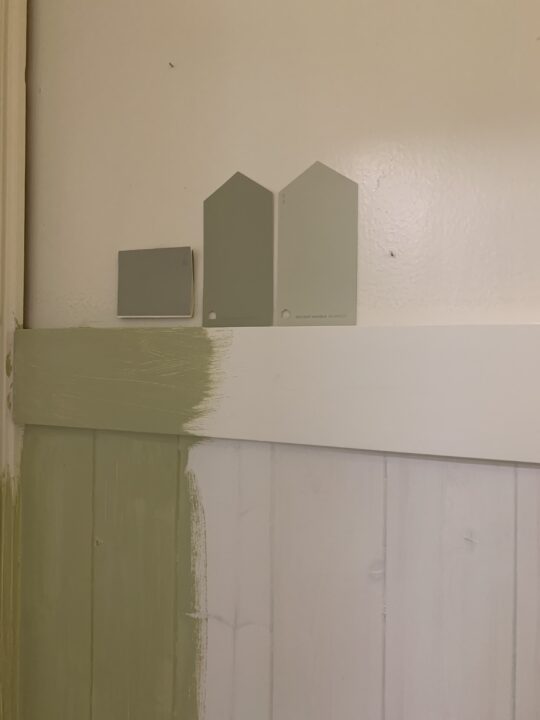
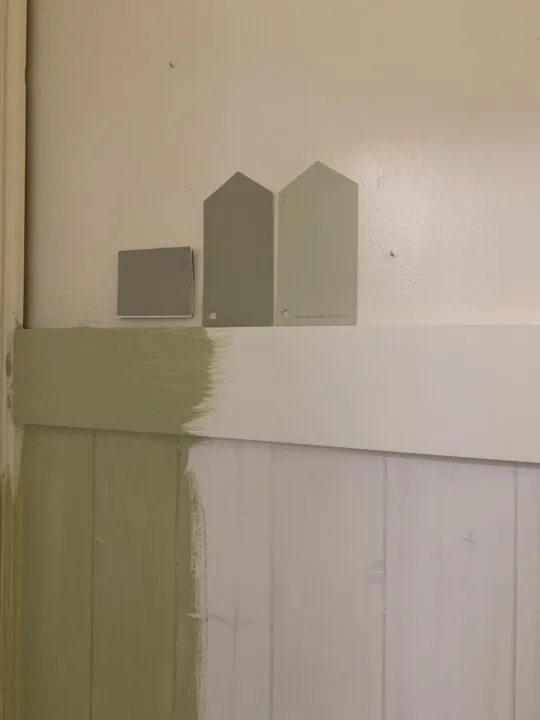
I applied two coats of Kilz primer to the wooden panels and they soaked it right up!
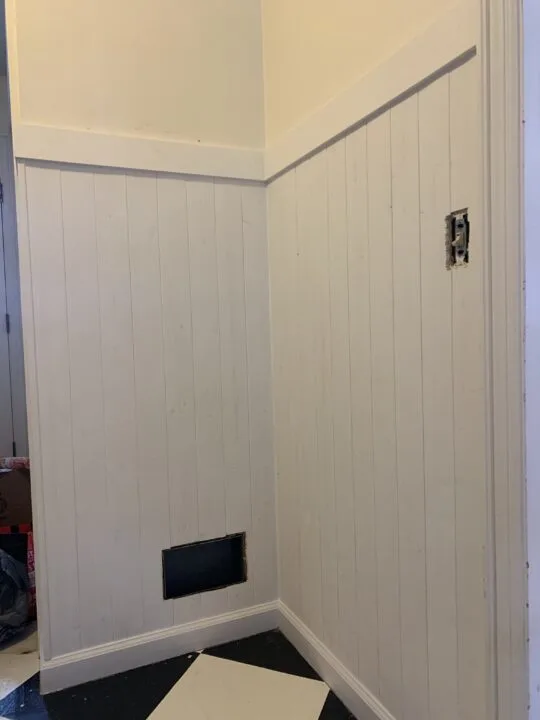
After much debate, I chose Svelte Sage by Sherwin Williams for the paneling to give it a classic and modern look.
Vertical Wall Paneling DIY Reveal
And here is the finished product after painting and wallpapering the rest of the mudroom! Adding wallpaper to the upper half of the wall is a great way to add visual appeal throughout the entire space.
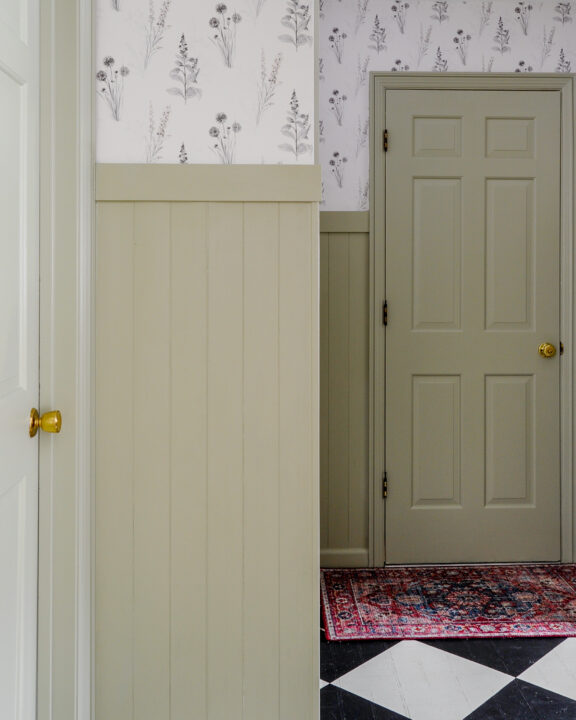

This decorative wall treatment is perfect for homeowners looking to add the cottagecore trend or incorporate it into a traditional style home. This type of wall paneling is a great choice for any room in your home, including utility rooms, home office, or even the dining room.