
Last Updated on January 8, 2023 by lindseymahoney
Our small guest bathroom lacked character and needed some extra oomph. It was easy to install picture frame molding to the wall great for a DIY beginner.
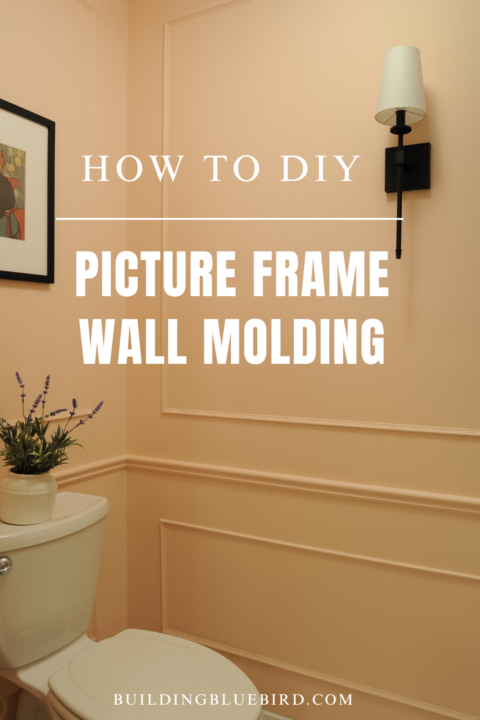

This decorative wall trim creates a traditional look and is just what the room needs! Today I am going to share how to plan and install box molding to a wall for this classic look.
*Check out the design plans for the guest bathroom in this detailed blog post.
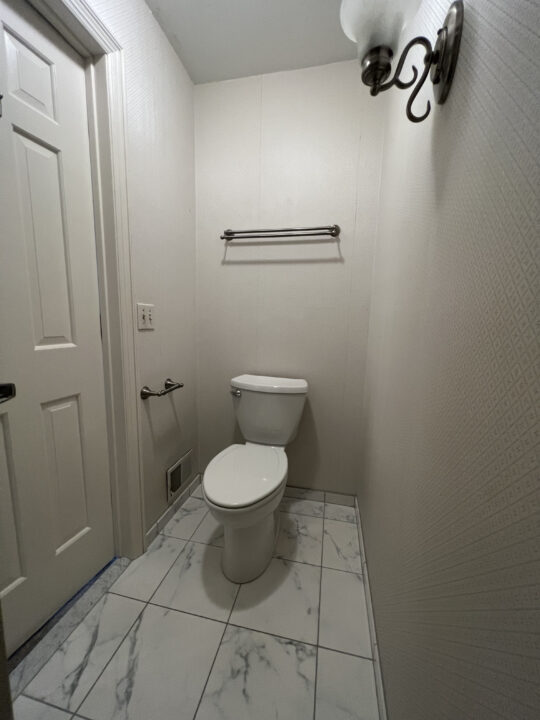
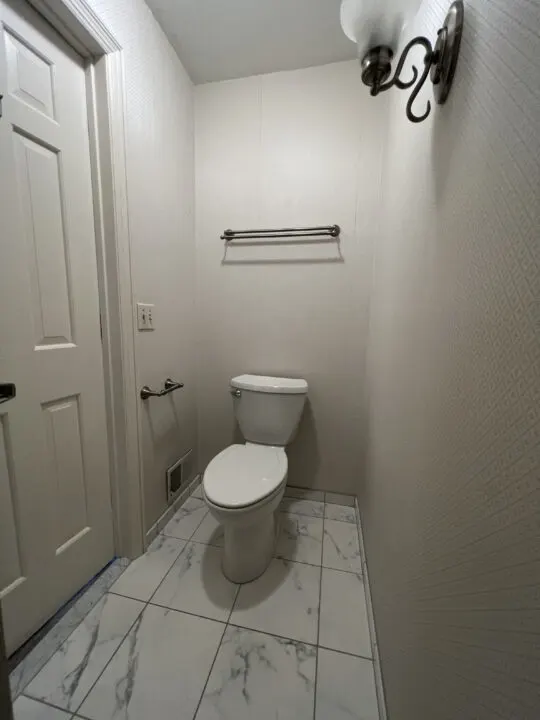
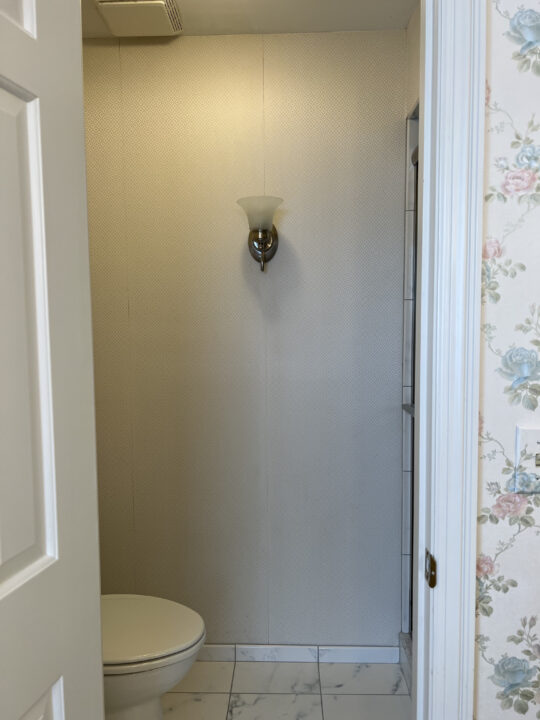
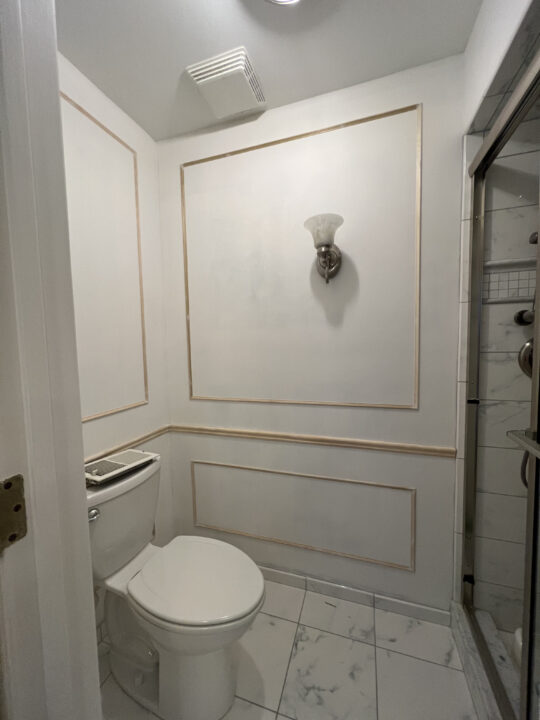
Here is what this small bathroom looked like at the beginning of the makeover. The biggest issue with this room was the peeling wallpaper.
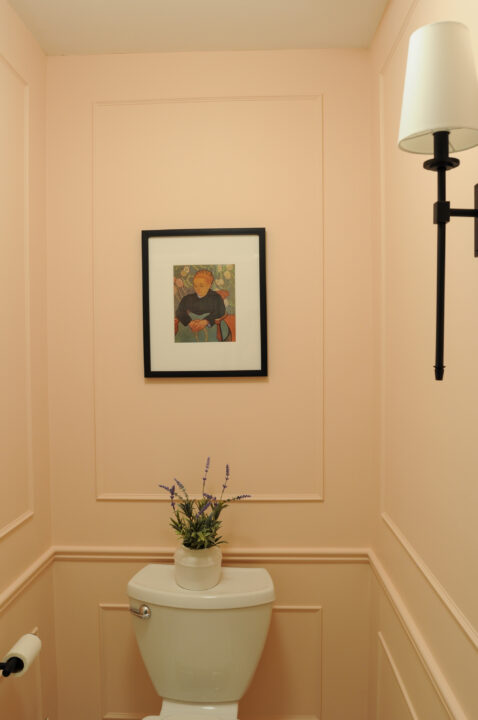
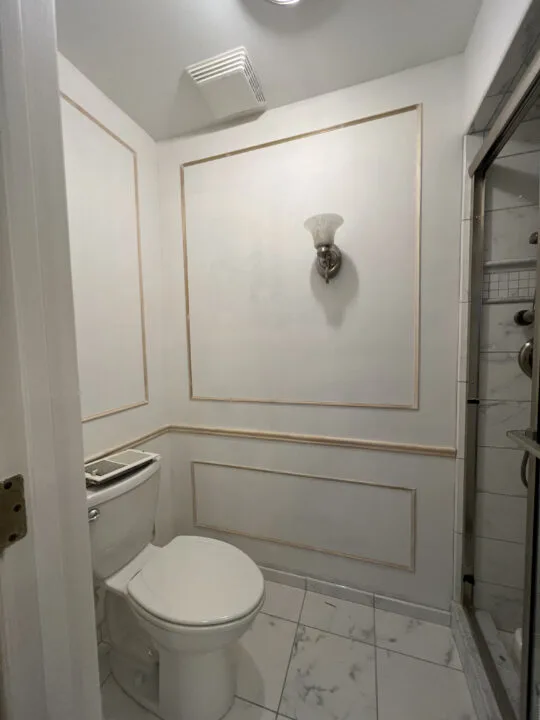
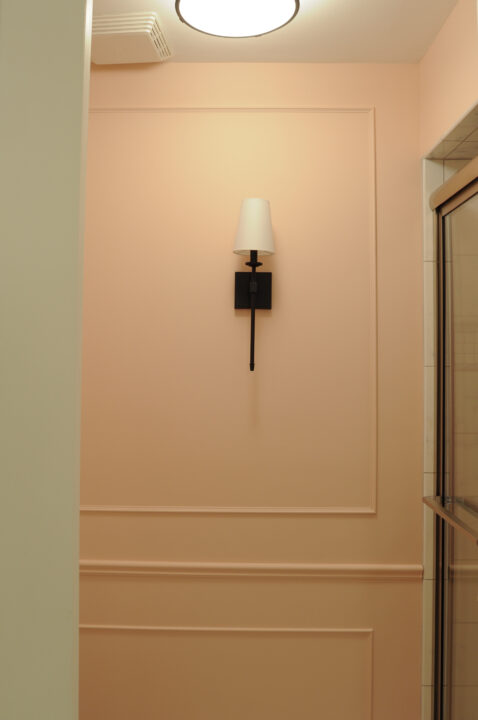
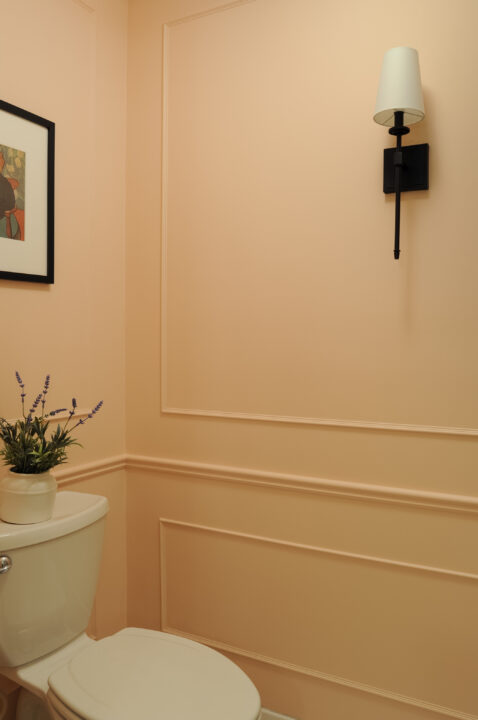
Here is that same view after installing the box molding on the walls and adding a fresh coat of paint.

Let’s get started on how to install box molding in your own home!
DIY to Install Picture Frame (or Box) Molding to a Wall
This post includes affiliate links, thank you for supporting Building Bluebird!
1 | Plan the Layout and Purchase Materials
Before purchasing the trim and materials, you will want to map out the picture frame boxes on each wall.
Odd numbers tend to be the most visually pleasing, so keep that in mind when you determine how many boxes to install across a wall.
Our bathroom is quite small, so I decided on one box widthwise and then two boxes, vertically, divided by a chair rail.


To create a consistent design throughout our home, I referenced our dining room and foyer.
Both of these rooms have a chair rail and lower box molding. The picture frame molding has a six-inch space separating each box.
I kept the same chair rail height the same in the bathroom to create harmony.
Materials Used to Install Box Molding
Once I determined the total amount of molding needed for the picture frame decorative wall trim, I gathered all of the supplies for this DIY project.
- Chair Rail
- Box Molding Trim
- 12″ level & 24″ level
- Measuring Tape
- Sanding Block & Flexible Sanding Paper
- Wood Filler
- Caulk & Caulk Gun
- Primer & Paintbrush
- 4 in. Paint Roller Frame & Ultra Smooth Roller Cover
- All Purpose Joint Compound using a Putty Knife
Tools Used

2 | Calculate Trim Molding Required & Purchase
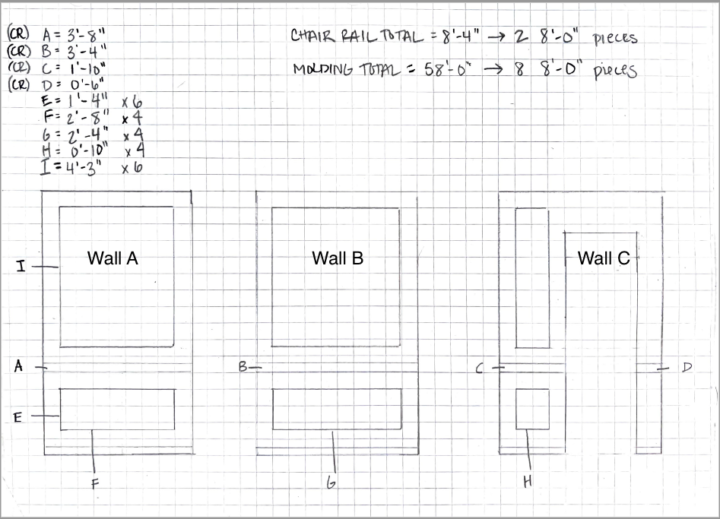

Once I determined the design of the box molding, I quickly sketched out each wall of the bathroom and began measuring.
The chair rail measurements were simple as they equaled the width of each wall. Each trim board was 8 feet long, so I kept that in mind as I tallied up the total amount of trim required.
3 | Prep the Walls for Trim Molding Installation
The amount of prep needed will vary based on your project. For our bathroom, I first had to remove the wallpaper from the walls.

The original wallpaper was installed over the backer board and had not been painted.
Ideally, the drywall or backer board would have been sealed with paint or primer in preparation for the wallpaper installation. Since this hadn’t happened, I had to spend a little more time repairing the walls.
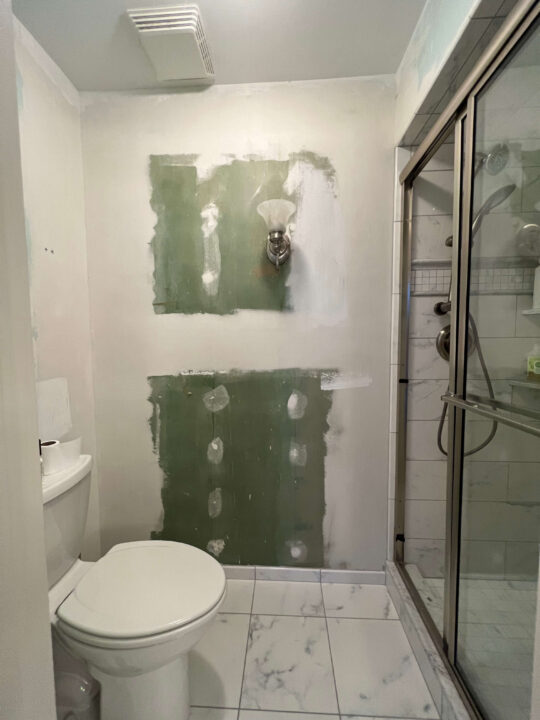

I used an all-purpose joint compound to fill any holes and seams on the wall.

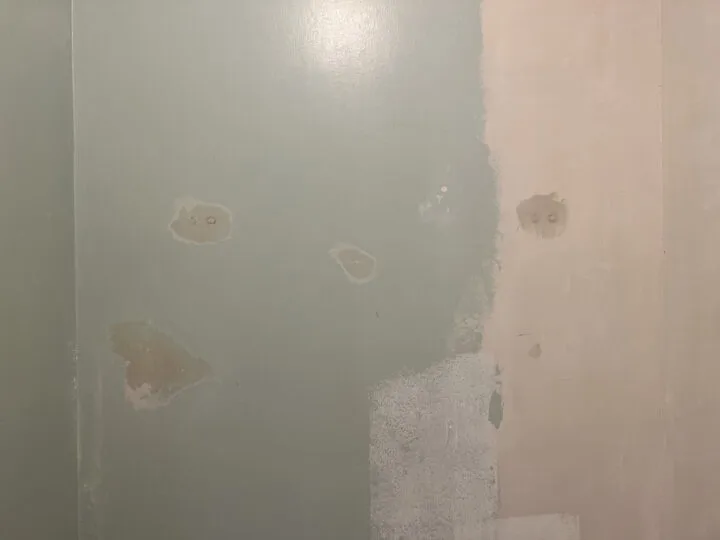
When the joint compound completely dried, I sanded the walls smooth.
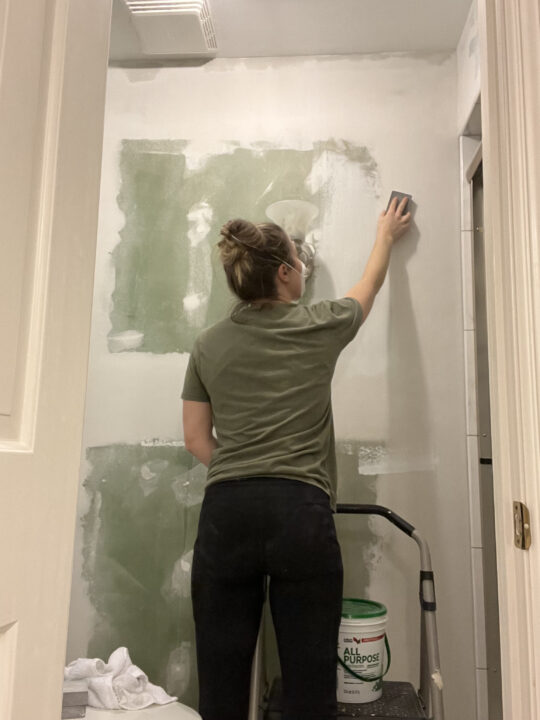
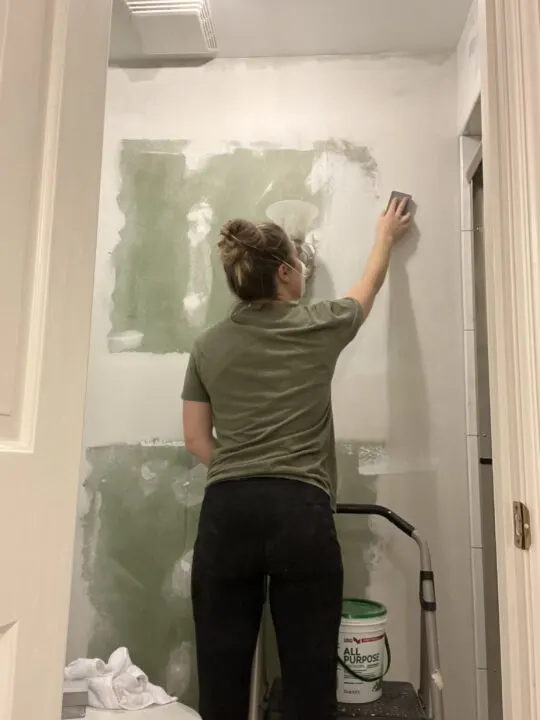
Once the wallpaper was removed and the walls were smooth, I applied a single coat of primer to create an even base for paint.
4 | Cut & Install the Chair Rail
The chair rail was the first piece of molding that I attached to the walls.


I used our table saw and cut each piece based on the measurements noted in my drawing above. Each corner required a 45-degree cut.
I used a pencil to lightly draw a line where the top of the railing would be and lined it up accordingly.
Once the cut piece was against the wall, I used the 24″ level to double-check that it was straight and then nailed it to the wall using pin nails & an air compressor.
I continued this process around the room until the chair rail was installed.
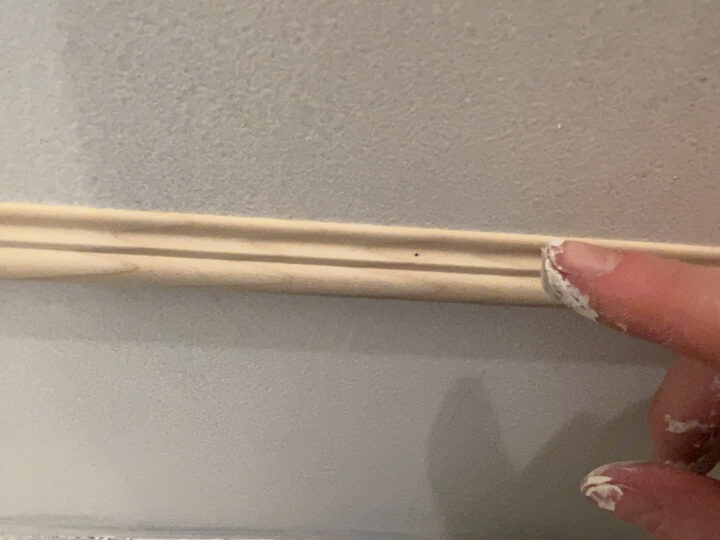
5 | Cut & Attach Box Molding Trim
I used both a table saw and a handheld miter cutter to make the 45-degree cuts at each corner.
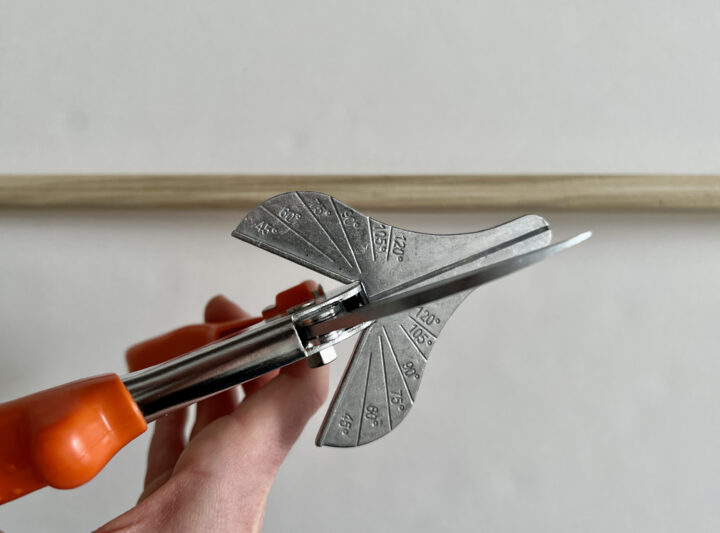
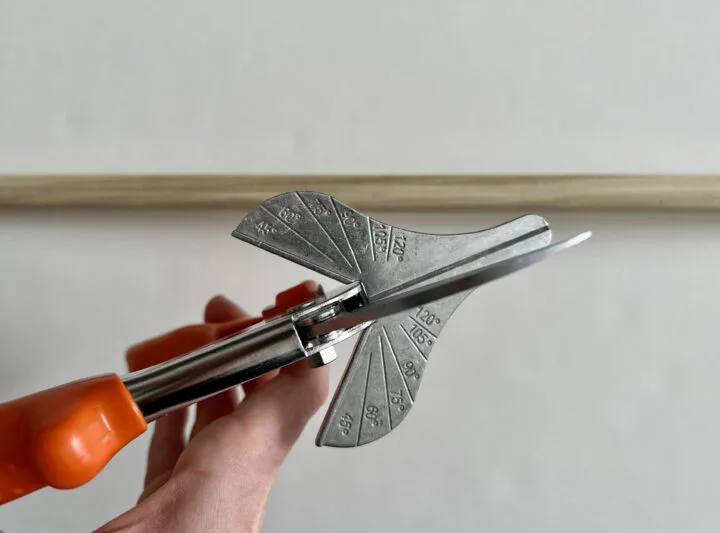
A few years ago I added similar molding to an Ikea Hemnes dresser and the table saw often split the trim in half.
Because the trim I used in the bathroom is slightly wider, it did not split as often when I used the table saw. I ended up using both cutting options interchangeably to complete this project.
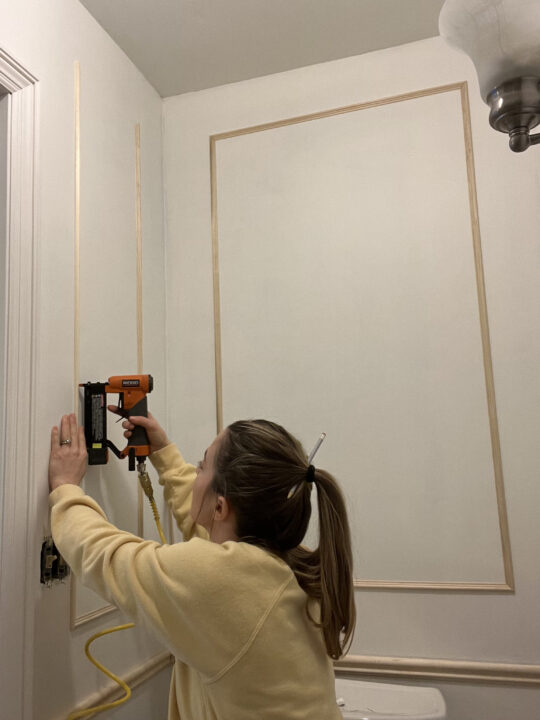

Before attaching the first side of the picture frame box, I measured 6 inches from the closest edges and lightly marked the wall with a pencil.
This made it easy to start each corner of the molding at exactly 6 inches. I lined up the trim piece to the faint line, double-checked with the level, and pinned it to the wall.
The next piece of trim fit nicely into the 45-degree angle corner and I used the level to straighten the trim and nail it to the wall. Repeat this process until each box is complete.
6 | Fill the Seams & Sand Smooth

Once the box molding and chair rail are secured to the wall, I used wood filler to fill the corner seams of each box & all nail holes. To apply, I used my fingers to fill the holes and corners of each box.
Next, I used caulk to fill the seams around each piece of trim. This step is tedious but really important to get a professional and clean look. I prefer to use my finger to smooth the bead of caulk.
This is a bit messy, but it gives me the most control. Wetting your finger or using baby wipes to smooth the bead of caulk is said to help with the mess.
Wait a few hours (24 is ideal) for the wood filler and caulk to dry. I prefer to use flexible sandpaper to smooth the corners of the box molding where wood filler was applied. The paper allows you to get into the grooves of the molding more easily.
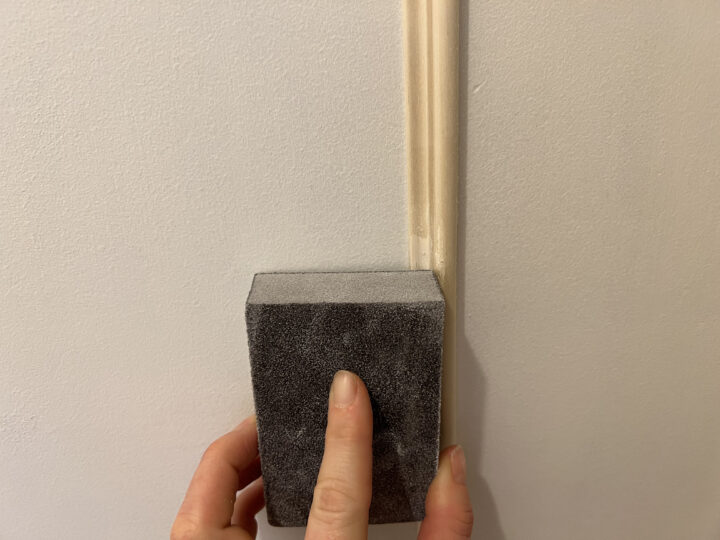
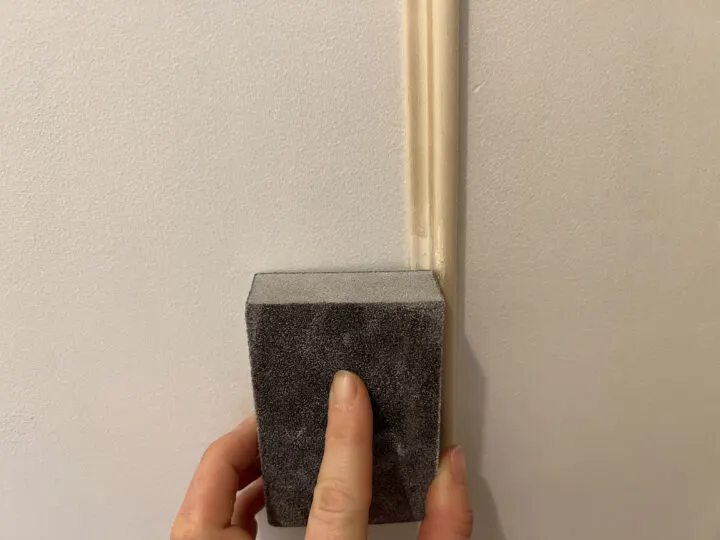
I use a sanding block to smooth out the remaining areas of the molding and chair rail.
7 | Apply Primer to the New Trim
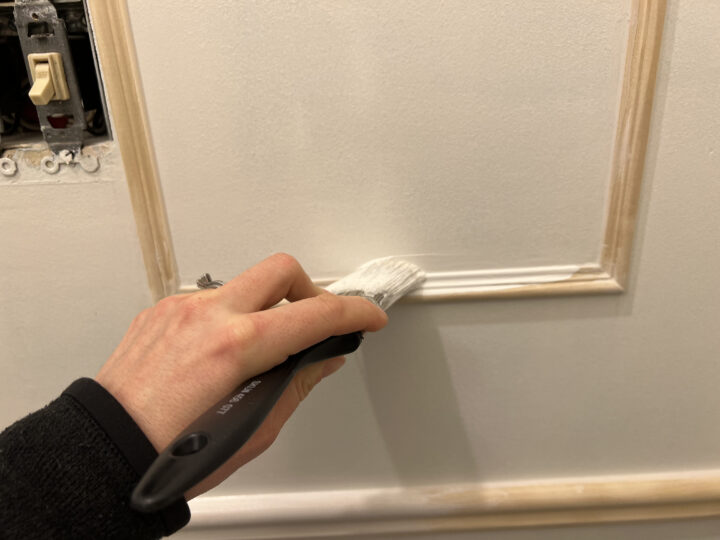
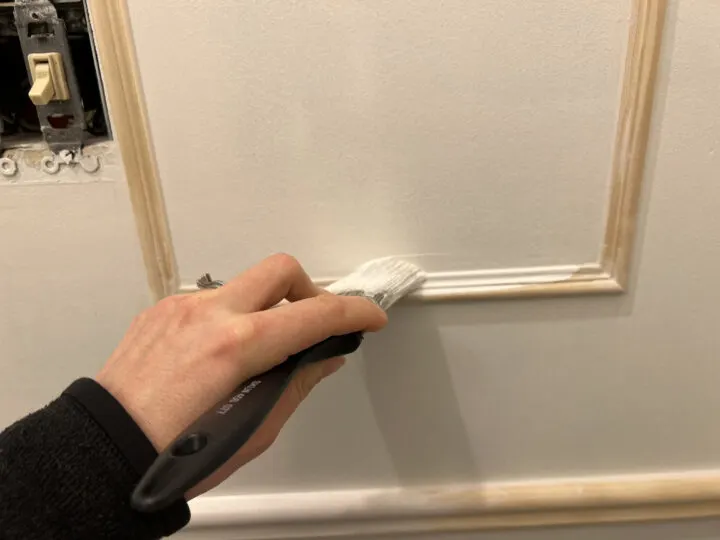
The molding I used in our bathroom is raw wood, so priming the trim before paint is extremely important.
A single coat of primer works just fine. Once the primer dried, I did one more check and filled any seams that I missed with caulk.
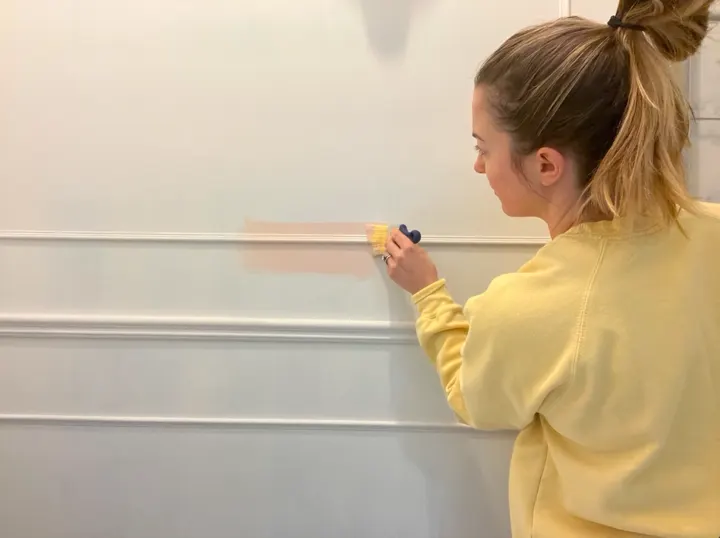
8 | Paint the Walls & Box Molding
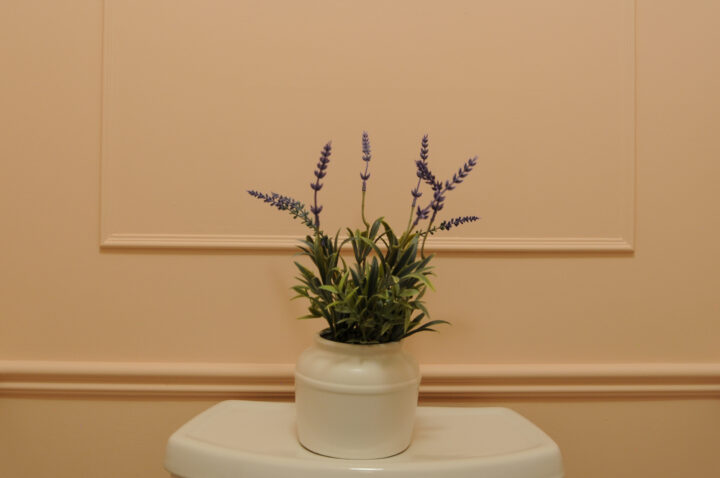
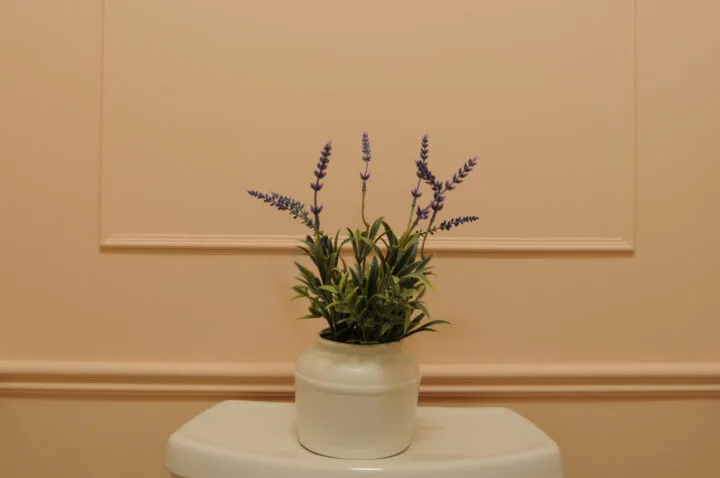
I chose a pale pink called Romance for the wall color and applied a fresh coat of paint! I love how it turned out and how it compliments the marble tile with its blue undertones.

For more beautiful, pale pink color options, check out my complete roundup in its own blog post!

I used a combination of an angled brush and a small paint roller with an ultra smooth finish. The primed trim and walls required two coats of paint for complete coverage.
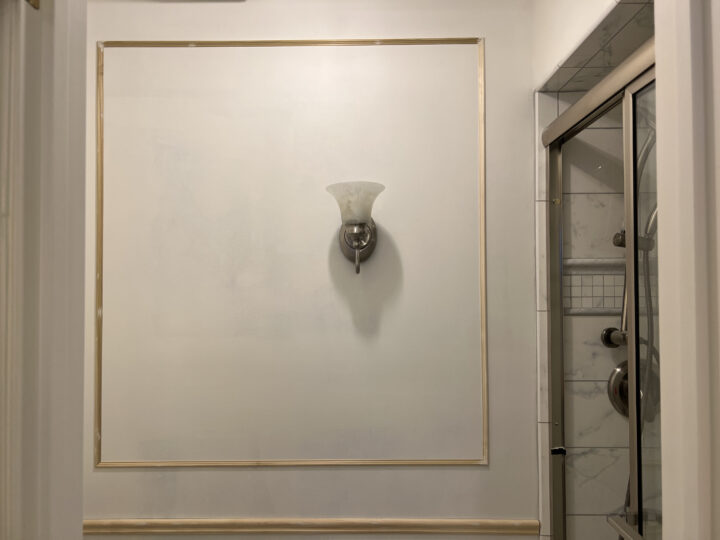
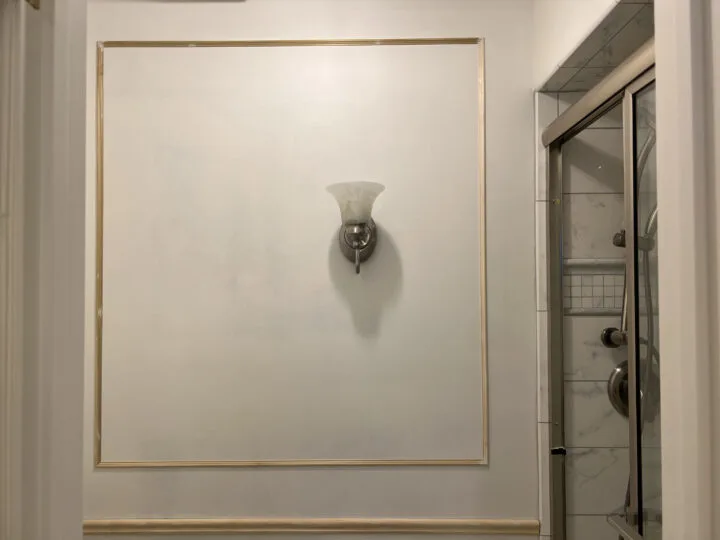
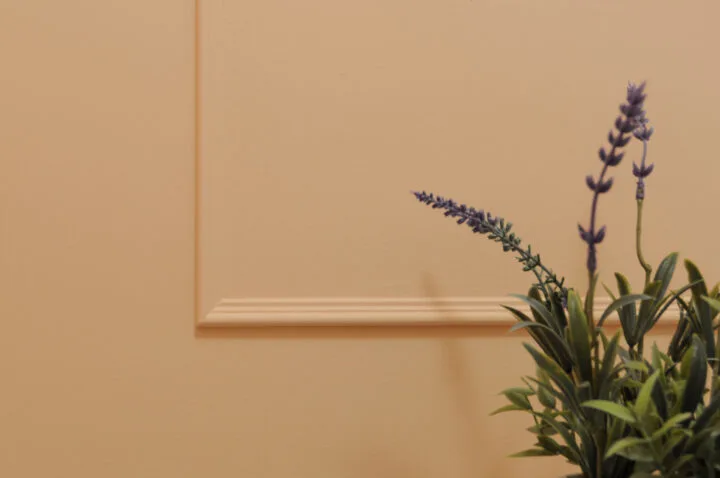
Classic Picture Frame Molding Reveal
The box molding detail creates a traditional feel that aligns with the style of our home.
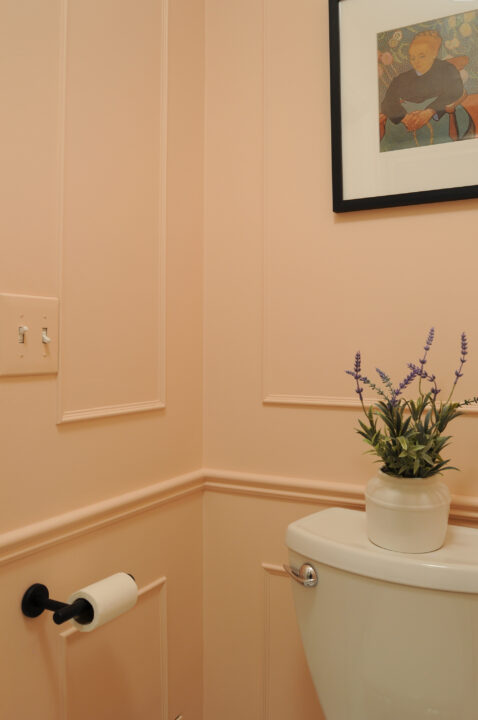
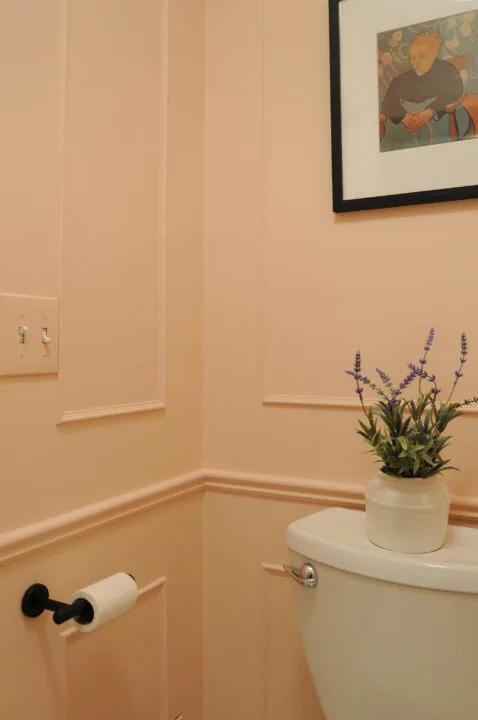
I originally planned on using brass detailing, but the pink walls brought a lot of warmth to the room so I wanted to balance with cooler and neutral tones.
The black accents anchor the space and give a modern, traditional touch to this tiny bathroom.
Here is the bathroom before:
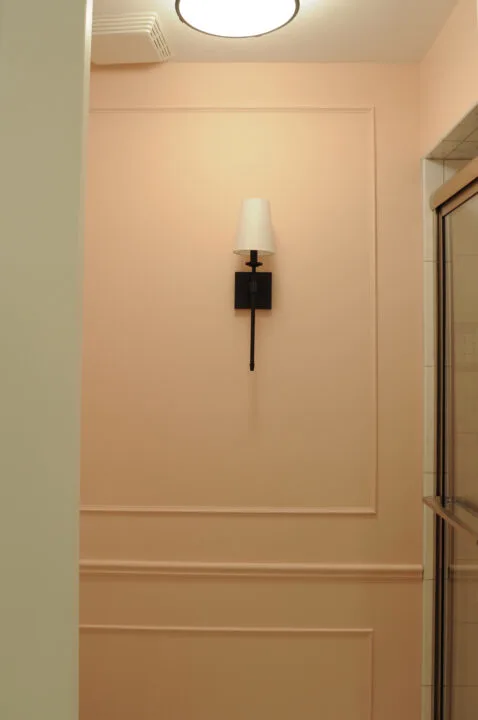
And that same view after:
Another before image of the bathroom.


And after.

I hope you found this tutorial helpful and that you feel confident to add molding to your own home!
Similar Content You Will Love
- Easy IKEA Hemnes Dresser Hack to Try at Home
- DIY Upholstered Headboard with Tufted Buttons
- Guest Bedroom / Office Makeover Reveal
- How to Paint A Bed Frame | Easy DIY Tutorial
- How to Hang Pre-Pasted Wallpaper by Yourself
- Amazing Dining Room Makeover & Holiday Tablescape
- How to Paint an Exposed Basement Ceiling Black
- I Applied Latex Over Oil Based Paint | How To Fix