
Last Updated on January 12, 2023 by lindseymahoney
Week 4 of the One Room Challenge was spent customizing our current IKEA Hemnes dresser.
In my week 2 update, I shared that I had purchased a pricey new dresser only to discover that it was way too small for our clothing storage needs. I
IKEA furniture has always held up extremely well in our home, especially the dresser units, so I decided to keep our current dresser but add some detailing.
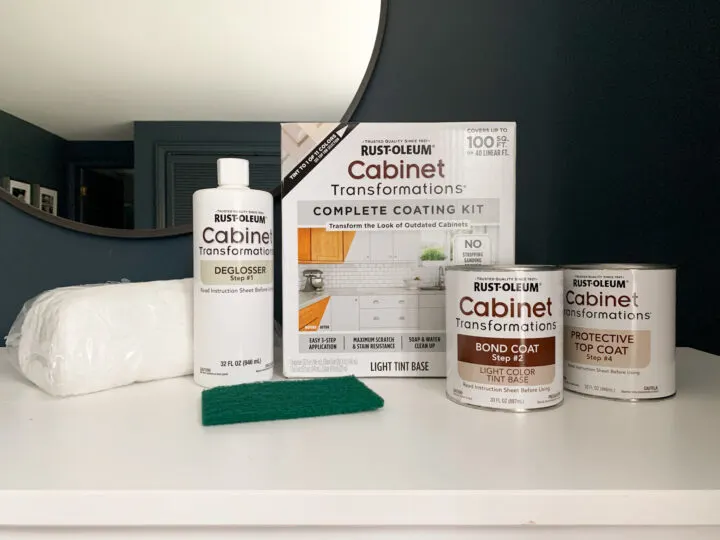
I love a good IKEA hack and was really inspired by Mandi from Vintage Revivals. Mandi shared this exact DIY on Instagram and I knew I had to recreate it. I found the same trim and chose my favorite furniture paint – Rustoleum Cabinet Kit.
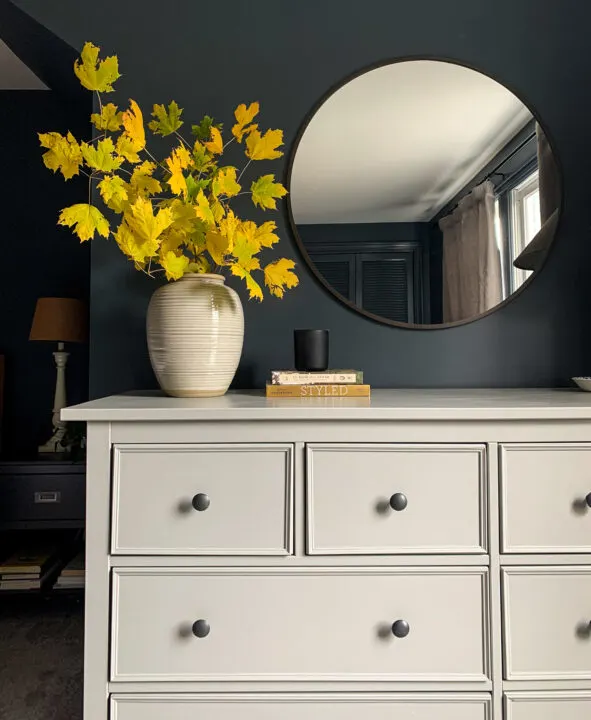
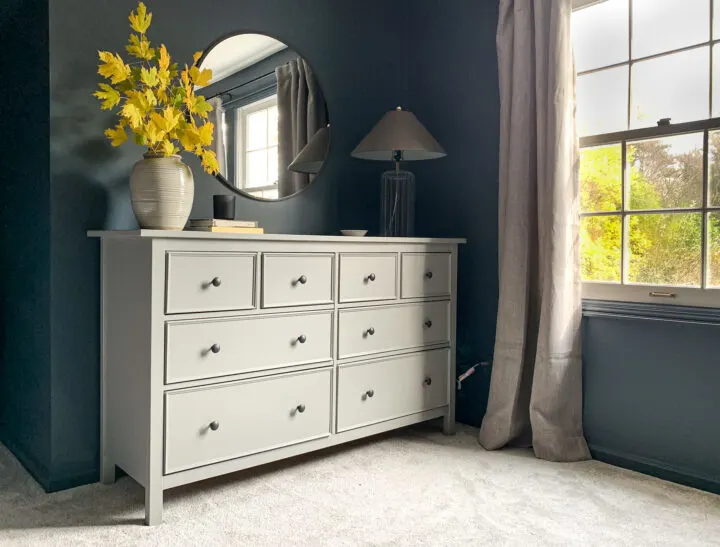
Because the walls are dark blue (Outerspace by Sherwin Williams), the white, HEMNES dresser felt a little harsh.
I don’t want our room to feel nautical and sometimes white and blue feel that way to me. I chose a light gray paint option to soften the look against the painted walls.

One Room Challenge
For those of you who are stopping by for the first time, welcome! Last year my family moved into a fixer-upper in Toledo, Ohio, and have been documenting our renovations on the blog. In fact, I renovated our dining room for my first ORC! I updated my little boys’ bedroom for my second ORC last Spring. Thanks for following along as we work to transform our master bedroom in 6 weeks!
- Moody Master Bedroom Design: Week 1
- Paint & Furniture Purchases: Week 2
- Installing Closet Organization Systems: Week 3
- Final Design Details: Week 5
- Bedroom Reveal: Week 6
Week 4 | IKEA Hemnes Dresser Hack
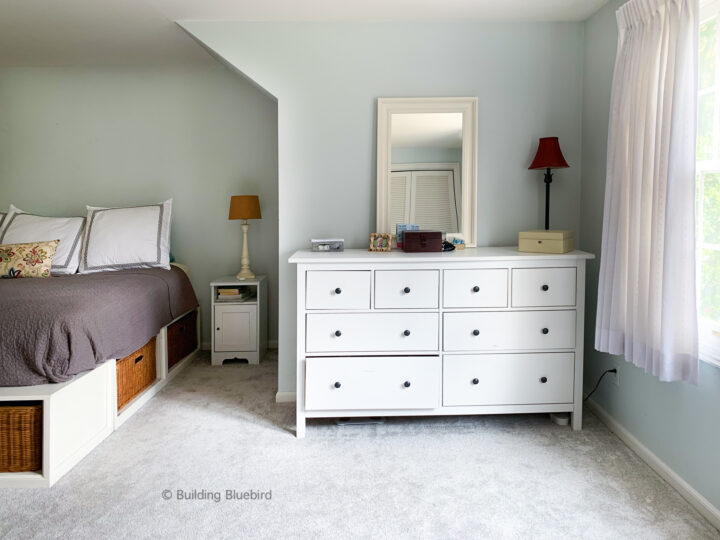
Here is what my dresser looked like before the renovation. The bottom drawer was broken and it was a white color.

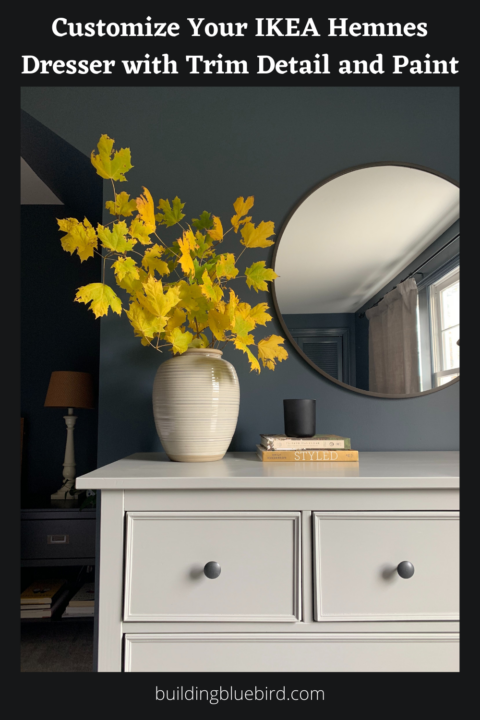
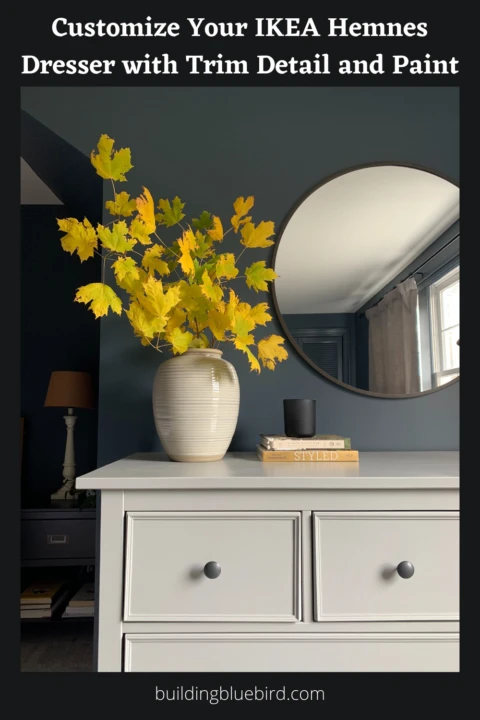
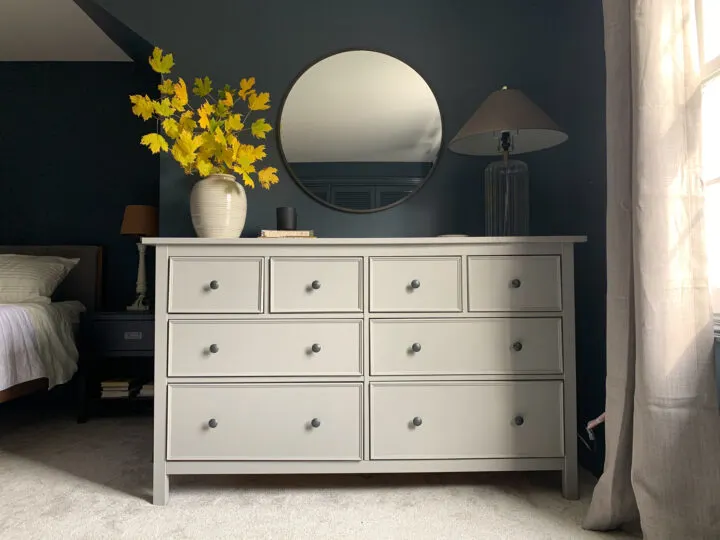
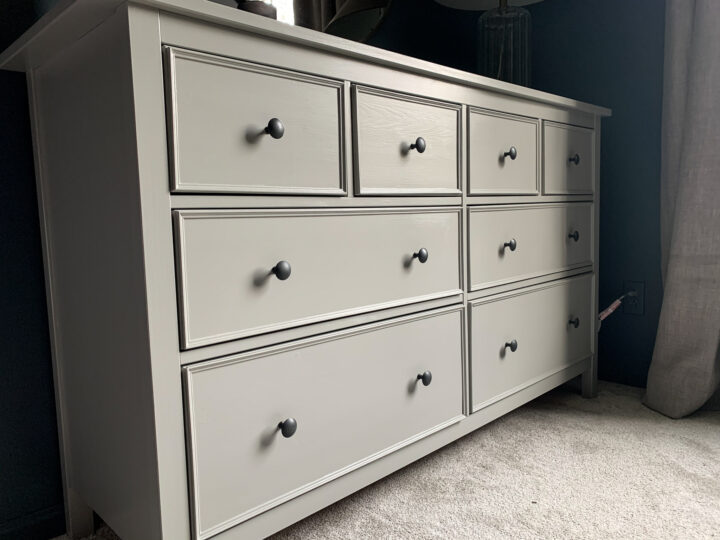
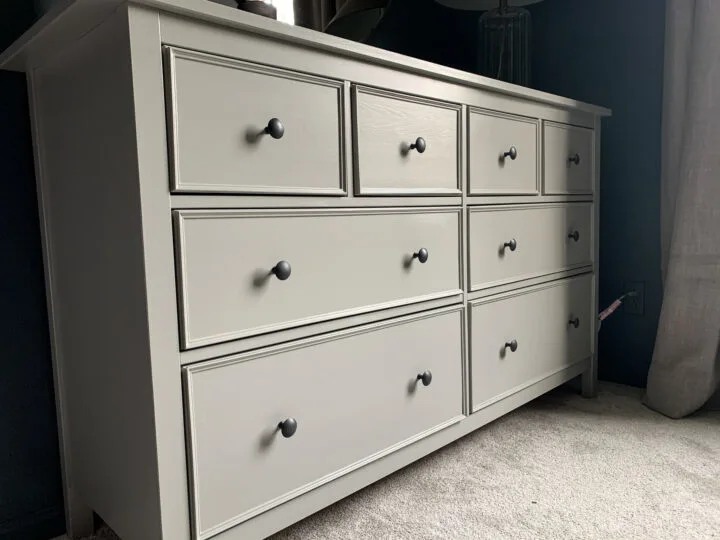
And here is the dresser after this fun trim IKEA hack! I am SO happy with how it turned out!!

I will be making a full tutorial on this Ikea hack, but I want to share some of the specifics here as well!
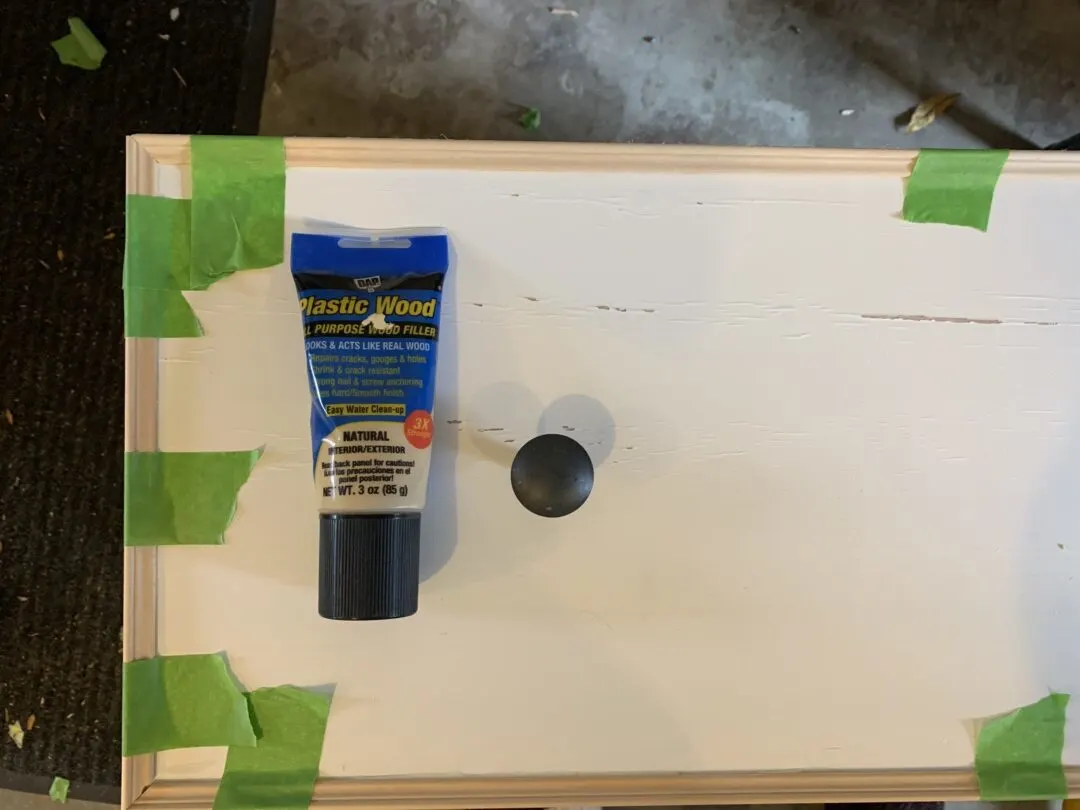
The trim came from Home Depot and I used about 13 pieces. I used our table saw to cut the trim and attach them to the drawers. If the corners didn’t line up exactly, I used wood filler.
To keep the trim in place while the glue dried, I used my handy dandy FrogTape! It worked like a charm.

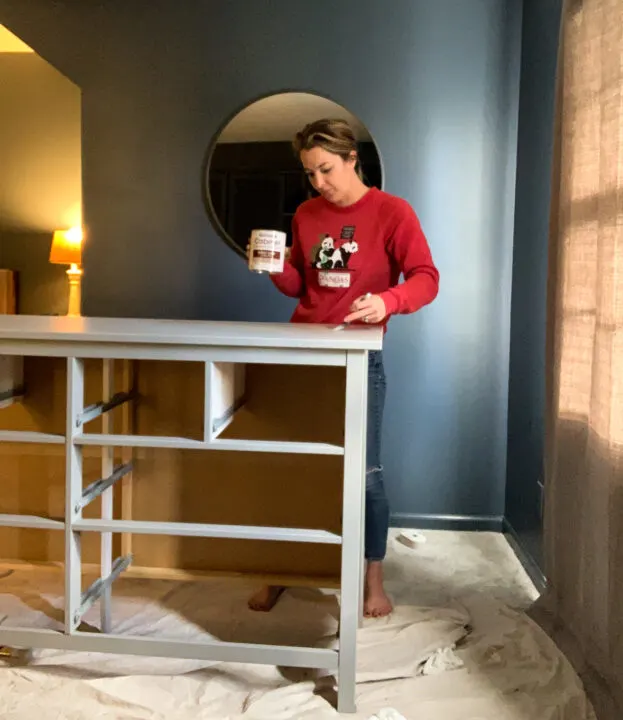
I brought the drawers inside and got to painting. Of course, I had to check out how the trim looked when the drawers were added to the unit – I knew it was going to look GOOD!


I chose a light gray option from the light tint base Rustoleum Cabinet kit and got to work painting the dresser. I applied two coats of the base color and then a single coat of the clear top coat.


This type of paint project is really relaxing for me. The product is super easy to use and goes on pretty quickly. I enjoy listening to podcasts and just painting the day away!

I wrapped up this master bedroom project just in time for the week 4 reveal!
The trim and warm gray give our dresser the custom look I was looking for in our bedroom. The best part is that we still get all of the function that comes with IKEA furniture!

Thank you so much for following along as I renovate our master bedroom. I love sharing all of the progress with you. Check in next week as I wrap up the final decor details in the space.
Oh, and don’t forget to check out all of the other participants and their projects on the One Room Challenge blog.

How To Style A Dresser: 7 Elements to a Balanced Design • Emily Rone Home
Tuesday 7th of March 2023
[…] Source: Buildingbluebird.com […]
LG
Friday 9th of April 2021
Beautiful! I didn’t notice did you h e listed what the grey color was? It’s a perfect shade!
lindseymahoney
Friday 9th of April 2021
I used Rustoleum Cabinet Transformations and chose Winter Fog from their tinted color options. I need to add the color to this post! I have a full blog post with a tutorial for this dresser DIY tutorial if you want to check it out here: Easy IKEA Hemnes Dresser Hack to Try at Home
Shannon
Saturday 20th of February 2021
Love this! Did you have to sand the dresser first or is that eliminated when using the cabinet paint kit?
lindseymahoney
Sunday 21st of February 2021
Nope!! I started to use the deglosser that comes with the kit but quickly realized it wasn't necessary. It has been 3 months now and the paint is holding up perfectly.
Nicole Q-Schmitz
Monday 2nd of November 2020
Love love love this transformation! I really like the warm grey colour too :)
lindseymahoney
Monday 2nd of November 2020
Thank you so much! I am really pleased with the grey as well :)
Amal
Thursday 29th of October 2020
Beautiful! I love the color and the trim!
lindseymahoney
Friday 30th of October 2020
Thank you so much!