
Last Updated on August 8, 2023 by lindseymahoney
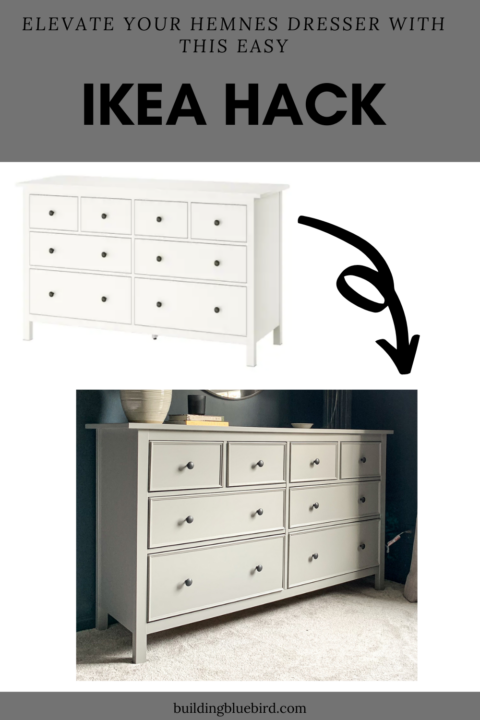
Are you tired of your plain and boring IKEA Hemnes dresser? With a simple hack, you can easily transform it into a stylish and personalized piece of furniture. In this blog post, I will show you how to add trim to your Hemnes dresser and paint it a different color, giving it a whole new look.

Adding trim to your dresser is a great way to add character and style to your space.
Not only is this hack easy to do, but it is also affordable. You can find trim at your local hardware store or online, and there are plenty of options to choose from.
So, if you’re ready to give your Hemnes dresser a makeover, keep reading to learn how to add trim and transform your furniture into a stunning centerpiece for your room.
Table of Contents
- Simple IKEA Hemnes Dresser Hack to Add Traditional Trim
- IKEA Hemnes Dresser Before
- 1 | Measure Your Hemnes Dresser and Decide on Trim
- 2 | Gather Materials for the DIY
- 3 | Measure Trim for Each Side of the Drawer
- 4 | Cut the Trim for the Dresser Drawers
- 5 | Attach the Trim Molding to the IKEA Drawer
- 6 | Fill Corner Trim Cracks with Wood Filler
- 7 | Paint the IKEA Hemnes Dresser
- IKEA HEMNES Dresser Hack Reveal
- Tips and Tricks for a Successful IKEA Dresser Hack
- Frequently Asked Questions
- More DIY Projects You Will Love
Simple IKEA Hemnes Dresser Hack to Add Traditional Trim
[Affiliate links are included in this post, thanks for supporting Building Bluebird!]
IKEA Hemnes dressers are my favorite because of their durability, size, price, and clean design. I tackled this furniture project as a part of our master bedroom makeover while participating in the One Room Challenge.
I knew I wanted to update our IKEA Hemnes dresser and simple trim and a fresh new paint color was a great way to add character and create timeless style.
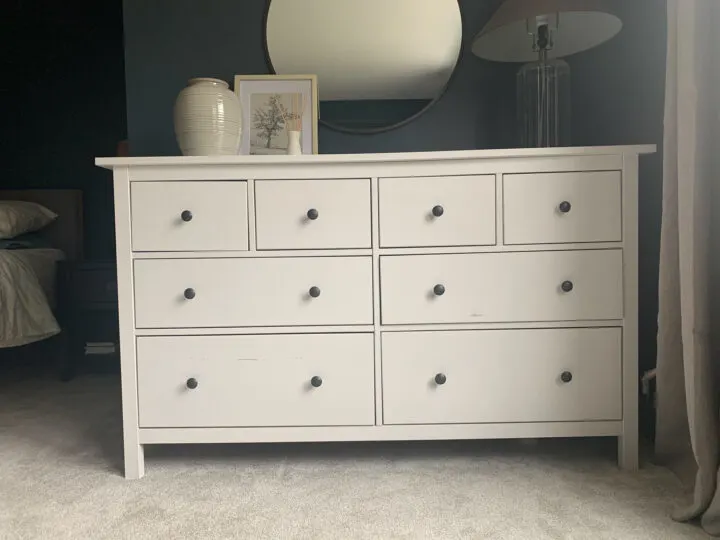
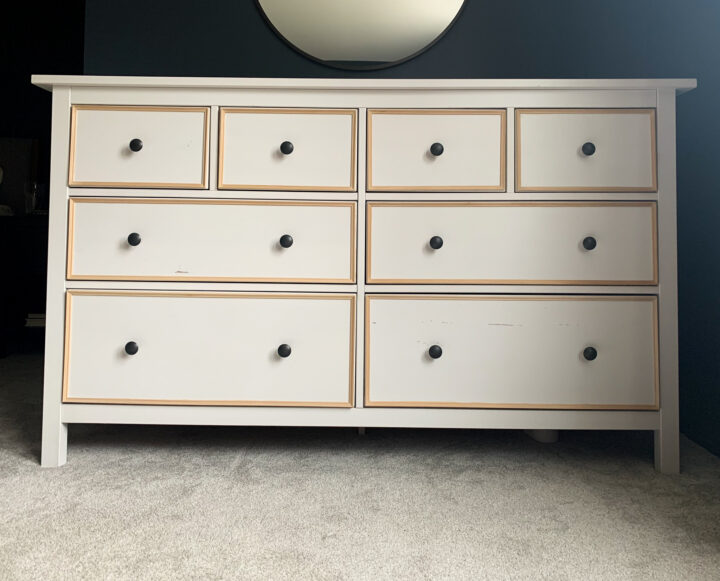
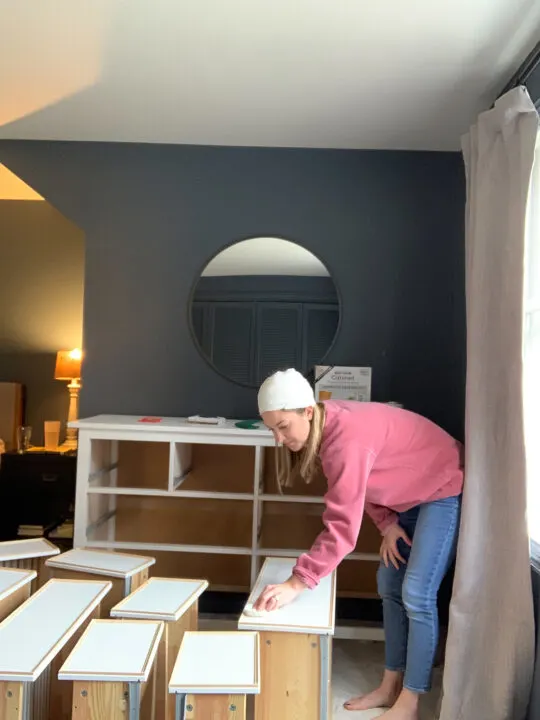
IKEA Hemnes Dresser Before
Here is our IKEA dresser before the makeover.

Whenever I try out a new DIY, I make a ton of mistakes. I give myself grace with my first-time DIYs and accept that the final outcome probably won’t be 100% how I envisioned it.
This mentality has helped me to take risks with DIY and to push through challenges when a project isn’t going as planned. This project was no different!
1 | Measure Your Hemnes Dresser and Decide on Trim

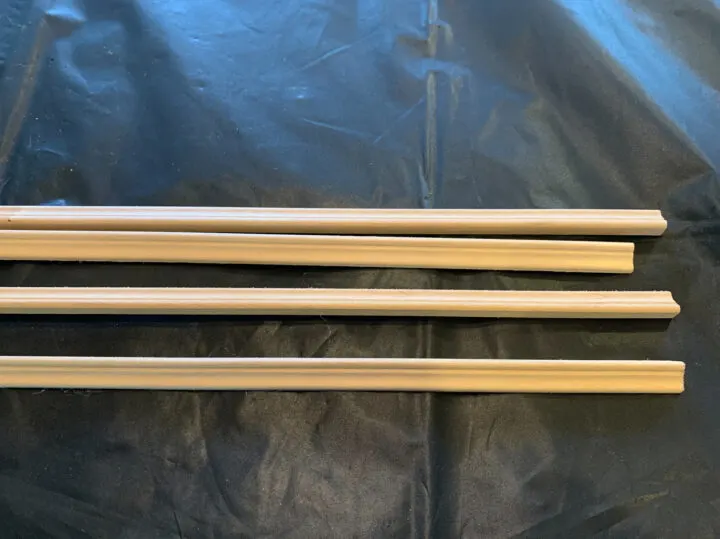
For my dresser makeover, I chose a thin, traditional trim design to border the drawers. You can choose any style of trim you prefer for this project.
Next, I measured the sides of each drawer to determine how much trim I would need.
To determine how many pieces of molding you will need, add all of the measurements together. Each piece of trim is 4 feet long (48 inches). Calculate how many trim pieces you can cut using
Remember, you will have some waste with each trim piece because you don’t want to patch together multiple pieces on one side of a drawer.
In the end, I used 13 pieces of molding to trim around the six drawers.
2 | Gather Materials for the DIY
Once you know how much trim is required for your project, you will gather all of the items needed to complete this affordable DIY.
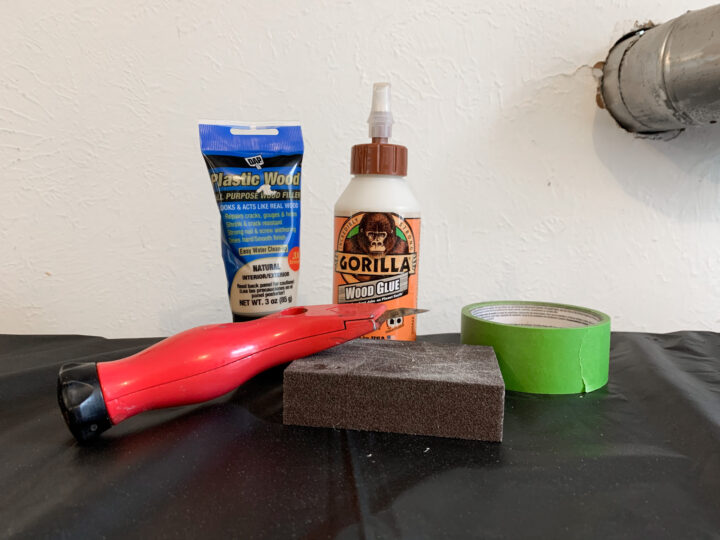
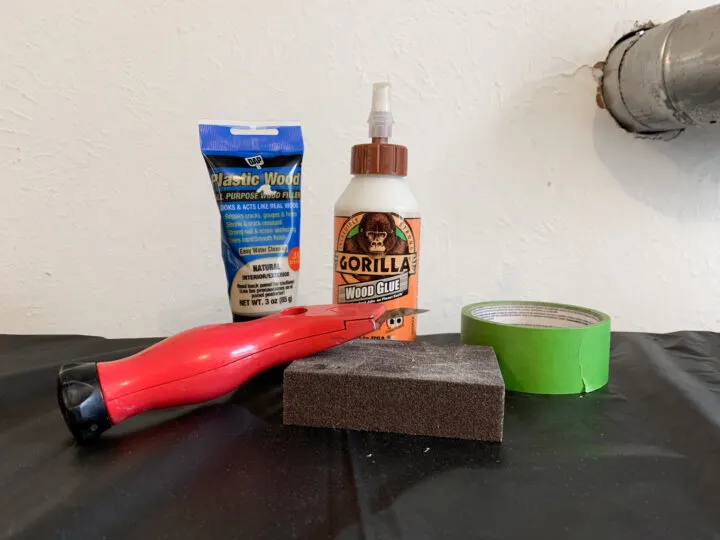
Tools and Materials Needed for This DIY
- Hemnes Dresser
- Panel Molding – I used 13 strips
- FrogTape
- Utility Knife
- Wood Glue
- Wood Filler
- Sanding Block
- Paintbrush
- Dropcloth
- Miter Cutter – not pictured, but recommended – I used a miter saw which made clean cuts challenging
- Rust-Oleum Cabinet Transformations – Light base tinted to Winter Fog color

3 | Measure Trim for Each Side of the Drawer
The first challenge I had with this project was getting an exact measurement for each trim piece to frame each drawer.
When simply using a measuring tape to mark the edges of the trim wasn’t giving me the accuracy I wanted, I tried a different approach.
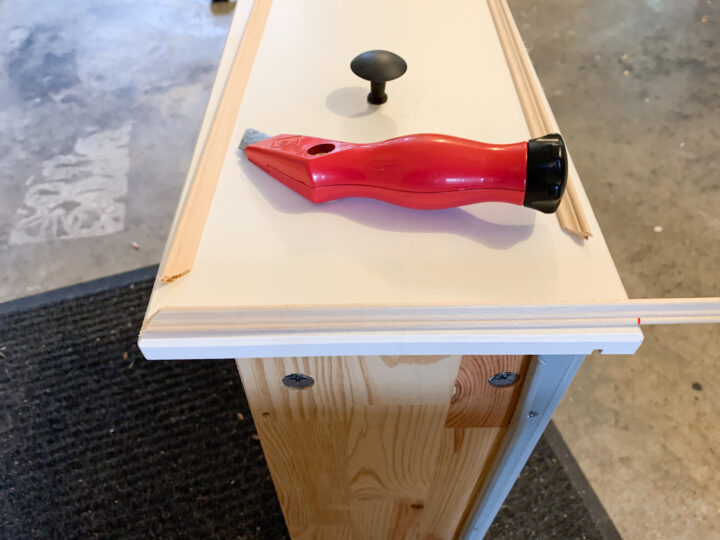
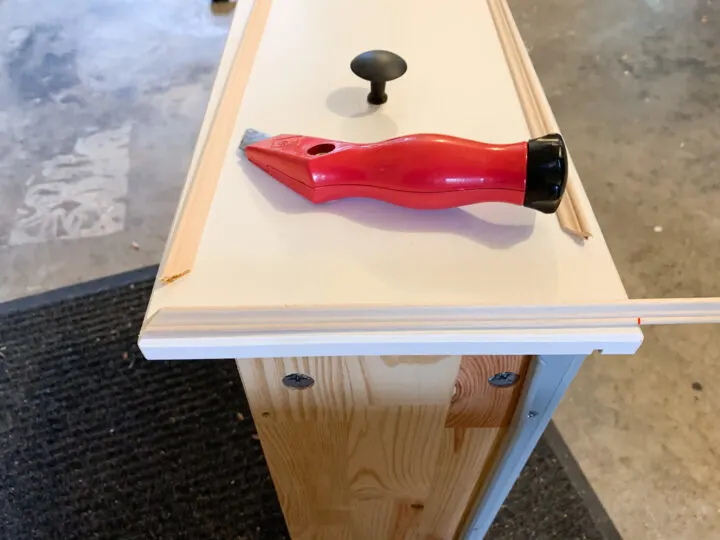
First, I cut a 45-degree angle on one side of the trim and placed it on the edge of the drawer where it will be attached.
Next, I placed the trim on its top and lined the first angle directly to the edge. I took the utility knife and marked the other side of the trim directly on the edge where I planned to cut the angle (see the red dash).
4 | Cut the Trim for the Dresser Drawers


Lots of mistakes were made when I added trim to the first drawer, but it got easier with each drawer.
The next challenge I encountered was achieving a smooth edge when cutting the trim molding.
The miter saw was too powerful for the small trim and I couldn’t get a clean cut! It kept splitting and breaking off at the angle.
In an effort to prevent the splitting, I lined up the tape on the utility knife indentation and taped the side where I would be cutting the angle.
It helped! I made peace with the small imperfections and used wood filler to fix them before painting. Now that I know a handheld miter cutter exists, I definitely recommend using it for these types of projects.
5 | Attach the Trim Molding to the IKEA Drawer
Once the trim molding for the four sides was cut, I had to figure out how to attach them to the drawers.
When I watched a similar IKEA hack via Vintage Revivals on Instagram, they used a nail gun to tack the trim in place in addition to the wood glue. While I did have the nail gun ready to go, my nails were too long!
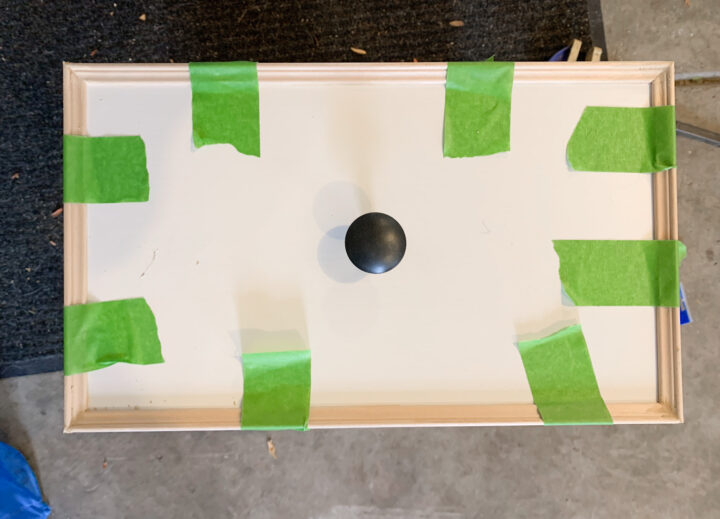
I already had it in my mind that I was doing this project, so I improvised without the nails. First, I tried using clamps but the grooves on the trim made it difficult to stay in place.
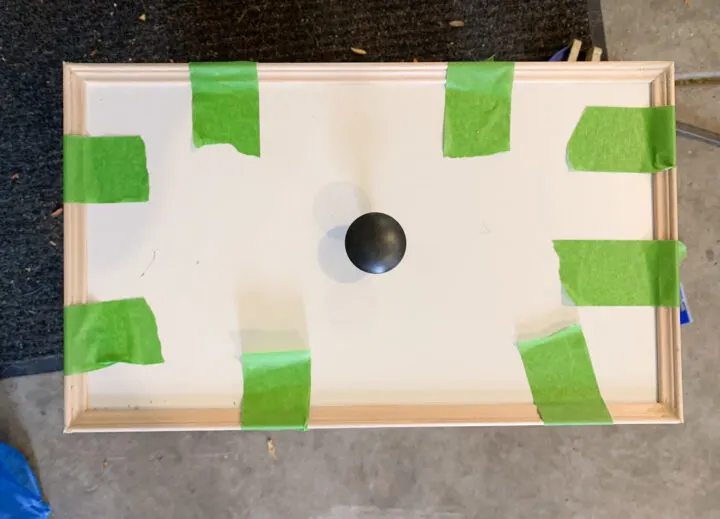
Next, I tried FrogTape and it worked perfectly! I applied the wood glue to the trim piece and then taped the trim to the drawer front.
The tape prevented the trim from moving when I attached the remaining trim to the drawer.
6 | Fill Corner Trim Cracks with Wood Filler

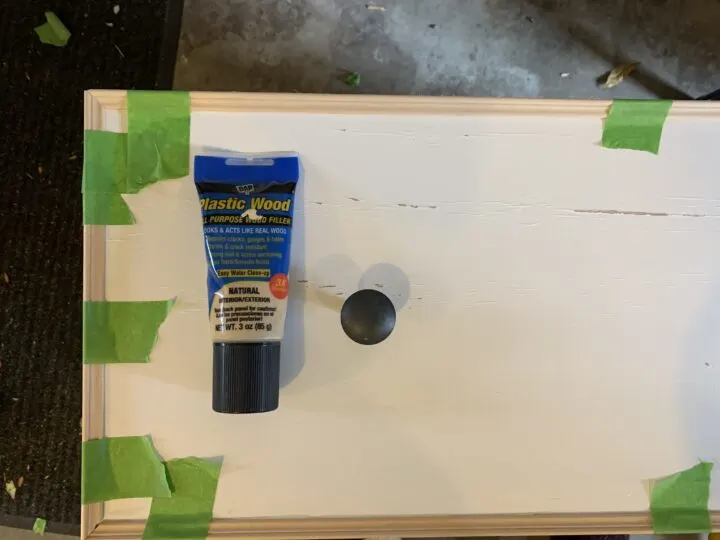
After the wood glue dried, I filled any cracks in the trim with wood filler and let it dry. I used a sanding block to remove any excess wood filler.
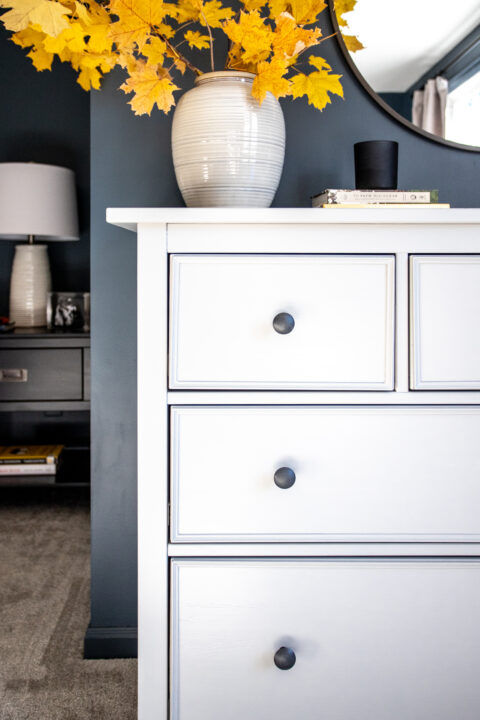
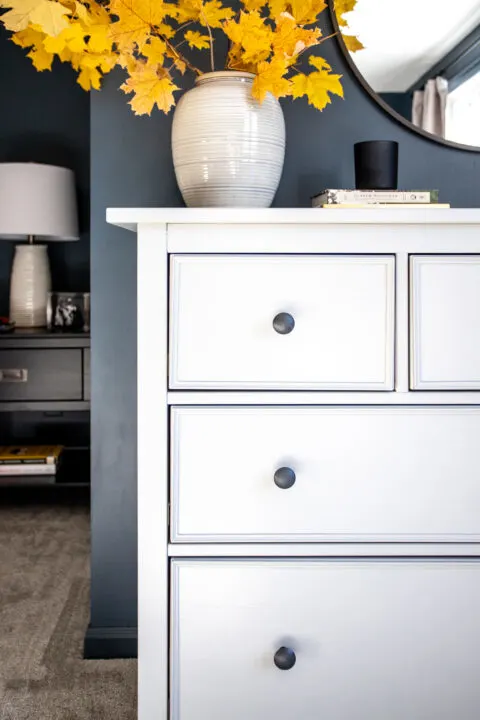
This small trim detail completely elevates the look of our IKEA Hemnes dresser.


Next, I planned to change the color of the dresser to a light gray.

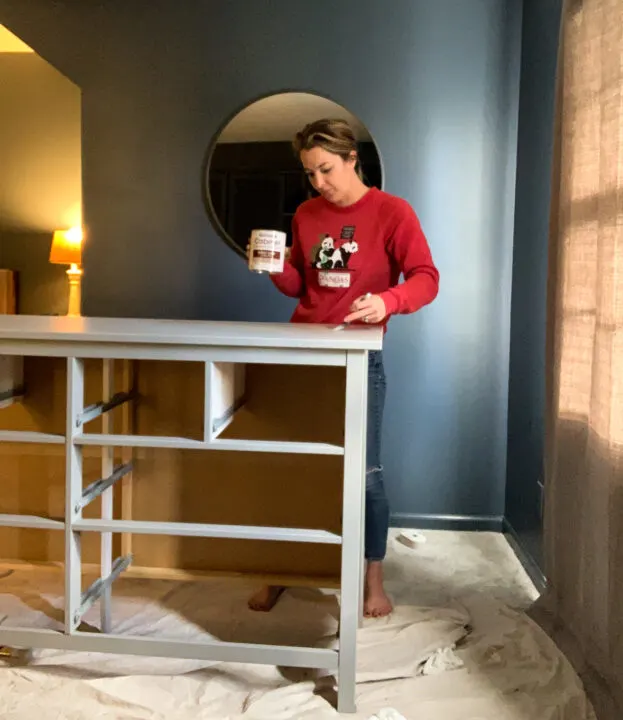
7 | Paint the IKEA Hemnes Dresser

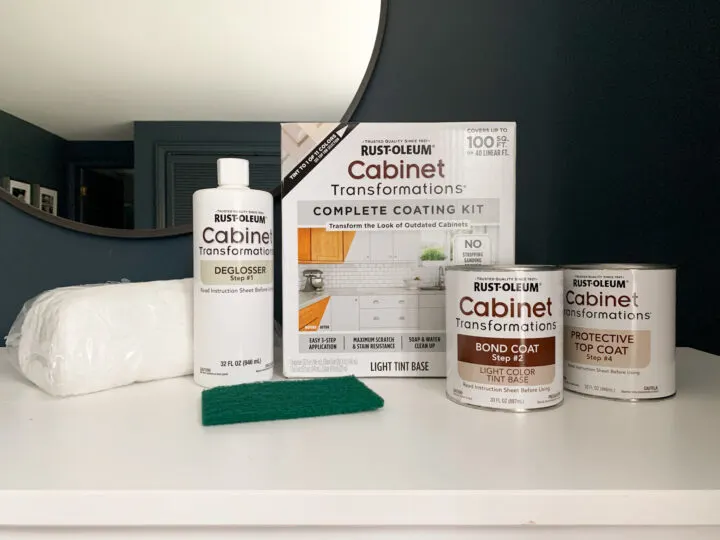
One of my favorite DIY products to use is the Rust-Oleum Cabinet Kit to transform our furniture.
The product is super easy to use and does not require any sanding or stripping before applying the paint. I purchased the light tint base and tinted it to the Winter Fog color option.

Because the IKEA Hemnes dresser is not solid wood, I skipped deglossing the surface and went straight to applying the first coat of paint.
The bond coat is the tinted color and is applied before the top coat. I applied two coats of the bond coat and then applied a single coat of the protective topcoat.
This cabinet kit comes with a glaze that you can use to give the furniture a more decorative look, but I skipped that step.

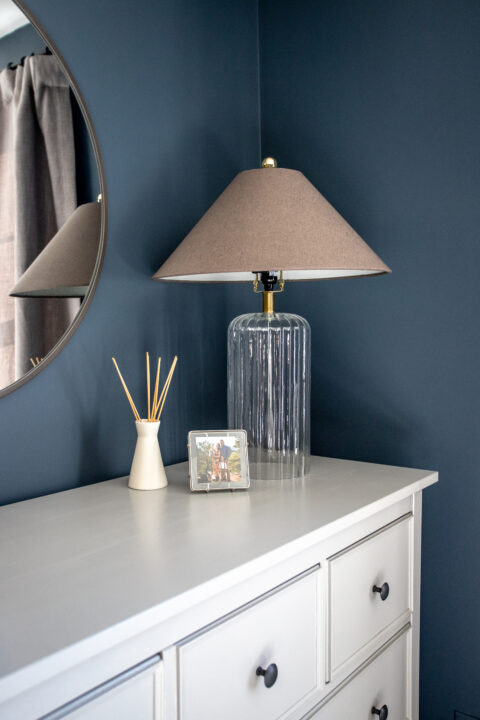
Our white IKEA dresser now looks like a custom piece of furniture that was designed specifically for our bedroom.
IKEA HEMNES Dresser Hack Reveal
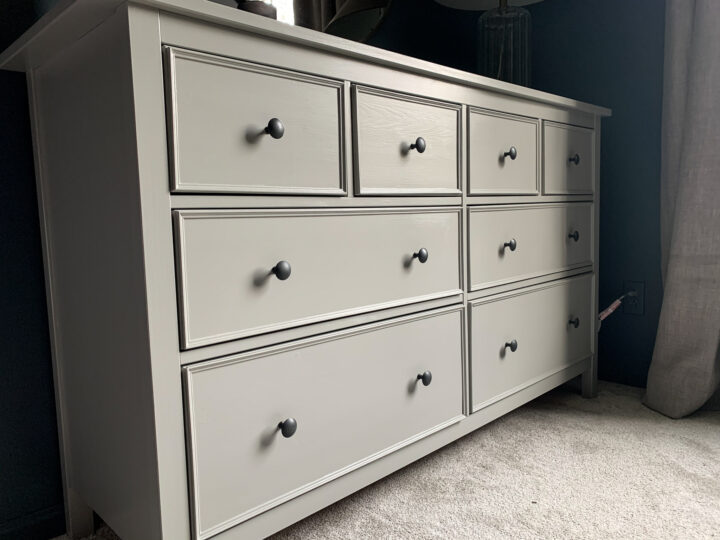
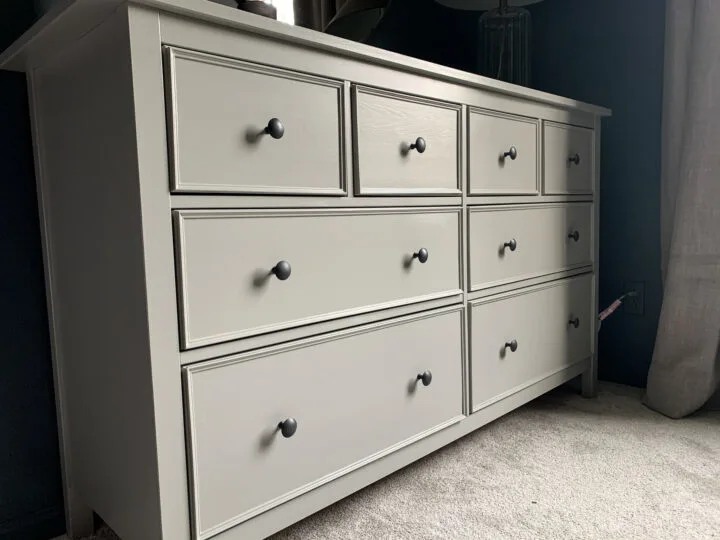
I have always known the power of paint and now I am learning the power of trim!
It is amazing how much a small piece of trim can impact a piece of furniture. What do you think?
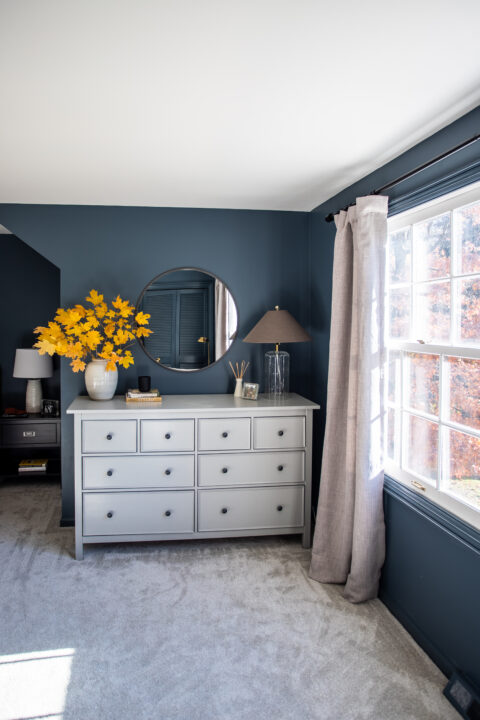
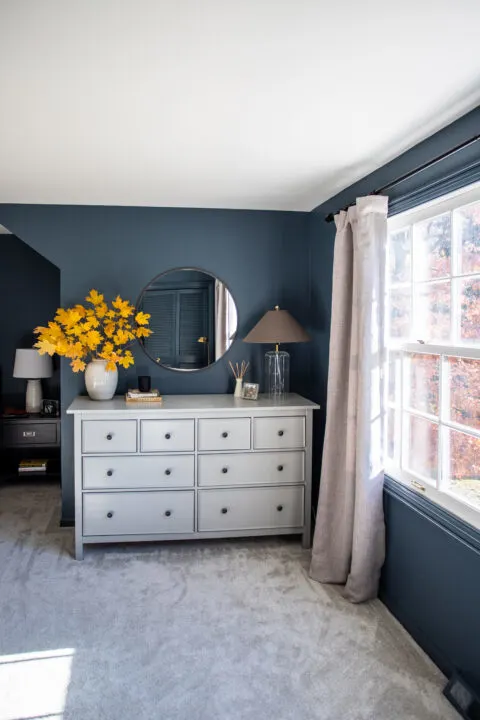
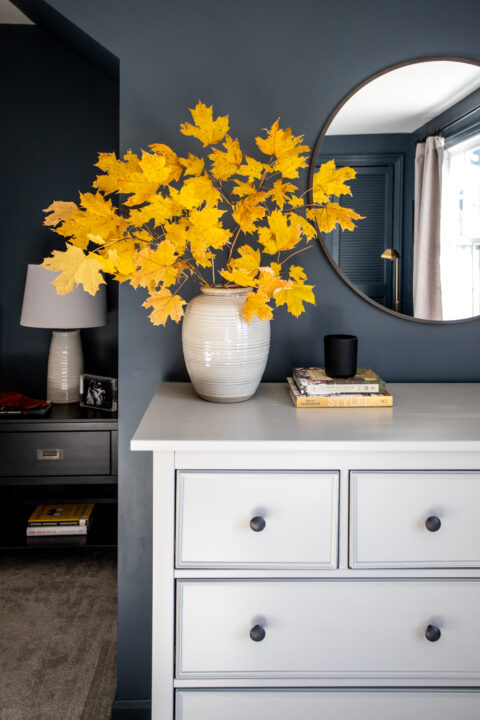
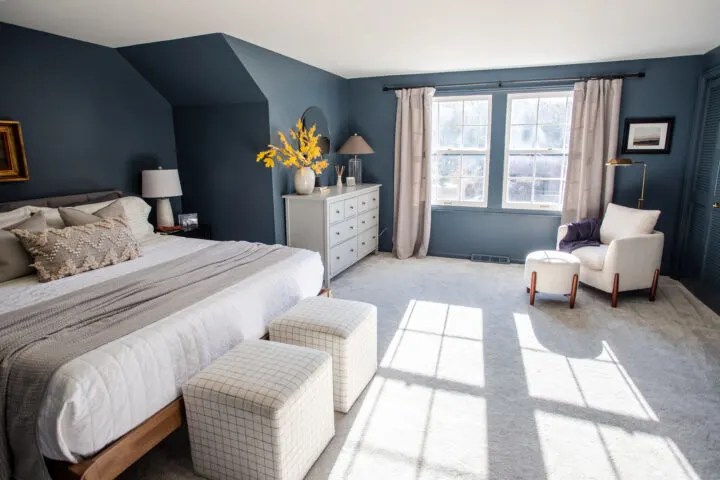
The various shades of gray against the moody blue walls look so good!

I cut a few branches from a tree in our yard to give the dresser a fun pop of color.

Our new master bedroom is the perfect retreat after a long day.

Are you loving the easy IKEA hack DIY projects? Check out my Billy Bookcase hack and a round-up of my favorite IKEA hacks to try at home!
Tips and Tricks for a Successful IKEA Dresser Hack
- Choose a trim that matches your personal style and taste.
- Measure your dresser carefully to ensure that you have enough trim complete the project.
- Sand the edges of the dresser before applying the trim to ensure a smooth and even surface.
- Use tape to hold the trim in place until the glue dries.
- Lightly sand the edges of the trim after it has been applied to ensure a seamless finish.
- Choose a paint or stain that matches the color of your dresser, or choose a contrasting color for a more dramatic effect.
- Allow the paint or stain to dry completely before using your dresser.
Frequently Asked Questions
Is it easy to add trim to a Hemnes dresser?
Yes! Adding trim to a dresser is a simple and easy DIY project that can be done in a few days (in a few hours if you are more experienced).
Upcycling an old dresser is an affordable and eco-friendly way to change the dresser style for a fresh new look.
Can I paint or stain the trim on the dresser?
Yes, you can paint or stain the trim to match the color of your dresser or choose a contrasting color for a more dramatic effect.
My Hemnes dresser has a white laminate exterior, so I made sure to choose a paint that would adhere properly to the piece of furniture. I highly recommend a protective topcoat to prevent the paint from chipping.
*Check out this complete tutorial for how to paint IKEA furniture with laminate wood!
Can I remove the dresser trim if I change my mind?
Technically, yes, you can remove the trim if you change your mind.
My main concern is the damage it may cause when you pull off the trim molding. Wood filler and a sanding block can fix any damage that occurs to the surface when the trim is removed.
Can I add trim to other furniture pieces?
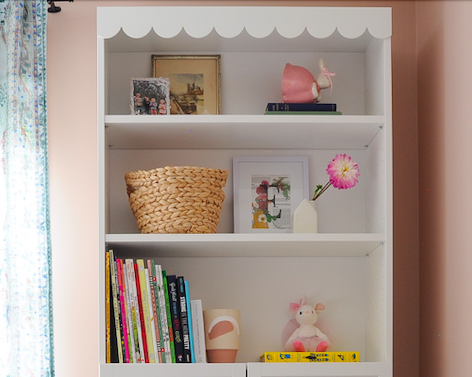
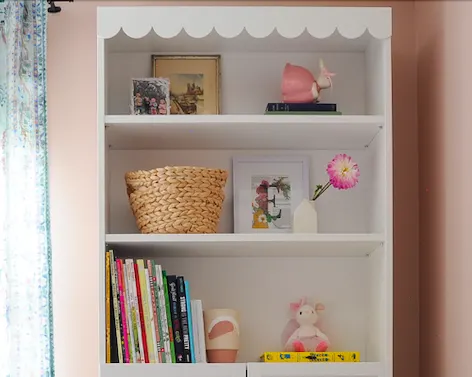
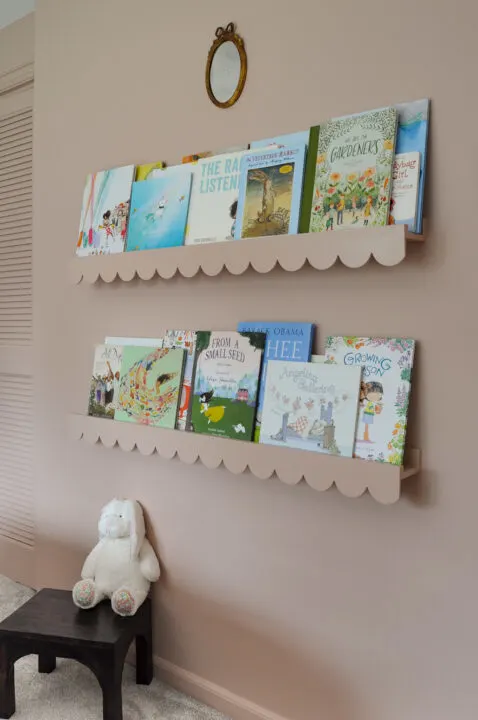
Heck yeah! Adding trim molding is such a fun way to personalize furniture. I added scalloped trim to an IKEA bookcase and it looks adorable in my daughters bedroom.

More DIY Projects You Will Love
- DIY Upholstered Headboard with Tufted Buttons
- The Best IKEA Furniture Hacks to Try at Home
- Painting Furniture DIY | Ultimate Beginner’s Guide
- Install Picture Frame (Box) Molding | Easy DIY
- How to Paint Concrete Basement Floors Using Epoxyshield
- How to Paint Your Old Floors Using Rust-Oleum HOME
- I Applied Latex Over Oil-Based Paint | How to Fix
- How to Paint a Dated Rock Fireplace | DIY
- How to Paint an Exposed Basement Ceiling
Jessbara
Friday 14th of January 2022
Looks great! I’m slightly surprised you didn’t customize the knobs though.
lindseymahoney
Friday 14th of January 2022
Thank you! It is always an option to do down the road, but I like the simplicity of the original knobs too!
Anna
Sunday 22nd of August 2021
This looks amazing! Could you please tell me the colour you have used to paint the dresser?
lindseymahoney
Monday 23rd of August 2021
Thank you! I used Rust-Oleum's cabinet transformations kit to paint the dresser. It is the light tint base in the Winter Fog color option.
Melanie
Friday 18th of June 2021
This is so beautiful and inspiring. I just purchased a Hemnes dresser because of this post. What size is that round mirror?
lindseymahoney
Sunday 20th of June 2021
Thank you so much! The mirror is 30 inches.
Kara
Sunday 11th of April 2021
Do you recommend using latex or oil based paint when painting furniture?
lindseymahoney
Monday 12th of April 2021
And for this specific project, I used the Rustoleum Cabinet Transformations kit which came with a paint that has almost a chalky finish and then a clear top coat sealer. It has worked really well on all of my furniture including a coffee table, dining room buffet and ikea dresser
lindseymahoney
Monday 12th of April 2021
Personally, I always use latex for furniture.
Mommy
Wednesday 3rd of February 2021
Love love love the color of your walls, do you mind sharing what color and brand you used? Thank you
lindseymahoney
Thursday 4th of February 2021
Not at all! The wall color is Outerspace by Sherwin Williams in a satin sheen. The trim and doors are also Outerspace in a semi-gloss sheen.