
Last Updated on March 10, 2023 by lindseymahoney
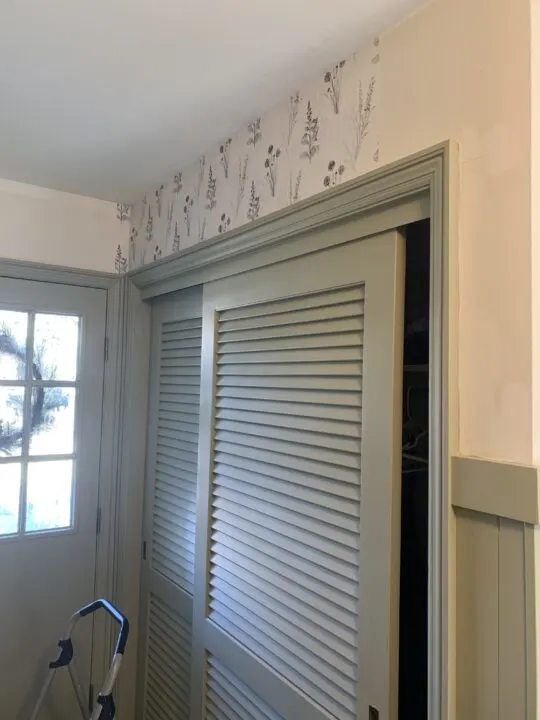
For the mudroom makeover, I was excited to hang a printed wallpaper above the newly installed plank wall. I chose the mudroom design to reflect an English cottage vibe and the Flora print was exactly what I was going for. After dealing with the latex over oil-based paint debacle, we were finally ready to install the wallpaper.

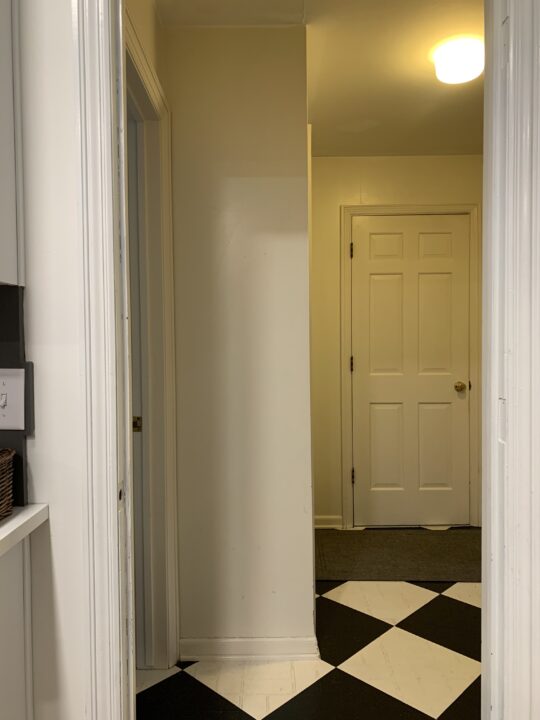
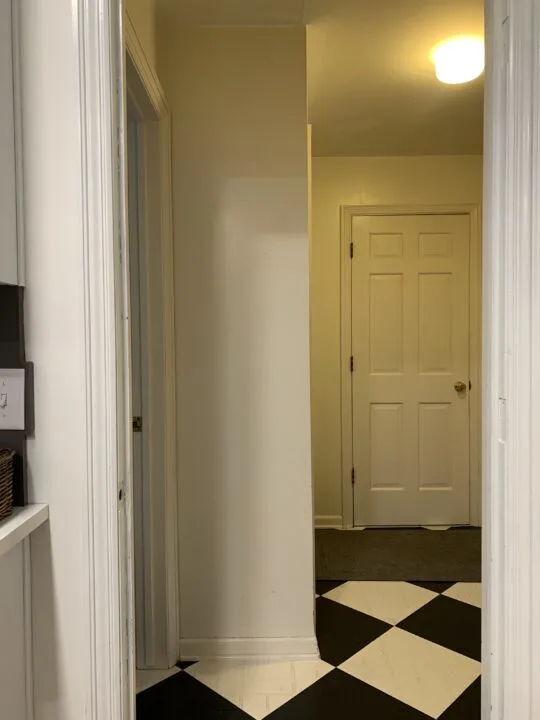
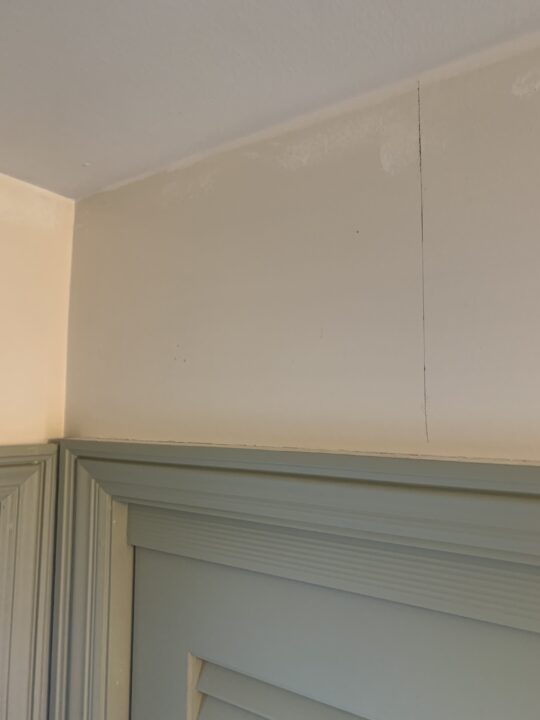
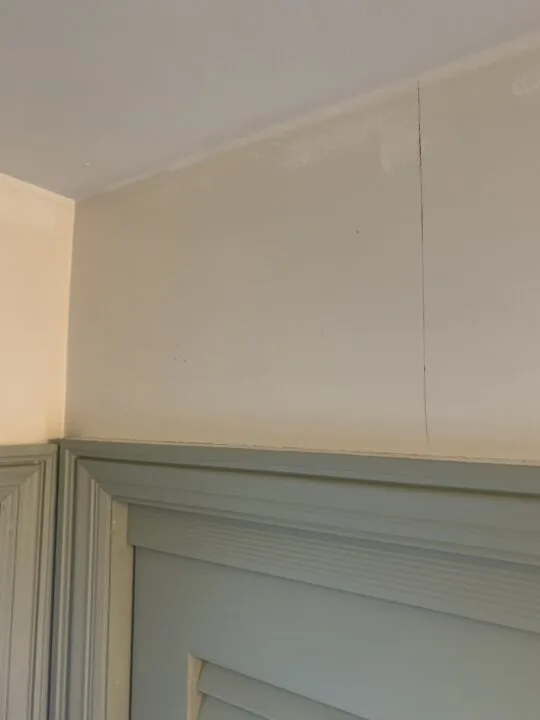
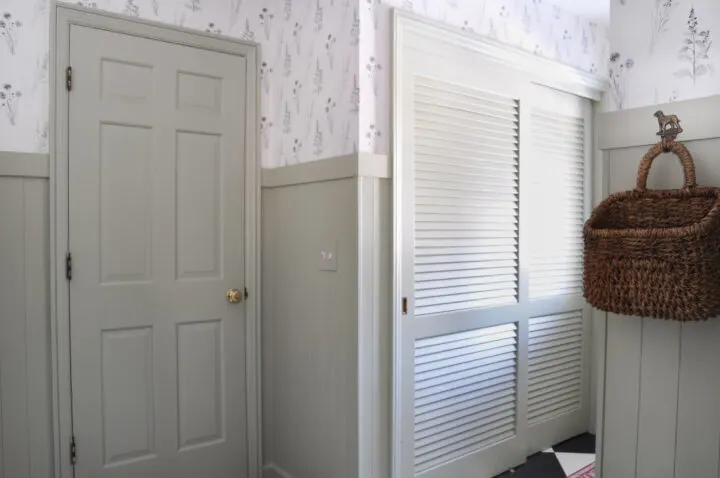
Here is a snapshot of the mudroom before the makeover:
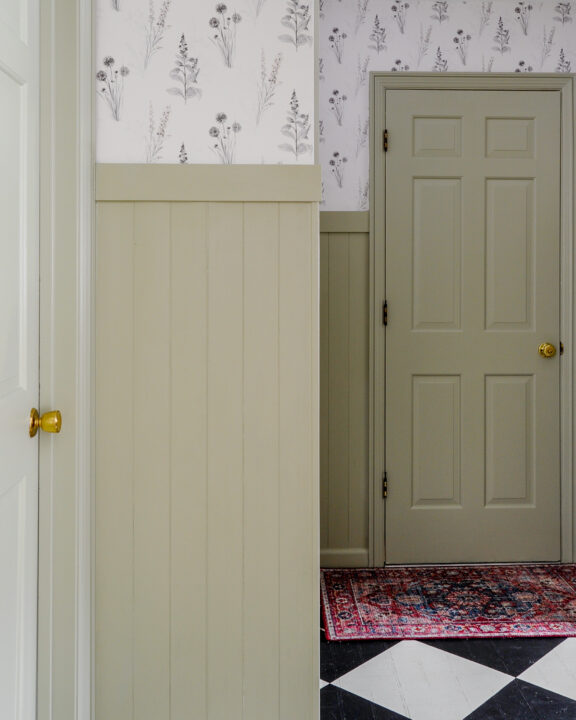
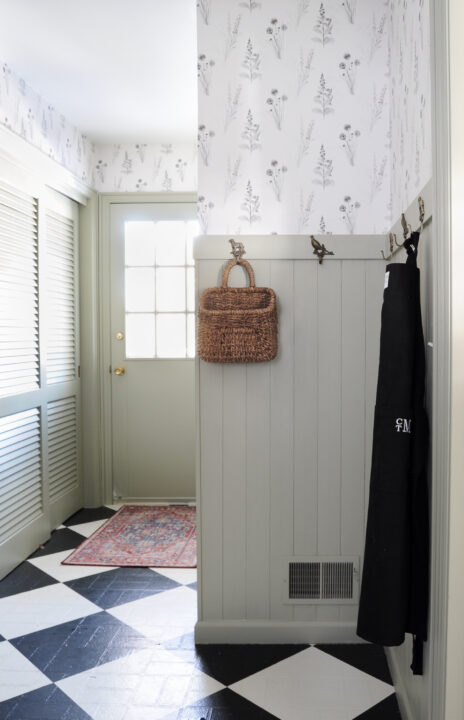
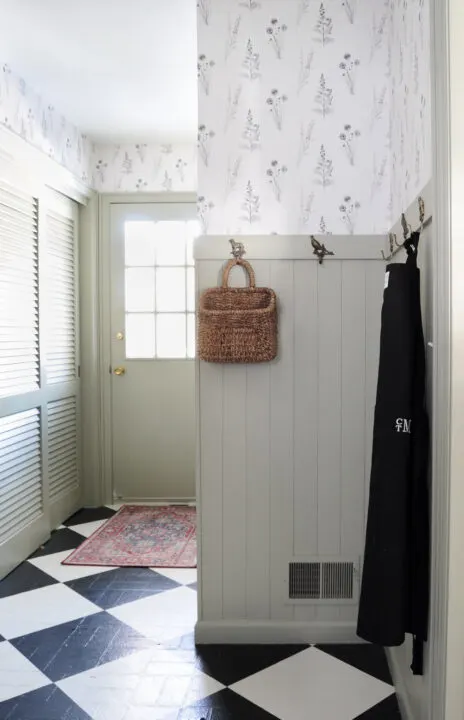
And here is that same view after.

The wallpaper for the mudroom has pre-pasted glue on the back. It is made of a vinyl material that is durable and wipeable.
There are various ways to install wallpaper and I recommend reading the directions included with the product to ensure you are installing specific to your purchased wallpaper.
Let’s get started!
How to Hang Wallpaper Yourself
[Affiliate links are included in this blog post, thanks for supporting Building Bluebird!]
Wallpaper Installation Materials

- Wallpaper
- Fabric Cutting Board
- Utility Knife
- Wallpaper Smoothing Tool
- Seam Roller
- Sponge and Bucket
- Large Tray (what I used – tray liner)
- 12 inch Level / 24 inch Level
- Dropcloth
- Measuring Tape
- Step Ladder (similar)
1 | Prep the Walls for Wallpaper
Before hanging your first strip of wallpaper, spackle and sand any holes in the wall and wipe them down so they are clean.
Once your walls are ready to go, you will choose the starting point to hang the first strip. Ideally, you will choose a corner that is least visible in the room. You can also find a spot on a wall that will camouflage the final seam, for example, behind a curtain that is hung high on the wall.
If you choose a corner, measure two inches past the corner so the seam isn’t directly on the crease. Do a quick measuring check to ensure the seams of the next strips of wallpaper do not fall on any odd spots on the wall.
As an example, I did not want any seams to fall right on the outer corner of the room because it would be noticeable where one strip began and the other ended.
Use a level and draw a straight vertical line with a pencil to create a guide for installing the first piece perfectly straight. I made my line for the right side of the first wallpaper strip to line up straight.
2 | Cut the First Wallpaper Strip
Measure the height of the first strip and add 4 additional inches.
When you hang it on the wall, you want to have a slight overhang on the ceiling and at the bottom so you can cut a straight line with your utility knife.
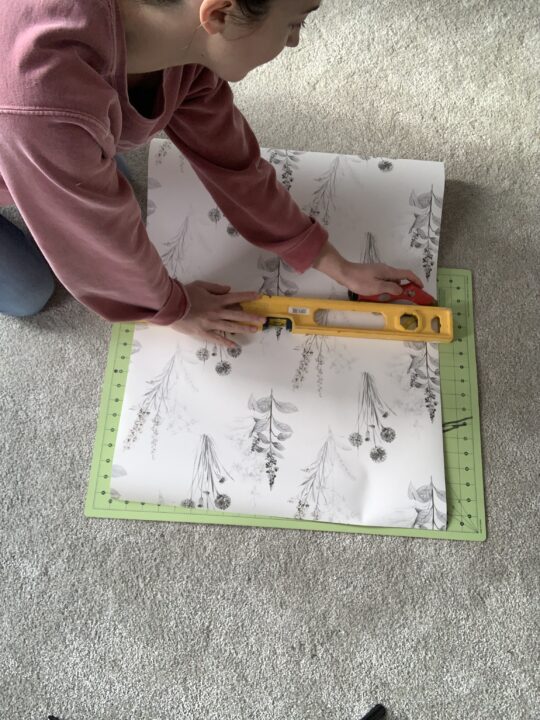
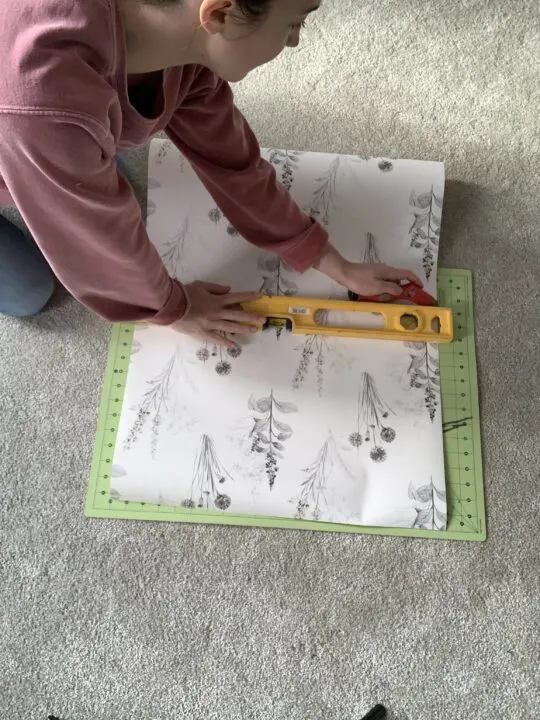
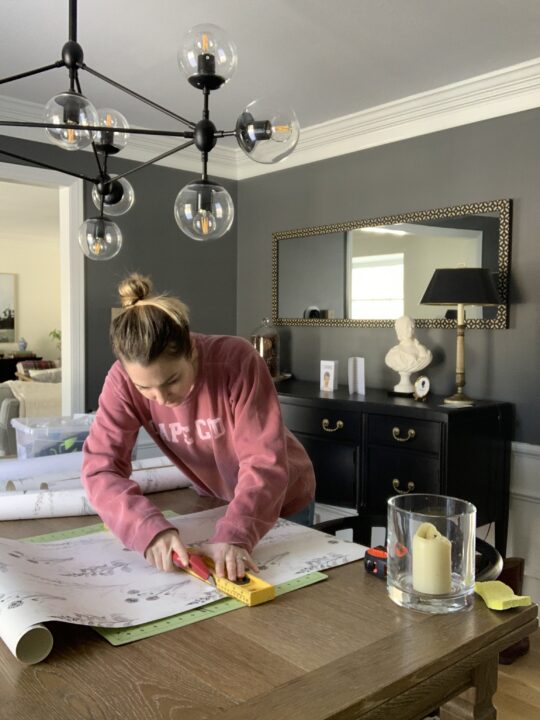
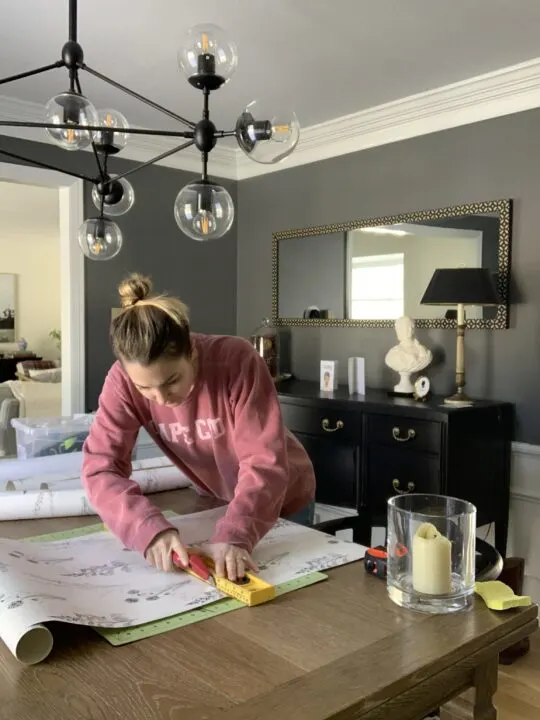
I used a cutting mat, utility knife, and longer level (24 inch) to cut the wallpaper strips. After measuring the length of the strip, I lined up one side of the paper to a line on the grid on the mat.
Next, I placed the level on a straight line on the grid that went horizontally across the paper. This helped to cut a straight line and avoid cutting at an angle.
3 | Activate the Wallpaper Paste with Water

Before installing your wallpaper, lay down a drop cloth to protect surfaces from water and wallpaper glue.
As I mentioned earlier, the way you paste your wallpaper depends on the type that you purchase. My wallpaper was prepasted and required water for activation.
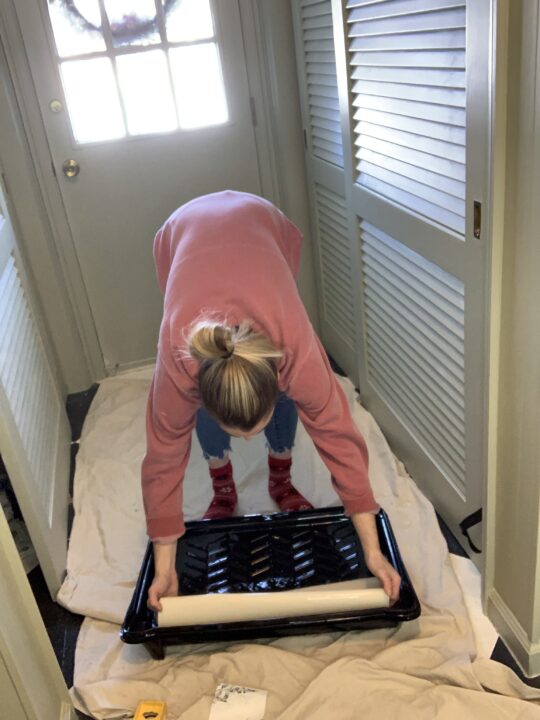
I flipped my wallpaper so that the glue was facing outward and dipped it in the tray of water.
The method that worked best for me was to dunk the center of the wallpaper and then slowly pull it out so that both ends were pulled through the water and saturated.
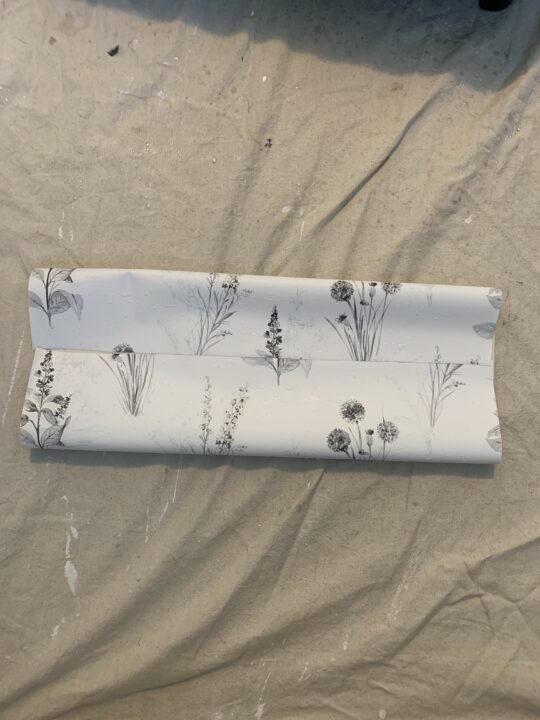
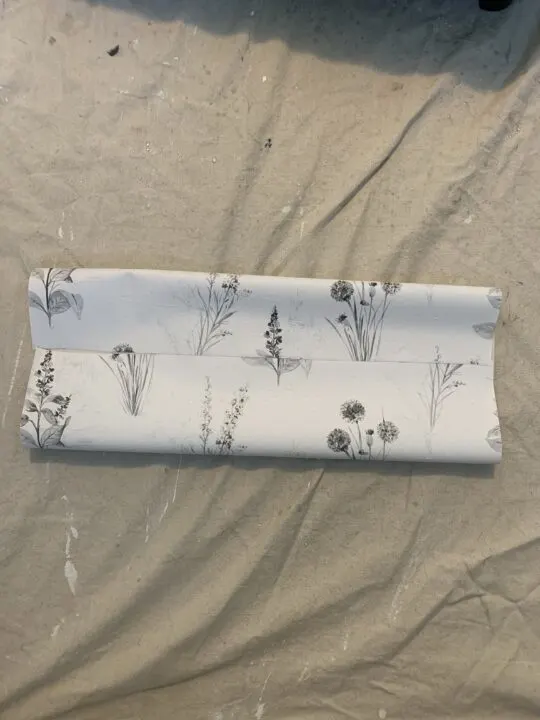
Lay the wet wallpaper on the ground with the glue side up. Take one side of the wallpaper and fold it to the center, then take the other side and fold it towards the center.
This is called “booking” the wallpaper because it looks kind of like a book. Let the wallpaper sit for about 3 minutes to allow the glue to activate.
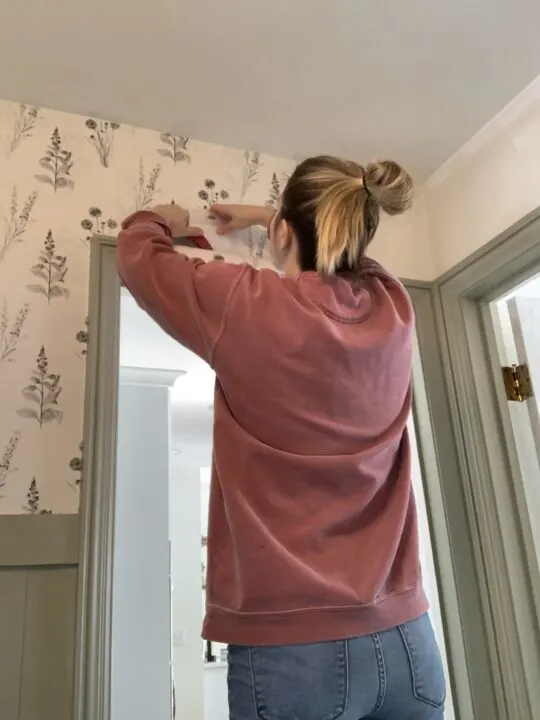
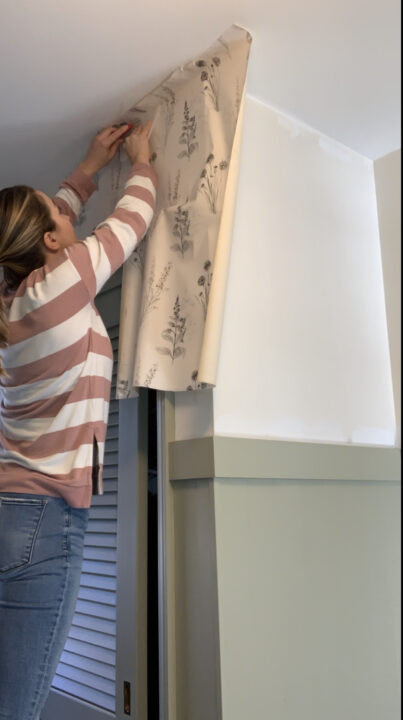
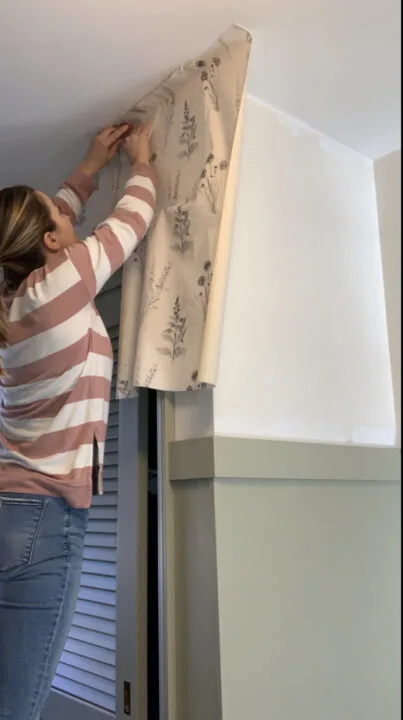
4 | Hang the Wallpaper

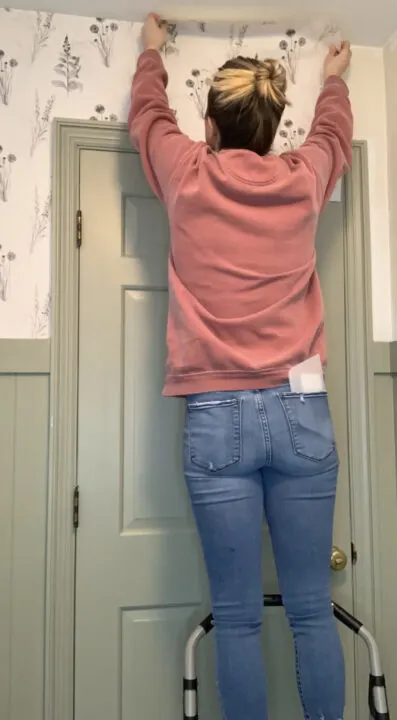
Unfold the wallpaper and align the left side of the wallpaper with the straight line you penciled on the wall. Leave a little extra paper at the top and the bottom of the wall to cut a straight line later.
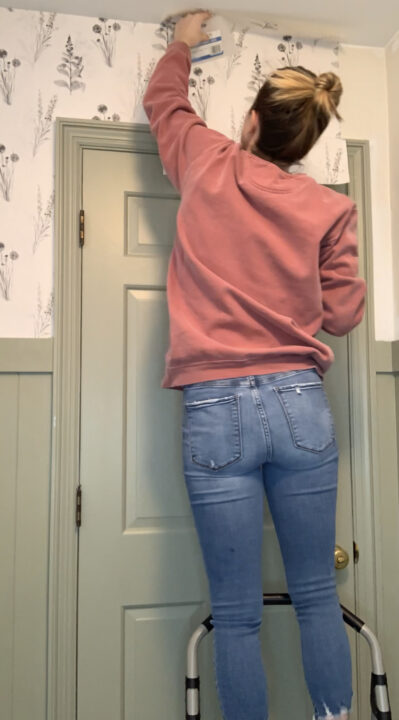

Use the plastic wallpaper smoothing tool to push out any bubbles and secure the paper to the wall.
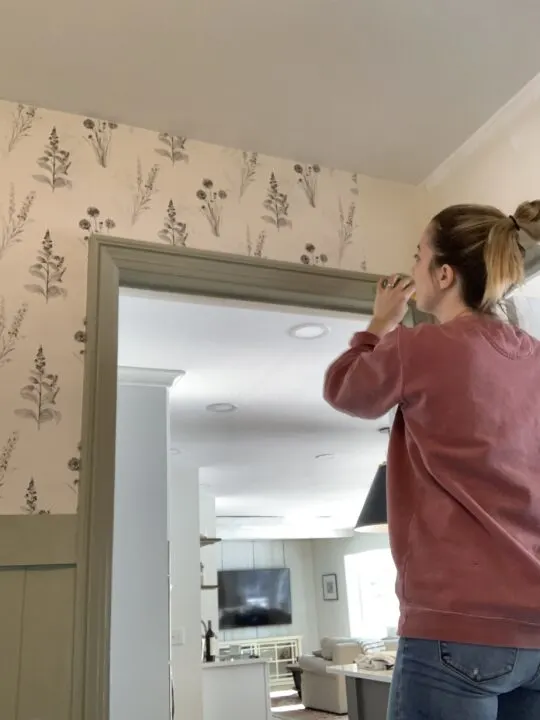
5 | Cut the Excess Wallpaper

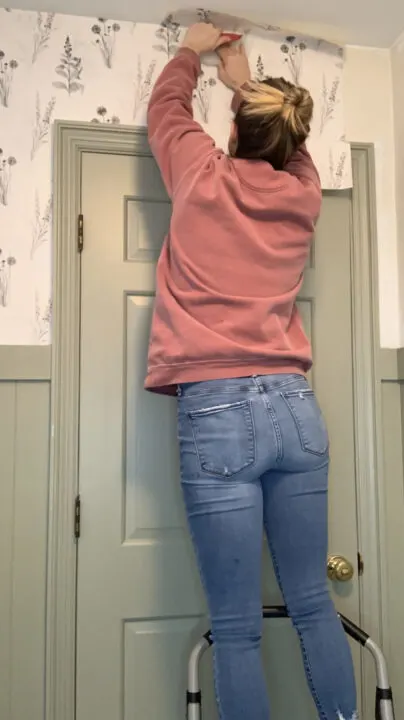
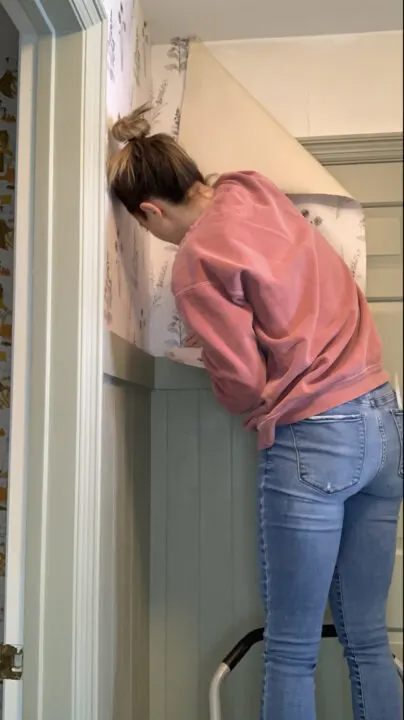
Start at the ceiling and press the smoothing tool into the crease of the ceiling and wall. Use this tool as a guide as you drag the utility knife across the wallpaper.

The smoothing tool creates a guide to cut a straight line at the top of the paper. Remove the excess wallpaper and use a damp sponge to wipe away any glue on the ceiling.
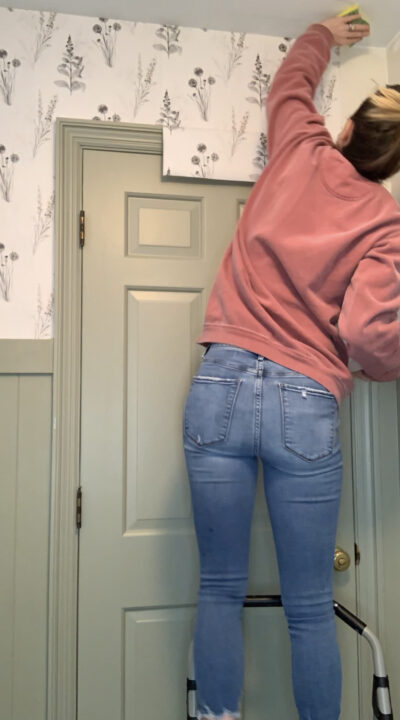
Follow this same process at the bottom of the wallpaper strip.
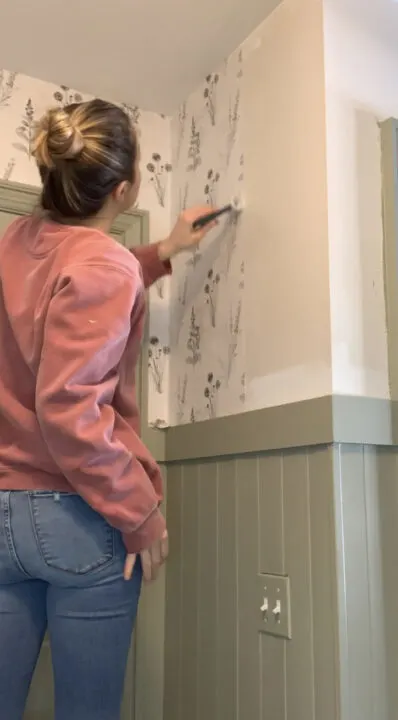
Take the damp sponge and wipe the edges of the wallpaper to clean off any glue that is squeezed out of the sides of the wallpaper strip.

For the final step, use the seam roller to press down the edges of the paper to create a tight bond to the wall.

6 | Cut the Next Wallpaper Strip
This is where I made a handful of mistakes. You have to be mindful of where the pattern on the right side of the first strip and the pattern on the second strip connect.
If your wall height is 25 inches, roll out the wallpaper so that it is longer than 25 inches and find where the pattern begins to repeat. Wherever the pattern begins to repeat, add 2 inches or so above it and make a tiny mark. This is where you will cut the wallpaper strip.


DON’T’ DO THIS: I made the mistake of pre-cutting multiple strips and forgot to begin measuring the cut where the pattern repeated. I wasted a bunch of wallpaper by getting ahead of the process and forgetting this vital part of the project.
Because I messed up the pattern repeat on one of the strips all of them were too short once I got them correctly lined up.
You can see the first strip I measured wrong and how it is too short after lining up the pattern.
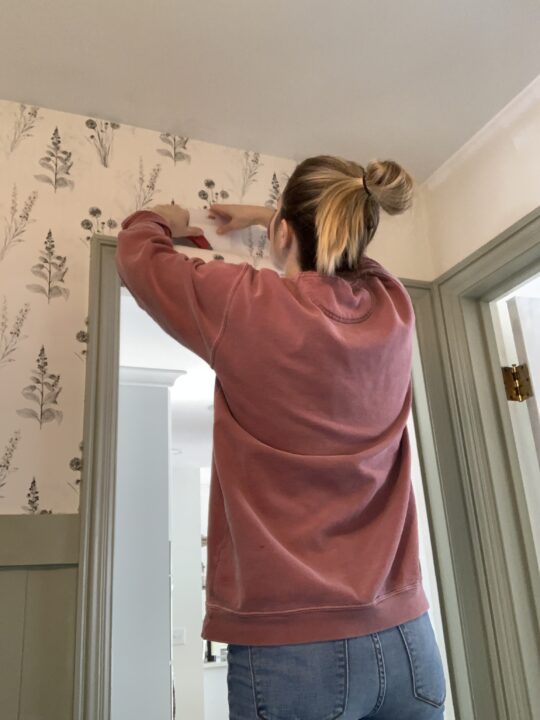
7 | Attach Remaining Wallpaper Strips

With each wallpaper strip, you want to make sure that they butt up to the wallpaper strip next to it but do not overlap.
Every few strips that I hung, I would check to make sure the right edge was level. I ran into a few issues when I was installing multiple corners and the wallpaper had begun to slant.
I chose an inconspicuous spot to slightly overlap one of the strips to correct the slanting and get the strips level again.
In the mudroom, the final strip of wallpaper fit perfectly from the last strip to the corner of the wall. I decided to overlap the final strip a few inches over the first strip and it looked just fine.
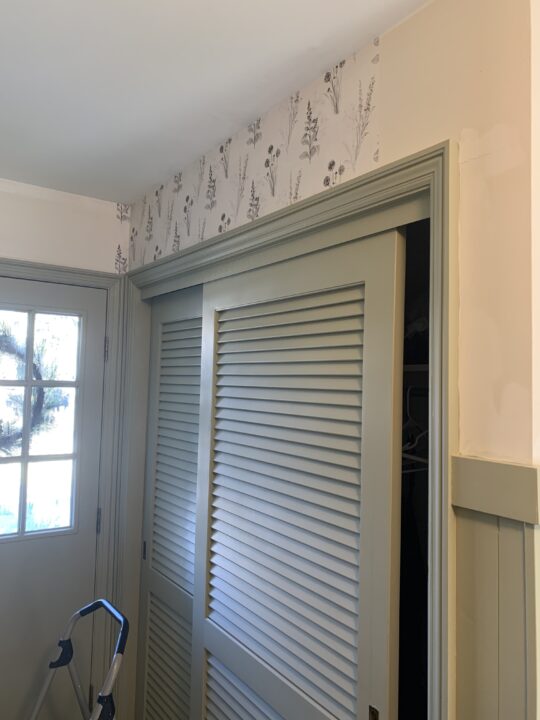
REVEAL | Mudroom Wallpaper Installation

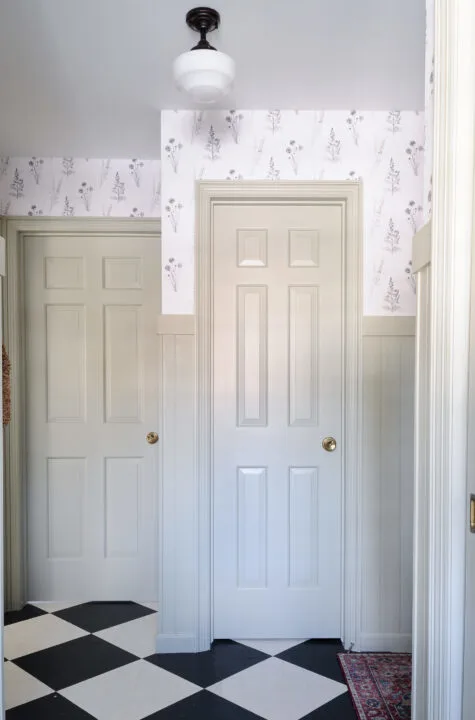
I am really pleased with the end result of this wallpaper installation. The pattern is fun while seamlessly blending with the other design elements in the mudroom.

I also really liked using the vinyl pre-pasted wallpaper. The vinyl gave the wallpaper more structure which gave me confidence that I wasn’t going to tear it while installing the paper. For this room, I used 3 rolls of wallpaper and I would say it took me 8 hours total to complete.
If you are interested in trying to hang your own wallpaper, my best advice to you is to be patient with this process and change your blades often.
I hope you foud this tutorial for how to hang wallpaper yourself helpful! Good luck!
Similar Posts You May Like…
- Mudroom Makeover Reveal
- Make a Patterned Photo Mat with Wallpaper
- I Painted Latex over Oil-Based Paint & How I Fixed It
- How I Painted Old Linoleum Floors in the Mudroom
- Tutorial for Installing Vertical Planks in the Mudroom
- Mountain Mural Wallpaper Installation in my Boys Bedroom
- How to Install Peel & Stick Wallpaper to Stair Risers
- How to Remove Wallpaper – Tutorial and Materials to Use
Best 17 how to hang prepasted paintable wallpaper – lifefindall.com
Wednesday 21st of December 2022
[…] Quote from the source: … […]