Last Updated on February 11, 2024 by lindseymahoney
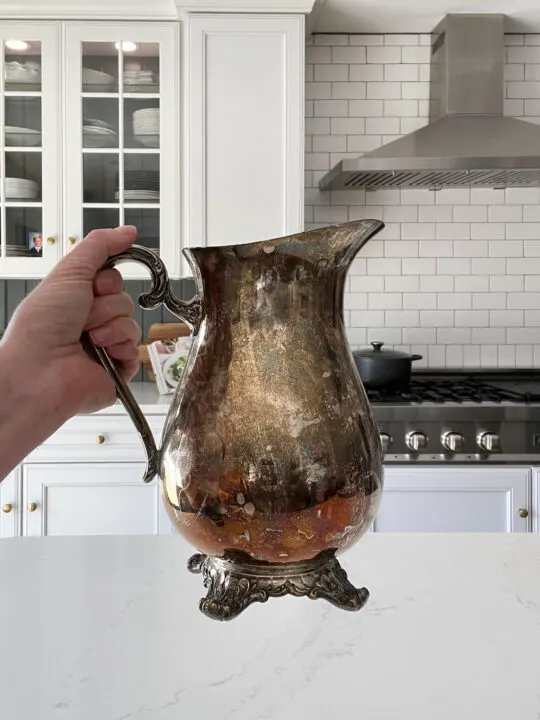
I love finding beautiful items at estate sales or thrift shopping that are made from quality materials, like silver. Oftentimes, these beauties are hidden under a layer of tarnish just waiting for someone to polish them up and make them shiny again!

Luckily, there are many ways to clean and polish silver to bring them back to life! Today, I am going to share my process of removing the tarnish from a silver pitcher by using silver polish that I purchased.
For those of you who prefer the aged look of silver with the patina when it is tarnished, don’t worry, the tarnish comes back!

I polished this pitcher one year ago and it already has a lot of its patina from the natural sulfur in the air.
Why does silver tarnish or turn black?
When silver is exposed to sulfate, usually from gasses in the air, it reacts to this chemical and causes a dark discoloration on the surface of the silver, called tarnish.
How Long Until Tarnish Returns on Silver?
This really depends on the silver storage and sulfate in the air. It can take as little as 2 months to start showing tarnish or as long as a few years.
What is the Best Way to Store Silver to Prevent Tarnish?
To prevent tarnish on the silver, store it in a dry space with low humidity. Wrap the silver in acid-free tissue paper or another silver-safe material to create a barrier between the air and the silver.
How to Easily Polish Tarnished Silver Yourself
[Affiliate links are included where I receive a small commission at no additional cost to the consumer. Thanks for supporting Building Bluebird!]
Products to Remove and Prevent Tarnish on Silver
- Wright’s Silver Cream
- Silver Polishing Cloth
- Anti-Tarnish Silver Cloth
- Acid-Free Tissue Paper for Silver
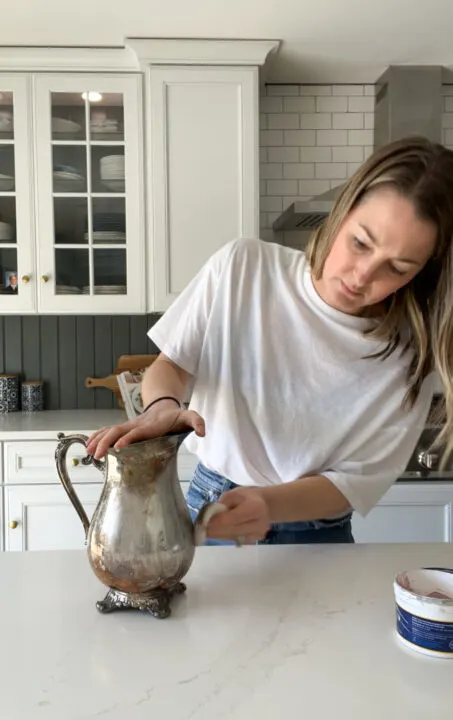
The silver polish kit comes with a sponge to apply the polish onto the silver.

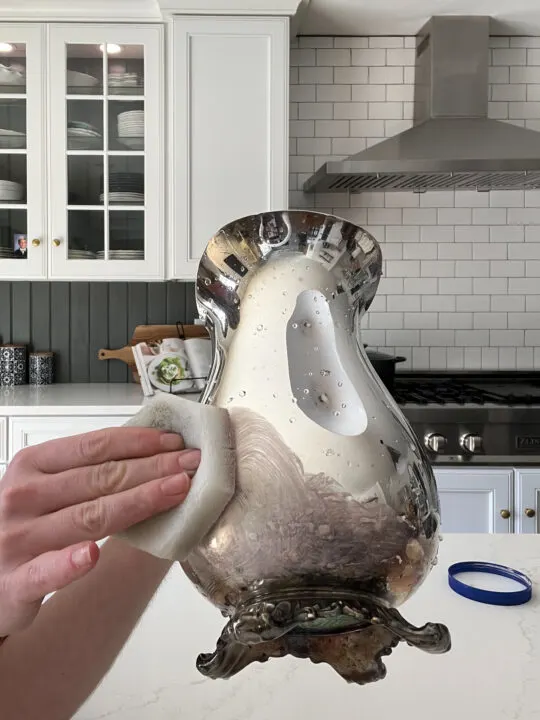
Take a generous amount of polish with the sponge and apply it to the silver. Begin rubbing the polish in a circular motion. The polish turns a gray color as the tarnish begins to lift from the silver. This means it is working!
I used quite a bit of pressure the first time I polished this pitcher because the tarnish was really on there. Once I worked my way around the pitcher, I rinsed it with warm water. It already looked so much better!

There was still some tarnish on the silver and I was determined to remove it all! I polished the pitcher for the second time and really scrubbed the remaining tarnished areas and it was totally worth it.
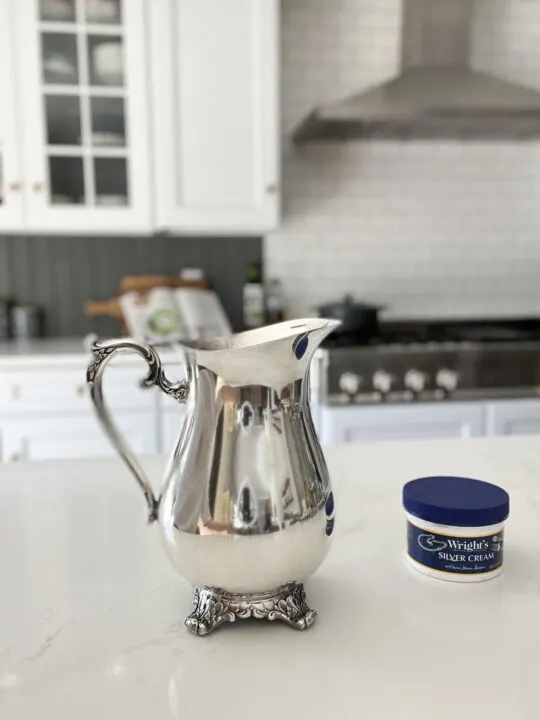
Polished Silver Pitcher Reveal

The pitcher is so shiny, you can easily see your reflection in it!

This freshly polished pitcher always inspires me to add a spring bouquet to it!


The gorgeous silver pitcher is perfect for hosting a party, whether you want to use it for water or to hold flowers as the table centerpiece!


