Last Updated on October 24, 2024 by lindseymahoney
Looking for a fun and festive way to spruce up your holiday decor? Try making your own pom pom bows! This pom pom bow DIY is a simple, budget-friendly project that adds a playful touch to everything from wreaths to gift wrapping.
With just a few supplies, you can create colorful, fluffy bows that are perfect for spreading holiday cheer throughout your home. Let’s get started!
Table of Contents
- How to Make the Classic Pom-Pom Bow | Two Ways
- Option 1:
- 1 | Determine the Bow Size and Ideal Ribbon
- 2 | Cut the Ribbon Tails
- 3 | Create the Bow’s Loops
- 4 | Secure the Pom Pom Bow
- 5 | Shape the Pom Pom Bow
- 6 | Add the Tails
- Option 2:
- 1 | Create the Loops of the Bow
- 2 | Fold the Loops at the Center
- 3 | Cut Notches Into the Center of the Bow
- 4 | Attach the Tails to the Center of the Bow
- 5 | Shape the Pom Pom Bow
- More Content You Will Love
- Frequently Asked Questions
How to Make the Classic Pom-Pom Bow | Two Ways
[Affiliate links are included where I receive a small commission at no additional cost to the consumer. Thanks for supporting Building Bluebird!]
Materials Needed to Make a Pom Pom Bow
- Craft Scissors
- Wire-Edged Ribbon (ideally)
- Floral Wire

Option 1:
1 | Determine the Bow Size and Ideal Ribbon
First, you want to determine the size of the ribbon bow you will create. You want the pom-pom bow to visually balance the gift, wreath, tree, or staircase.
Pom pom bows on smaller packages look best with thin ribbon and a ribbon bow that is appropriate to the size of the gift. Larger gifts should have larger ribbon bows with wider ribbons.
2 | Cut the Ribbon Tails

Based on your project, determine the length of ribbon needed for the tails of the bow and cut.
3 | Create the Bow’s Loops

Holding the ribbon in one hand, leave about 1-2 inches on one side of the ribbon and twist the ribbon. Hold the twisted ribbon with your index finger and thumb on top. This is the center of the pom pom bow.

Fold your first loop back to the center of the bow and twist the ribbon again and hold with your thumb and index finger. The length of the loop will determine the size of the bow once it is fluffed.
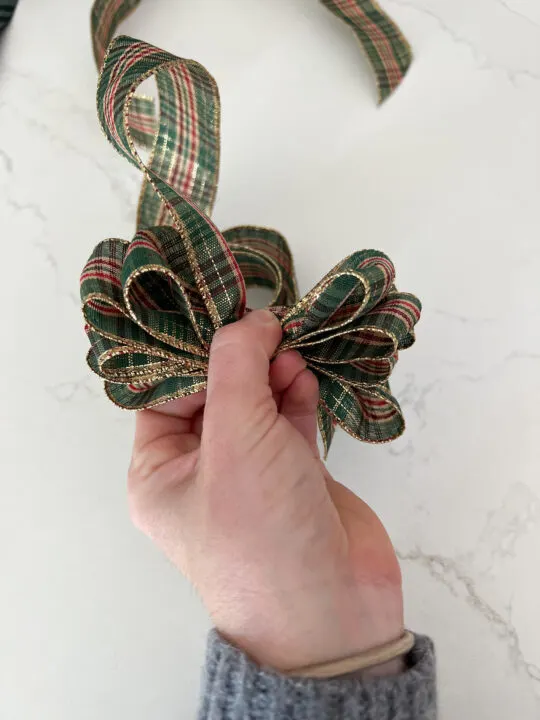
Fold a loop on the other side of the bow and twist the ribbon when it is in the center of the bow again. Keep the loops on each side the same size so that your bow is not lopsided.
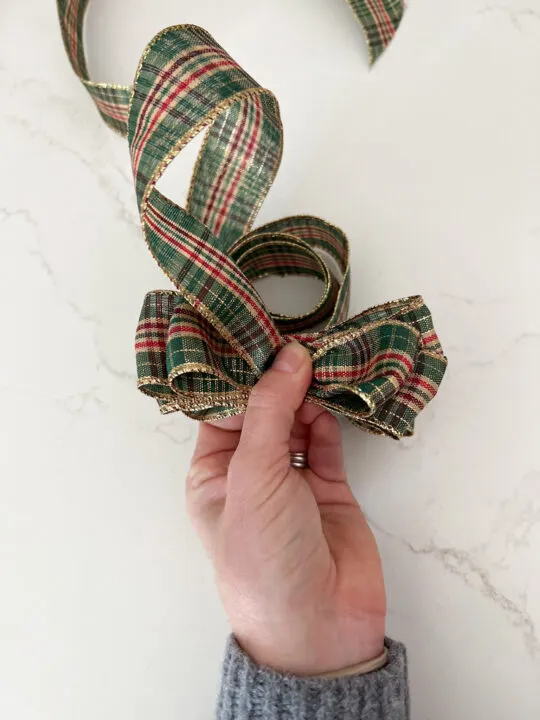
Repeat this step until you have 5 loops on each side. For a smaller bow, you can do 3 loops on each side or more than 5 loops for a fuller bow. I recommend keeping the amount of loops at an odd number as it tends to look better visually.
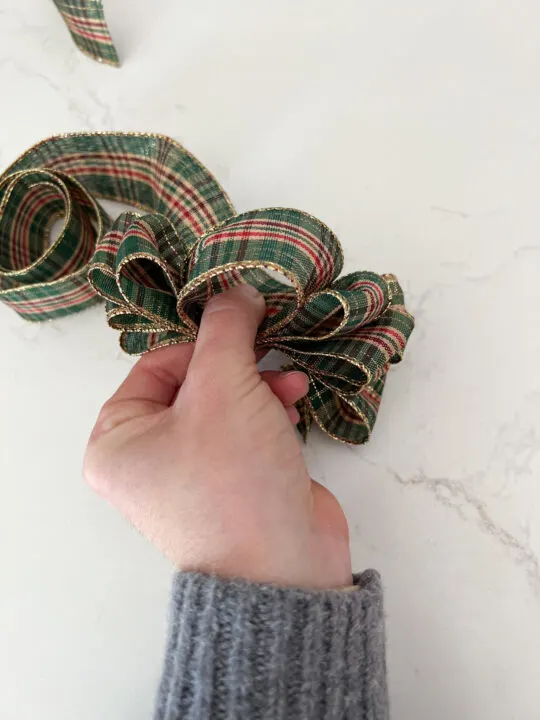
Create one center loop by looping the ribbon over your thumb and hold it in place at the center of the bow. Leave 1-2 inches of ribbon tail and cut.
4 | Secure the Pom Pom Bow
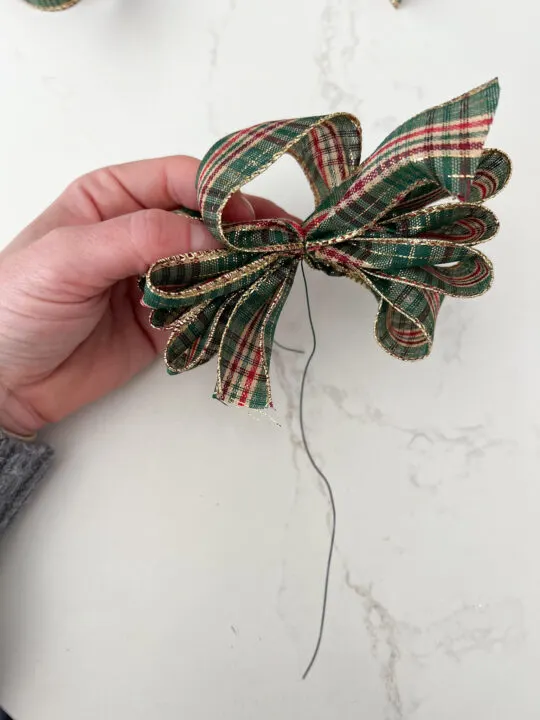
Pull one end of floral wire through the center loop of the intricate bow and tighten the wire securing it in place. Squeeze the center of the bow tight to ensure it stays in place. If you have needle nose pliers, use them to squeeze the center of the bow.
5 | Shape the Pom Pom Bow
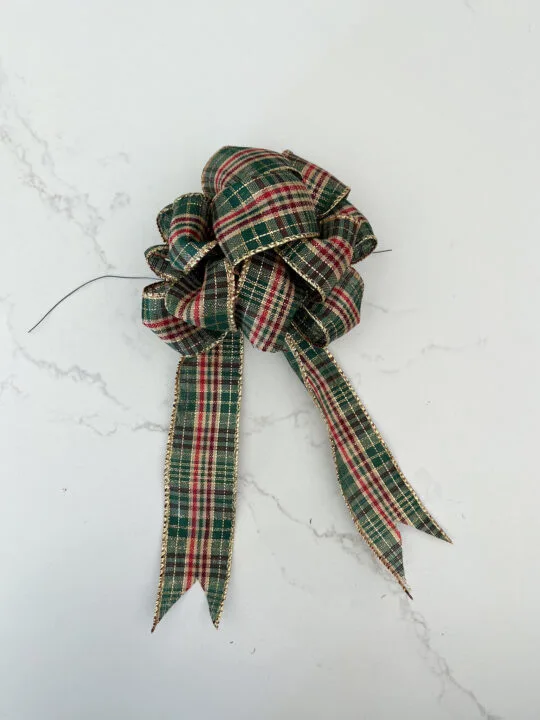
Twist and spread the ribbon loops to create a fluffy, full bow.
6 | Add the Tails
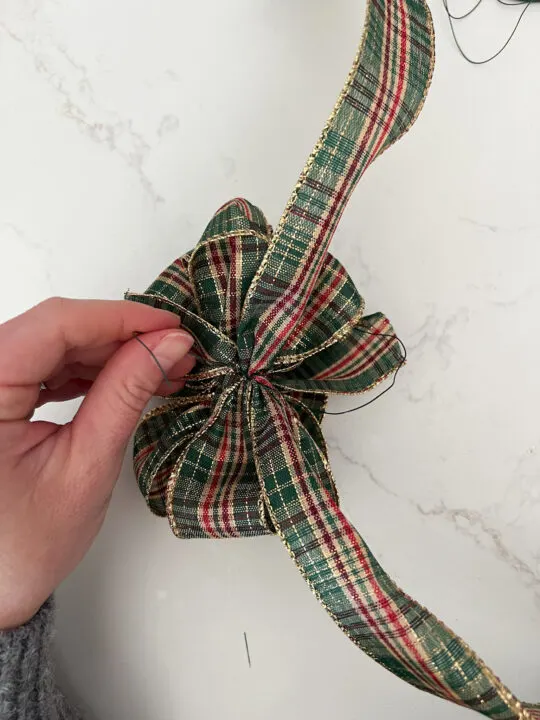
Fold the length of ribbon you cut in the beginning for the tails and attach it to the back of the bow leaving two tails for the bow. For a finished look, cut the ends of the tails at an angle or in a v-shape.
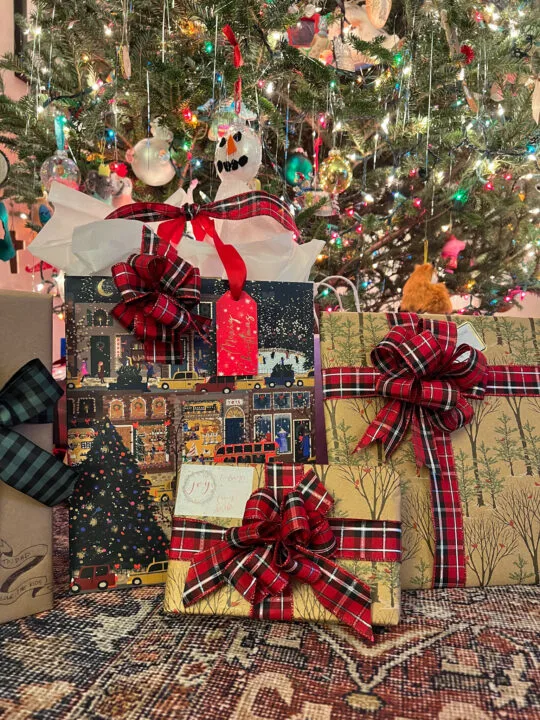
For longer tails, for example, if you use it cascading on a Christmas tree, you can create little waves along the ribbon with the wired edges. This creates movement and looks nice with longer ribbon tails.
Option 2:
The floral wire for this pom pom bow DIY is optional.
1 | Create the Loops of the Bow

Holding the ribbon in one hand, leave about 1-2 inches on one side of the ribbon and place your thumb and index finger on this spot.
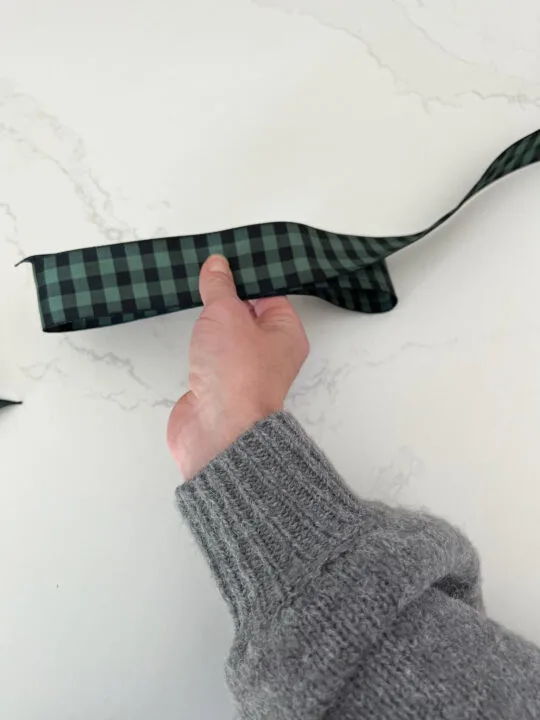
This is the center of the pom pom bow. Instead of twisting the ribbon like the first tutorial, you will keep the ribbon in one direction and a singular loop and pinching it in the middle.
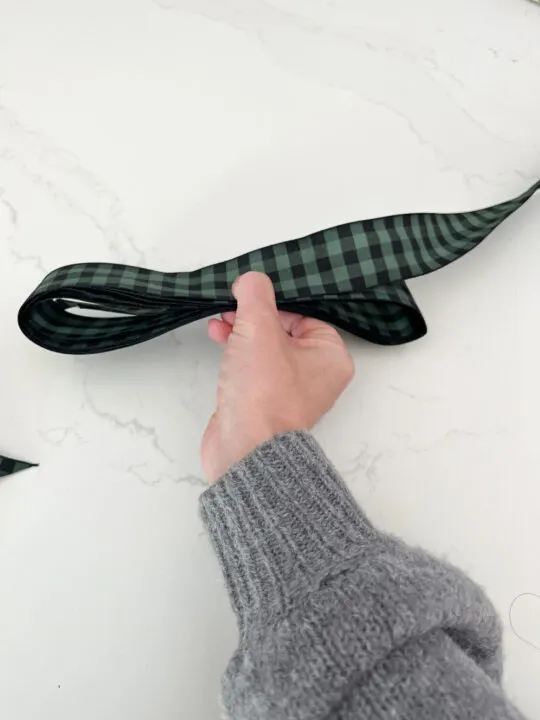
Continue looping the ribbon until you have 5 loops on each side. Add one final loop so that the ends of the ribbon are located on opposite sides of the center and cut.
2 | Fold the Loops at the Center
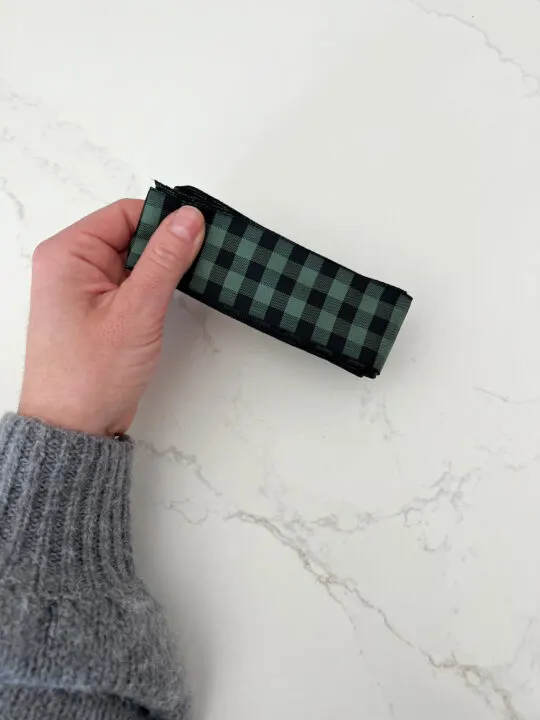
Fold the ribbon in half so that the center of the bow is folded on top of each other.
3 | Cut Notches Into the Center of the Bow
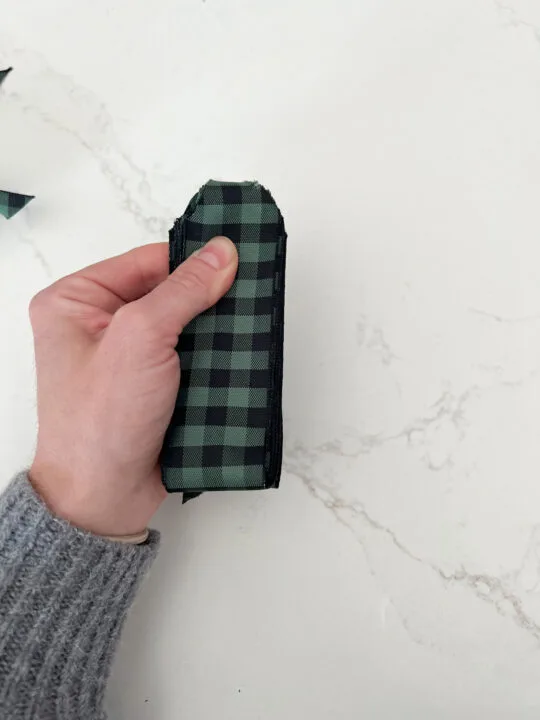
At the center of the bow, cut an angle on each side, leaving enough fabric in the center to keep the loops attached.
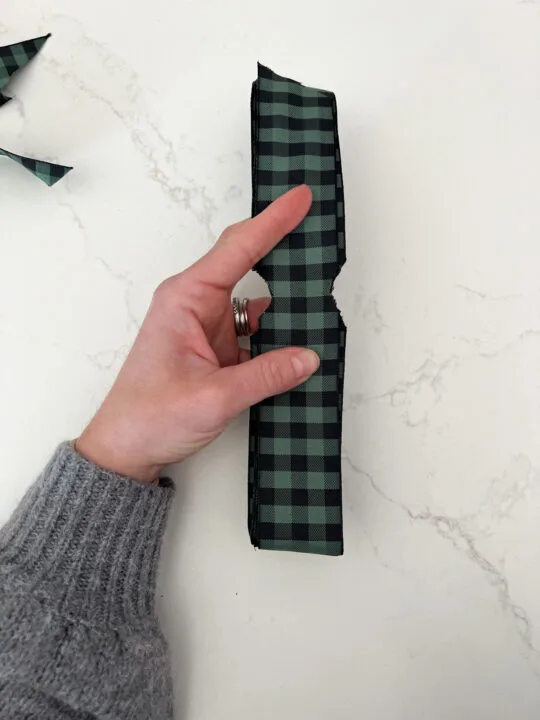
Unfold the center of the bow.
4 | Attach the Tails to the Center of the Bow
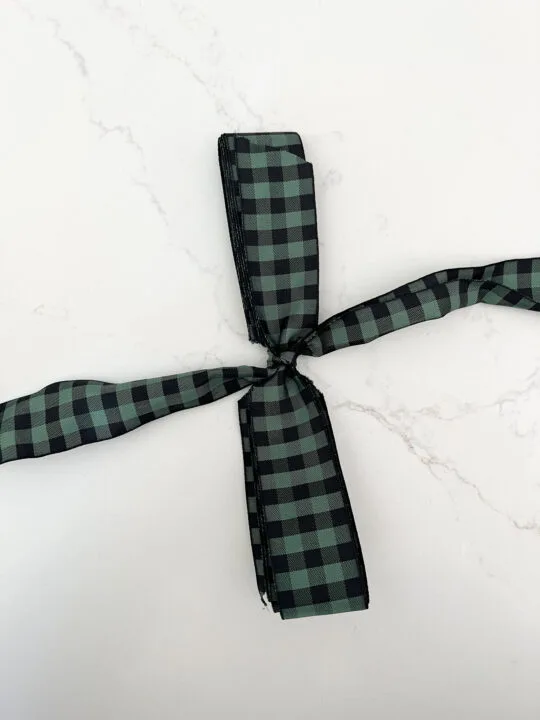
Use the ribbon cut for the tail and tie a knot at the center of the bow where the notches are cut out.
5 | Shape the Pom Pom Bow
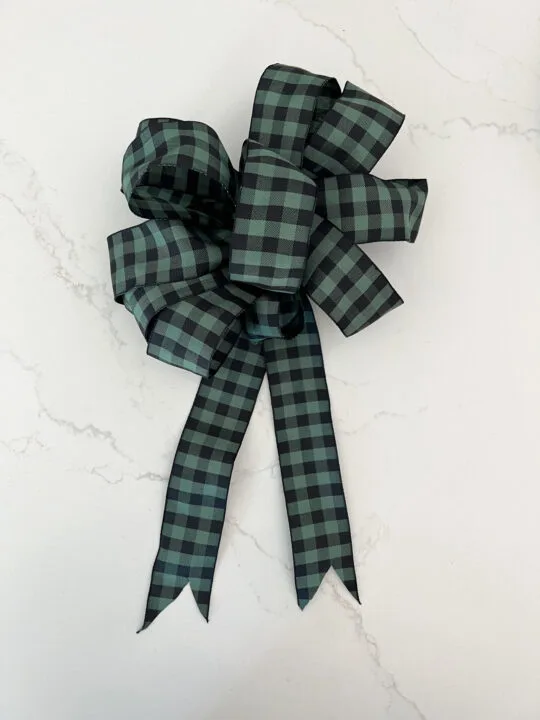
Pull the loops apart and shape it into a fluffy bow to achieve the look you want. Shape the tails and cut at an angle or v shape to create a finished look.
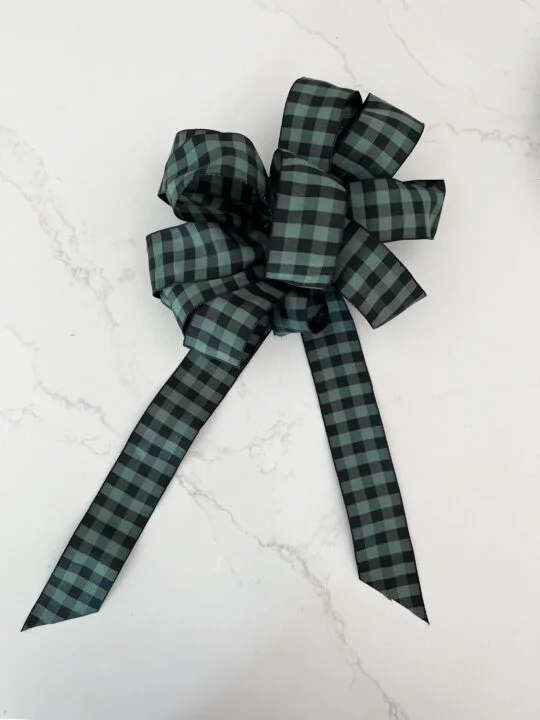
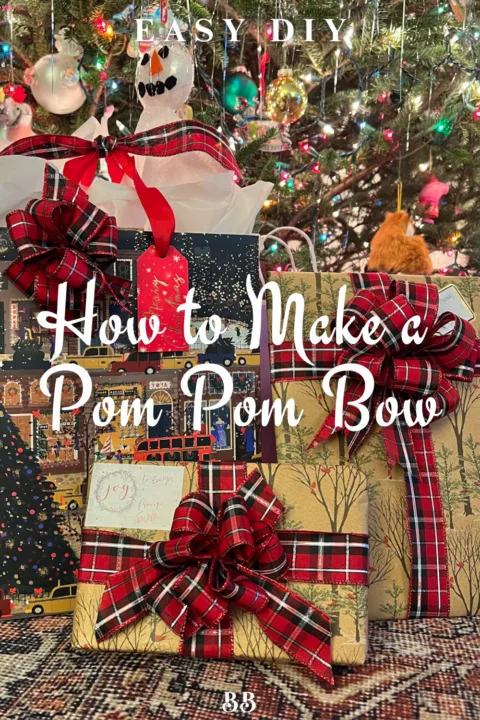
Create a beautiful gift by adding this bow to the top of a package or create a fabulous topper for your Christmas tree. Add some flair to a gift bag by tying a pom pom bow on one of the handles.
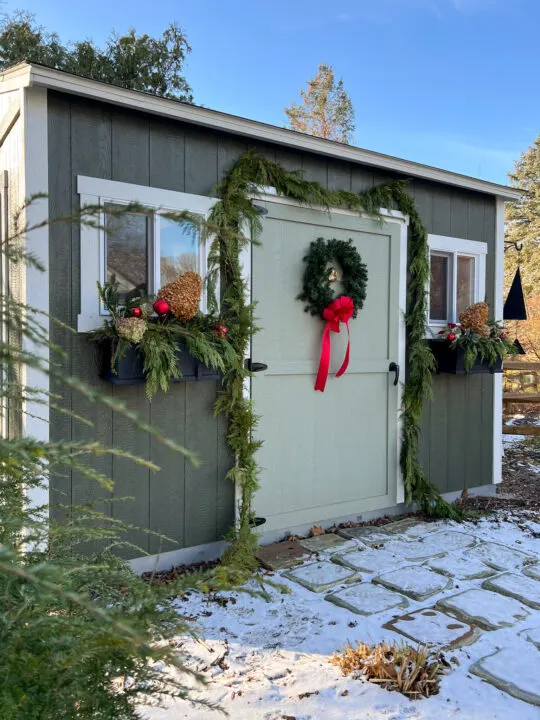
Add a pattern to your holiday wreath by attaching a beautiful ribbon bow!
Now that you’ve mastered the art of making a pom pom bow, you can add a fun, personalized touch to your holiday gifts and decor.
Whether you’re using them to top presents, accent wreaths, or add flair to your Christmas tree, these festive bows are sure to stand out. The best part? You can customize the colors and sizes to match any theme or style.
Happy crafting, and enjoy spreading holiday cheer with your DIY pom pom bows!
More Content You Will Love
- How to Make a Crossover Gift Bow Out of Ribbon
- Easy DIY Paper Bows For Gifts Using Paper Scraps
- How to Create a Nostalgic Christmas Tree Your Family Will Love
- Unique Christmas Tree Skirt Ideas to Try This Holiday Season
- 16+ Thrifted Christmas Decor Items to Buy This Year
- Classic Red and Gold Christmas Tree Ideas for the Holidays
- Make Your Own Wrapping Paper with Craft Paper and Paint
Frequently Asked Questions
Where to Use These Fancy Bows at Home?
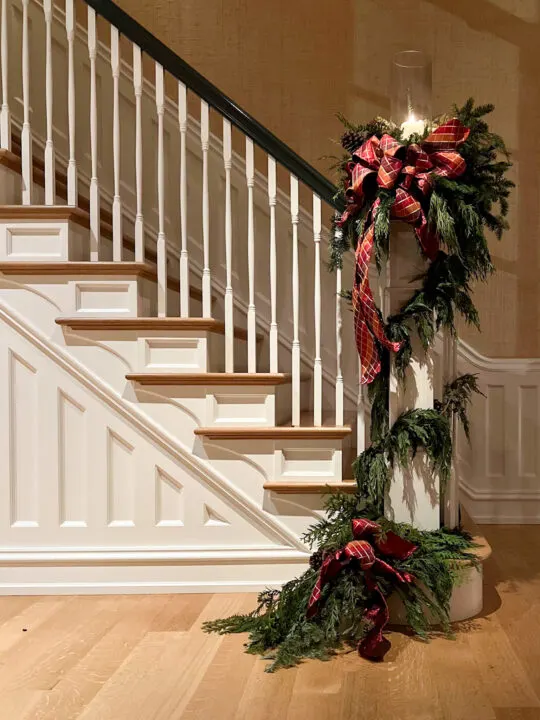
- On a Wreath
- At the top of Your Tree
- Gifts
- On Your Staircase
Where is the Best Place to Buy Ribbon?
When buying brand new ribbons, I prefer Costco and Michael’s. They have a great selection around the holidays and offer large spools for bigger holiday projects.
I love making beautifully wrapped gifts with bows but the cost of ribbon can add up quickly! One of my favorite tips is buying ribbons second-hand at estate sales! You can get them for a fraction of the retail price and collect them throughout the year.
I also like to reuse ribbon or bows when I can, especially during the holiday season.
What Kinds of Ribbons Should I Use?
In my opinion, the easiest ribbon to use to create full bows is with wire-rimmed ribbon. It takes a little more work to create a full bow, you can use most ribbons for these types of bows. This includes satin ribbon, grosgrain ribbon, and organza ribbon, to name a few.
