Last Updated on December 5, 2023 by lindseymahoney
When I wrap a present for loved ones, I want the packaging to be as beautiful as the gift inside! A Christmas tree goes up a level when there are beautifully wrapped gifts tucked under the tree.
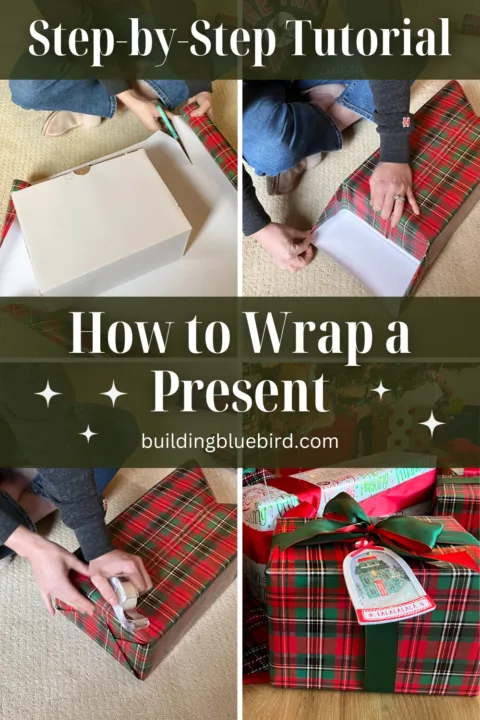
Ever since I was a little girl, I have always enjoyed wrapping presents, but I do realize that not everyone has had as much experience when wrapping gifts.
Today I am excited to share my tips and tricks for how to wrap a present that will impress your friends and family and double as beautiful Christmas decorations!
Step-by-Step Instructions on How to Wrap a Present
[Affiliate links are included in this blog post and I receive a small commission (at no extra cost to you) if you purchase through these links. Thanks for supporting Building Bluebird!]
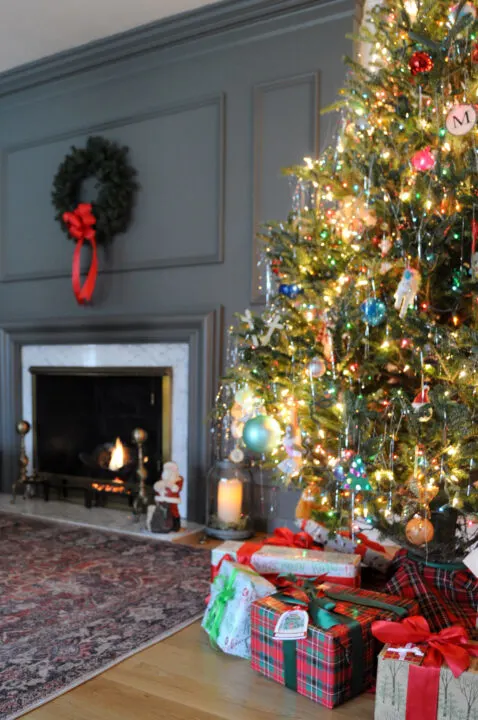
To wrap a beautiful package, it is ideal to have the gift in a box. For the most professional results, you want to avoid wrapping oddly shaped gifts or items with soft edges. Squares and rectangles are ideal!
When placing gifts inside a box, don’t forget to add tissue paper for a finished look.
Materials Needed to Wrap a Gift
- Wrapping paper (similar) or craft paper
- Scissors
- Scotch tape
- Ribbon (similar)
- Gift tag
- A gift – preferably in a box
- Tissue paper (for inside the box)
1 | Measure the Wrapping Paper and Cut
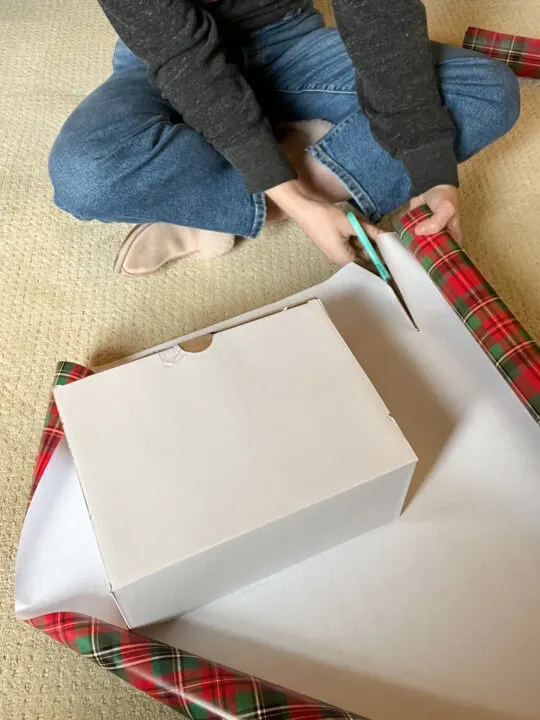
First, you will measure the wrapping paper so that it wraps around the entire box. Use the grid lines (if included) to cut a straight line across the wrapping paper.
When determining how much wrapping paper to leave on the sides of the box, I make sure there is at least enough paper on the bottom and top to hit the center of the box.
For the cleanest lines, measure the wrapping paper so that it is shorter than that side of the box. When the wrapping paper is longer than the side of the box, the excess paper will If you have more paper on each side, you risk the paper bunching at the edges when you fold the wrapping paper.
2 | Tape One Side of the Box
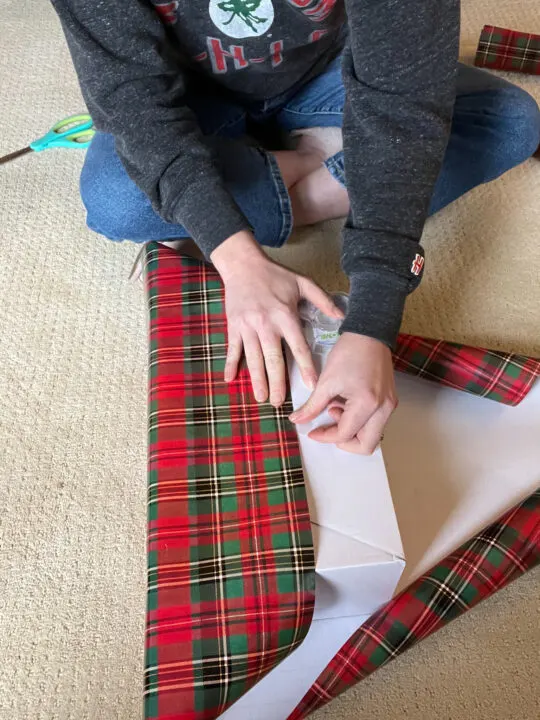
Flip the gift box over so that the bottom of the box is facing up. Take one side of the wrapping paper and attach it to the center of the box using scotch tape.
3 | Attach the Wrapping Paper on the Other Side of the Box
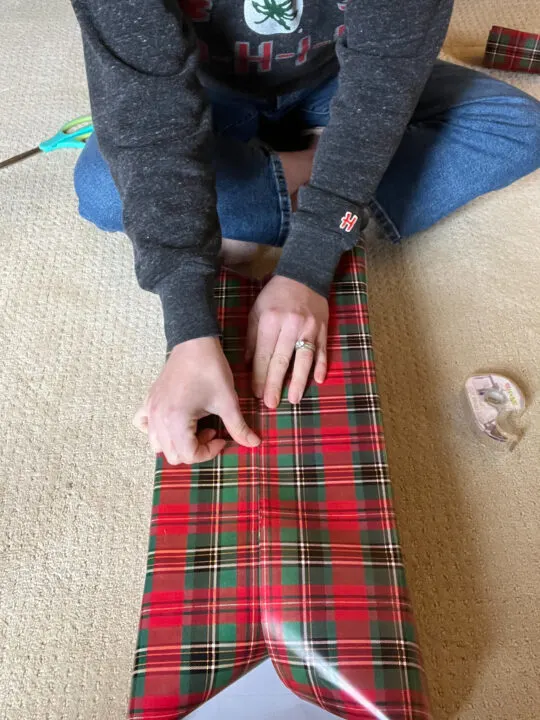
Pull the other side of the wrapping paper toward the center of the package and attach it with tape. I like to make sure the paper is nice and taut around the box to create clean lines.
4 | Fold the Top Down on One Side of the Box
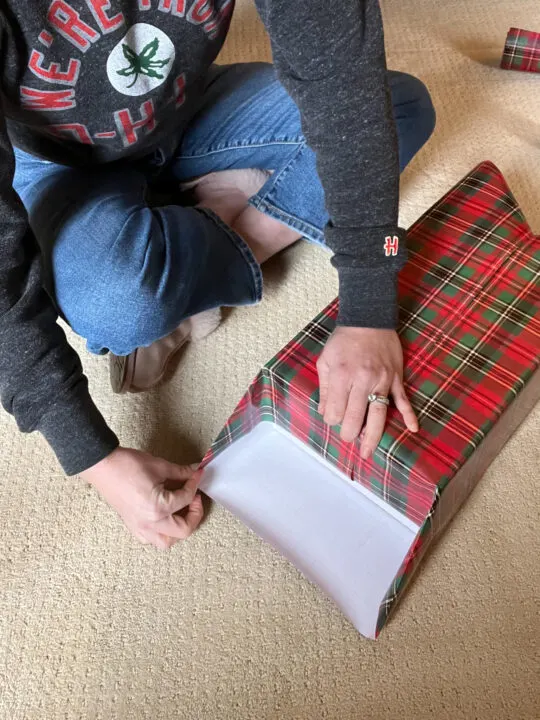
Next, you will work on the two open sides of the gift package. Press the top of the wrapping paper towards the floor so it creates two triangles on each side. Tightly crease the triangle edges and corners to create crisp lines.
5 | Fold the Two Sides Toward the Center of the Box
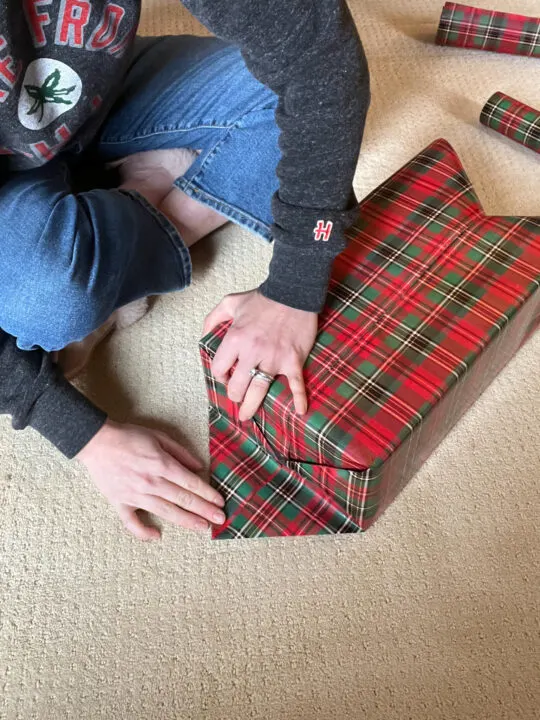
Fold the triangles toward the center to create another triangle on the bottom of the package. Create a strong crease on the wrapping paper edges so the folds lay flat on the side of the package.
6 | Flip the Bottom Wrapping Paper Up
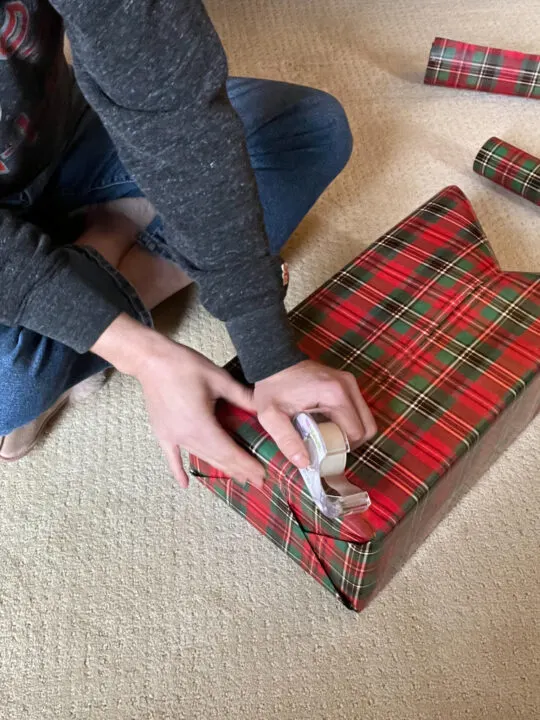
Then you will fold the bottom triangle flat upward and secure it with scotch tape. Follow the same process on the other side of the package to finish wrapping the package.
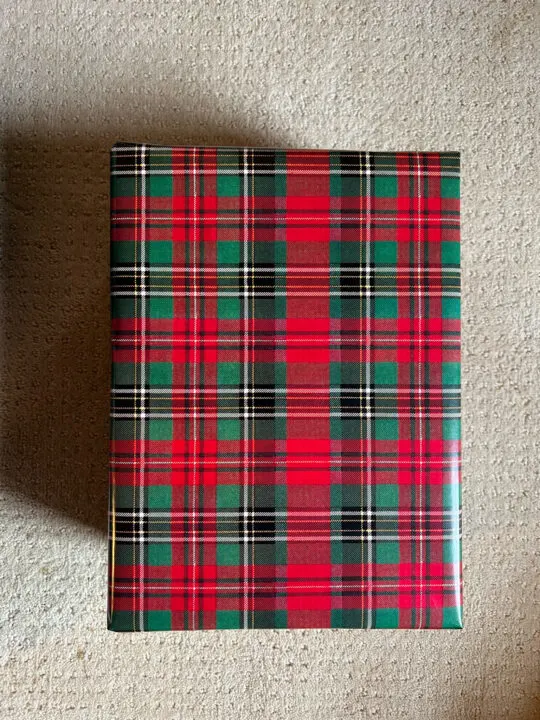
Flip the present over for a beautifully wrapped gift!
7 | Add a Bow with a Ribbon
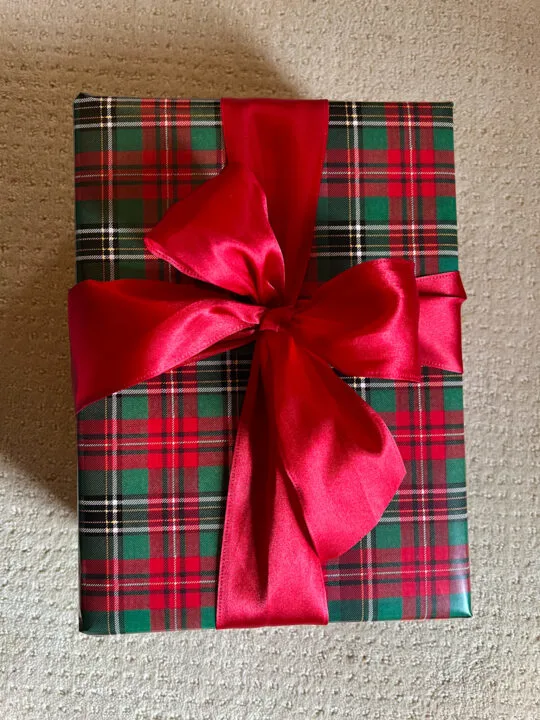
I always add a gift bow to every gift that I wrap. My preferred gift bow is the crossover bow which looks really sharp and is easy to remove. The crossover bow can be centered on a gift or angled in a corner to switch up the look.
Using different types of ribbon creates more of a variety under the tree as well. Ribbons with wire edging allows you to create more volume with the bow while non-wire ribbon lays more flat.
For larger packages, I like using thicker ribbons and smaller gifts get thinner ribbons.
Because I reuse our ribbons it doesn’t cost a lot of money to add this special touch.
8 | Attach a Gift Tag
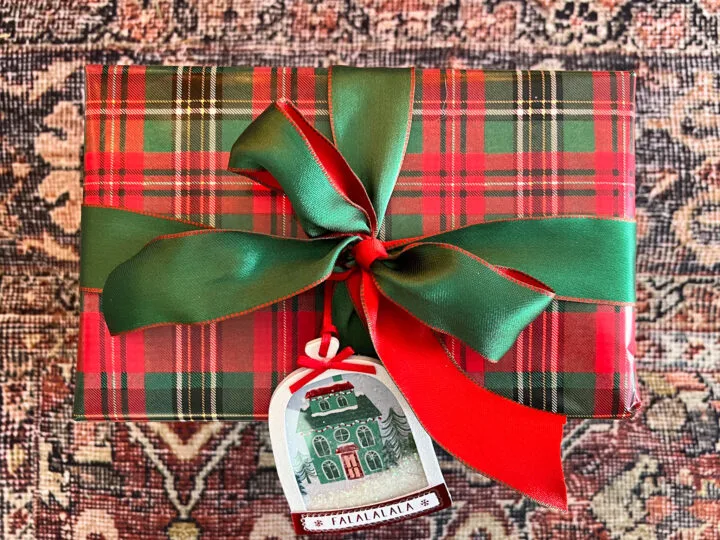
When wrapping gifts for friends and extended family, I use hanging tags because they look a little more polished. To attach the name tag, you can either loop it into the ribbon around the gift or, what I usually do, is tape the tag strands under the bow so it isn’t visible.
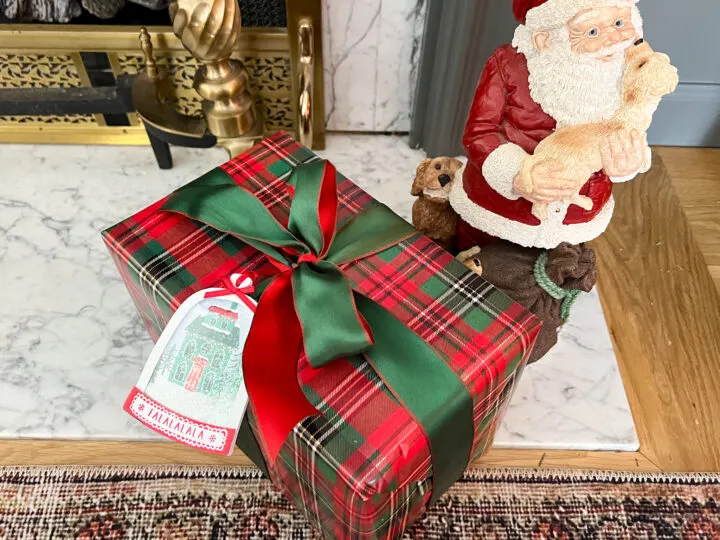
For our kiddos, I usually slap on the sticker tags.
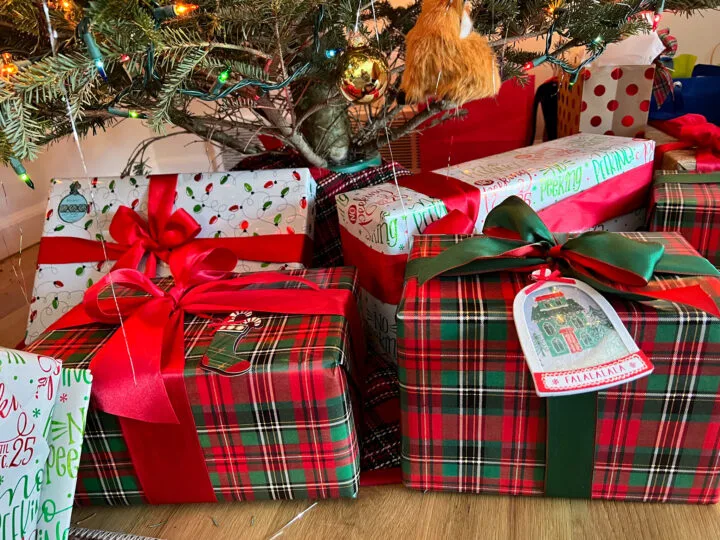
I hope you found this tutorial helpful when wrapping gifts this holiday season!
Where is the best place to buy wrapping paper?
The majority of my patterned wrapping paper is from Hobby Lobby. They always have a great selection of Christmas-themed paper at great prices. The wrapping paper is thicker so that it doesn’t easily tear and I love the grid pattern on the back to help cut straight lines.
I also like using brown craft paper to wrap gifts for a more neutral look. It is easy to personalize this paper with stamps, children’s artwork, or even paint! Adding a gift bow with ribbon gives it that special touch.
Where can I find affordable ribbon that looks beautiful on Christmas presents?
My go-to place to find new ribbons is Costco. Again, they have great prices and a lot of yardage so one roll of ribbon goes a long way.
Another place I like to find affordable gift ribbons and even wrapping paper is at estate sales. I purchased a bag full of vintage velvet ribbons for $1 or $2 per roll.
When wrapping gifts for loved ones, I almost always add a crossover bow to the wrapped package. The benefit of using the crossover gift bow is that it easily unravels with the tug of one tail.
This allows me to reuse ribbons year after year! I have a bin of ribbons to reuse on gifts every year and it saves so much money!
How to Wrap a Present for Loved Ones
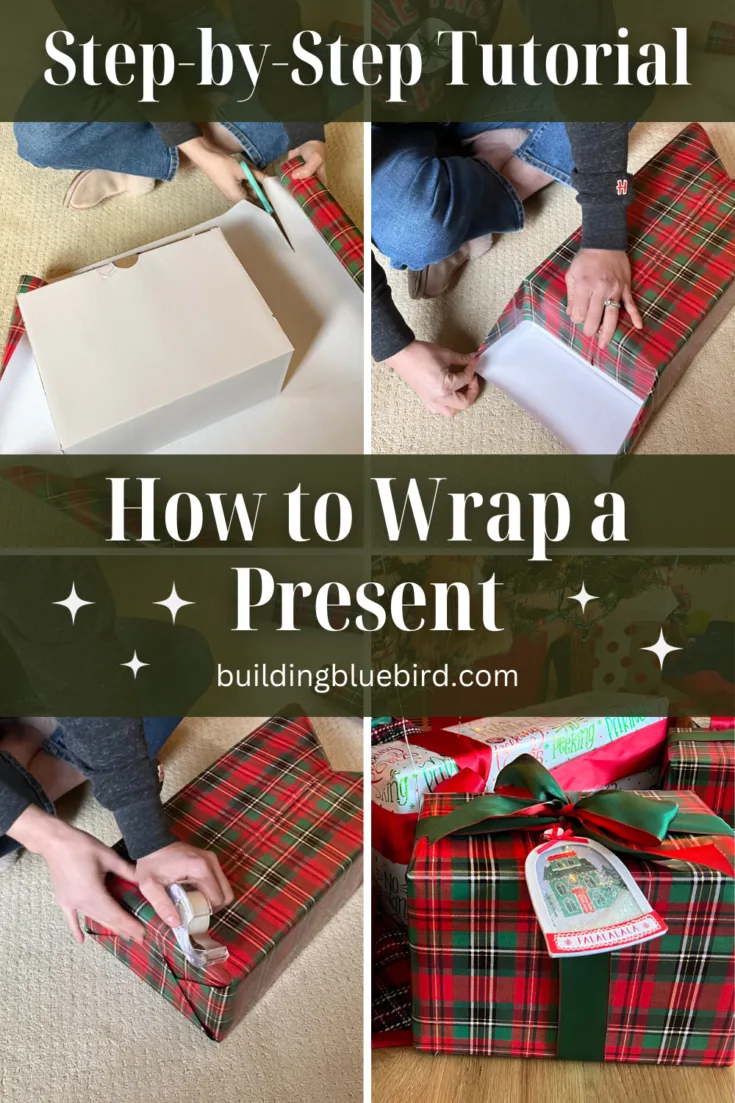
Step-by-step tutorial for how to wrap a present yourself! Wrap your gift to look as beautiful on the outside as the present on the inside.
Materials
- Gift
- Wrapping paper
- Scissors
- Scotch tape
- Ribbon
- Gift tag
Instructions
- Measure the wrapping paper and cut
- Tape one side of the paper to the box
- Attach the other side of the paper to the box
- Fold down the paper on the side of the package to create two triangles on each side
- Fold the triangle edges toward the center of the box
- Flip the bottom of the paper up and secure with tape
- Add a gift bow to complete the look!
More Content You Will Love
- BEAUTIFUL Christmas Garland Staircase DIY 2023
- How to Flock a Christmas Tree | Trendy Holiday DIY
- Classic Red and Gold Christmas Tree Ideas for the Holidays
- Create a Beautiful Christmas Garland Mantel | Affordable DIY
- 15+ Thrifted Christmas Decor Items to Buy This Year
- How to Hang Christmas Garland Outdoors with Lights
- Stunning Blue and White Christmas Decor Ideas

