
I decided to DIY my own shower tile installation because I am overly confident and think I can find any answer on YouTube! For real though, tackling a DIY shower remodel for the first time can be intimidating, but it is totally doable.

Oftentimes when I decide to do a DIY project at home, it is because I know that I will care about the finished product more than any contractor will. Also, if I make a mistake, it is on me!
This project taught me so much and I am excited to share everything I learned and the step-by-step process with you today. Let’s get started!
Table of Contents
- Kids Bathroom Before
- How to Install Shower Tile | DIY Tutorial
- DIY Shower Tile Materials
- Tools Needed:
- 1 | Demo the Existing Shower Surround
- 2 | Waterproof the Shower Surround
- 3 | Insert the Shower Niche
- 4 | Determine Shower Tile Placement
- 5 | Begin the First Row of Wall Tile
- 6 | Attach Tiles with Adhesive
- 7 | Apply the Tile Grout
- 8 | Caulk the Shower Seams
- REVEAL | Shower Tile DIY
- More Content You Will Love
- Frequently Asked Questions
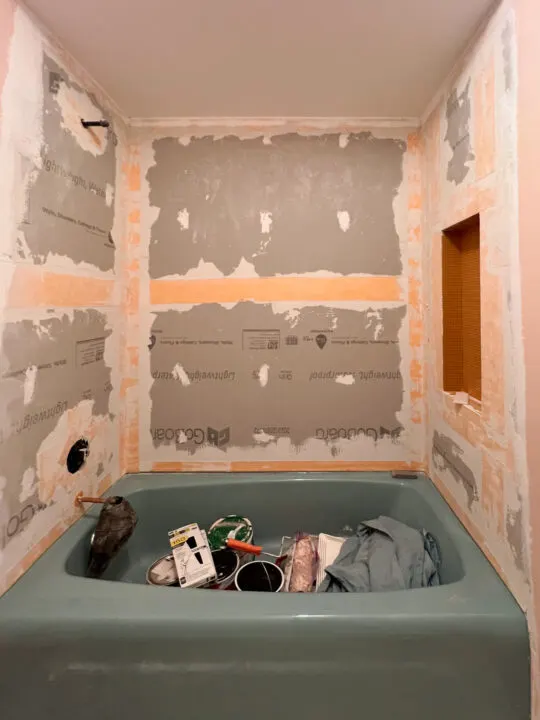
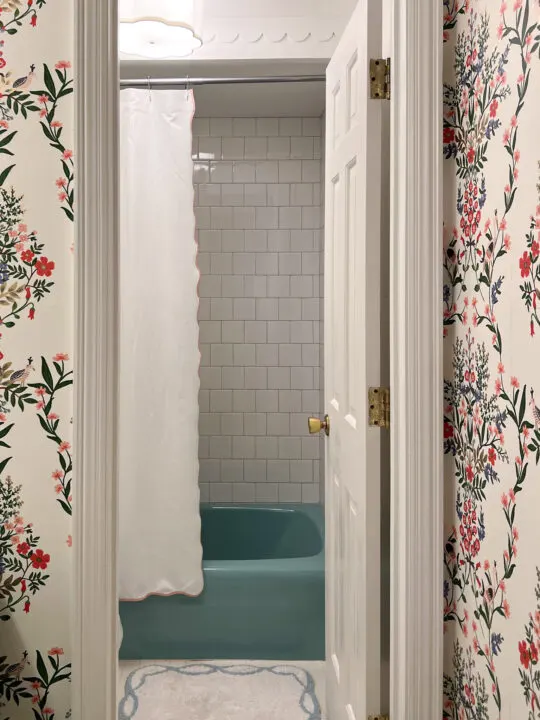
Kids Bathroom Before

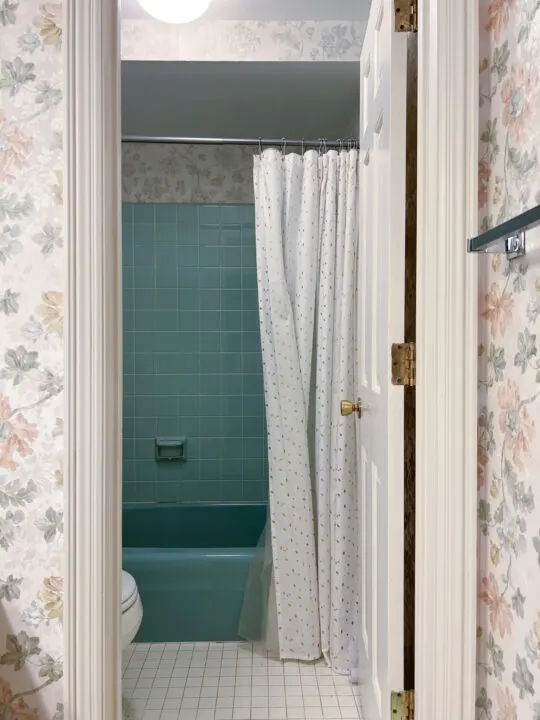
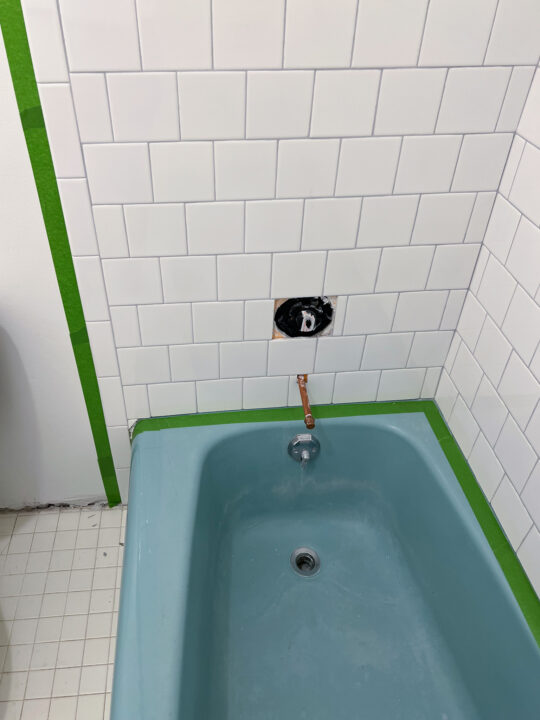
This particular renovation came about because our kids’ bathroom had a leak behind the shower wall.
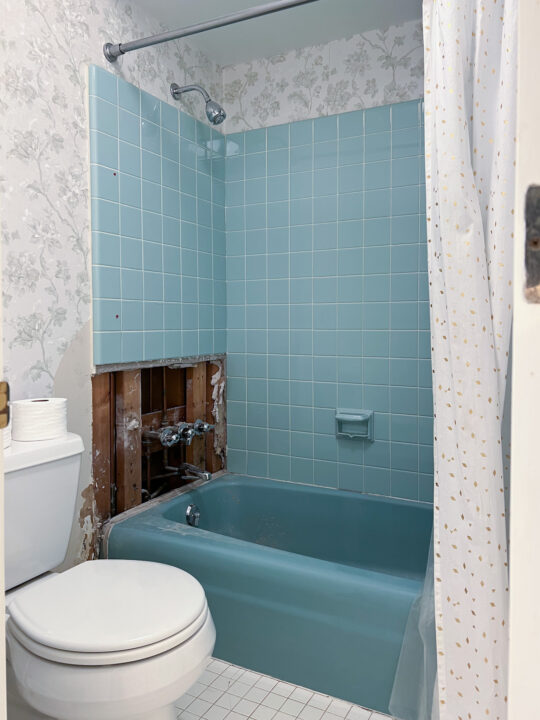

The only way to repair it was to tear out a portion of the bathroom wall. This was not a planned bathroom renovation, so I did my best to come up with cost-effective ways to fix the shower and give the overall bathroom an update.
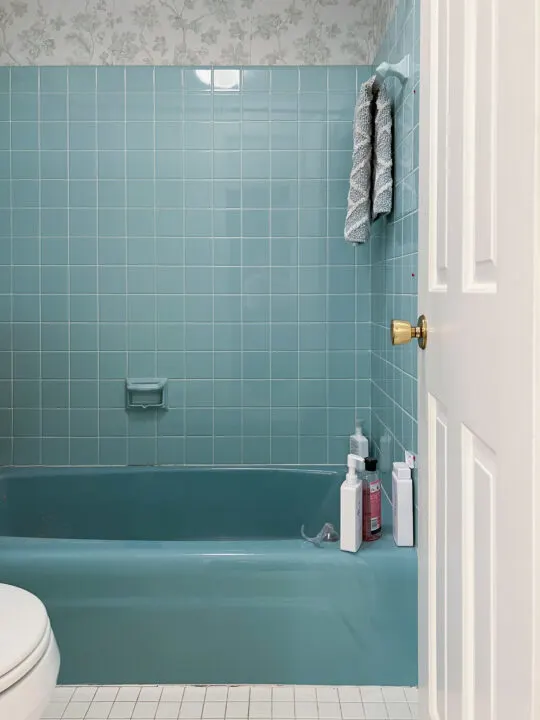
I decided to keep the existing blue bathtub because I think the pop of color is so fun and a great feature of the 1960s when our home was built. It also saved us money!
How to Install Shower Tile | DIY Tutorial
DIY Shower Tile Materials
- 4×4 Ceramic Tiles
- Ceramic Tile Edge Pieces
- Grout
- Go Board (cement board) and screws
- Waterproof membrane
- Thinset tile mortar
- Kerdi Board Shower Niche Insert
- Schluter Trim (for the shower niche)
- Pre-Mixed Tile Adhesive (mastic)
Tools Needed:
- Tile saw
- Diamond tile file
- Grout float
- Square notch trowel
- Sponge and Water Bucket
- Rag or towel
- Laser Level or Handheld Level
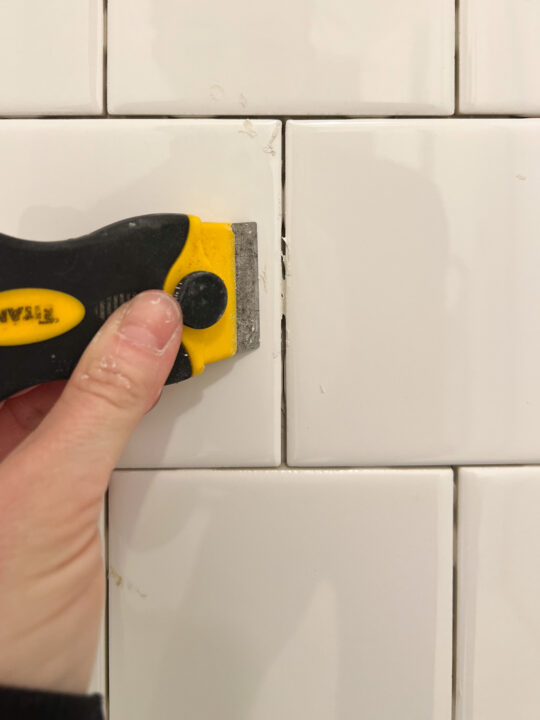
1 | Demo the Existing Shower Surround

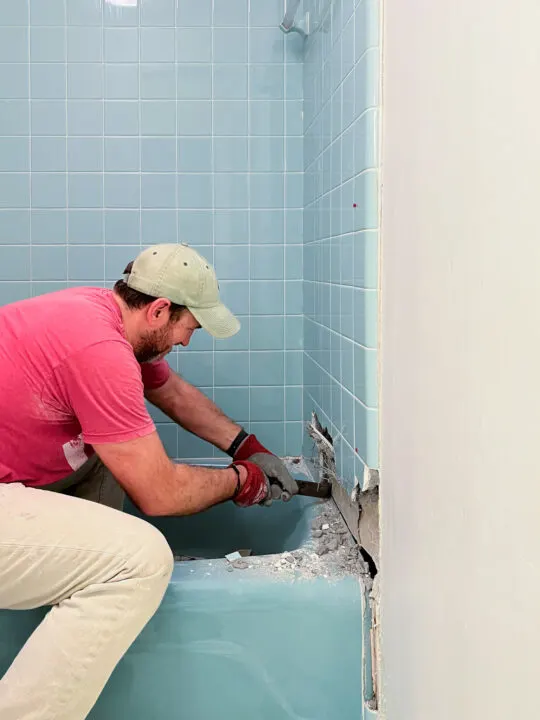
My husband removed large sections of tile using a crowbar and a saw to cut around the tile.
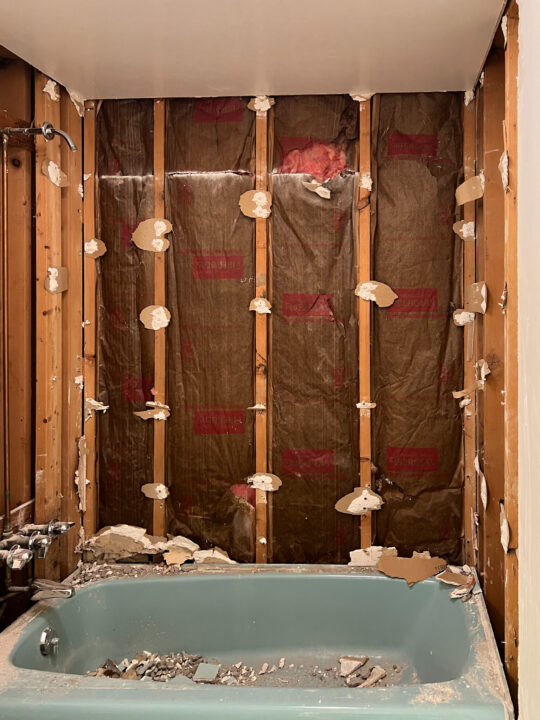

When the old tile surround was out, I used a hammer to remove any stray nails in the wall studs. Before the backer boards were put back on the shower walls, we hired a plumber to repair our leak and install the new plumbing fixtures for this shower.
2 | Waterproof the Shower Surround
Cement board (concrete board) is the best material to use for your shower surround because it is made specifically to resist moisture and is great for tile adhesion. There are many types of brands that offer a variety of benefits.

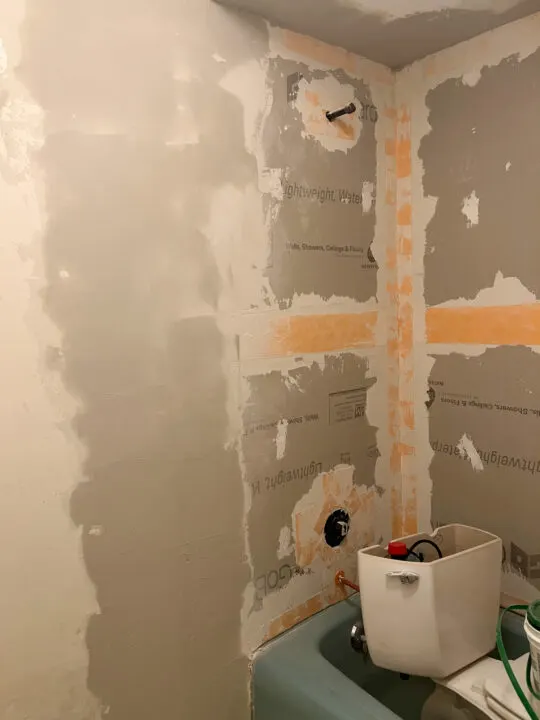
If we didn’t have a tight budget, I would have used Kerdi boards because they are lightweight and easy to use. We opted against the standard cement boards because they are very heavy and harder to maneuver, but they are the least expensive.
We ended up using GoBoards because they could be cut with a utility knife and are easier to handle than standard cement boards, but not quite as easy as a Kerdi board.
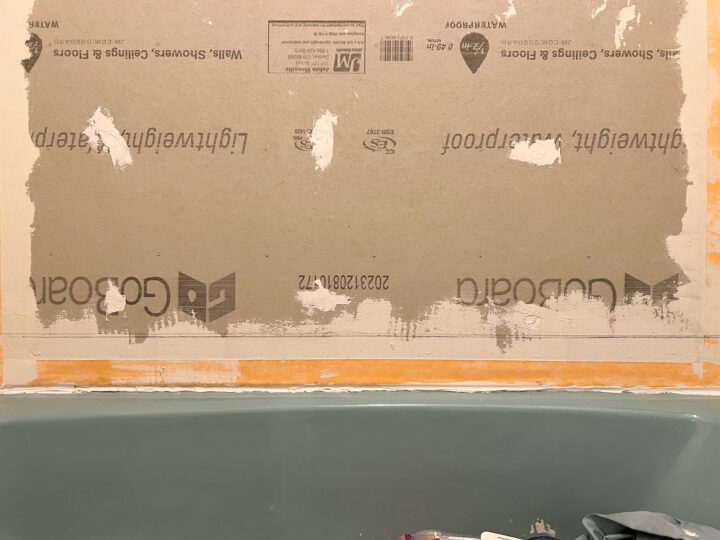
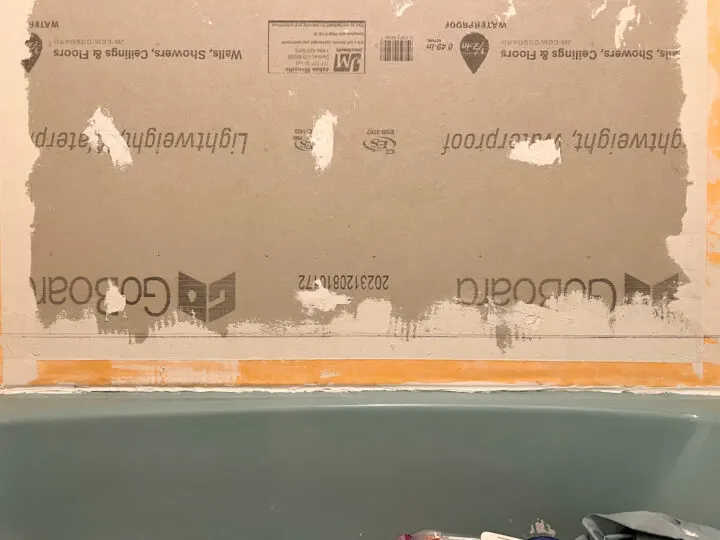
Backerboard is attached with screws specific to this material and then sealed with a waterproofing calk. All of the seams and corners must be covered with a waterproof membrane. It is attached to the panels using thinset tile mortar.

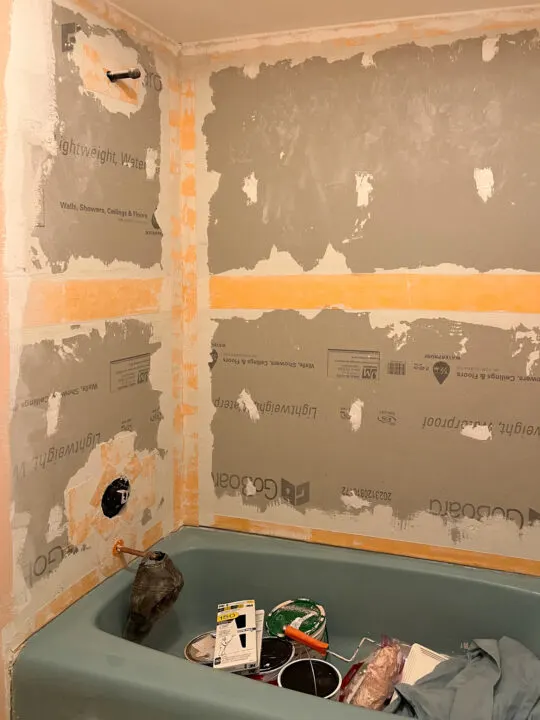
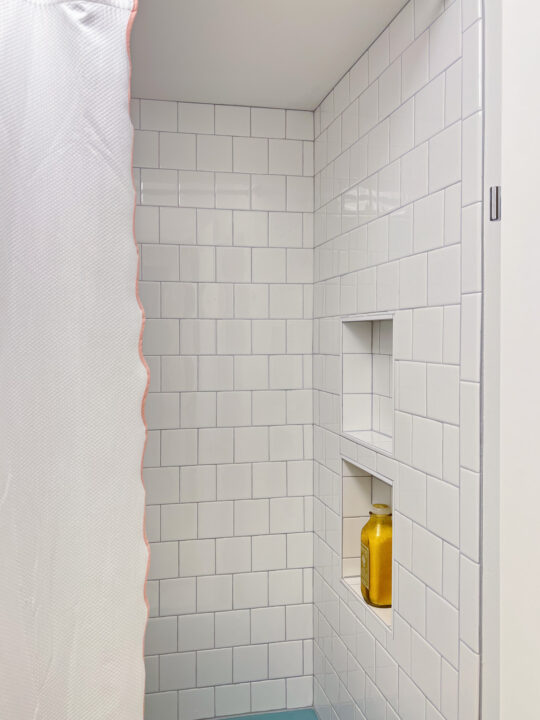
3 | Insert the Shower Niche
I wanted a large shower niche at the back of the shower and purchased the Kerdi board pre-made niche. Because there are so many seams and corners in a niche, I preferred to pay a little extra for a pre-made niche rather than attempt to build our own and tape the seams.
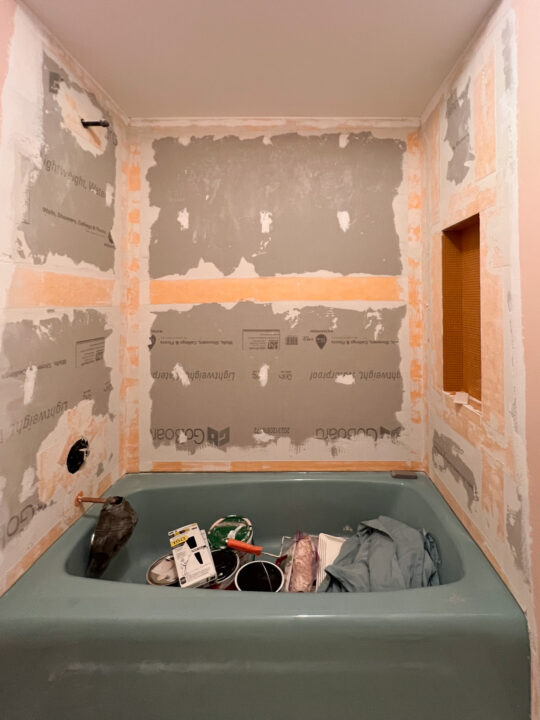
The shower niche is installed between two wall studs. I prefer to place the niche in an area of the shower that is the least visible to guests.
Trace the front of the niche on the cement board in the exact location where you want it to go. Use a knife to cut out the hole and insert the shower niche. You may need to add support to the bottom of the niche before screwing it to the studs.
The seams around the niche will need a waterproof membrane to prevent moisture and mold.
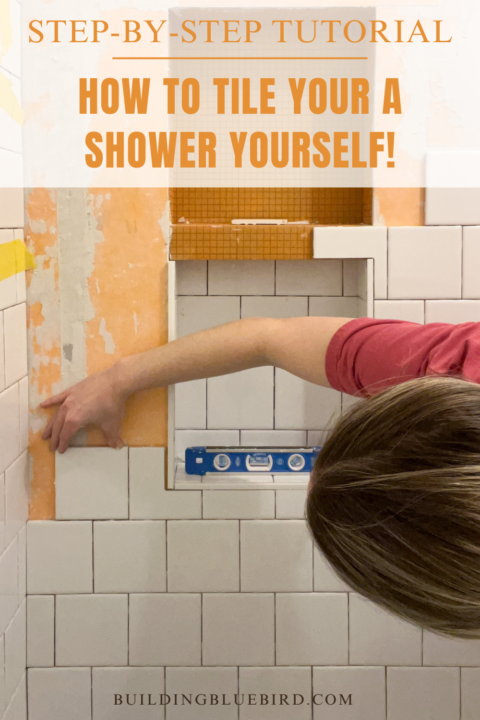
4 | Determine Shower Tile Placement
Before any shower tile installation, it is important to determine the pattern before attaching to the wall. You want to avoid small slivers of tile at the top or sides of the walls. An easy way to check how much tile is needed on the top row or sides of the shower wall is to do the math.
To determine how many tiles you will need to complete a single row on your shower wall, do the math.
Example
For example, let’s say a shower wall is 60 inches wide, so each row of tile will cover 60 inches. Typically you set the first tile in the center of the wall, so the first tile will be split down the middle. Knowing that our tile is 4.25 inches wide, we want to determine how many tiles we will need to complete each side of the row once the center tile is placed.


60 inches / 2 = 30 inches on each half of the wall
30 inches – 2 inches (half of the first tile) = 28 inches for one half of the wall
28 inches / 4.25 inch tiles = 6.5 tiles to complete half of the row
Half of a tile is a good size to end a row with so we are good to go. If one side of the wall required 6.1 tiles, we may decide to move the center line on the wall slightly to increase the size of the end tile.
Follow this same process for the vertical row as well.
The mistake I made was choosing the back wall to determine the tile placement. What I quickly learned is that I should have determined the shower tile placement on the wall with the shower niche. Unfortunately, I ended up with a small sliver of tile at the top of the niche, but overall, it wasn’t very noticeable.
5 | Begin the First Row of Wall Tile
When a new bathtub is installed, there is a pretty strong chance that the tub will be level across the wall. When this is the case, you can begin the tile installation at the lip of the tub. Even if you are not using spacers between each tile, you will need to put a spacer between the tub and the first row of tiles. This will be filled with waterproof caulk.
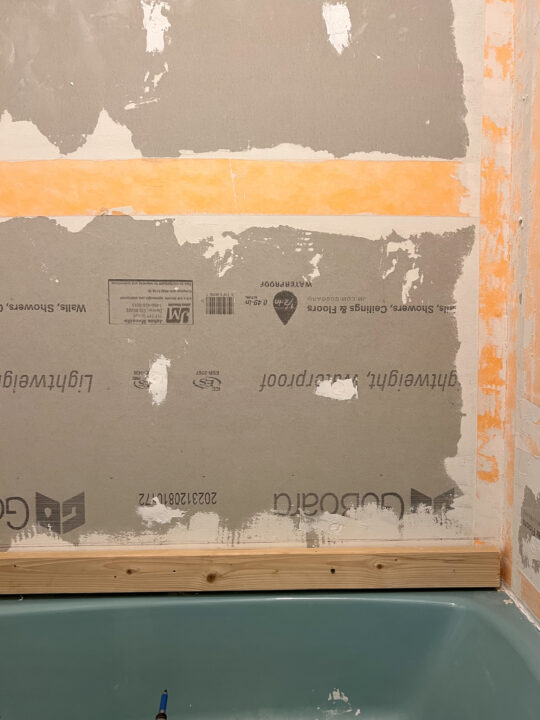

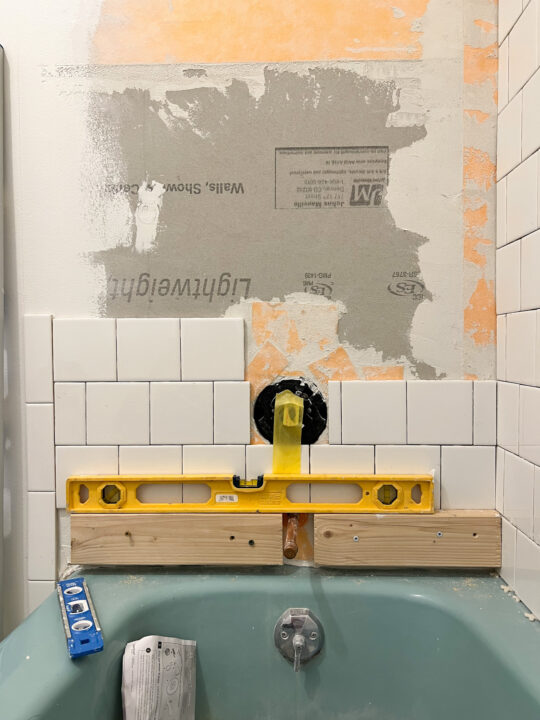
Because I reused the original blue bathtub for our bathroom renovation, the tub was not level. To ensure that the tiles would be level, I had to start at the second row.
To determine the height of the second row, I took the height of the tile (4.25), plus a 1/8 spacer between the tub and tile, and marked the shower wall at the lowest corner of the tub. I attached a level 2×4 piece of wood across the wall to support the second row of tiles.


One corner of the tub will have a full tile square and I will cut off the bottom of the tile as needed while I work my way to the other side of the wall.
When the tile cured for 24 hours I removed the board from the shower walls and filled the screw holes with waterproofing glue. I completed the first row of tiles to complete the shower tile installation.
6 | Attach Tiles with Adhesive
To begin the tiling process in our shower, I marked a vertical line in the center of the wall as my starting point. The tile adhesive (mastic) can be put directly on the cement board or you can backbutter the tile individually using the square notch trowel. I went back and forth using both options.

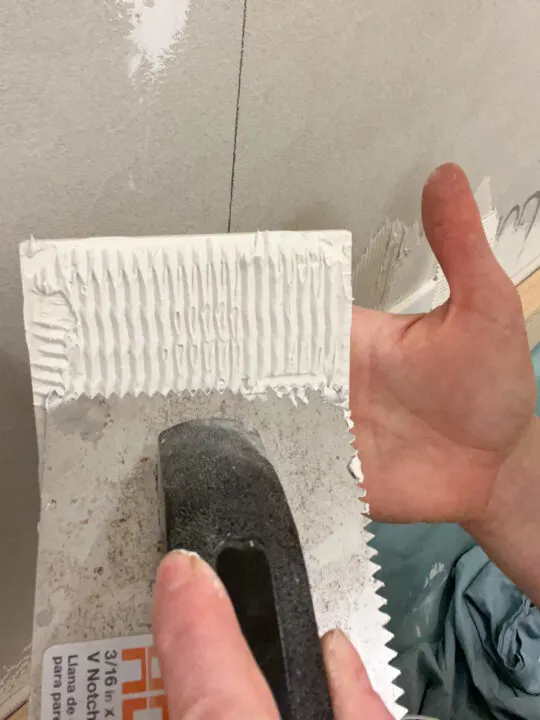
With either option, you will apply the adhesive at an angle to create grooves in the glue. The grooves create the suction between the tile and shower walls. Once the center tile is placed, work to the edges of the wall and up to the ceiling.

When I have a few tiles attached, I press them evenly to the wall with a grout float.

Avoid tile adhesive squeezing between the tiles where the grout will be added. Once the mastic sets, you can go back with a utility knife to clean the cracks. This is where the grout will go.
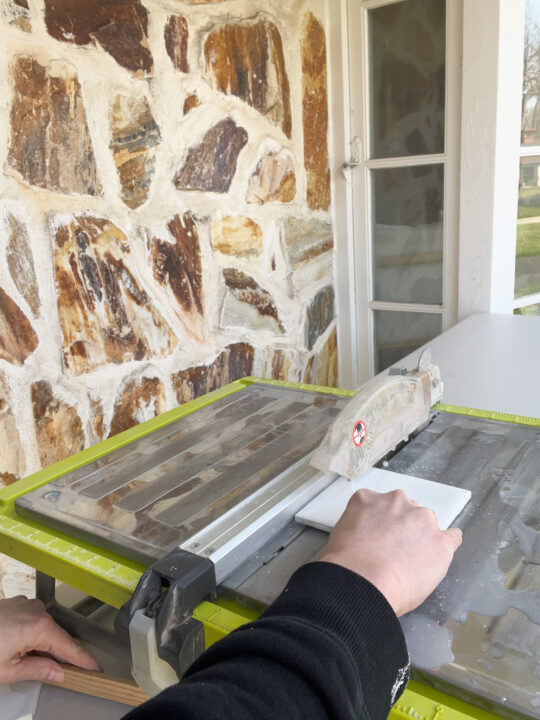

Using square tiles and an offset pattern, I was able to work my way up the shower wall pretty quickly. I recommend purchasing, renting, or borrowing a wet tile saw to cut tiles when necessary. A wet saw is easy to use and more precise than a handheld tile cutter.
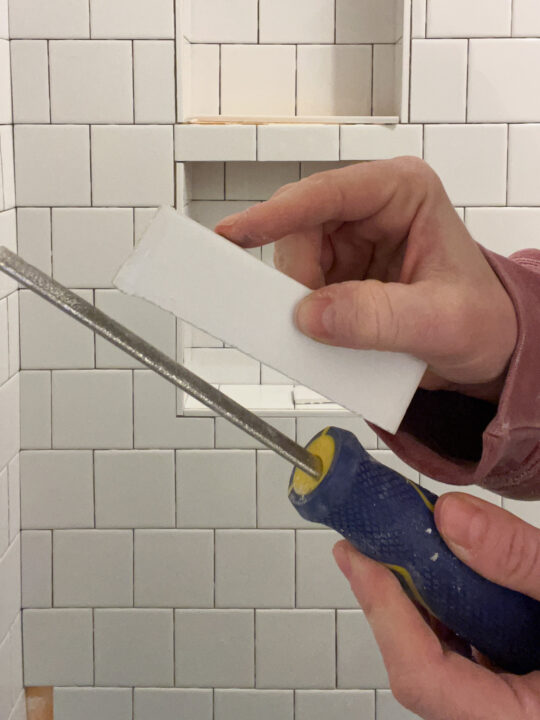

If a tile was a smidge too big, I liked to use a diamond file to shave off a little of the tile.
7 | Apply the Tile Grout
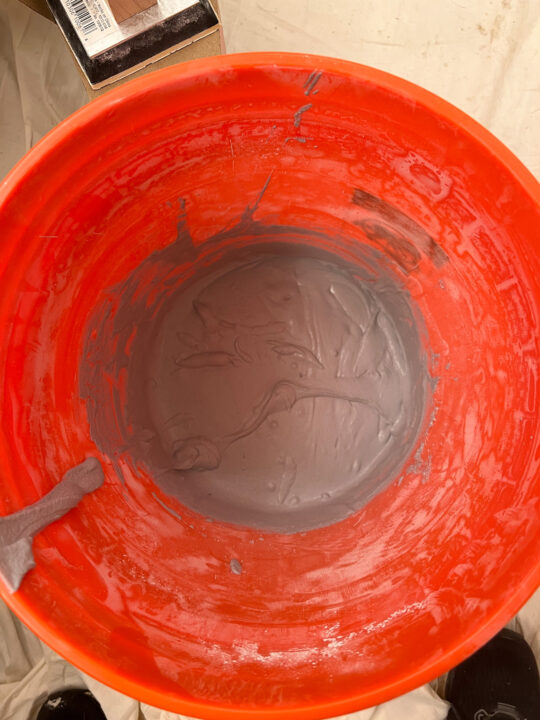

First, mix the grout in a bucket. When applying the tile grout, it is important to work in small sections because it dries quickly. You will have a 2-3 hour window to use everything in the bucket. I thought I would complete the project within that timeframe but it actually took about 4-5 hours total.

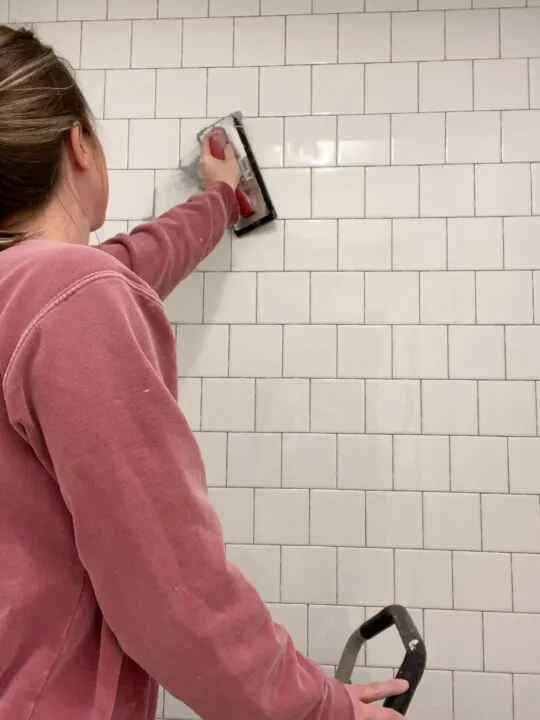
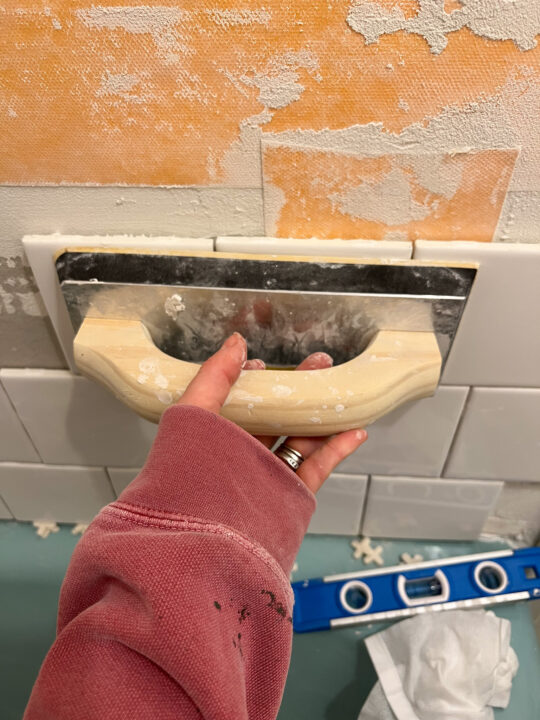
Use a grout float to press the grout into the seams.
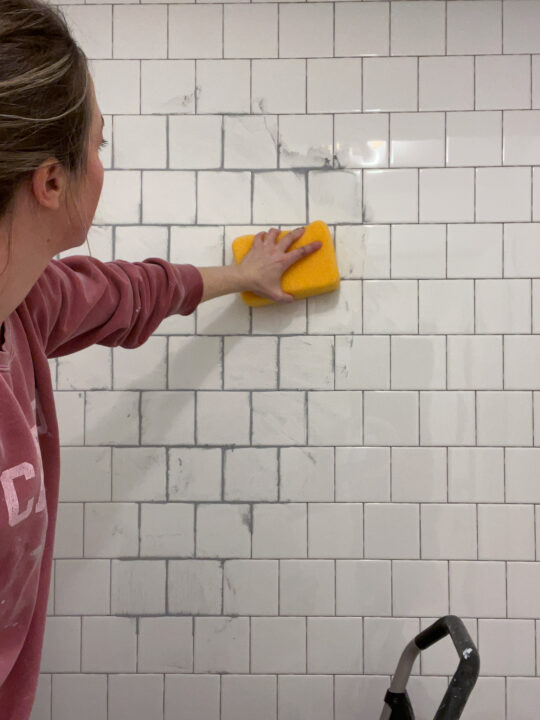

For the next step, take a clean, damp sponge and wipe away the access grout on the tiles.
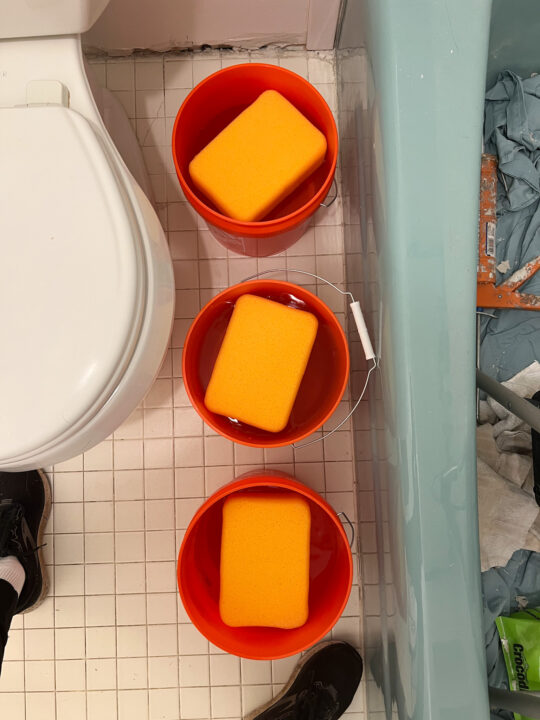

I prepared three buckets of clean water to save myself time. The cleaner the water, the easier it will be to remove the grout from the tile surface.


Once the face of the tiles are pretty clean, I like to use a clean towel to lightly wipe the tiles and remove most of the grout haze.
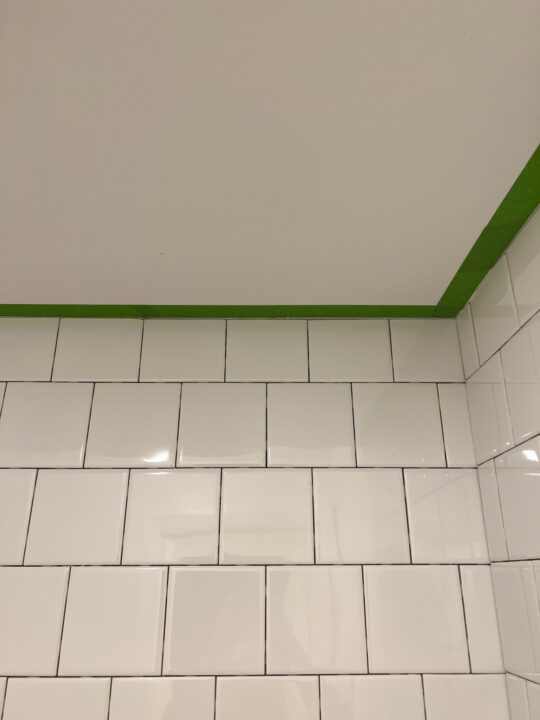
Tip: Tape around the tile edges to keep the ceiling and walls clean from grout

8 | Caulk the Shower Seams
It is important to caulk all of the seams around the shower and bathtub. This includes the space between the bathtub and first row of tiles and the tile edges. I also caulked the corners of each ledge in the shower niche.

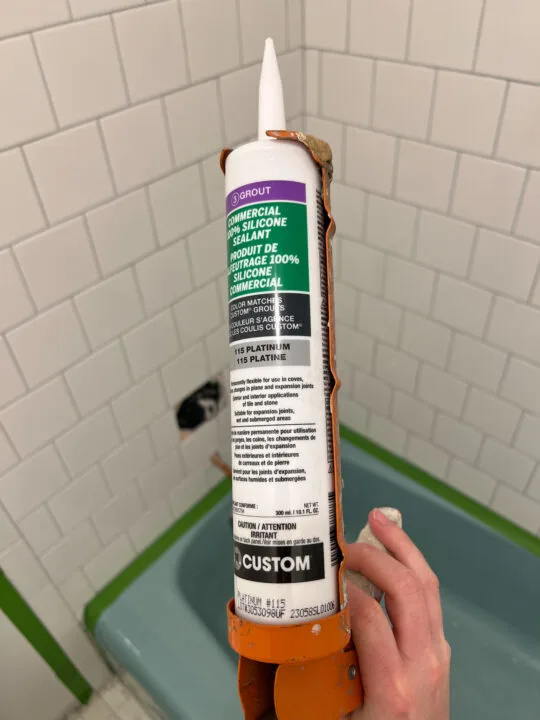
When choosing your caulk, make sure it is silicone made specific for tub and tile application. Caulk comes in a variety of colors and I highly recommend matching it to the color of your grout.

Use painters tape to create a clean, crisp caulk line.
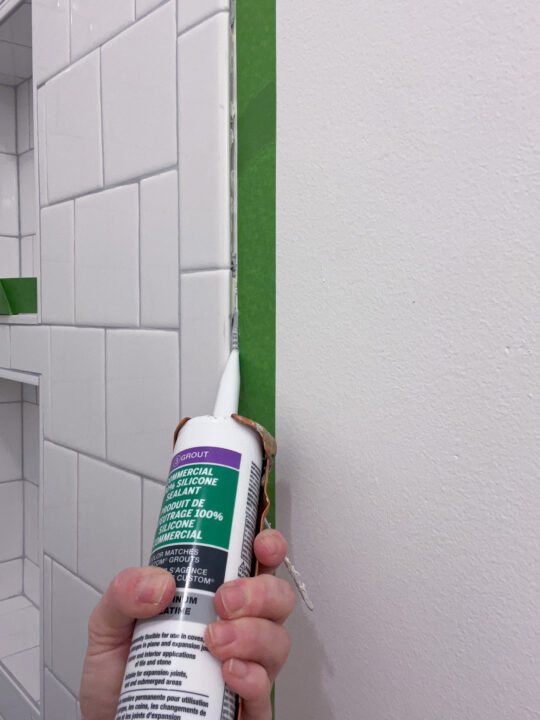

Squeeze caulk into the seams and then use your finger or a wipe (I like Crocodile Cloth) to smooth the caulk line.

Remove the tape and let the caulk cure before using the shower.
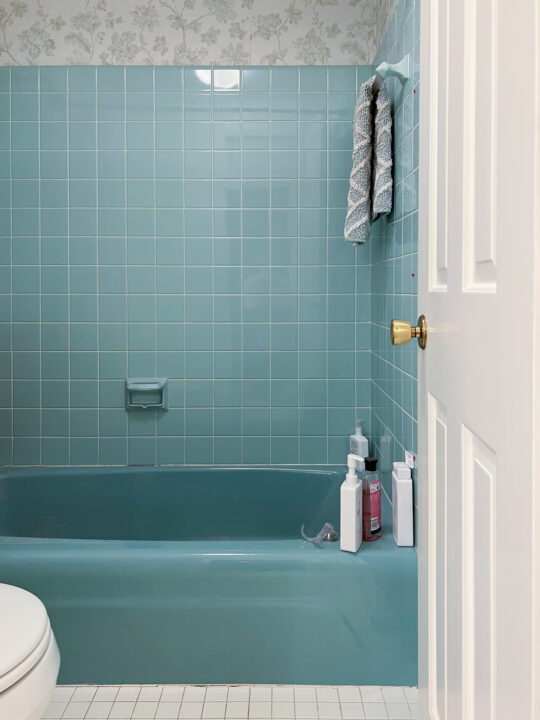
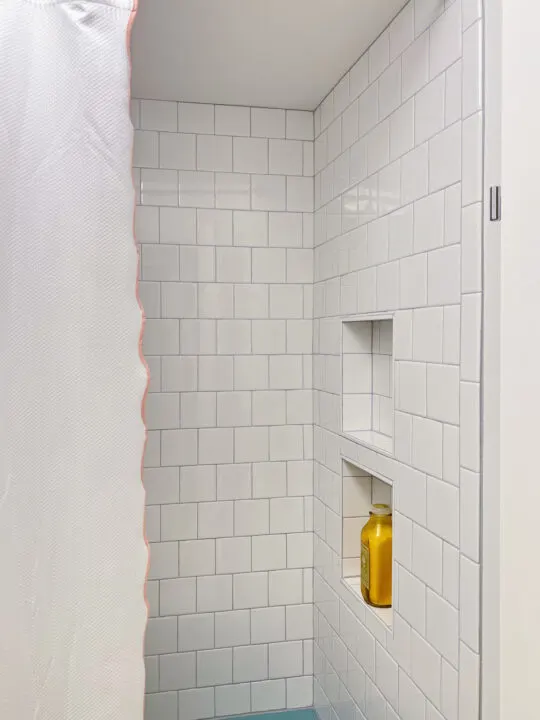
REVEAL | Shower Tile DIY

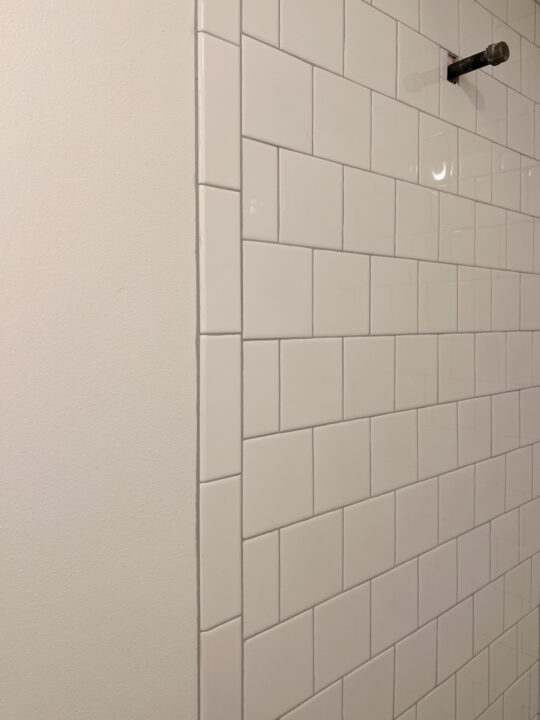
I am so incredibly proud of this shower tile DIY. From the material choices to the money I was able to save and the skills that I learned along the way, this was a fun project that was very rewarding.


One of my favorite parts of this shower DIY is how great the retro blue bathtub looks with the new shower surround.
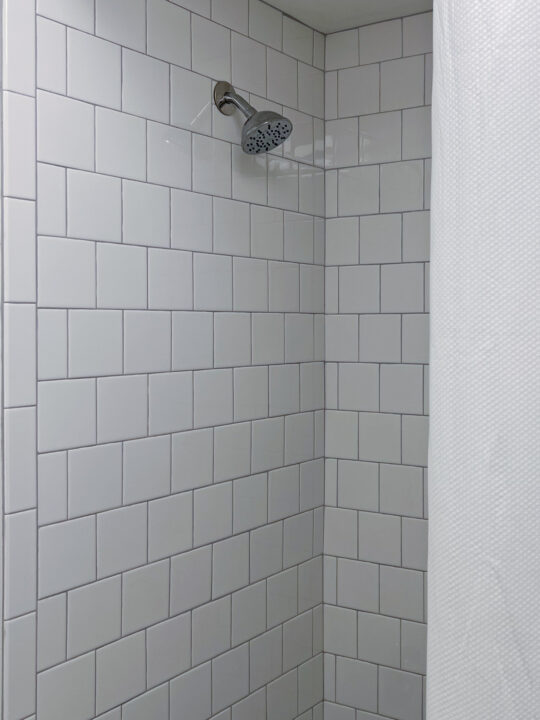

Choosing a classic tile that fits the era of our home was the key to making it all work together.
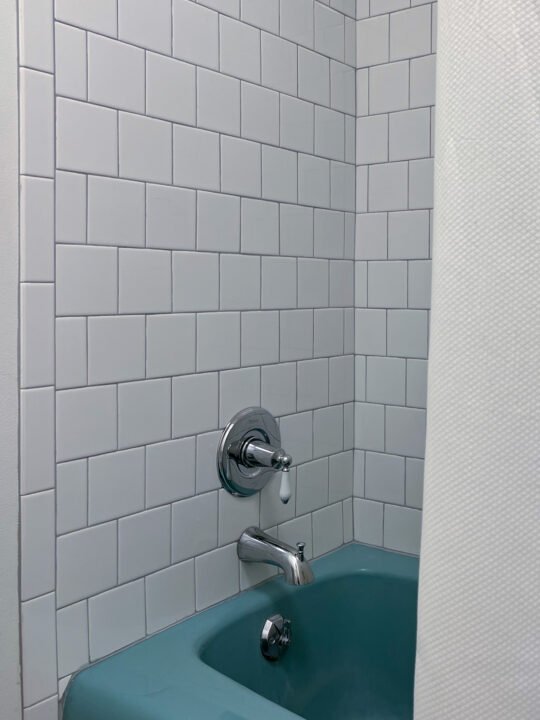

The shower leak has been fixed and beautiful new plumbing fixtures are installed! Most importantly, the kiddos are ecstatic to get their bathroom back!
I hope you found this DIY tutorial helpful if you are considering a shower tile project of your own! If you have any questions please ask them in the comments and I will do my best to answer. Good luck!
More Content You Will Love
- Awesome 1960s Bathroom Vanity Makeover | DIY
- 8 Ways to Update Your Vintage Tile Bathroom
- Easily Paint Your Basement Floors Yourself
- 9 Unique Kitchen Backsplash Ideas
- Building a Basement Bathroom From Scratch
Frequently Asked Questions
How do you tile around plumbing pipes in the shower?

While they do sell tools to cut circular shapes out of tile, I was able to work with the wet saw to tile around the plumbing. As long as the cut tile is covered by the face plate of the shower head or faucet fixtures, you will be fine.
What is the best grout color for white shower tiles?
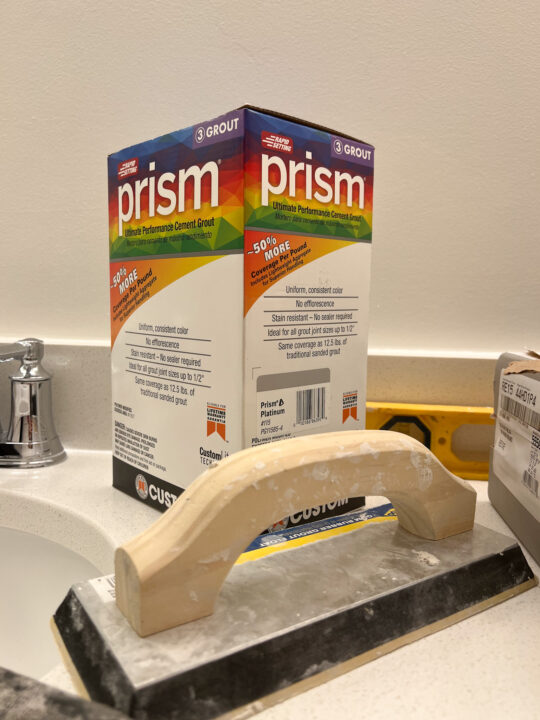

For the grout, I chose a light gray color (Platinum by Prism). I like that the light gray shows the tile pattern without being too harsh which can happen with a darker grout color.
I also avoided white grout because it shows dirt more easily and doesn’t show the tile pattern. If you don’t think you will remember to reseal your grout every few months, it is a good idea to use a grout that does not have to be sealed.
*Check out how to clean your grout with this simple grout cleaner recipe!
What is the best tile to use when tiling a bathtub surround?
If this is your first time attempting tile work, the simpler the tile design, the better. Subway tiles and square tiles are simple shapes that make installation pretty quick and easy. I have heard that glass tiles are more fragile when making cuts, so I avoid those tile options.
It is also important to consider the style of the house and your bathroom. Because we kept the retro blue bathtub, I needed a tile that worked well with the blue and fit the era of the style of our home. Square, white ceramic tiles were the tile size and design for our remodeled bathroom. For the tile edge, I chose subway tile trim pieces for a nice and clean finish.