
Last Updated on January 12, 2024 by lindseymahoney
Large, blank walls continue to intimidate me when it comes to choosing artwork.
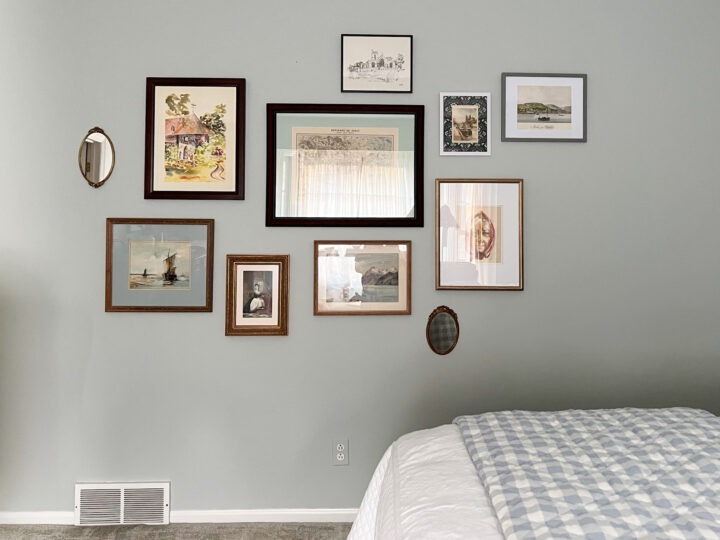
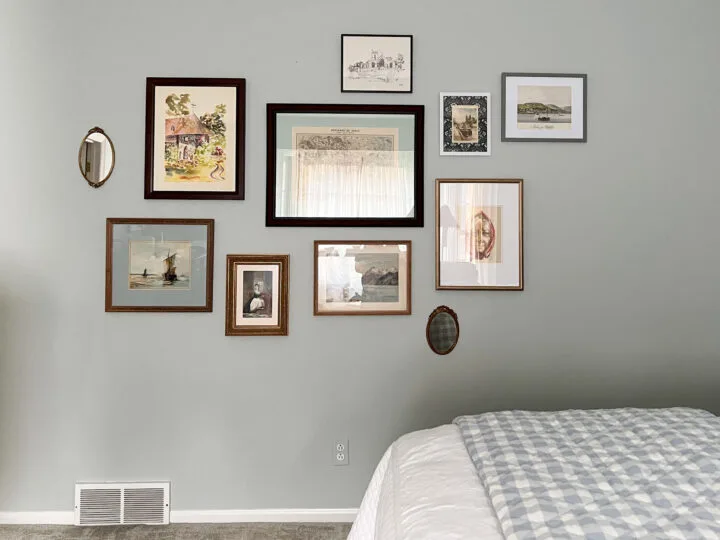
Whatever fills the walls has to be substantial and large artwork usually comes with a large price tag. The solution in the guest bedroom/office is a gallery wall and I am so pleased with how it turned out!
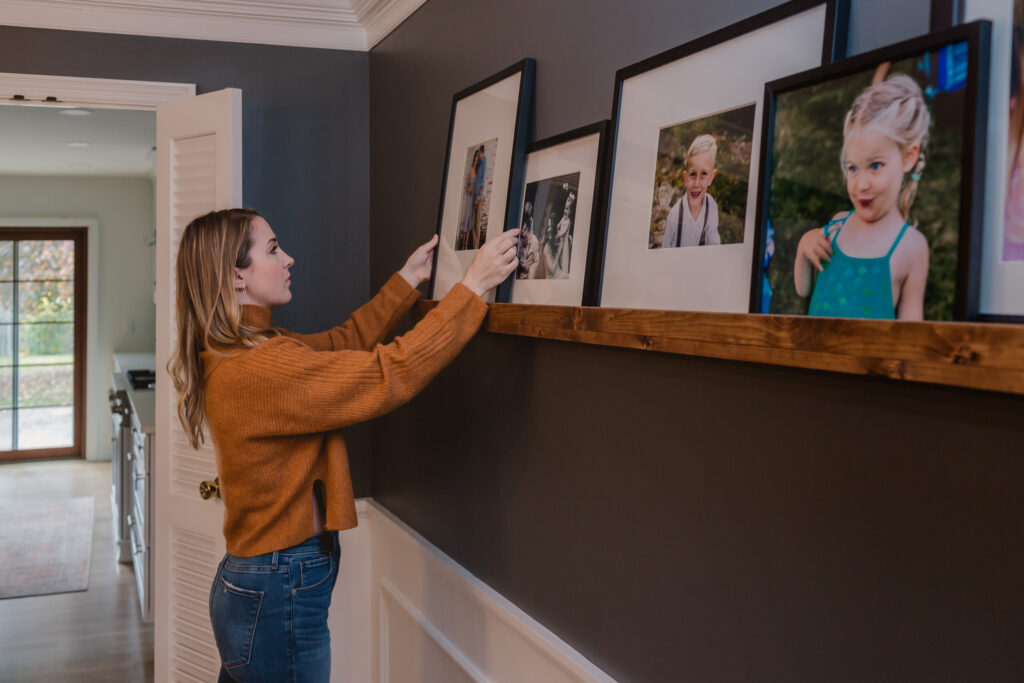
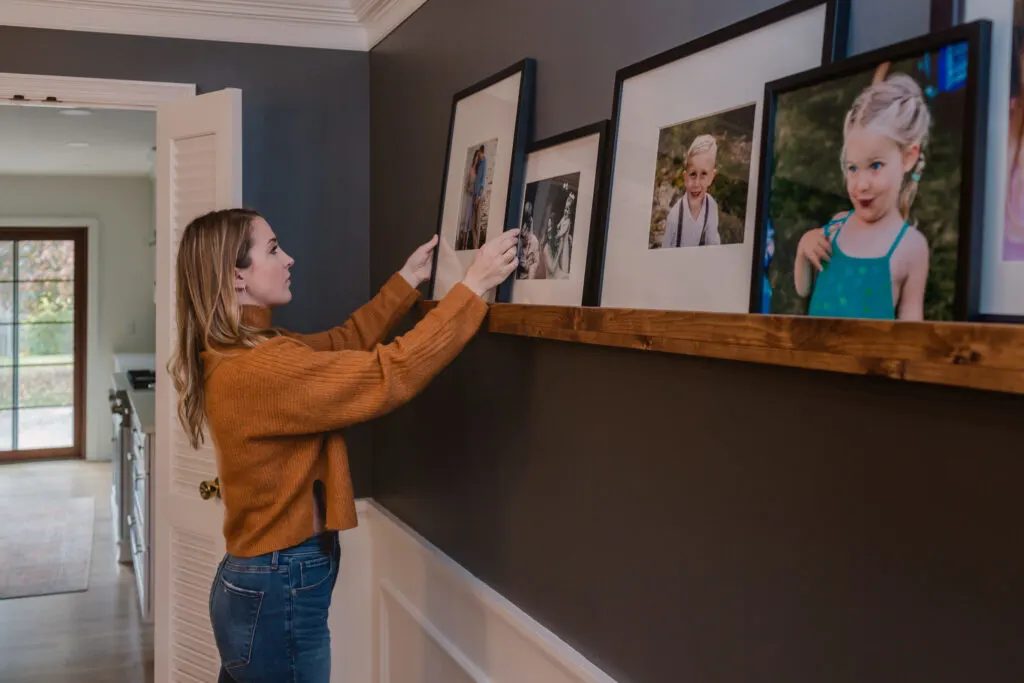
I ran into this same issue in our dining room and was able to come up with a beautiful, budget-friendly solution. I created a picture ledge for less than $30 and displayed our family photos. When in doubt, hang photos of the ones you love and you cannot go wrong.
For week 7 of the One Room Challenge, I am sharing my thought process and ultimate decision with the large bedroom wall!

Week 1 | Week 2 | Week 3 | Week 4 | Week 5 | Week 6 | Week 7
Check out the previous five One Room Challenge transformations:
Dining Room | Master Bedroom | Boys Bedroom | Girls Bedroom | Living Room
Choosing Artwork for the Bedroom Gallery Wall
Because the guest bedroom is also my office, I have more flexibility about the direction of the design. I have a large closet filled with decor items and unused artwork that I have found at estate sales.
Each piece of artwork caught my eye for one reason or another and was something that I found beauty in. The key phrase is “something that I found beauty in” because Chris does not always agree!
Since this space is also my office, I decided to create a gallery wall of art treasures that I felt compelled to buy.
When it comes to artwork, there are a few qualifiers that continue to draw my attention:
- Original artwork – paintings, drawings, or limited edition prints
- Portraits/pictures of women
- Scenes of mountains or the ocean
- Images that remind me of travel and memorable vacations
- Maps
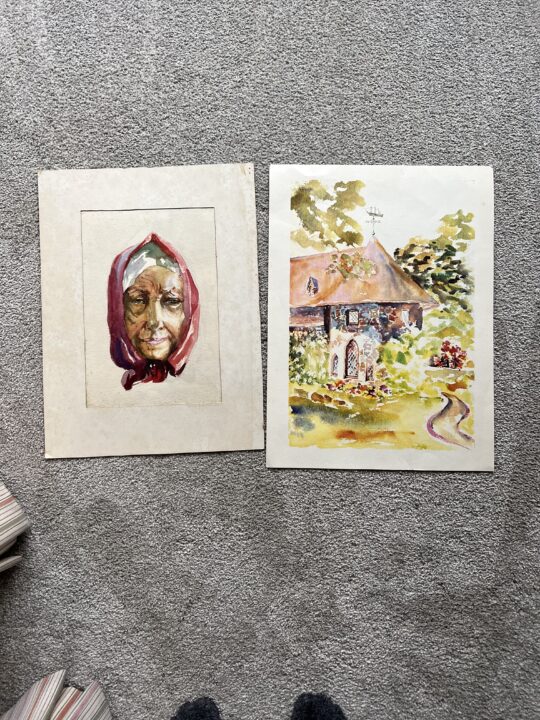
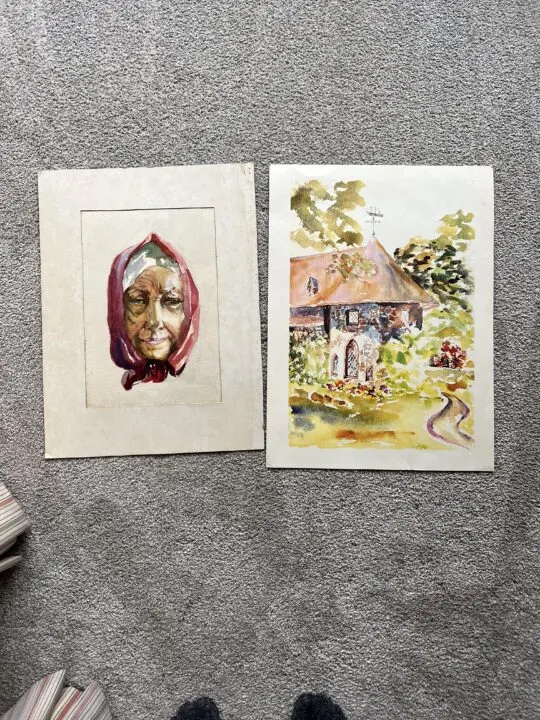
I found this portrait of a lady and a watercolor painting at a local estate sale that was so cool! The property looked like a castle (painted below) and for some reason, these two were calling my name!
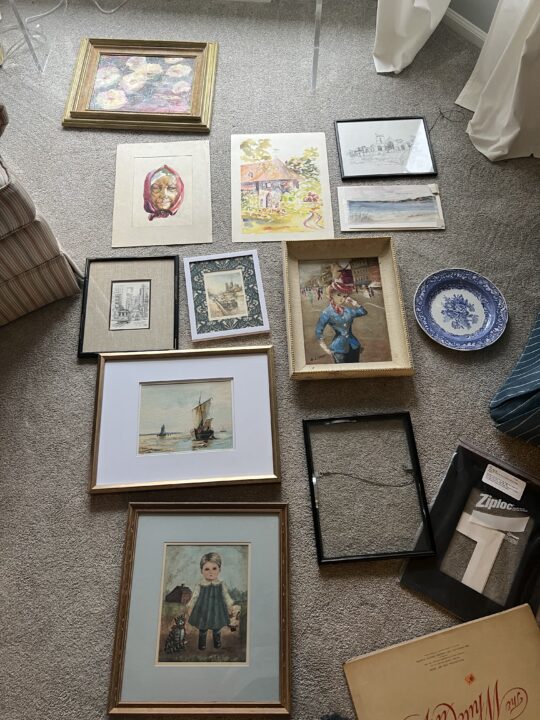

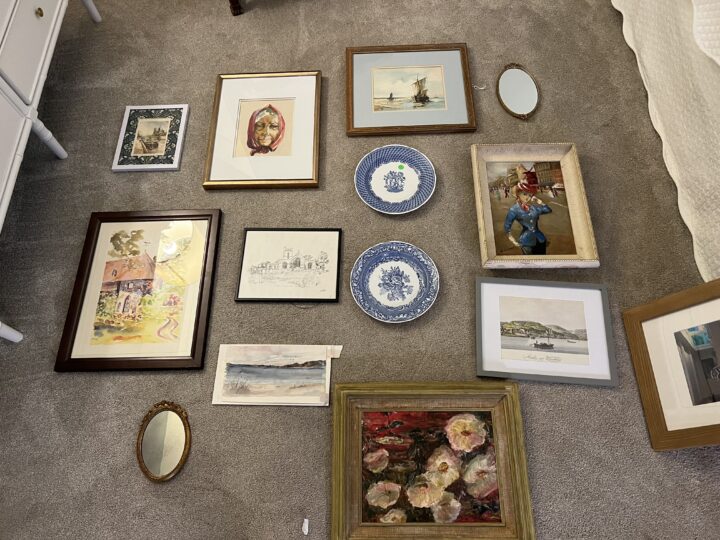
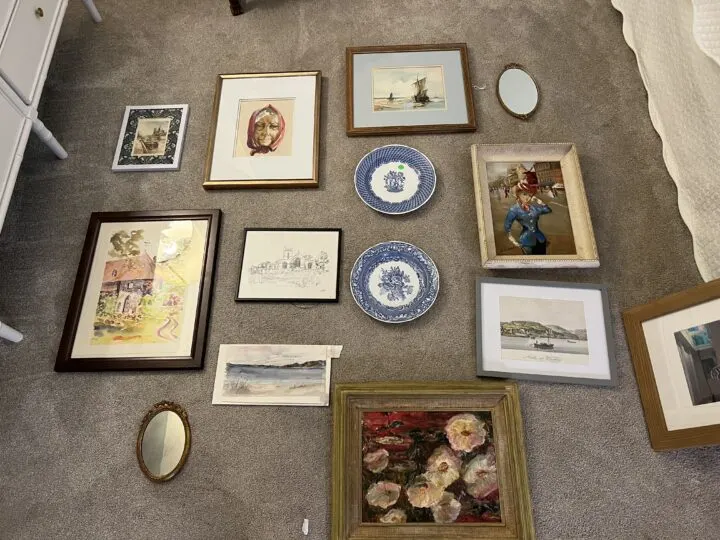
Going through my closet, I pulled out all of the artwork and frames I have been storing away. I began to sort through each one and determine which ones worked well together. I decided this based on the size, color, and content.

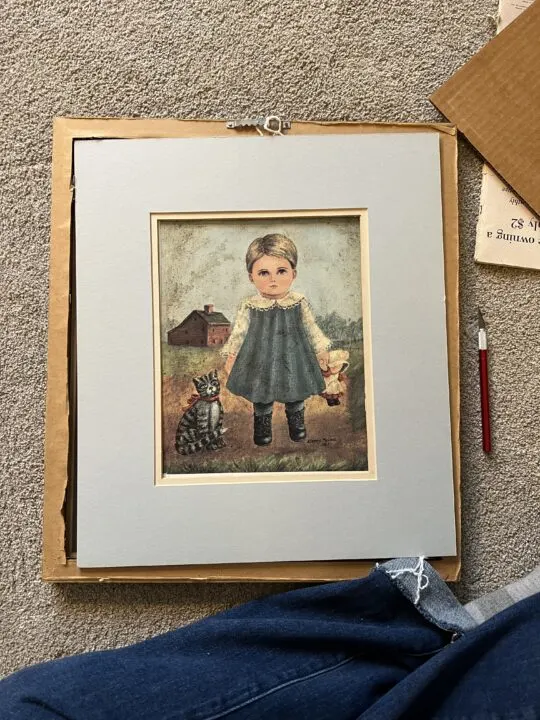
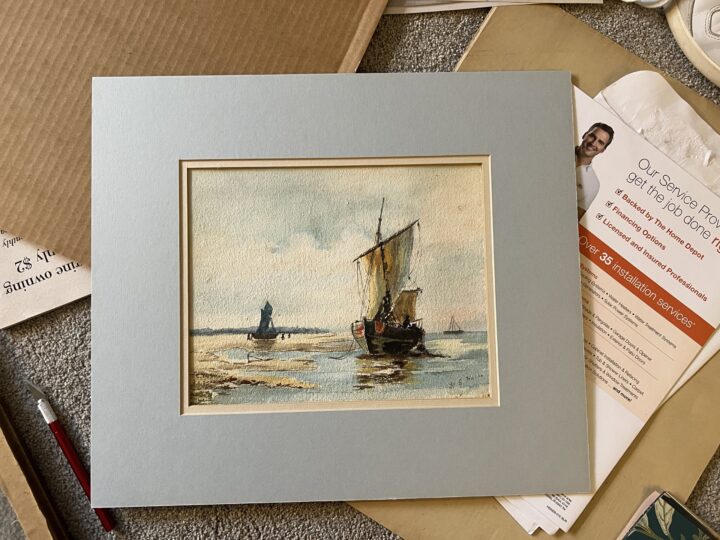
In some cases, I purchased artwork for the purpose of reusing the frame and matting. Below you can see that I swapped the child and cat for an original painting purchased a while back at an estate sale.
Creating a Gallery Wall
Making a gallery wall look effortless takes a lot of effort! Here is how I planned the gallery wall for this space.

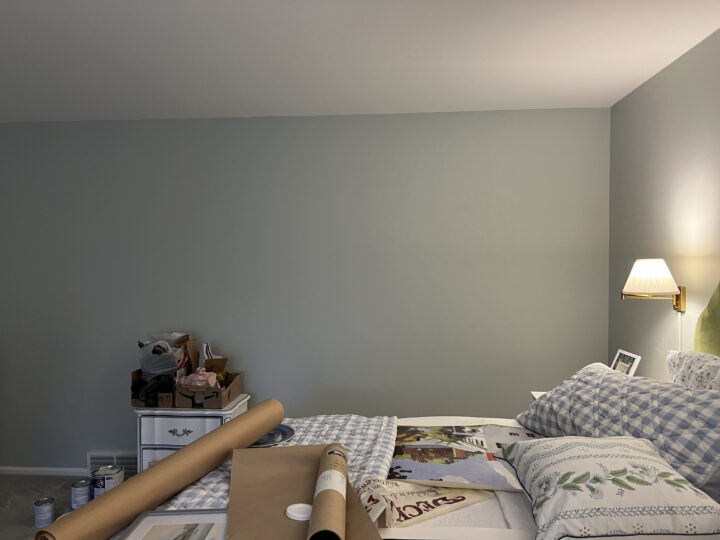
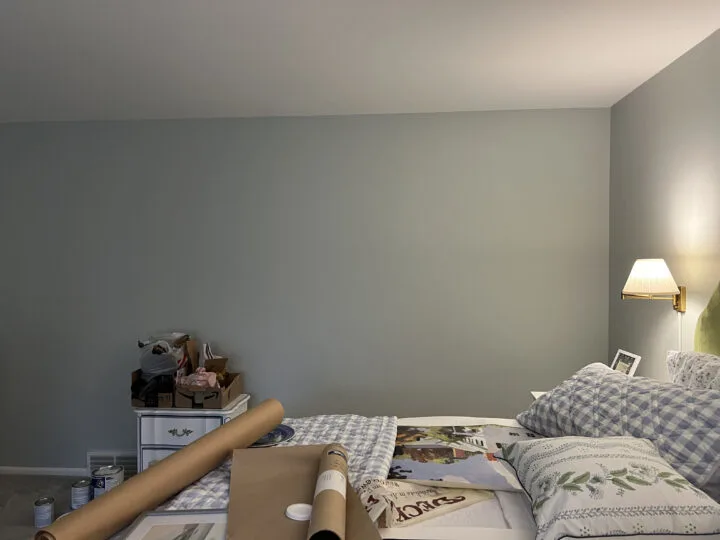
Balance
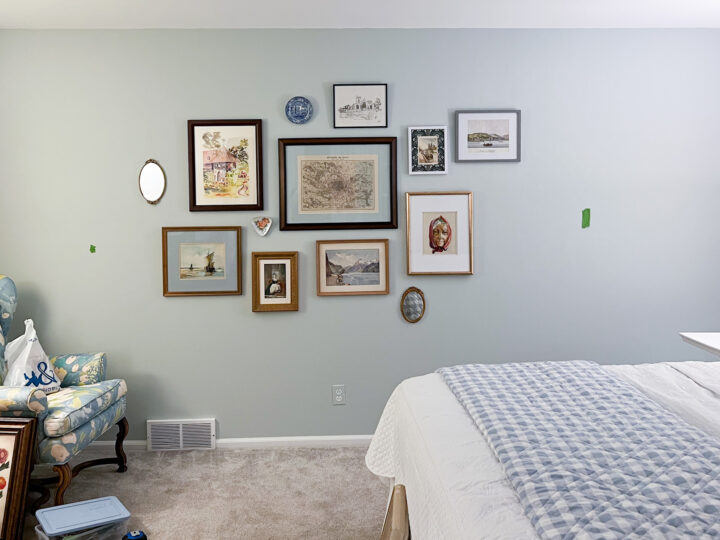
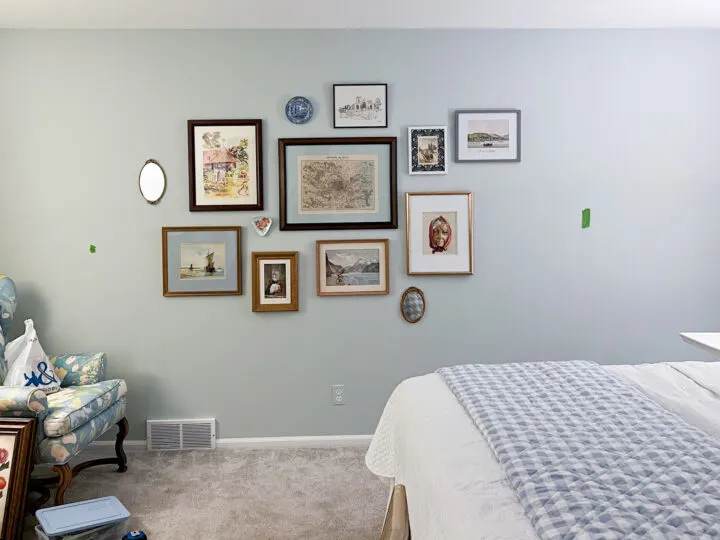
To create balance in the room, I decided to mirror the large bay window on the other side of the room. I used tape to mark where the width of the bay window and then marked the center. The tape on the walls below shows me where the bay window ends.
Create an Anchor
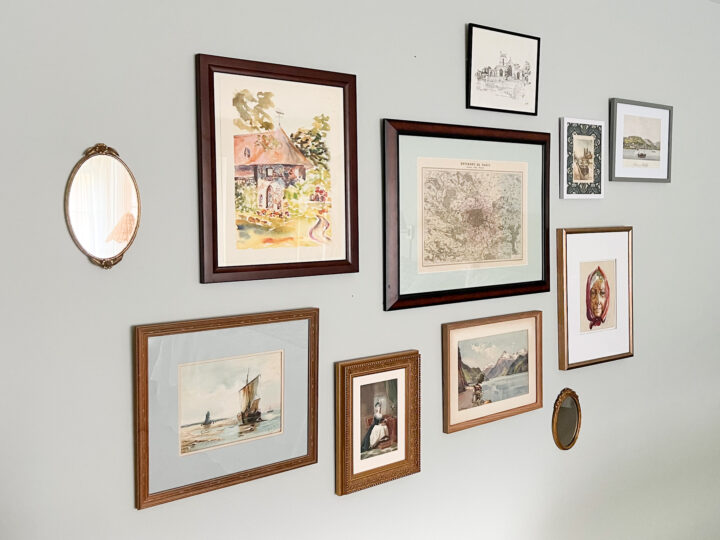
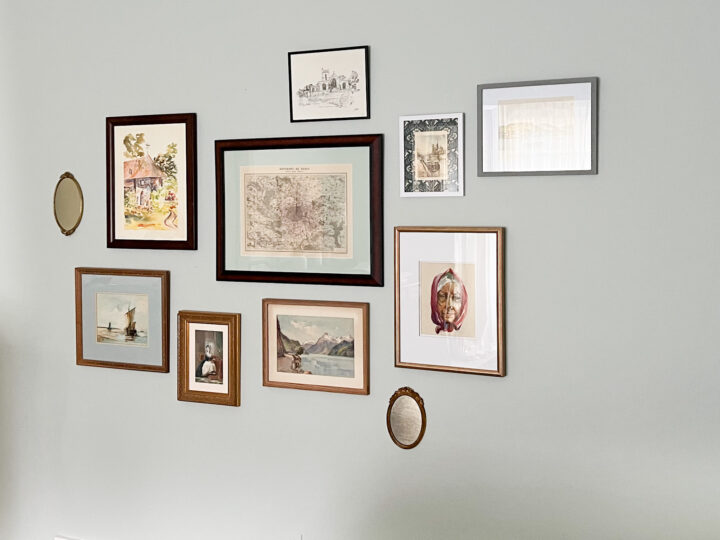
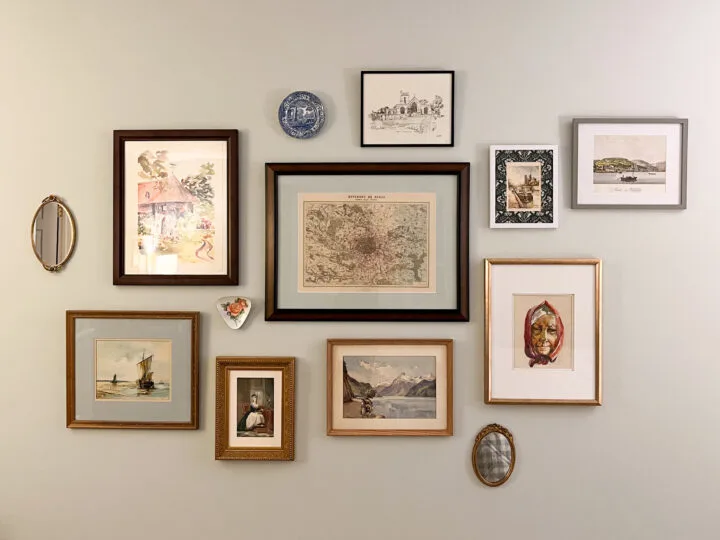
I took the largest piece of artwork (Paris map) and hung it in the center of the wall at 60″ to create an anchor.
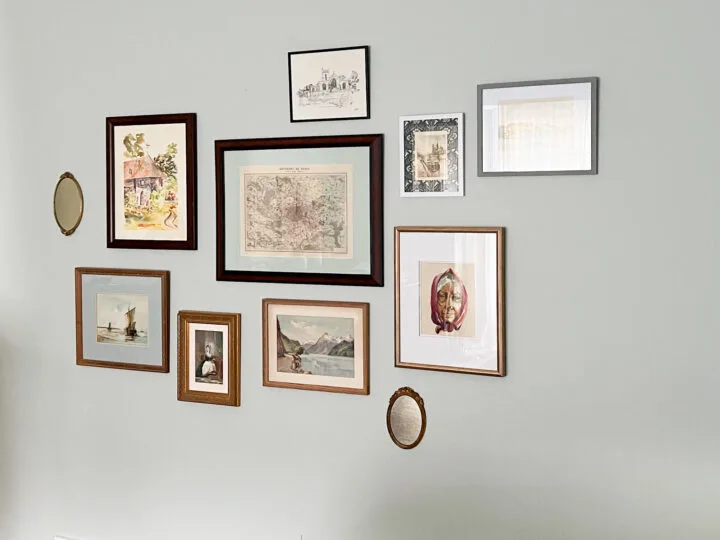
Avoid Frame Height from Aligning

As I hung the remaining artwork, I took great care to not have any frames align perfectly. I made sure that one side of the wall did not have too many large frames or too many small frames. This creates the effortless feel that makes gallery walls look so good!
Another important piece of advice, don’t be afraid to move items around if it doesn’t feel right! I think we all put too much emphasis on putting holes in our walls, but it really isn’t hard to fix. Below, I added two small plates to the wall but decided it looked better without them. A quick swipe of drywall filler and a dab of paint is all I need to fix the small holes where the plates hung.
Include different shapes
I added a few vintage mirrors to soften all of the hard edges of the gallery wall. Hanging plates is another great way to add different shapes to the gallery wall. You will also notice that all of the frames are different, but the gallery wall still has a cohesive look.
Similar Content You Will Love
- Grandmillennial Girls Bedroom Reveal | ORC
- One Room Challenge Week 7 | Vintage Artwork
- Filling Your Walls with Unique Artwork | ORC Week 4
- Artwork for the Dining Room | ORC Week 5
- Make a Patterned Photo Mat with Wallpaper
- 12+ Stylish Skirted Tables | Entryway Ideas
Check back next week for the big reveal! Head on over to the One Room Challenge blog to see all of the awesome design plans of the other participants.