Last Updated on February 7, 2023 by lindseymahoney
Welcome back to week 5 of the One Room Challenge! This week I have continued to work on DIY paint projects. Paint is my favorite budget-friendly DIY trick to change the look of furniture or a design item. I gave a fresh new look to an old bookshelf and decorative tray through the magic of paint.

Week 1 | Week 2 | Week 3 | Week 4 | Week 5 | Week 6 | Week 7
Check out the previous five One Room Challenge transformations:
Dining Room | Master Bedroom | Boys Bedroom | Girls Bedroom | Living Room
DIY Paint Projects in the Guest Bedroom/Office
The large room I am updating for the One Room Challenge has a dual purpose; our guest bedroom and my office. It honestly is used more often as my office and organization and storage are really important.
I have been using a wooden bookshelf that we purchased probably 15 years ago and it works great. If I can make items that I already own work within a design, I do it. Not only does it save money, but it prevents another perfectly good furniture piece from ending up in a landfill.
Painting the Bookshelf
This space is divided into two areas, the guest bedroom on one side and the office on the other. I purchased this gorgeous secondhand Century desk at a local consignment shop and the dark, wood is beautiful.
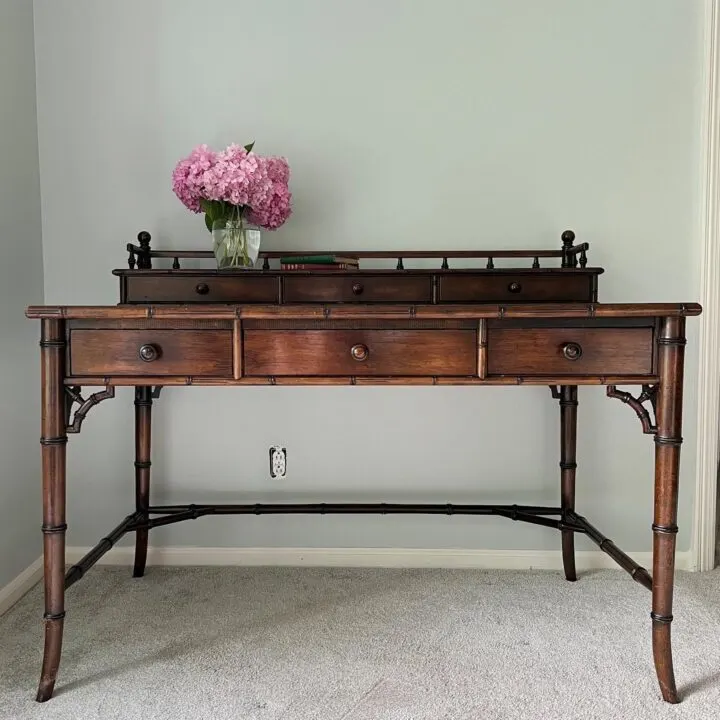
The bookshelf I have been using is also dark, but it is not nearly as nice as the Century desk and is made of particle board. I forgot to take a before picture, but you get a pretty good idea of the look based on the image below.
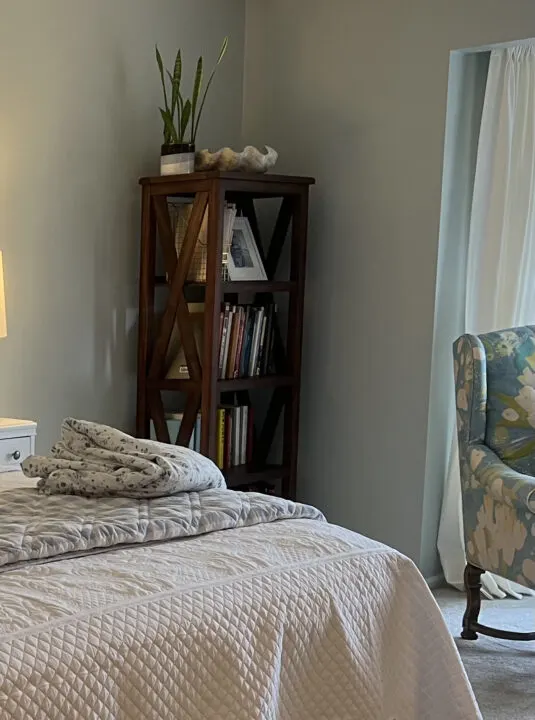
With both of these dark furniture pieces on one side of the room and the guest bedroom fill with light colors, it started to feel lopsided.
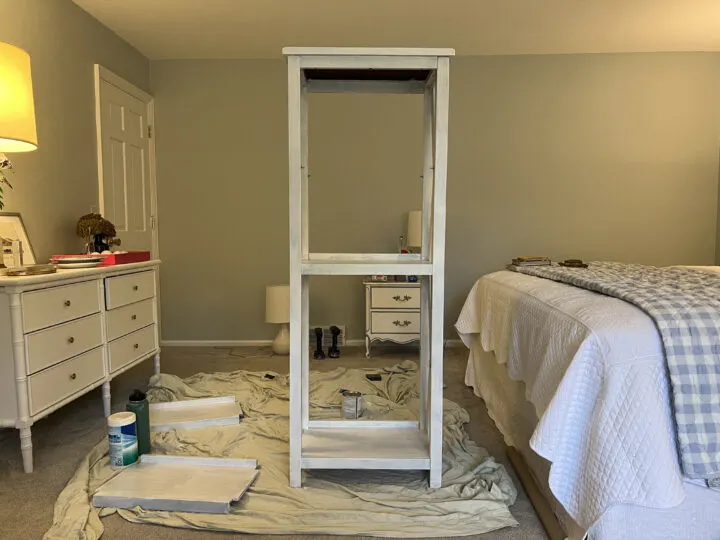
Last week I painted the nightstands white and the dresser is also white. I was concerned that if I painted the bookshelf white it would look too matchy, matchy. If there are too many painted furniture pieces, it can also start to feel “farmhouse” which I want to avoid.
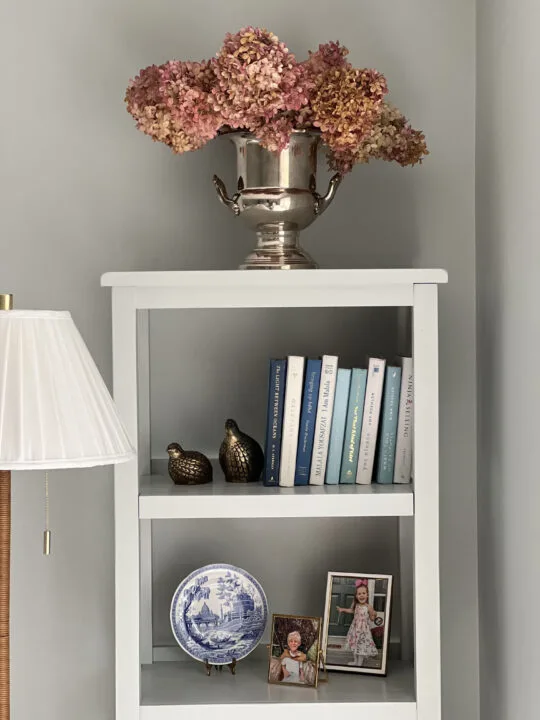
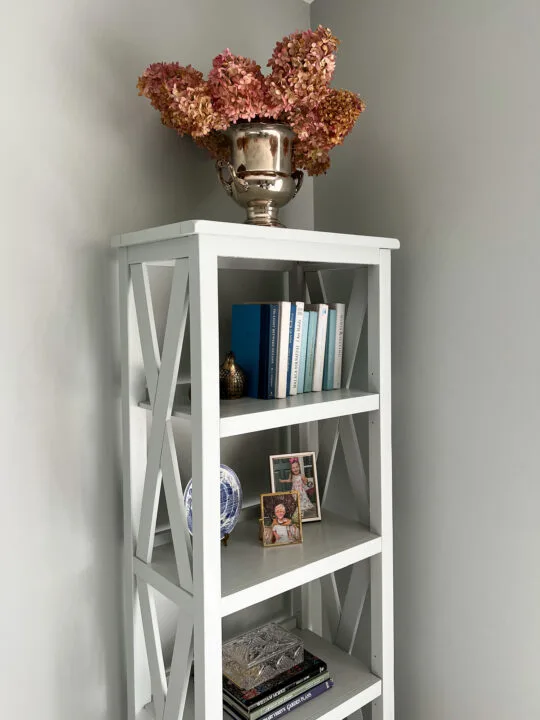
I decided to paint the bookshelf the same color as the wall to blend into the background a bit. The detailing gives the bookshelf dimension and the items on the bookshelf really stand out.
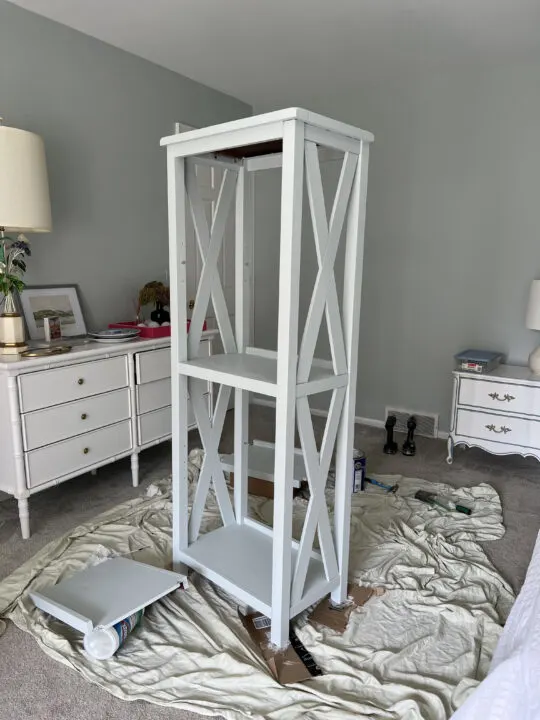
To achieve this look, I applied two coats of Zinsser primer and two coats of light blue (leftover wall paint). For durability, I applied a clear, matte finish to prevent scratching and scuffing.
Two-Tone DIY Lacquered Tray
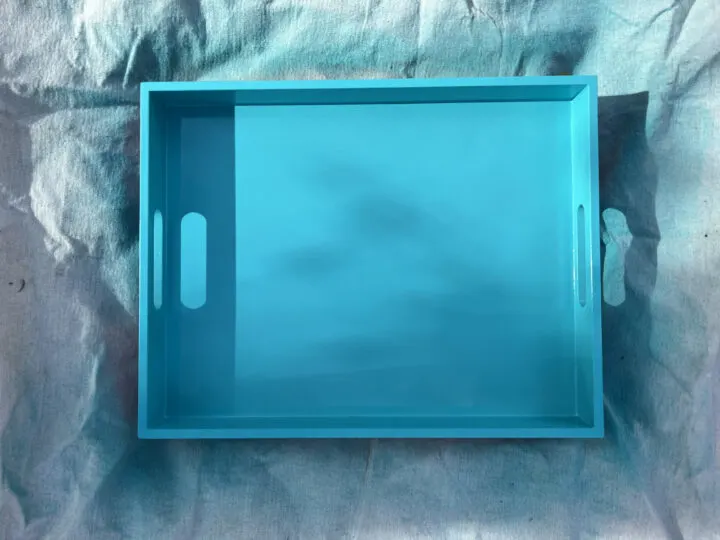
I have been admiring Rita Konig’s lacquered trays for a while now, but I cannot justify paying $200 for a decorative tray. I am attempting a budget-friendly version of my own and I am still working on this DIY project.
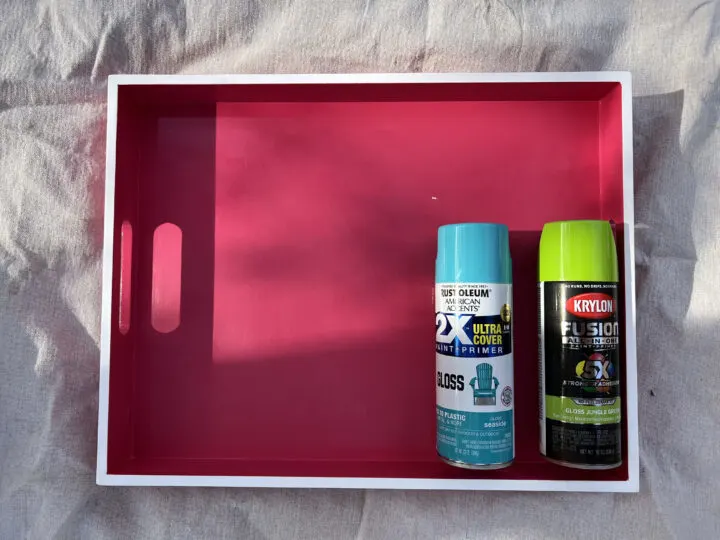
Blue and green are the main colors in this guest bedroom/office design and I decided to keep that going with this DIY lacquered tray. I am a bit nervous that the green is a bit too neon, but we will see how it goes! Check in next week to see the reveal.
This week I also worked on fixing the wood tannin that showed through on one of the nightstands by applying a Zinsser primer. It worked like a charm and now I just need to add the clear coat.
More DIY Paint Projects You Will Love
- Old Sheet Music Cabinet Makeover | DIY
- Easy IKEA Hemnes Dresser Hack to Try at Home
- DIY Scalloped Edge Shelf | Easy IKEA Hack
- Paint an Exposed Basement Ceiling Black
- How to Paint Concrete Basement Floors
- How to Paint A Pool and Save Money | Tutorial
Now I really need to get working on the artwork that will hang on the walls! Check in next week to see what I decide. Head on over to the One Room Challenge blog to see all of the awesome design plans of the other participants.
