Last Updated on August 11, 2022 by lindseymahoney
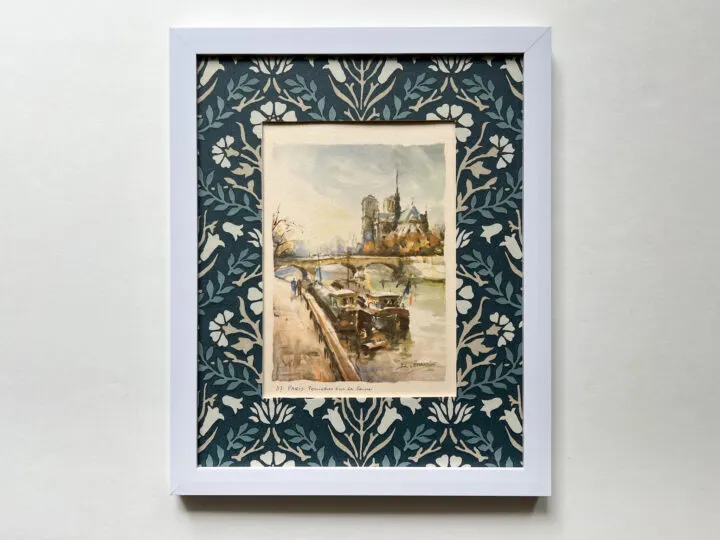
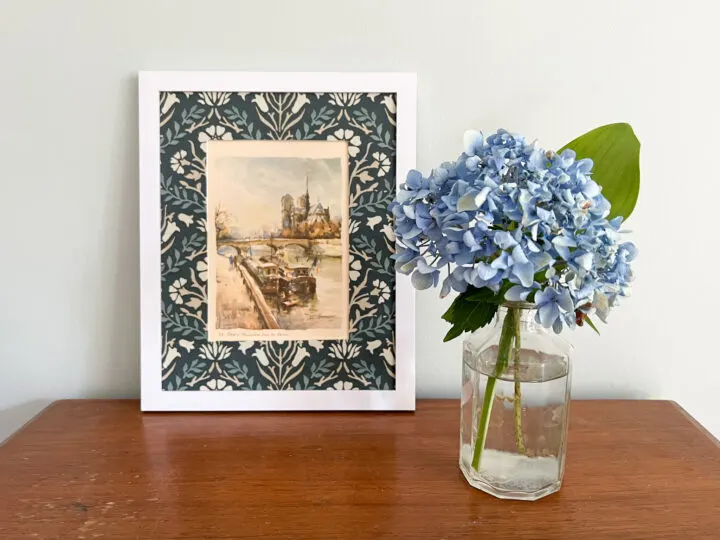
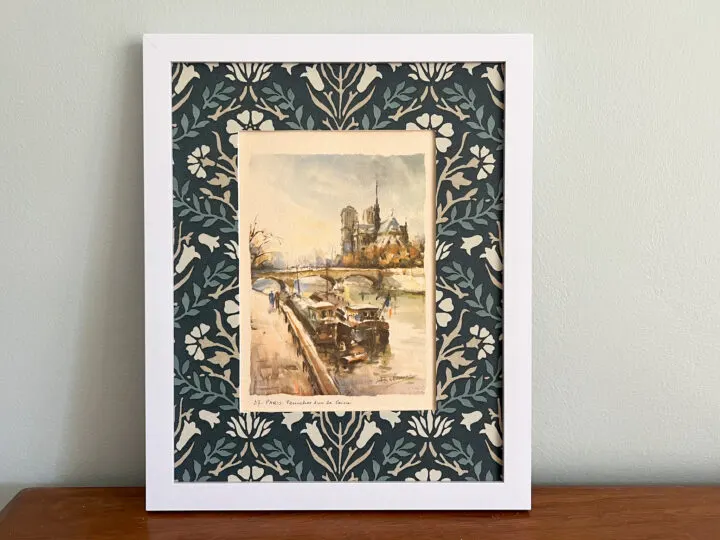
I love decorating my home with unique and affordable artwork. My latest DIY is easy, and cheap, and I was able to upcycle unused items in my home! This easy tutorial shows you how to make your own patterned photo mat using wallpaper samples.
For this DIY project, I have a few tips to make your artwork pop.
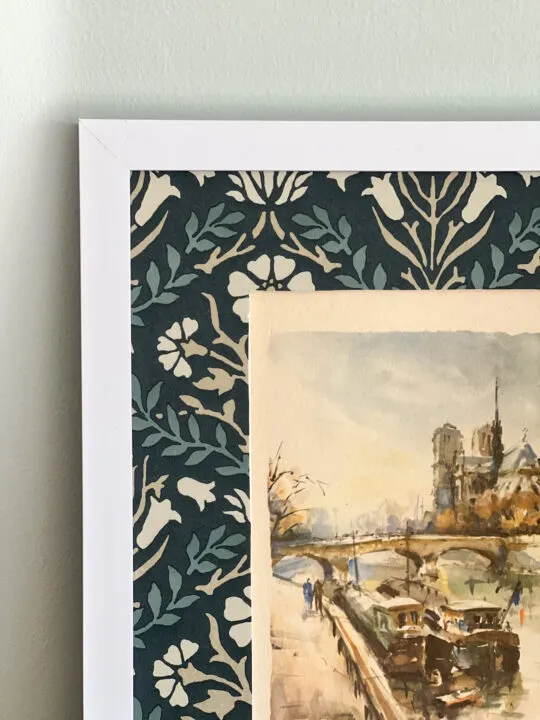
When choosing a wallpaper sample, look for paper with smaller patterns that can be seen on the mat. It doesn’t look as exciting if the mat only shows the edge of a leaf from the wallpaper sample.
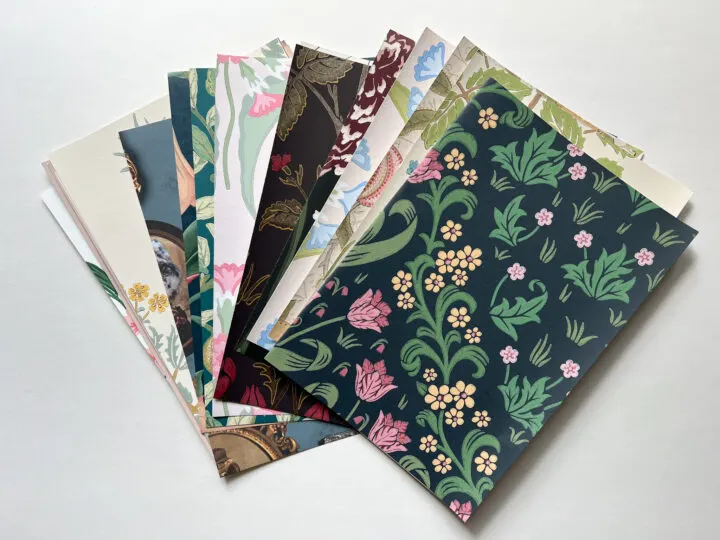
Consider framing a black-and-white photo or artwork so it does not compete with the patterned photo mat. Color images look nice as well, but you want to make sure the image and pattern complement each other and don’t clash.
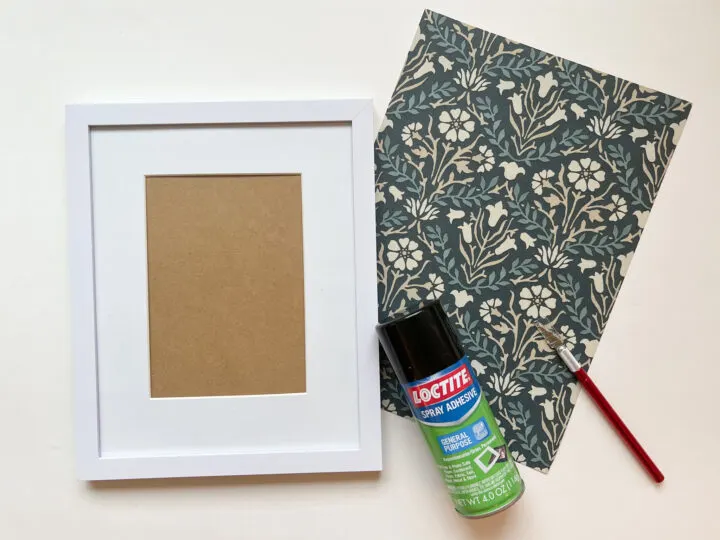
List of DIY Materials Needed
- William Morris Bellflower Wallpaper Sample (already owned)
- 8×10 Picture Frame
- Frame size will vary based on your preference and wallpaper sample
- Exacto Knife
- Spray Adhesive
- Cutting board (optional)
How to Make a Patterned Photo Mat
This post includes affiliate links, thank you for supporting Building Bluebird!
1 | Remove the Mat from the Picture Frame
Take the photo mat out of the picture frame and dry-fit the wallpaper over it. Determine what part of the wallpaper you want visible once it is attached to the mat.
2 | Use Spray Adhesive to Attach Wallpaper Sample
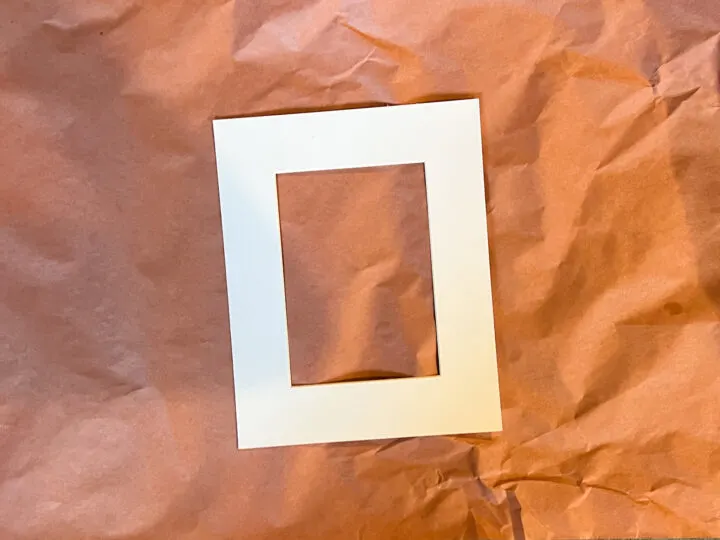
In a well-ventilated area (I used my garage), use the spray adhesive to evenly coat the photo mat.
Follow the instructions on the spray adhesive can. Once the mat was sprayed with adhesive, I secured the wallpaper sample on top.
I was nervous that I would attach the wallpaper crooked, but it turned out great!
3 | Cut Excess Wallpaper Not Attached to the Mat
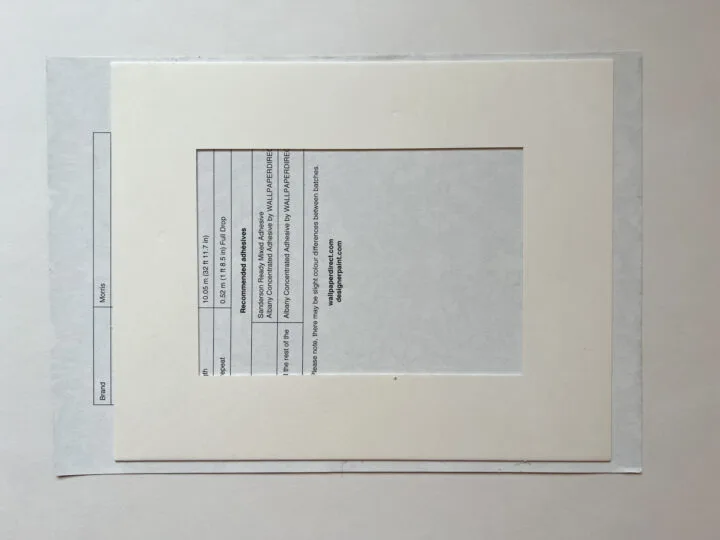
Once the wallpaper was attached to the photo mat, I brought it back inside. I placed the matting face down on my fabric cutting board so that I could see where there was excess wallpaper. I
t is important to have some sort of surface under the mat before using a sharp knife to cut. If you don’t have a fabric board, a few pieces of cardboard would work, too.
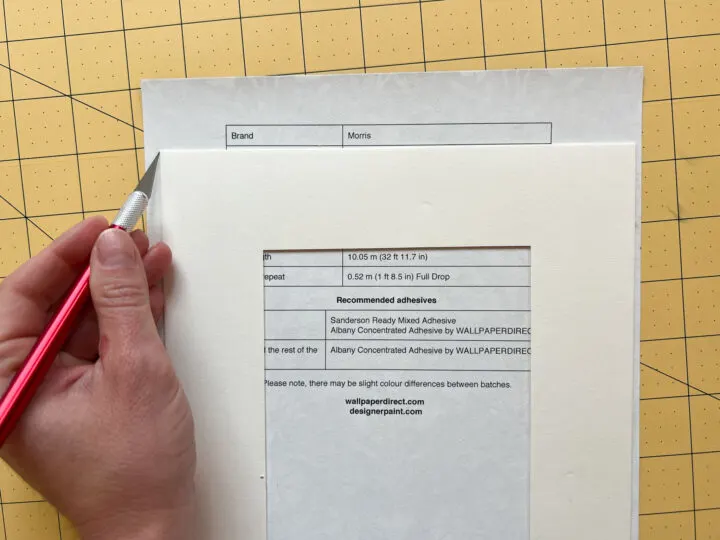
Next, I used an Exacto knife to remove the extra wallpaper around the mat.
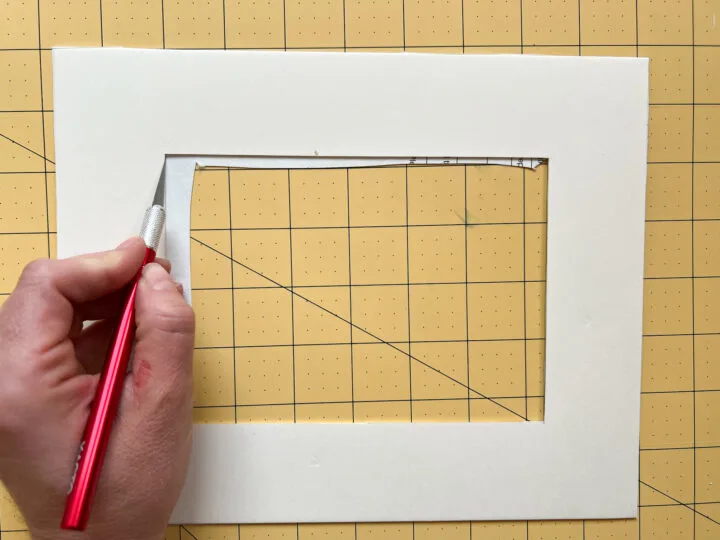
I followed the same process to remove the wallpaper in the center of the mat where the photo would be displayed.

I didn’t worry about making a perfectly straight cut around the perimeter of the mat because the edge is covered by the frame.
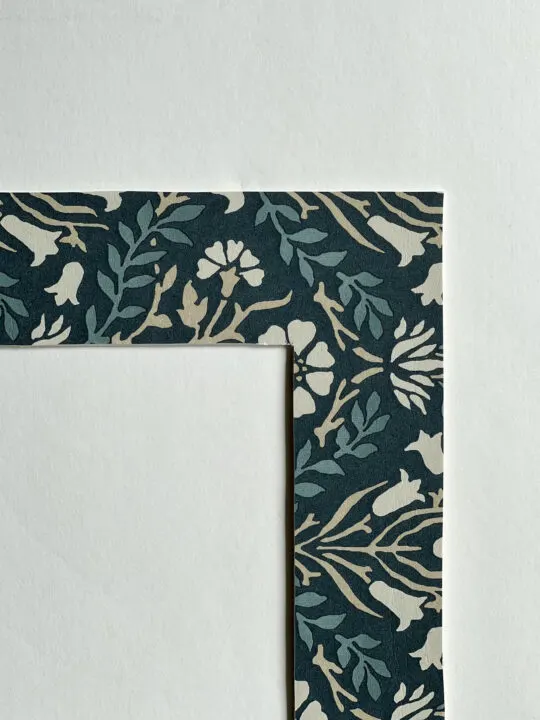
4 | Add Patterned Photo Mat and Photo to the Frame
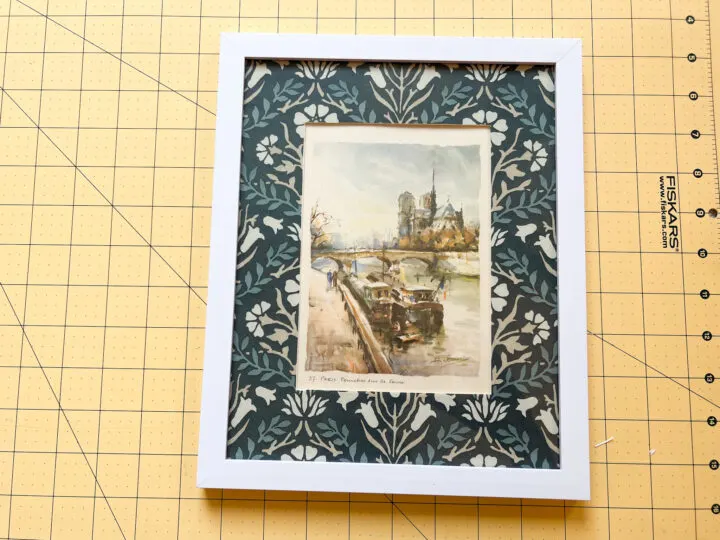
It is a good idea to choose your photo or artwork for this project before you choose the wallpaper to give it a cohesive look. I chose a vintage watercolor painting of Paris for my frame and it works with the neutral colors in the wallpaper sample.
Black and white images and artwork are a great choice for this DIY. They look great with bold patterns on the photo mat.
Here are a few digital downloads to consider if you need an image to frame.
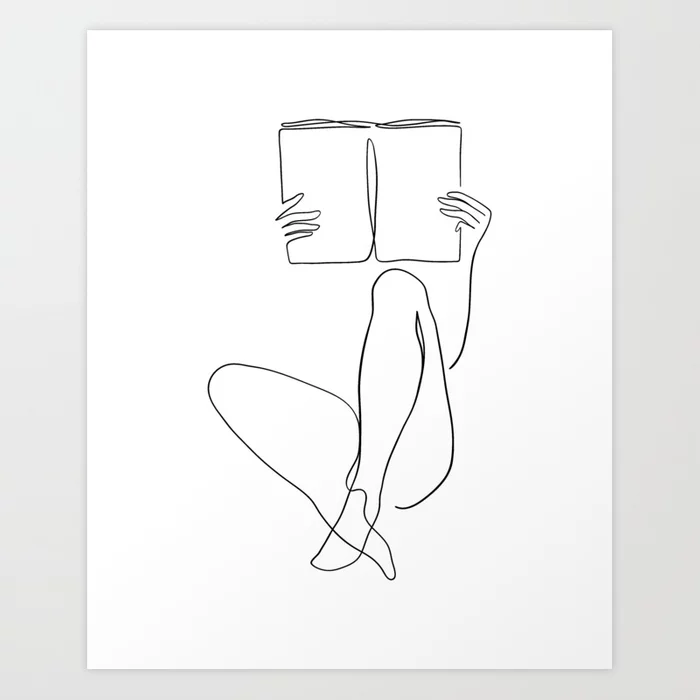
Love this simple sketch of a woman reading a book.
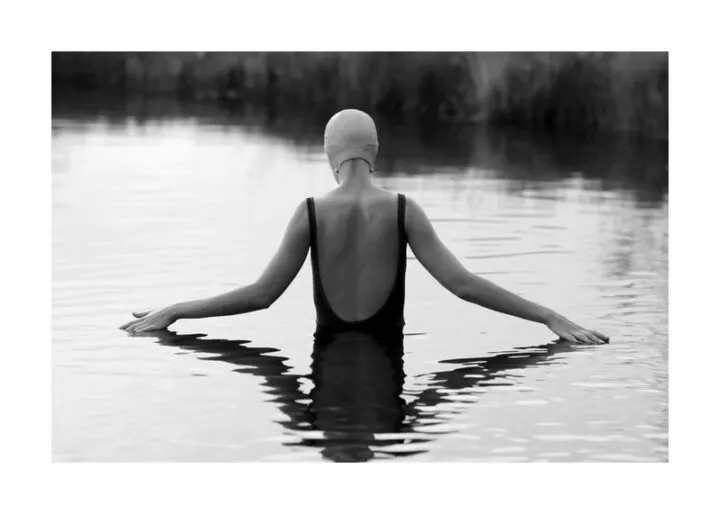
The contrast in the image below is stunning. Use one of your own black and white images to personalize your artwork
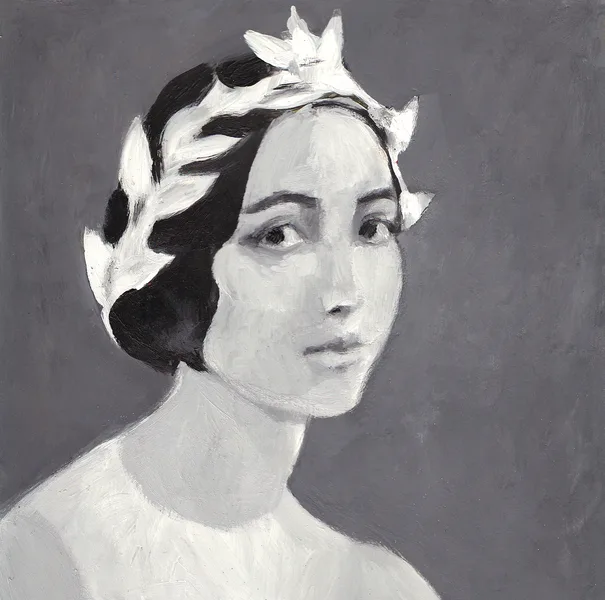
Here is an 8×8 portrait of a woman that I love.
5 | Enjoy Your Custom Framed Artwork!
FAQ’s
What does it cost to make your own patterned photo mats?
This entirely depends on what items you already own and where you decide to purchase new items.
For this project specifically, I already owned the picture frame, wallpaper sample, and cutting board. I purchased the spray adhesive and a new Exacto knife bringing the total cost of this project to under $20.
The cost will increase if you purchase a brand-new picture frame. I recommend looking at local thrift stores to find cheap picture frames to use. Wallpaper samples vary in cost, but are usually less than $10.
What are some other creative picture matting ideas?
The possibilities are endless! I have many more custom photo mat ideas I plan to try. Here are some more options:
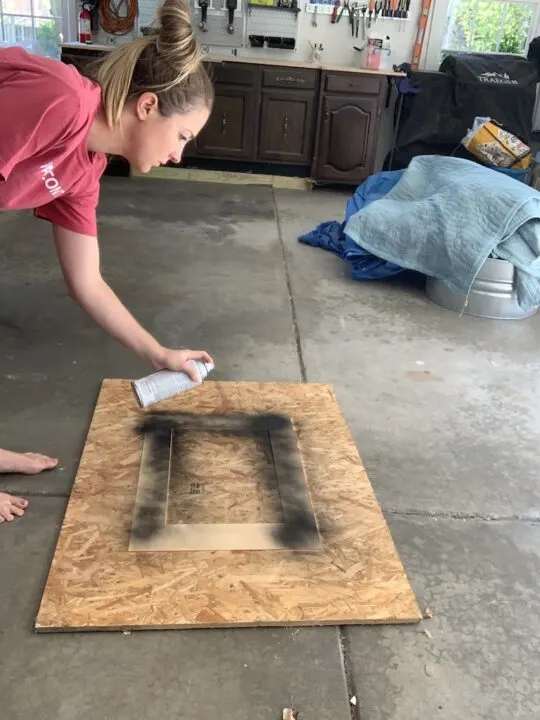
- Spraypaint the photo mat a new color
- I purchased a vintage piece of artwork from an estate sale and sprayed the matting black.
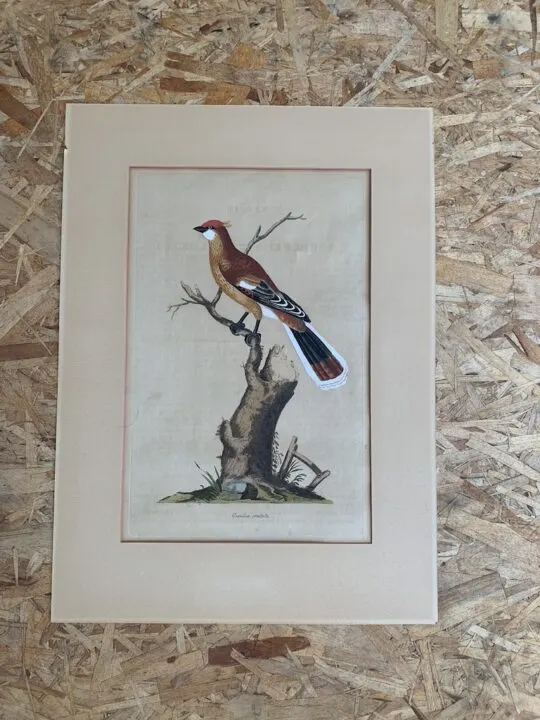
- The black mat is just what this print needs to stand out
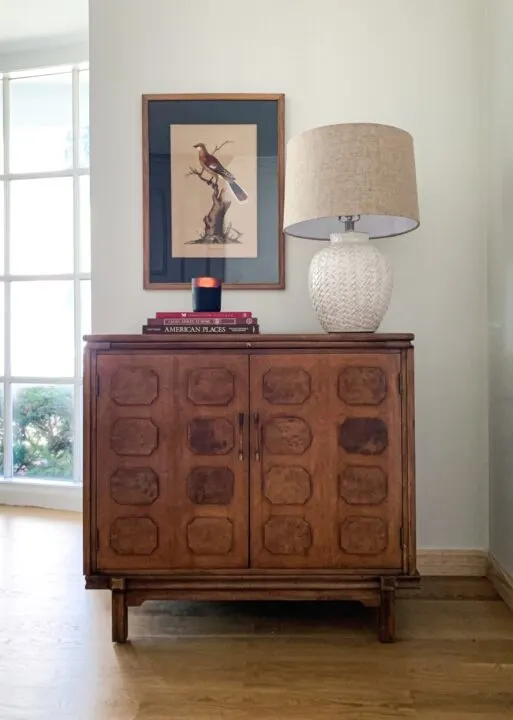
Check out the complete transformation of my living room where I hung this vintage bird print.
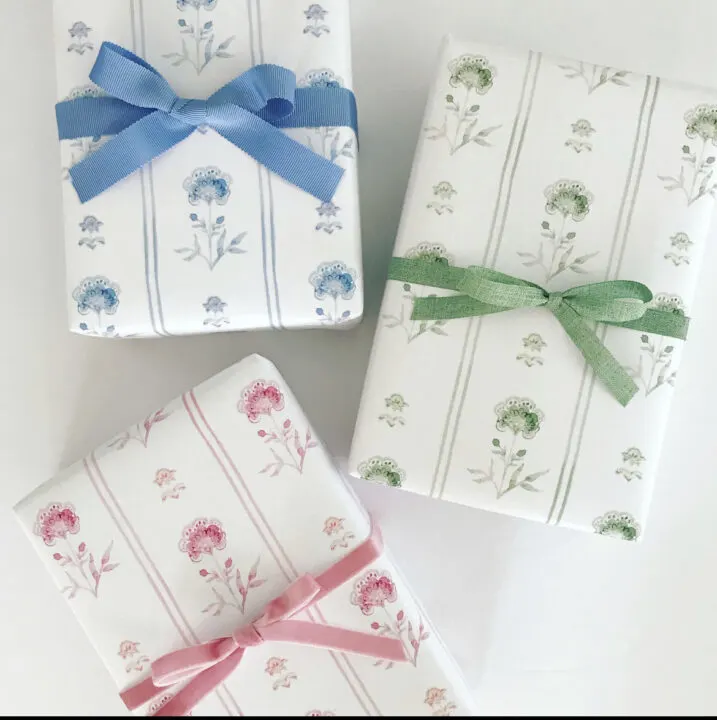
- Attach patterned wrapping paper to the photo mat (I recommend paper without a glossy sheen)
- Etsy has a ton of great options
- Attach the fabric to the photo mat for a textured look
- Paint your own pattern on the photo mat
- Use patterned scrapbook paper
- You can find lots of options at The Paper Source, Michaels, Etsy, and any other craft store around town
- Sheet music
- Text from a book
- Ex: books on botany, vintage books with worn pages, or even a novel you love
- For a really luxe look, consider wallpapering the picture frame on the same paper as the photo mat
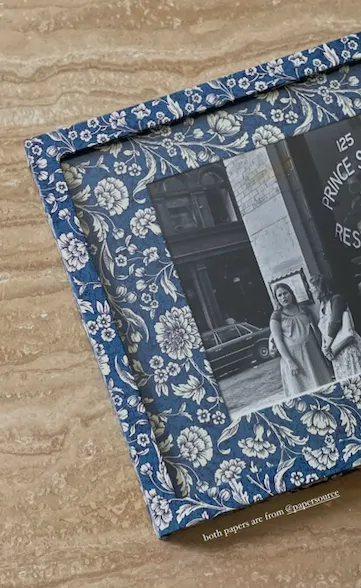
- Think outside of the box when looking for patterned paper
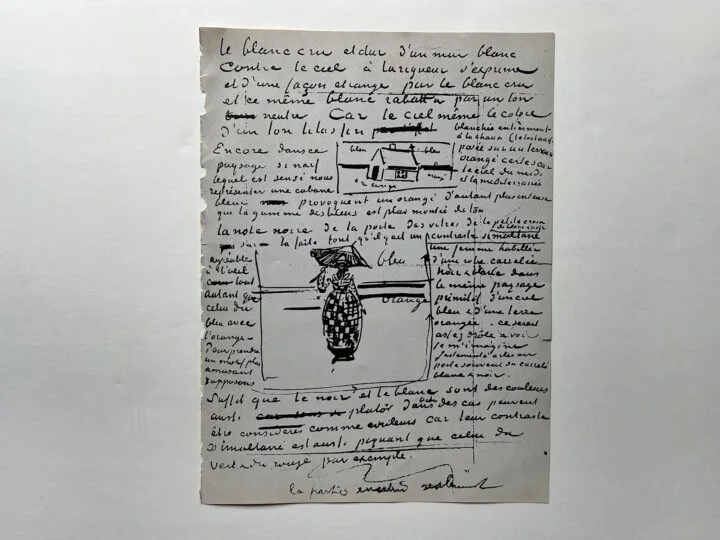
- Ex: Here is a page from a vintage Museum exhibit that has scribblings from Van Gogh
Where can I find unique wallpaper samples?
These days, you can find wallpaper at any home decor shop! Here are a few online sites that I frequently use:
Check out estate sales, antique stores, and thrift stores to find designer wallpaper sample books. I have found many of these throughout the years and it is a great opportunity to find vintage wallpaper samples that are one of a kind.
Similar Content You Will Love
- How to Wallpaper Your Staircase Risers | Easy DIY
- DIY Checkered Frame | Fun and Easy Decor Trend
- How to Hang Pre-Pasted Wallpaper by Yourself
- 20+ Affordable Ways to Add Unique Art to Your Home
- How to Plan & Install Box Molding on a Wall
- The Best Tools to Remove Wallpaper from Drywall
- How to Paint A Bed Frame | Easy DIY Tutorial


Emily
Wednesday 6th of March 2024
How did you do the frame? Looks so so good!!!