
Last Updated on February 3, 2025 by lindseymahoney
After lusting over an expensive try by Rita Konig, I decided to create my own dupe with this simple painted tray DIY.

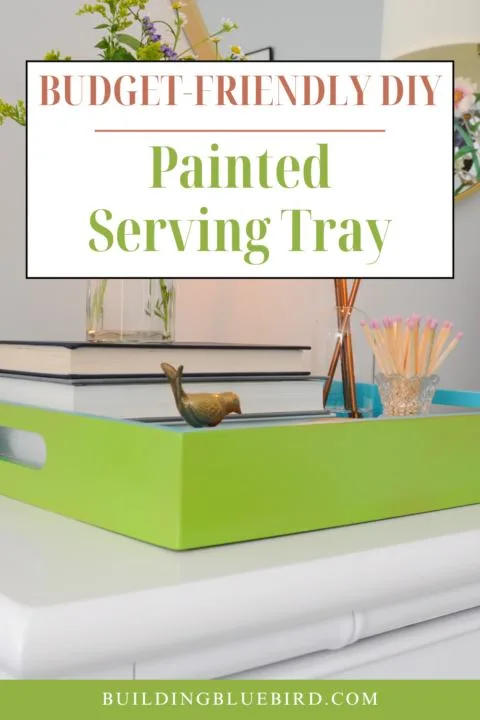
Table of Contents
- DIY Serving Tray Inspiration
- Easy DIY Lacquer Tray Tutorial
- DIY Lacquer Tray Product List
- 1 | Lightly Sand the Decorative Tray
- 2 | Spray Paint the Inside of the Tray
- 3 | Prep the Decorative Tray for the Second Color
- 4 | Paint the Exterior of the Tray Green
- 5 | Apply High Gloss Clear Coat for the Lacquer Tray Look
- DIY Lacquer Tray Reveal
- Similar Content You Will Love
DIY Serving Tray Inspiration
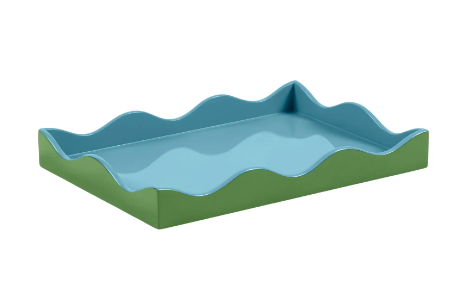
One of my favorite designers is Rita Konig and I have been drawn to the beautiful lacquer trays she designs and sells. I recently renovated my guest bedroom/office and her two-tone, blue and green, lacquer tray fit perfectly with the design concept. A medium-sized tray like below is listed at $275.

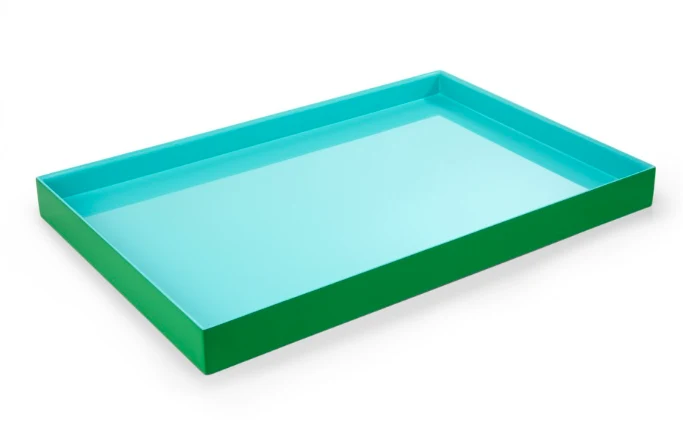
I found a similar style by Pentreath and Hall that is listed at $450!

Because my budget is nowhere near those prices, especially for a decorative tray, I decided to tackle this DIY lacquer tray dupe that cost less than $40!
Easy DIY Lacquer Tray Tutorial
[This post includes affiliate links, thank you for supporting Building Bluebird! Scroll to the bottom of this post for a complete list of materials for this DIY.]
DIY Lacquer Tray Product List

- Tray (found at consignment shop) – $15
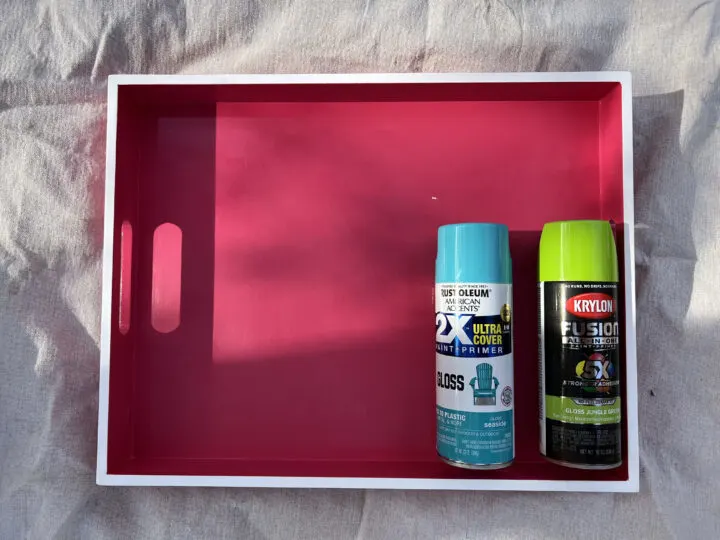
- Blue spray paint – $7
- Green spray paint – $7
- High gloss spray paint – $10
- Specialty Laquer Spraypaint option
- Painters Tape for Delicate Surfaces (owned) – $0
- Sanding block (owned) – $0
- Dropcloth (owned) – $0
TOTAL COST: $39
For this project, I recommend working in a well-ventilated area, ideally outside. Lay down a drop cloth to protect the ground and get ready to create your own DIY lacquer tray!
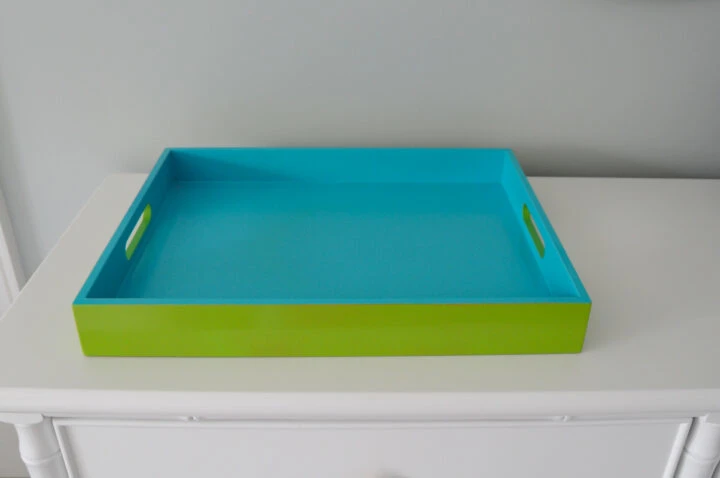
I found a tray at a secondhand shop that was the perfect shape and size for this DIY project.
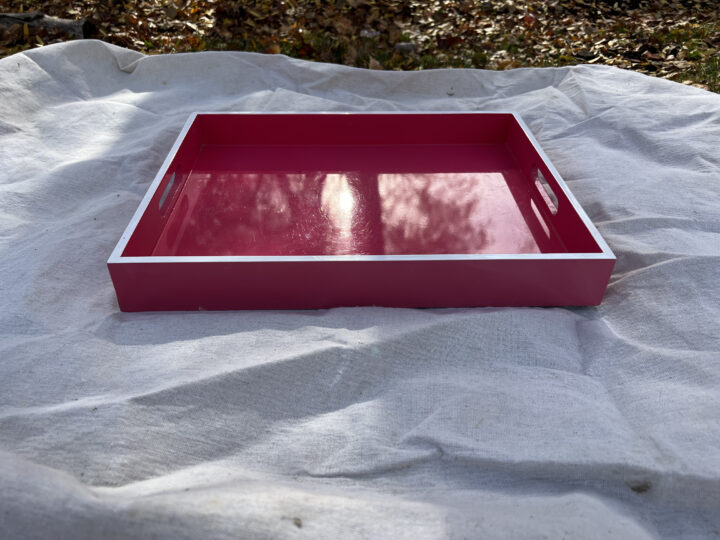

To achieve a similar look to my lacquer tray inspiration images, I chose bright blue and green spray paint to give the tray a little punch.

**For more painting tips, check out the best supplies for painting interior spaces and how to choose your paint sheen!
1 | Lightly Sand the Decorative Tray
Use a sanding block to rough up the surface of the tray a bit to help the paint adhere. This was an important step for my tray in particular because it already had a shiny, glossy finish.
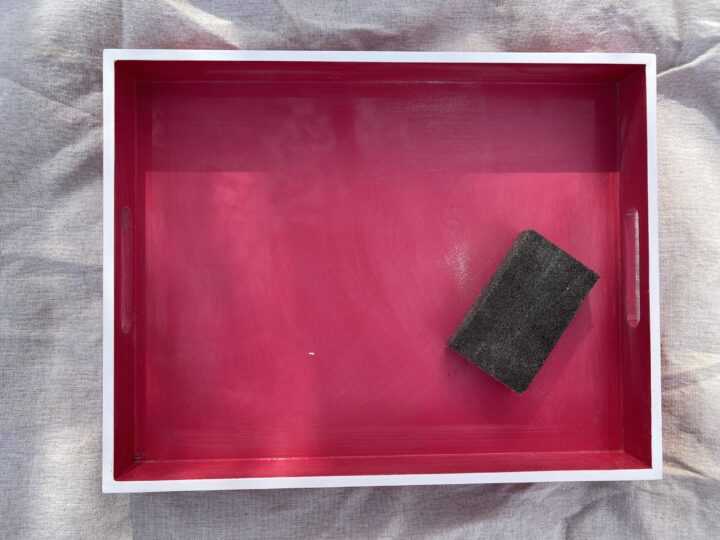
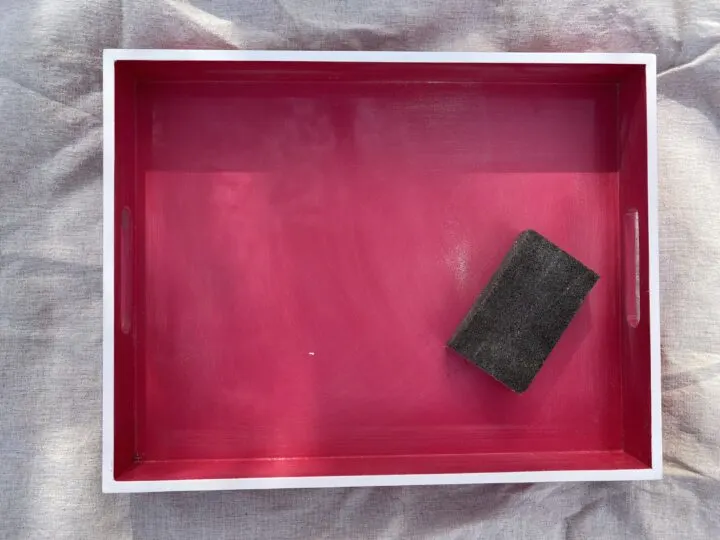
Once you finish sanding the tray, clean the tray to remove all dust and residue. When the surfaces are clear, you are ready to start painting!
2 | Spray Paint the Inside of the Tray
I decided to paint the interior of the tray first, and then paint the outside of the DIY lacquer tray. Whether you begin with the inside color of the tray or the outside, is really a personal preference.

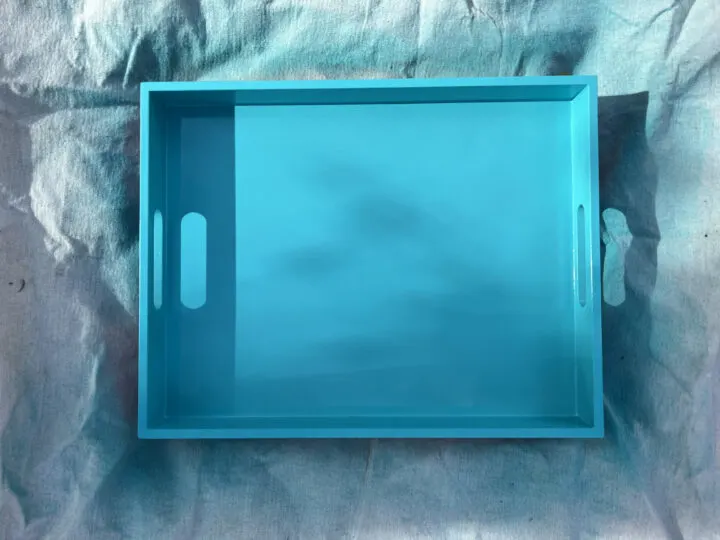
Apply light coats of spray paint (I chose blue) to prevent any drippage. This will take several coats of spray paint for complete coverage, but it is worth it to get the smooth, glossy finish.
When spraying the top lip of the tray, I recommend spraying the outer edges as well to prevent any of the original tray colors from showing through. This was not something I did and I ran into an issue where a small sliver of pink showed on one side where the colors transitioned from blue to green.
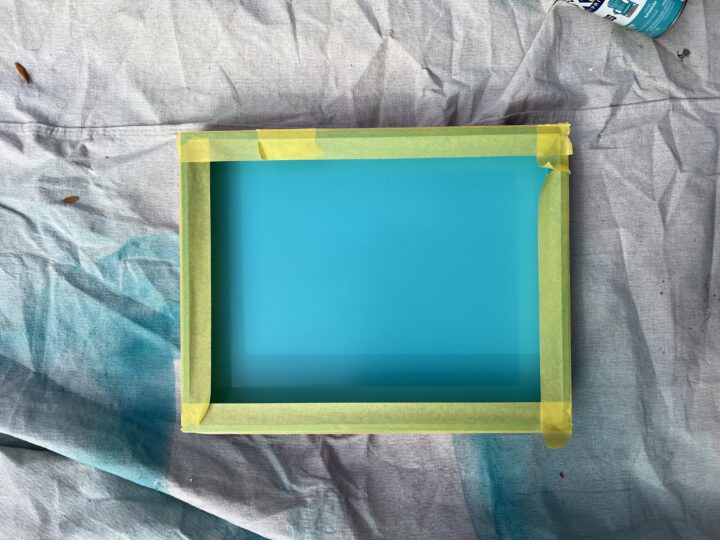
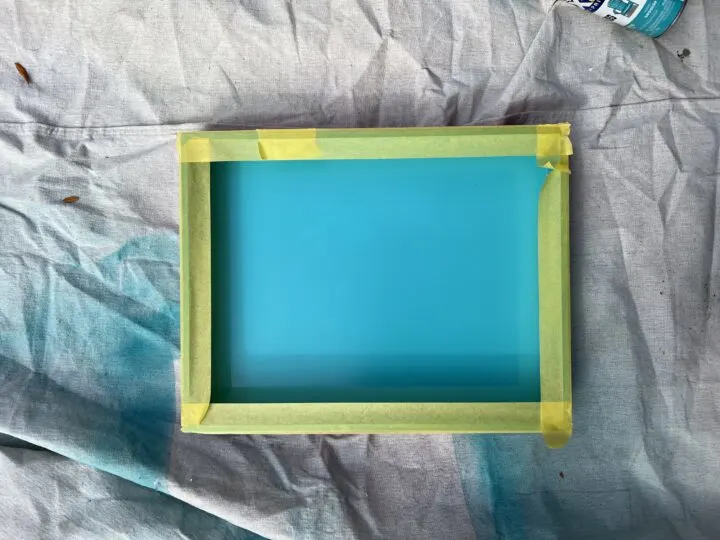
3 | Prep the Decorative Tray for the Second Color
Using delicate surface painter’s tape, I sealed off the handles from the inside of the tray. The inside of the handles will be the same color as the exterior, instead of vice versa. Because I painted the top lip of the tray with the interior blue color, I taped off the top lip.
4 | Paint the Exterior of the Tray Green
To paint the perimeter, I flipped the tray upside down and propped it on a small box so that it was elevated from the ground. Apply light coats of the green spray paint to prevent drippage around the tray. Remember to spray the inside of the handles at different angles to get full coverage. When the paint is dry, gently remove the tape and let the paint cure for 24 hours.
5 | Apply High Gloss Clear Coat for the Lacquer Tray Look
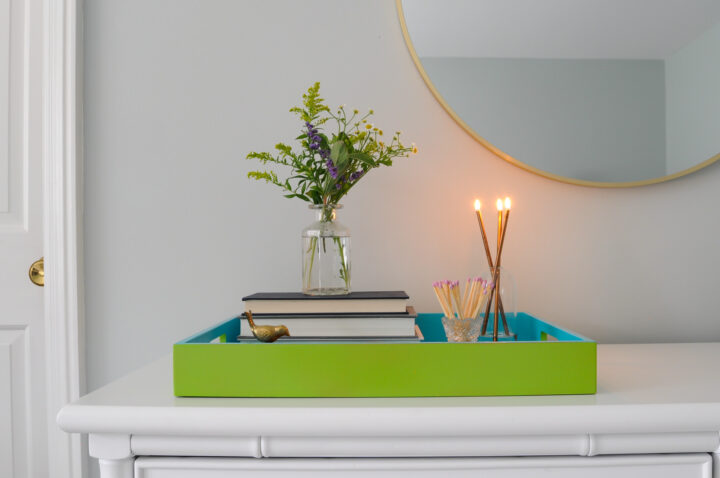
To achieve the high-end lacquer tray look, you will apply a single coat of high gloss clear finish. I sprayed this finish coat on the entire tray at one time. It is a little tough to capture the glossy sheen on camera, but it definitely has more of a shine than a standard matte finish.

After completing this project, I found a top coat finishing spray specifically for the lacquer look and probably would have chosen that product over the high gloss had I seen it first. I have no idea if it would look any different, but it may be a bit shinier.
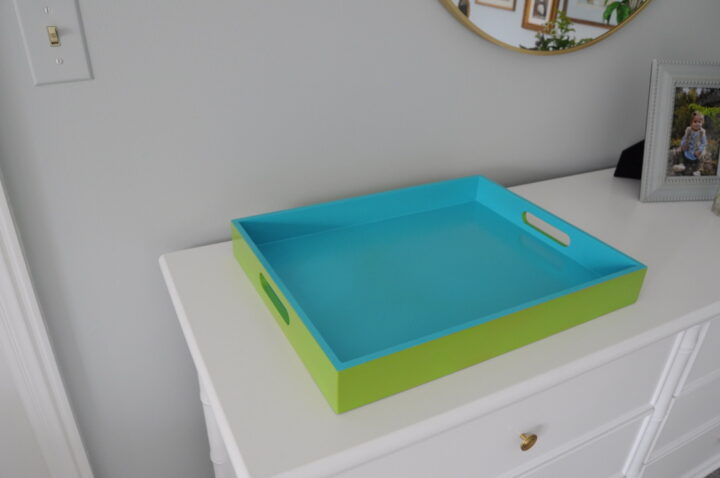

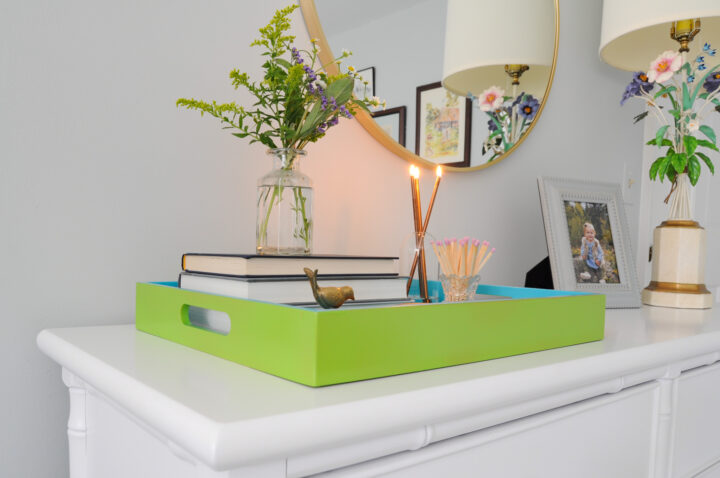
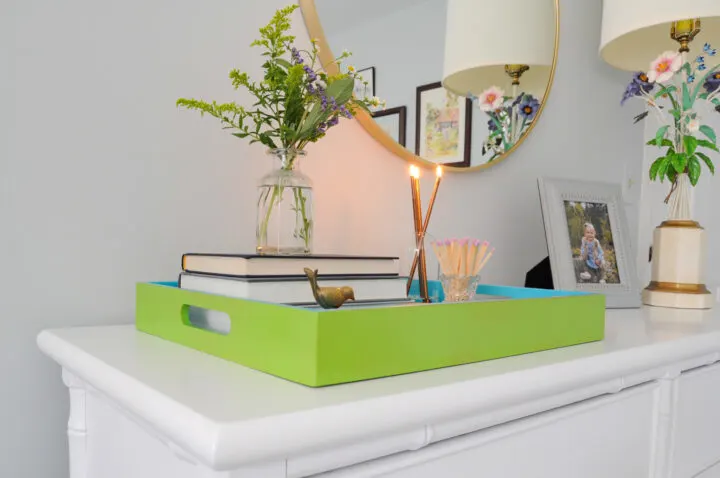
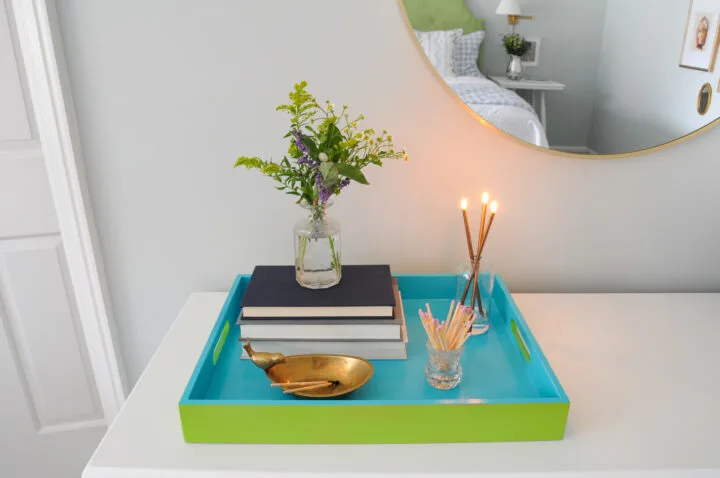
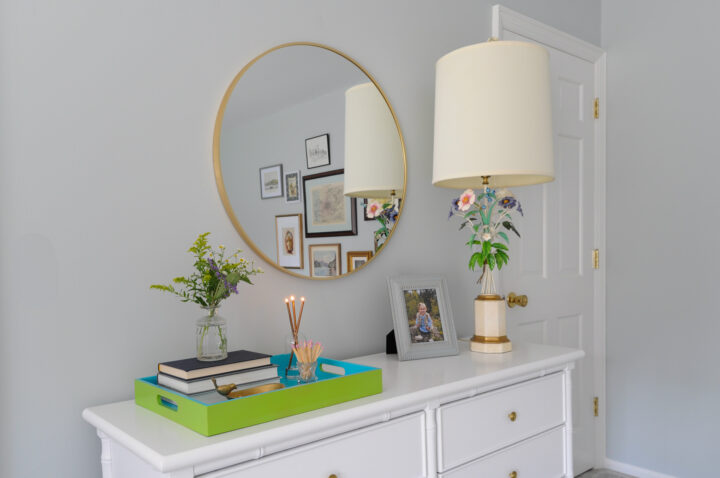
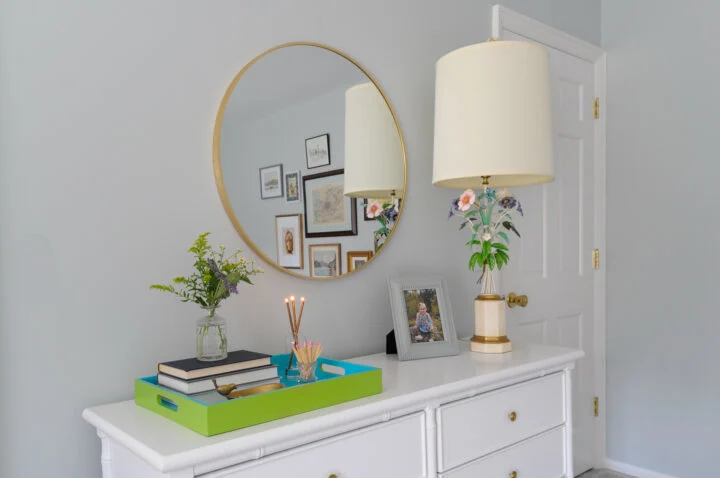
DIY Lacquer Tray Reveal
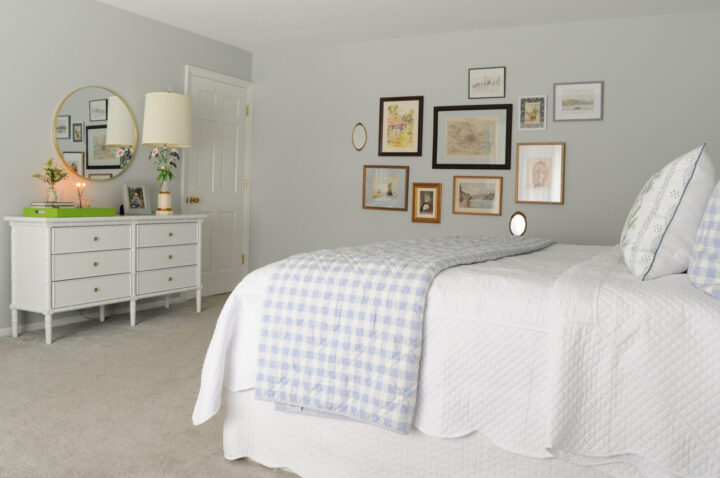
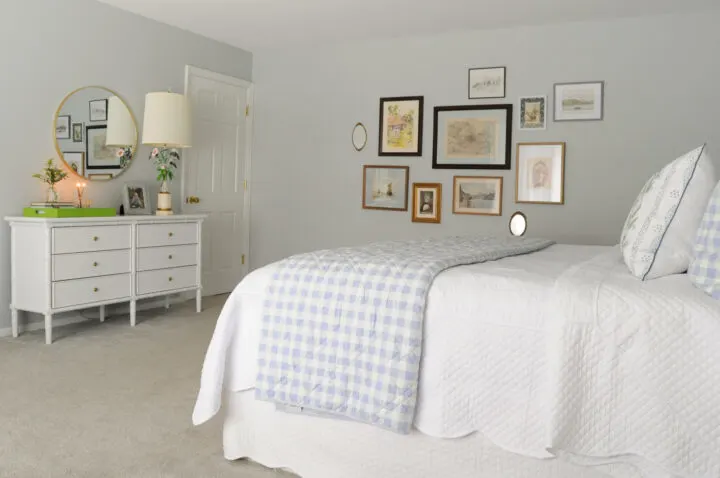
This green and blue lacquer tray is such a fun punch of color in this space. I built a green headboard for the guest bed and I really wanted to add a touch of that green to the dresser with this decorative tray.

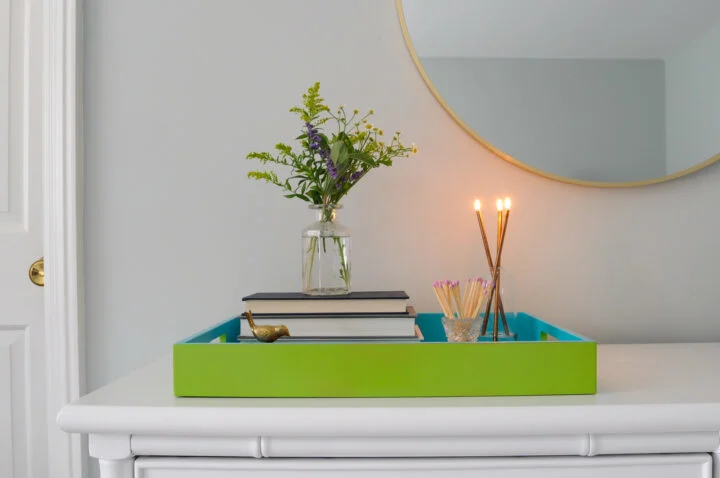
Thank you for checking out my Rita Konig lacquer tray dupe!
Similar Content You Will Love
- DIY Upholstered Headboard with Tufted Buttons
- Popular Farrow & Ball Colors Matched to Behr
- 9 Decorative Wall Trim & Molding Ideas to Try
- Beautiful Blue Green Paint Colors for Walls
- Easy IKEA Hemnes Dresser Hack to Try at Home
- DIY Scalloped Edge Shelf | Easy IKEA Hack
- How to Paint a Dated Rock Fireplace | DIY