
Last Updated on May 20, 2023 by lindseymahoney
I gotta be honest, I wasn’t sure I was going to finish week 4 of the One Room Challenge! In the final minutes, I finished my Ikea Billy Bookcase hack and I am so proud of how it came out.


This IKEA Billy bookcase hack came with a few challenges, but this DIY adds a ton of storage and really looks sharp in my son’s bedroom.

If you are new to my blog, welcome! I frequently participate in the One Room Challenge where a group of DIY enthusiasts makeover a space in their home in 6-8 weeks.
Each week we share our progress and projects tackled and for this particular challenge, I am working on my son’s bedroom!

This week (4) of the challenge included Memorial Day Weekend and my husband’s birthday, so I had no time to work on this project over the weekend. But I digress, I made it through and can’t wait to share my experience this week.


Do you love watching these rooms transform in 6 weeks? Check out the dining room transformation from the first time I participated in the ORC and our moody master bedroom makeover from the Fall of ’20!
Popular Built-In Bookshelves DIY | Ikea Billy Bookcase Hack
[ This post includes affiliate links where I receive a small commission on items purchased through these links. All opinions on the products are my own.]
Built-In Bookshelves (Billy Bookcase) Source List
- IKEA Billy bookcase (2)
- Liquid Nails
- Caulk
- Wood filler
- Sanding block
- Toe kick
- Frogtape
- Baseboard
- 1×3 wood board
- Trim
- Quart of paint color-matched to the bookcase, satin
- Paintbrush
Tools Used

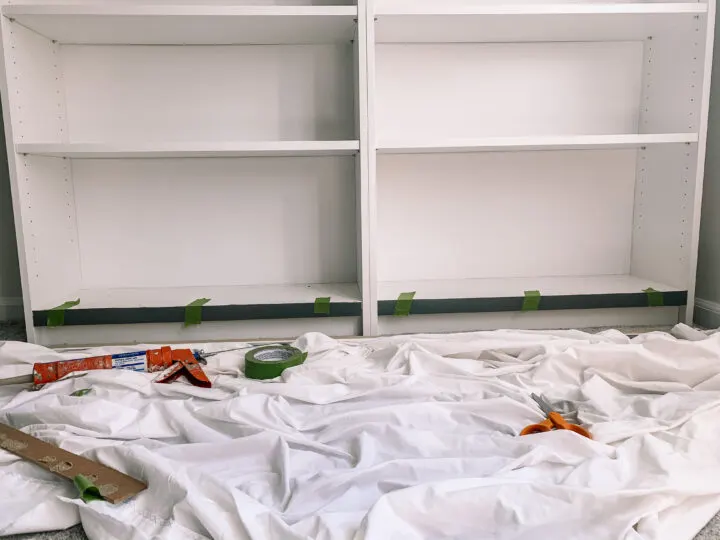
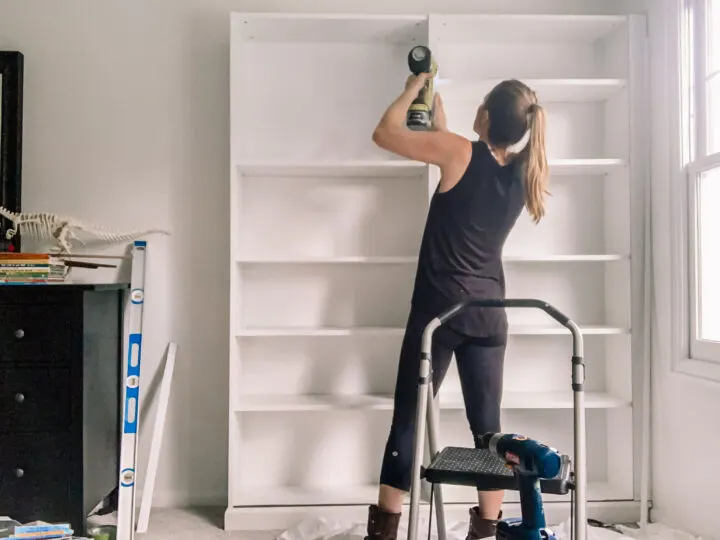
1 | Assemble Your IKEA Billy Bookcases

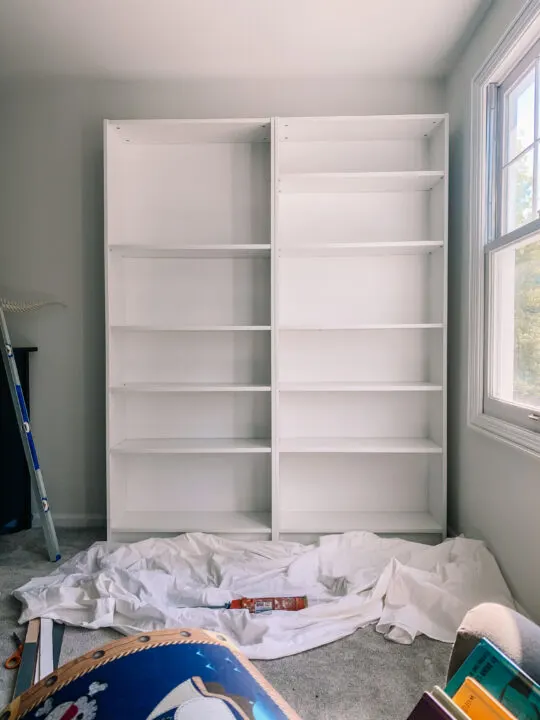
I purchased two of the Billy bookcases for my son’s bedroom and easily assembled them. Determine where the bookcases will go in the room and attach them to the wall so they don’t tip over.
2 | Attach the Baseboard
To create the “built-in” look, you will install the trim as if the two bookcases are actually a single piece of furniture.
I began by measuring the distance from the wall to the end of the second bookcase. This measurement gives me the length of the baseboard trim piece.
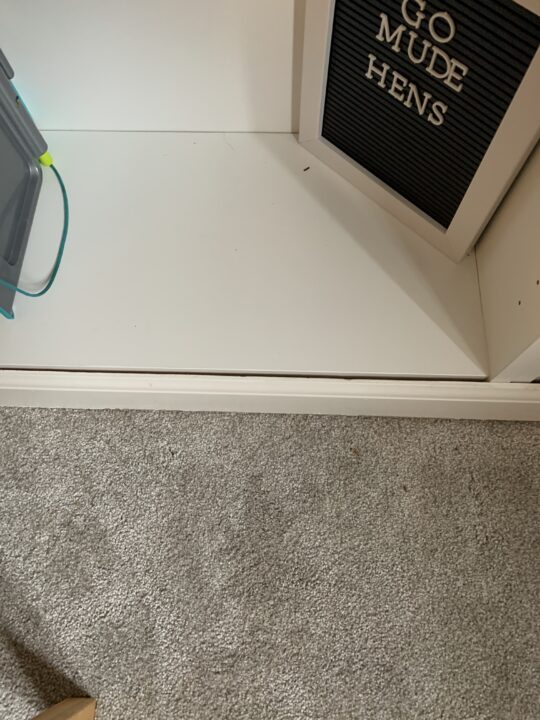
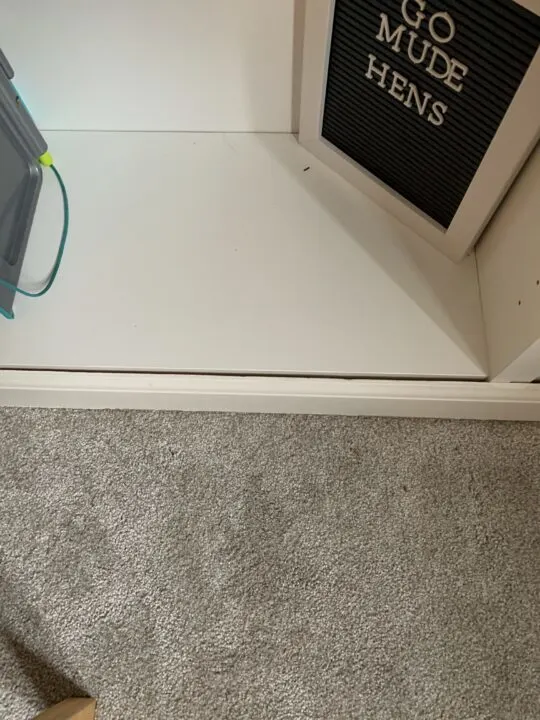
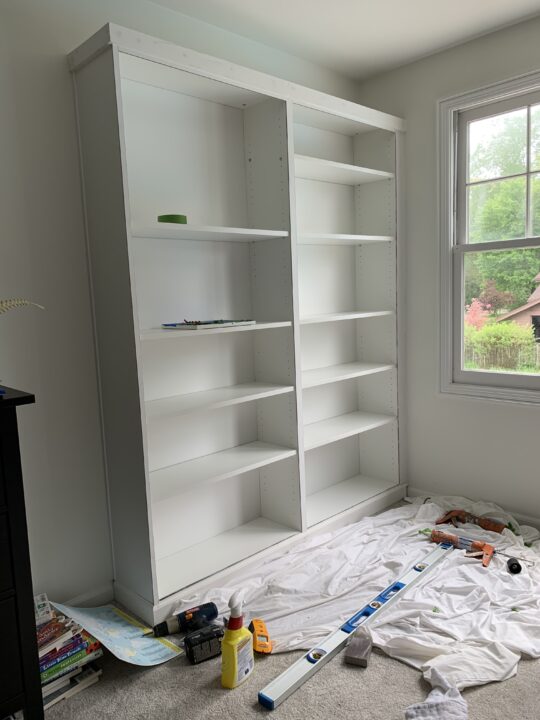
The first challenge I encountered with this built-in bookcase DIY was the gap between the bottom shelf and the baseboard.
Luckily, I had some leftover wood scraps in our garage and discovered that the baseboard toe kick (dark gray piece) used on our kitchen cabinets filled the gap perfectly!

First, I cut the filler board to fit in the gap. Then I applied liquid nails to the board and taped it to the shelf so it could dry.
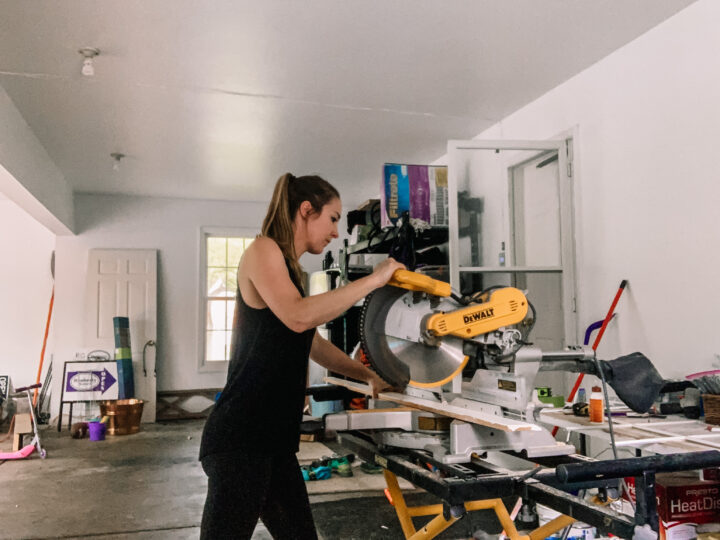
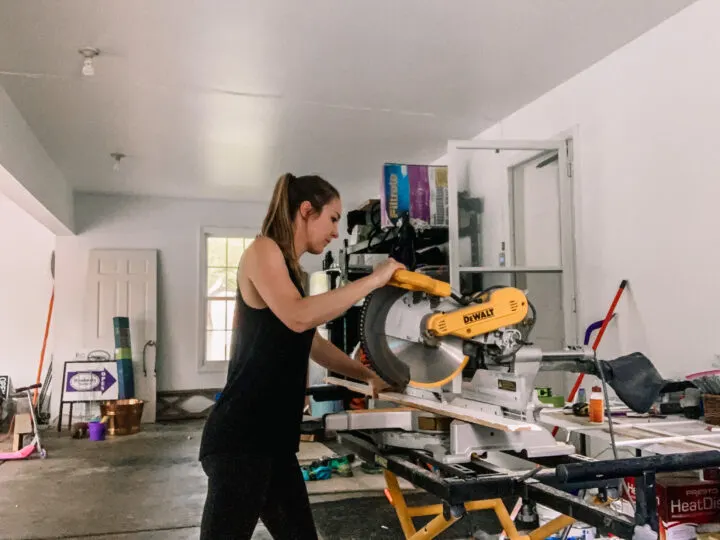
Next, I cut the baseboard and installed it with a nail gun using finishing nails.
3 | Attach Vertical Trim Pieces

I used the same kitchen cabinet toe kickboards to cover the center seam, left edge, and right edge of the bookshelves.
Each vertical finishing trim piece is a different width and to cut each one I used a table saw. My cuts were not perfect, but my hope was that the caulk would hide a lot of the mistakes! It did. 🙂
4 | Add Finishing Trim to the Top of the Built In Bookshelves

Because the top shelf is slightly inset, I had to sandwich two toe kickboards to the top shelf so that it aligned with the vertical trim boards.
All of the finishing pieces are now flush and it is really starting to look like a single piece of furniture!

I spent a good part of the day trying to make leftover crown molding from our kitchen work but I could not figure out how to cut it!
I decided to use a simple piece of 1×3 wood to finish off the top of the built-in bookshelf. This created a clean, modern look and I am really pleased with it.
5 | Caulk the Built-In Bookshelf Seams

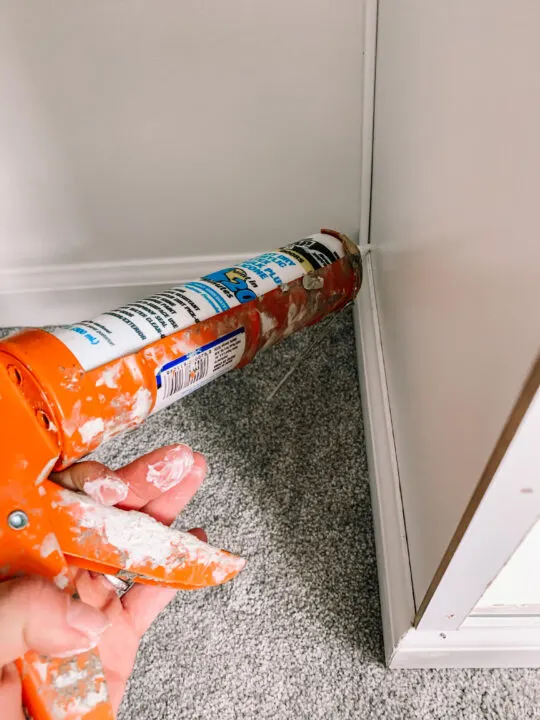
Where the ends of the bookshelves met the wall, I added a small trim piece to give a more finished look. Finally, I took caulk and filled all of the cracks and my mistakes! Haha.
6 | Sand and Paint Built-In Bookshelves
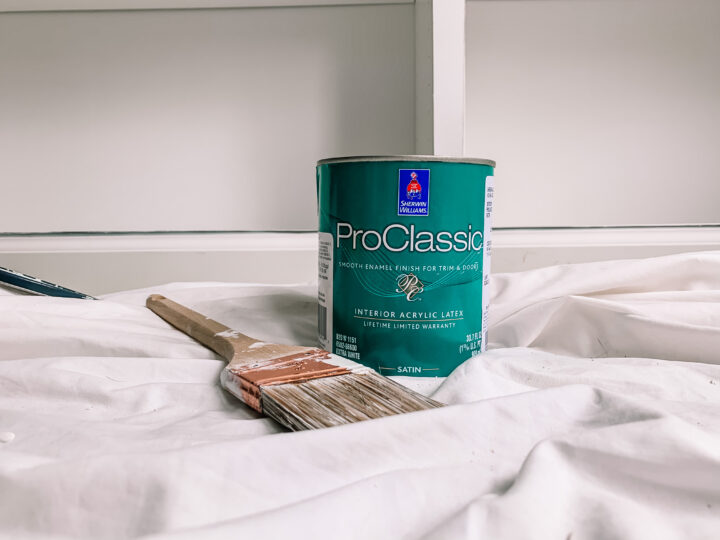

When the caulk dried and the bookcase was sanded smooth, I painted the new trim on the bookcase to match the original piece.
To get the exact color, I brought one of the shelves to my local Sherwin-Williams store where I had a quart color-matched. The satin sheen blends seamlessly with the bookshelf finish.
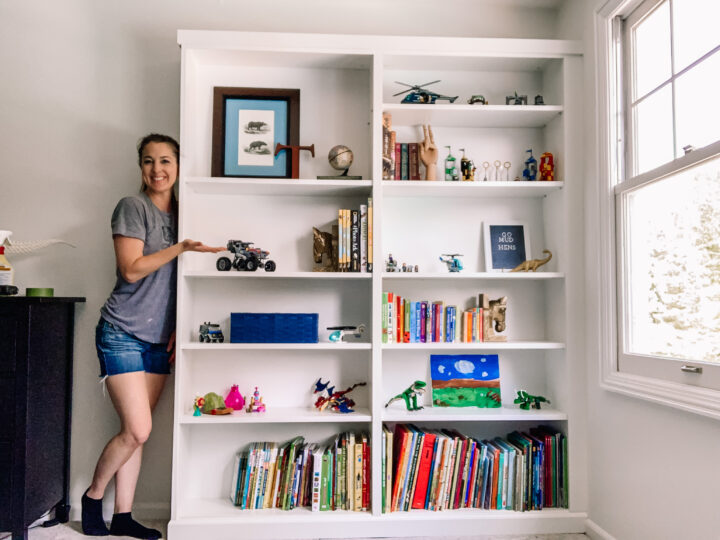
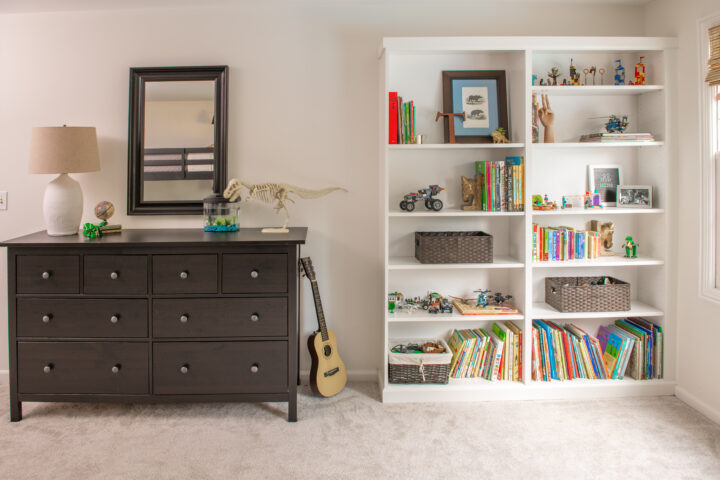
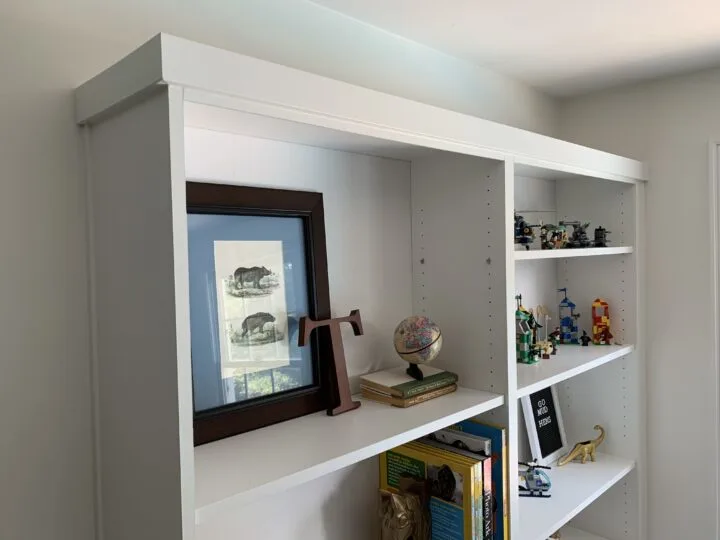
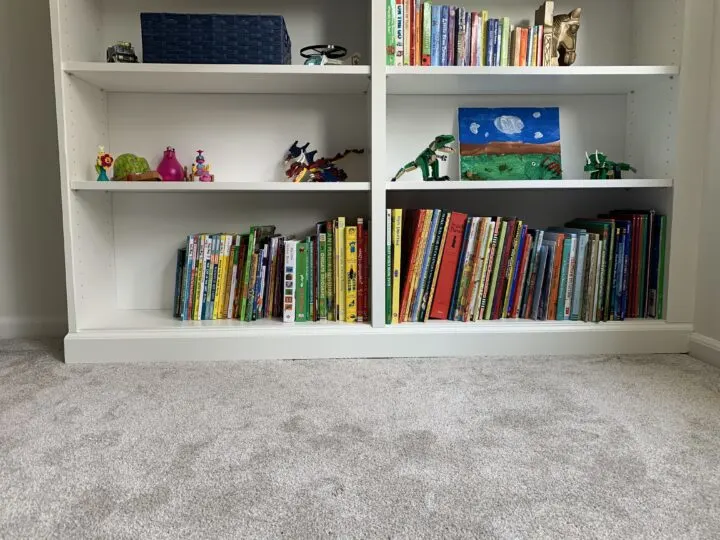
Built In Ikea Billy Bookshelves Reveal

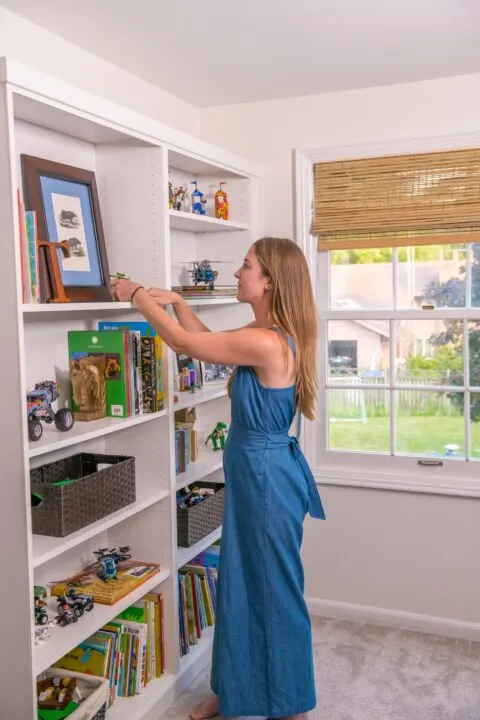
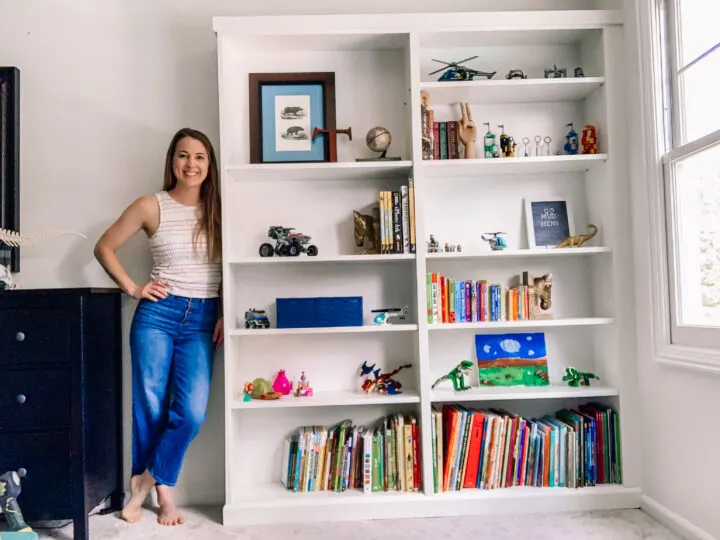
And here is the finished product!
I am so happy with how my IKEA Billy bookcase hack turned out!
It looks so nice as one connected piece, and I learned so much with this project.
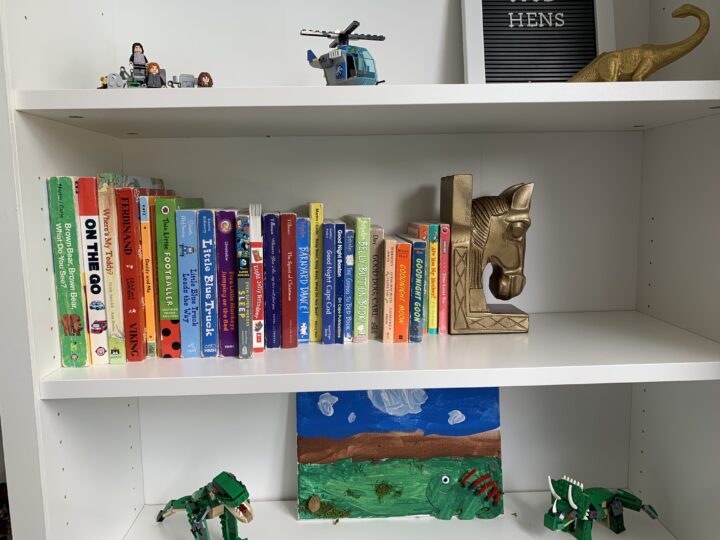
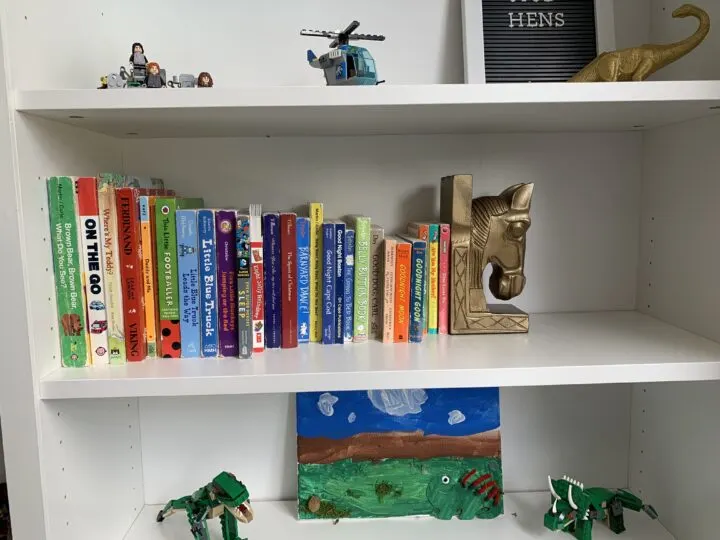
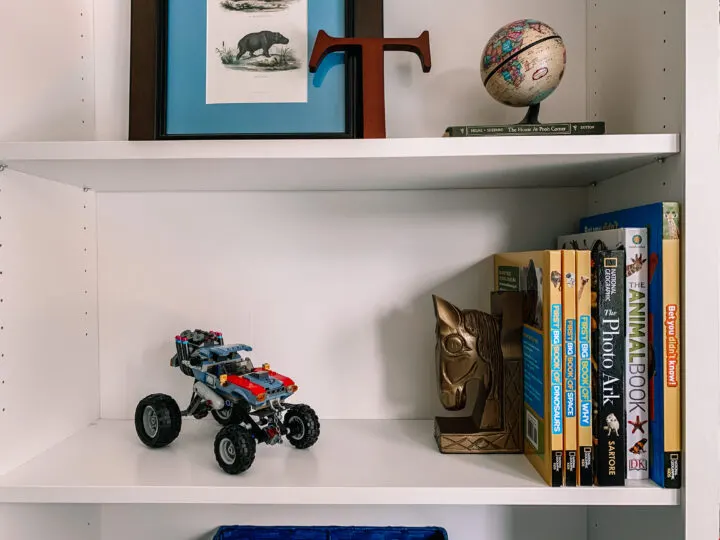
There is so much storage for my son’s books and LEGO toys, it is perfect for my creative little guy.
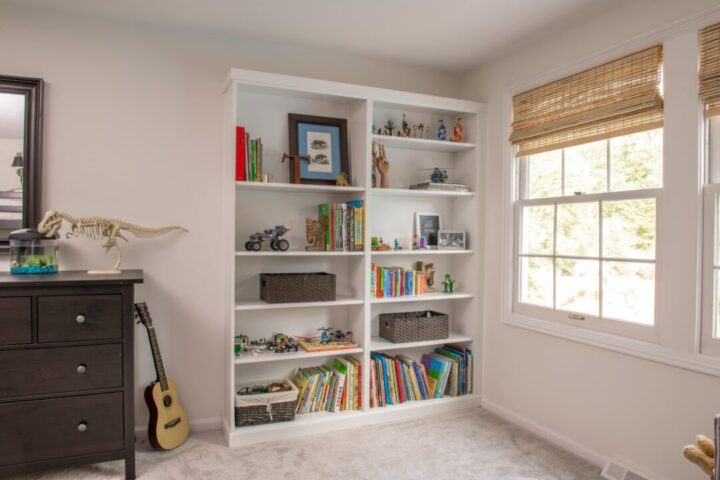

The trim on the top of the shelf is simple but gives that finished look that I was going for.
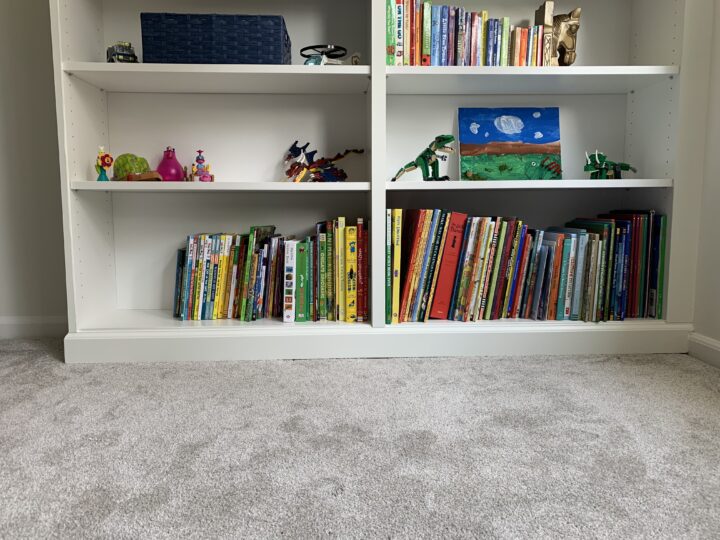


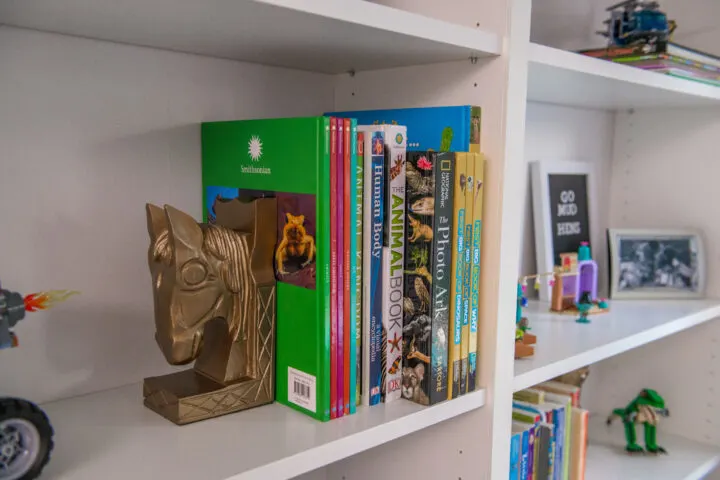
I found these horse bookends at a thrift store and spray-painted them in gold (they were originally baby blue).


Thanks for checking in, don’t forget to visit next week to see what DIY project I tackle next!
Check out the progress from all of the other OCR participants on the One Room Challenge blog too!

More Content You Will Love
- Painting Furniture DIY | Ultimate Beginner’s Guide
- Easy IKEA Hemnes Dresser Hack to Try at Home
- Upgrade Your Home on a Budget with These Clever IKEA Furniture Hacks
- Easily Make Scalloped Furniture with this Hack
- 10+ Affordable Unfinished Basement Ideas
- DIY Scalloped Edge Shelf | Easy IKEA Hack
- Paint an Exposed Basement Ceiling Black | DIY
Tracy Chamberlain
Tuesday 29th of September 2020
Billy bookcases are a deleted item now. I rang to get more shelving and was a no go.
lindseymahoney
Tuesday 29th of September 2020
That is interesting, I wonder if they are out of stock because of Covid-19 at your local store. I looked online and it shows they are still available to purchase.
Jenna Pilant of Room Bloom Design
Sunday 31st of May 2020
So fun following along on this space ✨
@sisterpink_
Wednesday 27th of May 2020
Ah love that we both used IKEA Billy Bookcases for our built-in halk! So lovely!
lindseymahoney
Thursday 28th of May 2020
Thank you! I am LOVING your room transformation as well, I can't wait to see the end result!