
Last Updated on September 24, 2024 by lindseymahoney
I absolutely love the simple scalloped furniture detail that is having a moment right now. Last year, I gave my daughter’s bedroom a makeover with a Grandmillennial style and tackled a simple scalloped bookshelf DIY that is easy to recreate on any piece of furniture.


I am breaking down the entire process with this beginner’s level step-by-step tutorial!
Quick and Easy Scalloped Furniture DIY | Easy IKEA Hack
[Affiliate links are included where I receive a small commission at no additional cost to the consumer. Thanks for supporting Building Bluebird!]
Scalloped Furniture Detail Source List
- Scalloped Trim Board
- BILLY/OXBERG IKEA Bookcase
- Pull Knobs
- Measuring Tape
- Primer
- Color-matched White Paint
- FrogTape
- Paintbrush
- Wood Glue

1 | Build the IKEA Bookshelf
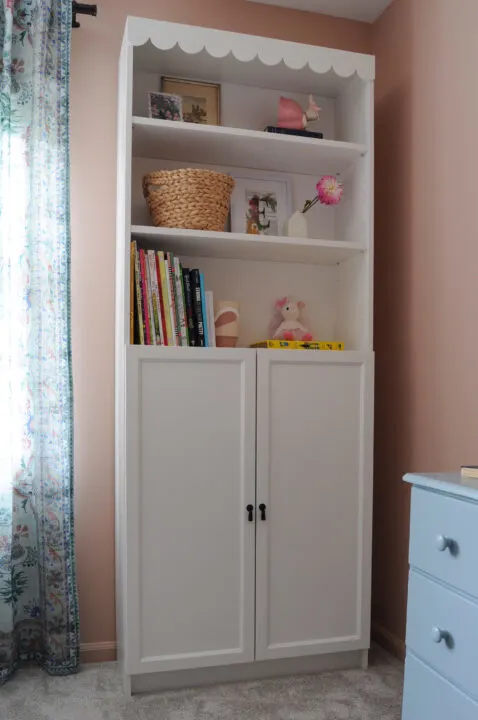
I found the perfect IKEA bookcase that offered closed storage and open shelving to display cute decor.
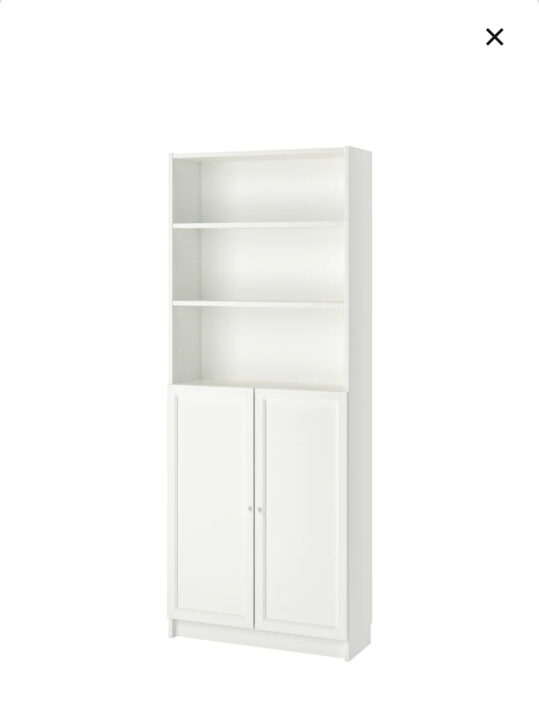

This bookshelf is great because it is deep enough to hold standard book sizes, while still being compact enough to fit perfectly in her bedroom corner. I decided to add a scalloped wood trim to the bookshelf for a custom and feminine look.
This is a super simple furniture piece to put together and took about an hour to assemble.
Once the bookcase is built, determine the location in your room and make sure to attach it to the wall. These bookshelves have a good chance of tipping over if they are not bracketed to the wall, especially if it is sitting on carpeting.

I found this scalloped trim board via Etsy and love that I didn’t have to cut out the scallops manually!
The curved edges add a touch of whimsy and I knew the scalloped design would look great at the top of the bookshelf.
2 | Measure & Cut Scalloped Edge Trim

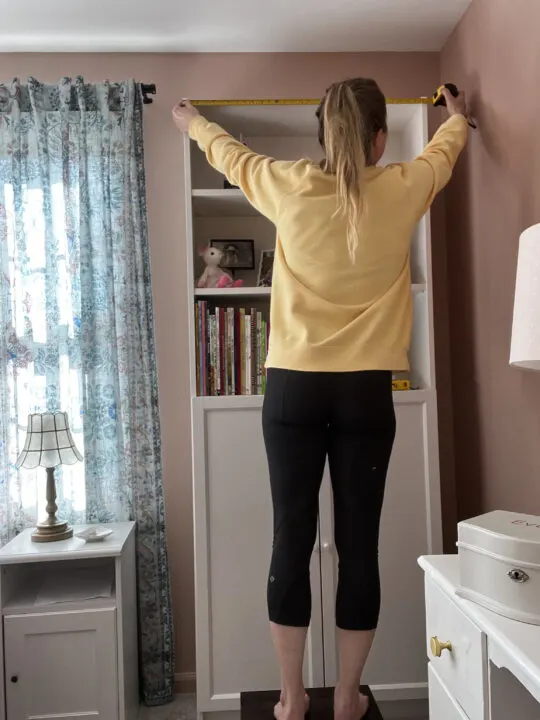
First, Measure the top of the bookcase from end to end.

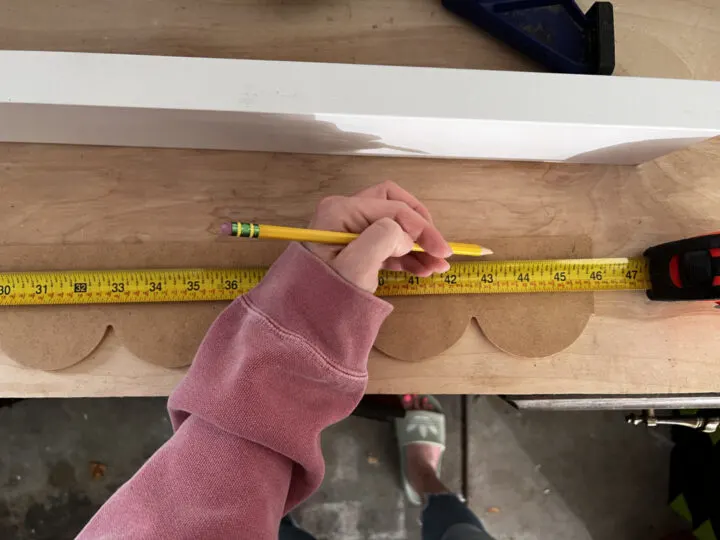
When marking the trim board, try to get the scallops on each end to mirror the shape of each other for balance. You don’t want one full scallop on one end and a sliver of a scallop on the other end.


Cut the scalloped trim board to size using a table saw.
3 | Apply Primer to the Scalloped Trim Board

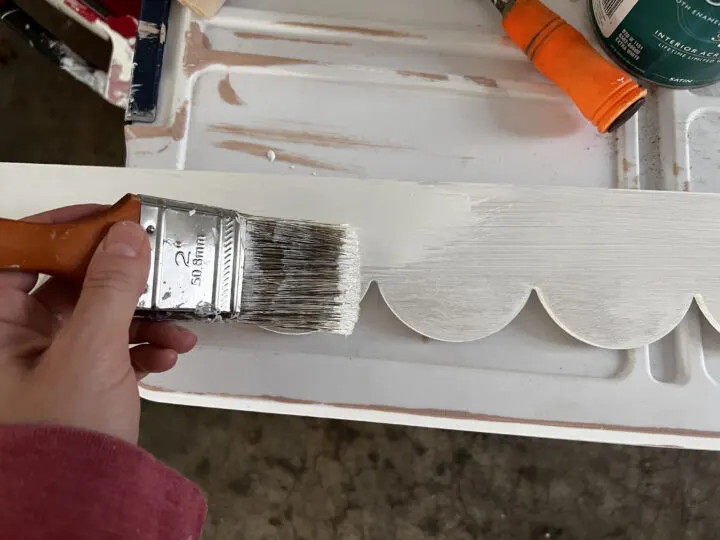
Once the trim border is cut, use your paintbrush to apply one coat of paint primer to the entire scalloped border.
4 | Paint the Scalloped Trim

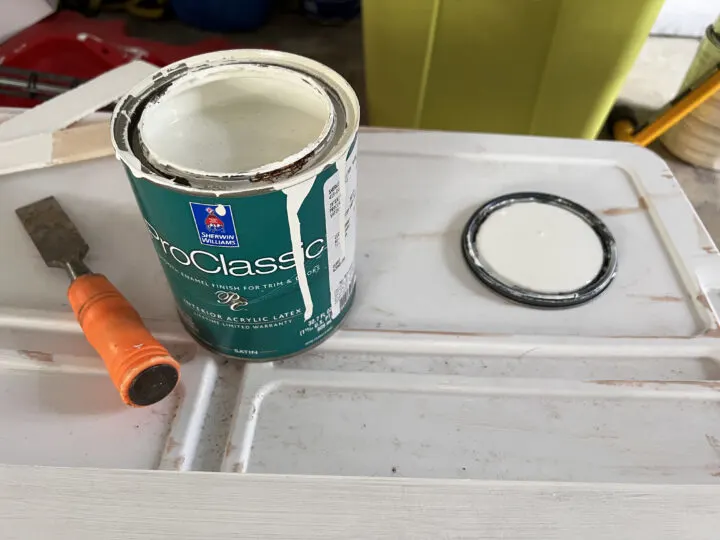
When the primer has dried, it is time to apply the paint to the MDF board. To get a paint color that matches the IKEA bookshelf, work with your local Sherwin Williams to get an exact color match.
Take a piece of the existing furniture, like a shelf or door, to Sherwin Williams and ask them to match the exact color. Because I only had to paint a small piece of trim, a quart of the paint color was more than enough.
In most cases, a satin sheen will be the best choice for your furniture project, but you will want to look at the existing furniture finish to best match the sheen.
I purchased a quart of this paint and I have used it on multiple IKEA hack projects, including Billy bookcase built-ins.
5 | Attach Scalloped Edge Trim to Bookshelf
When the first coat of paint has dried, you can attach the trim to the bookcase.


Apply wood glue to each side of the scalloped trim board and place it at the top of the bookshelf.
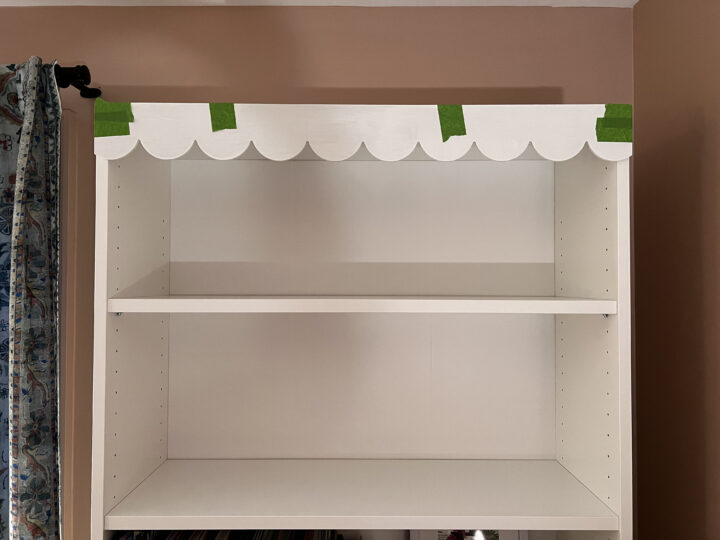
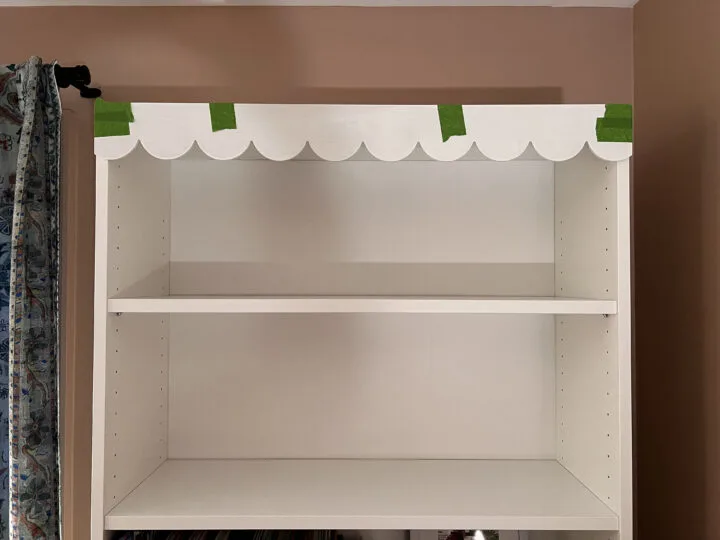
Next, use FrogTape to keep the trim in place while the glue dries. I taped one side first and then taped the other side so it was perfectly even at the top of the bookcase. I added a few pieces of tape to the top for additional support.

Another option to secure the trim board is using a nail gun. Brad nails will work great for a project like this. Once attached, use wood filler to hide the nail holes.
6 | Apply the Second Coat of Paint
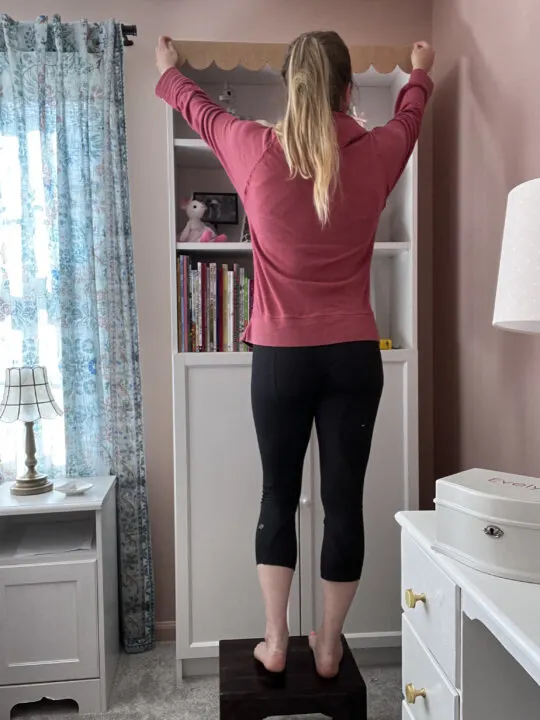
When the glue dries remove the painters tape holding it in place.
Apply the second coat of paint to complete this super simple IKEA hack. This scalloped furniture DIY isn’t just for IKEA furniture, it can be used on any piece of furniture that needs a little character!
*Check out a complete tutorial for how to paint IKEA furniture with laminate wood!
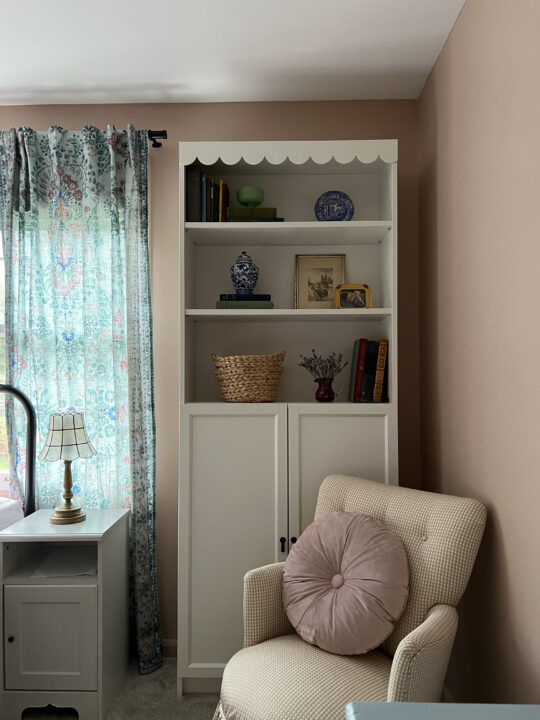
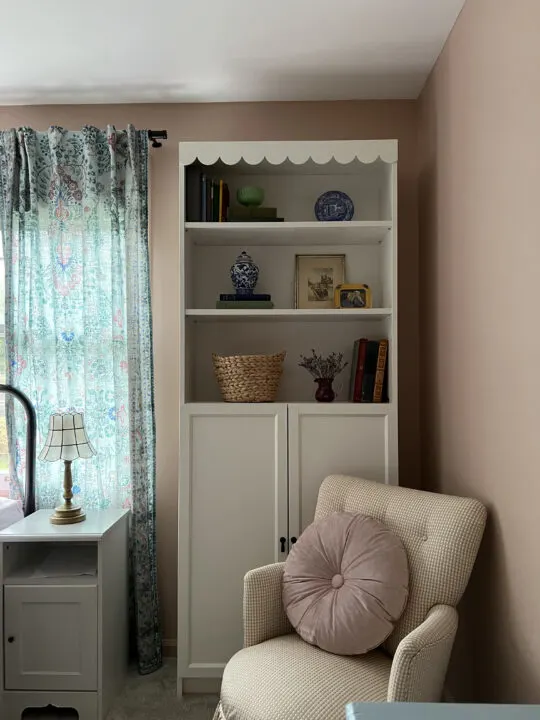
Scalloped Bookshelf DIY | REVEAL
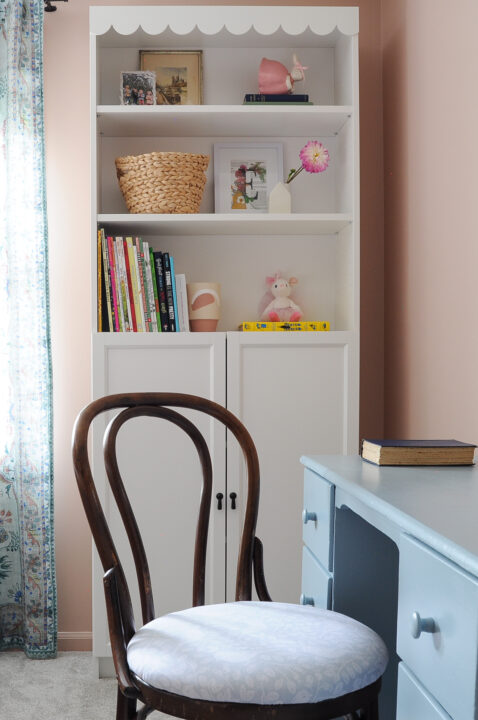
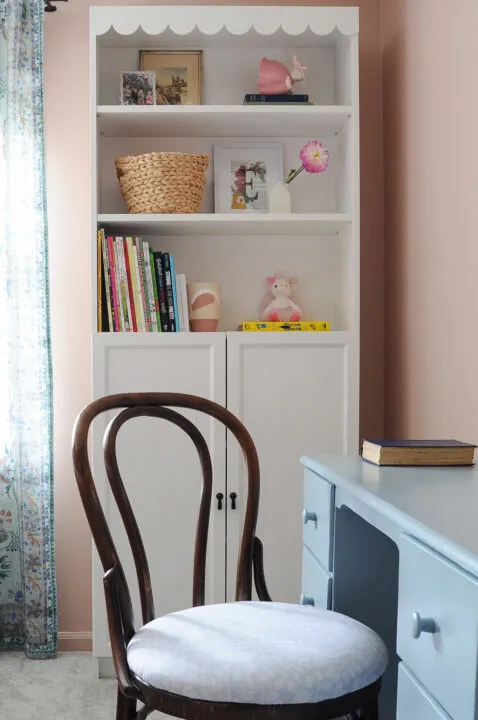
Once the scalloped detail was complete I swapped out the door knobs and decorated the shelves. Isn’t it just precious?!
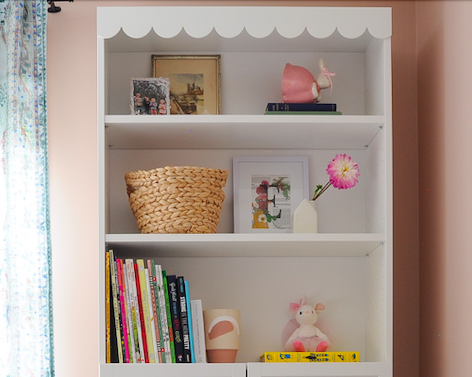
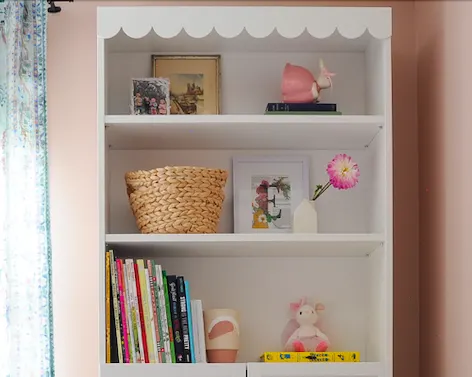
The new knobs align better with the vintage design scheme throughout her bedroom. It’s the small details that make a space feel special.

Adding this scalloped furniture detail not only gives you a custom look but is affordable too!

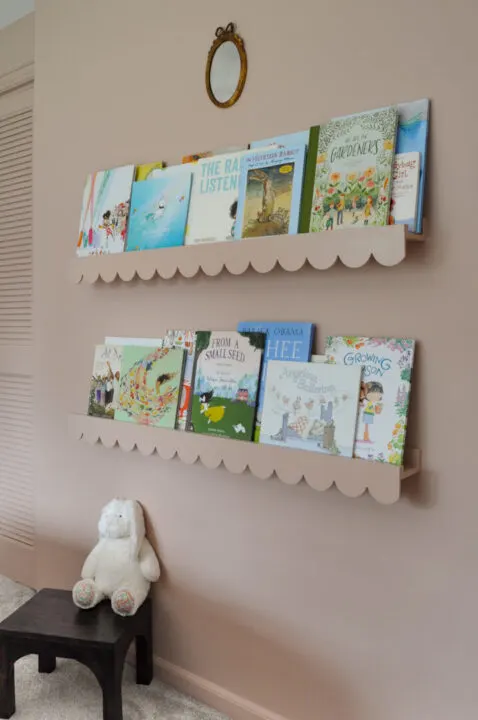
Adding this scallop furniture detail to this bookshelf and the floating shelves on the other wall creates a cohesive look in the bedroom.
I have incorporated this scalloped detail throughout our own home and it adds an element of place and fun to every space.


Popular Scalloped Home Decor
Loving the scalloped furniture trend? Check out a few of my favorite home decor and furniture items to buy today over at my LTK Shop!


- Scalloped Tray
- Rug
- Cloth Napkins
- Table Lamp
- Small Dish
- Picture Frame
- Accent Pillows
- Wicker Baskets
- Scalloped Mirror
- Headboard
- Pillow Sham
More DIY Home Projects You Will Love
- Scalloped Edges | 11 Easy Ways to Use this Charming Design Trend at Home
- Make A Scalloped Edge Shelf with this IKEA Hack
- The Best IKEA Furniture Hacks to Try at Home
- 16 Mauve Paint Colors for Your Home
- Easy IKEA Hemnes Dresser Hack to Try at Home
- The Best Cottagecore Paint Colors to Try at Home
- How to Paint an Old Cabinet the Perfect Green | DIY