
Last Updated on August 8, 2023 by lindseymahoney
Welcome to week 3 of the Better Homes & Gardens One Room Challenge!


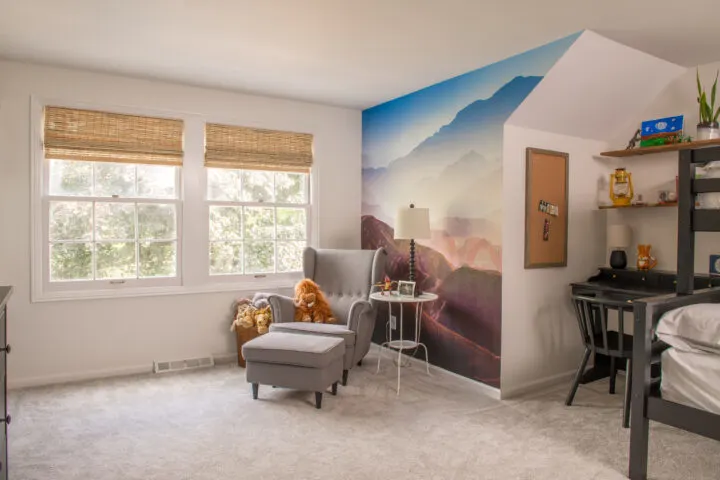
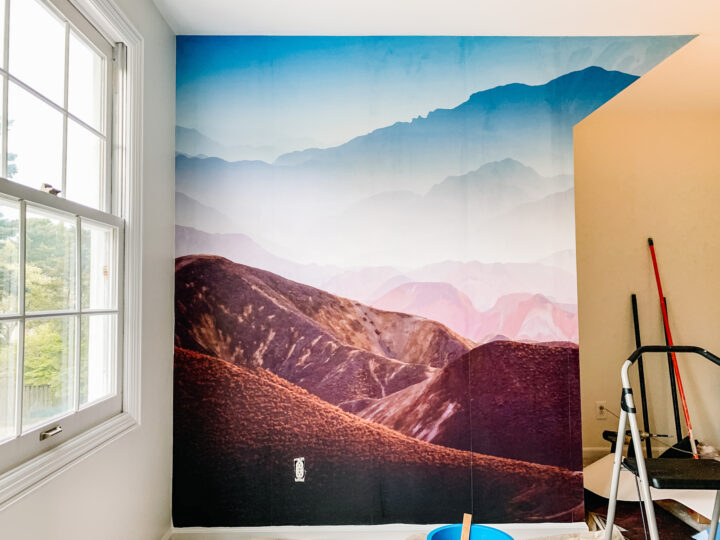
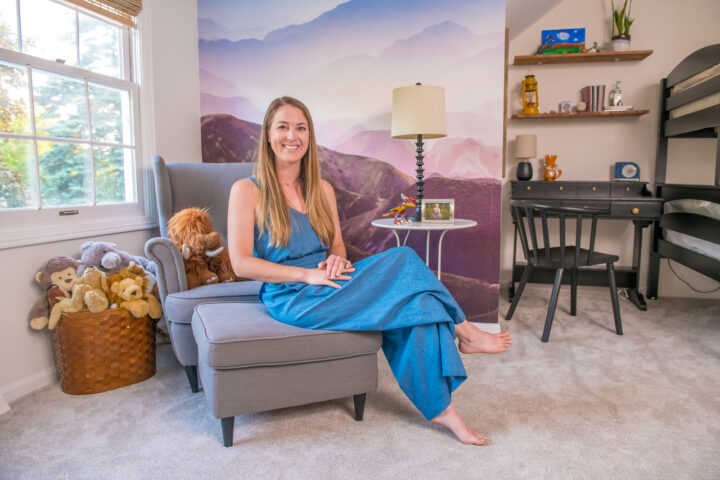
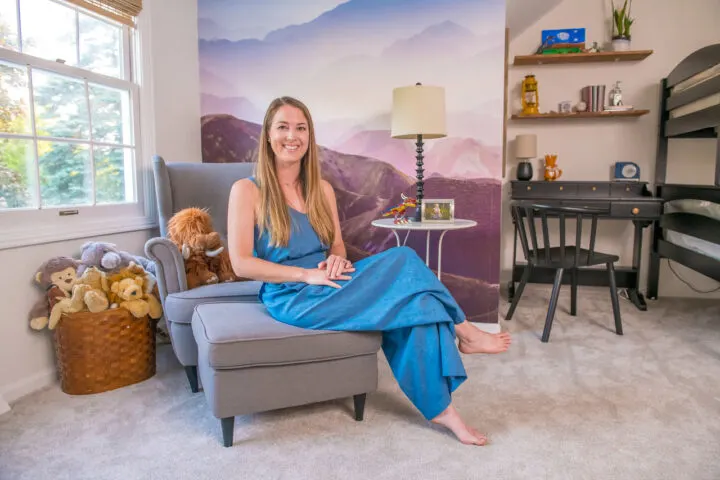
This week, I added some personality into my boys’ bedroom by installing a wall mural on one wall, and LOVE how it turned out!
If you are wondering if I was one of those super-smart participants who got a head start on renovating my space – I AM NOT! These weeks keep flying by and I am doing my best to keep up.
Here is a reminder of what this corner of my son’s bedroom looked like before this makeover began:


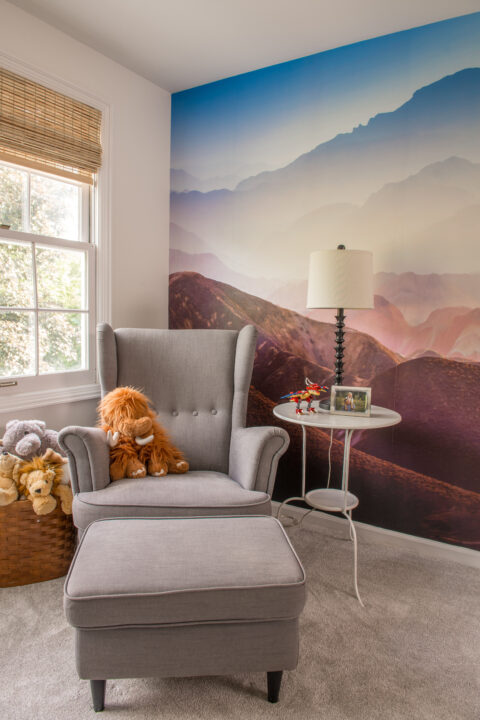
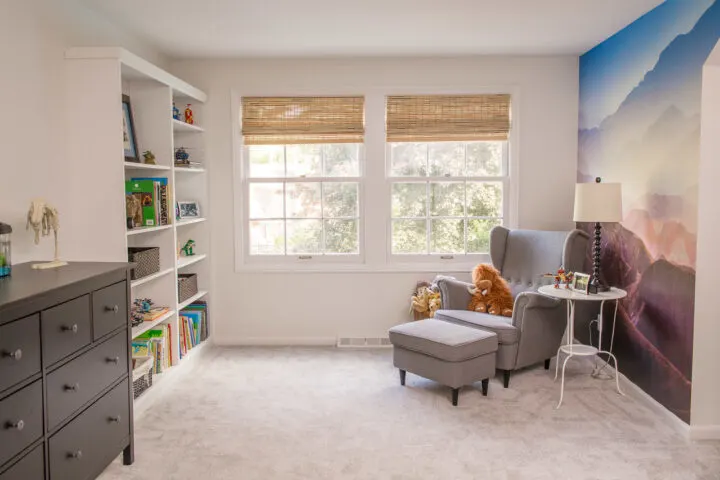
And here is the reveal after the 8 weeks of the One Room Challenge!

Week 1 | Week 2 | Week 3 | Week 4 | Week 5/6 | Week 7 | Week 8
Choosing the Wall Mural Design
My son spent the first 5 years of his life in Denver, CO and he has a special place in his heart for the mountains.
I knew that I wanted to mountains into the room design somewhere and a wall mural was the perfect opportunity. When I checked out Rebel Walls, they had so many fantastic options!
I loved the look of the foggy fir trees, the winter mountains, and even the more whimsical mountain mural, but, in the end, I decided on the gradient mountain mural. The color scheme was perfect with the blues on top and it was mature enough for him to grow up with.
Today I am going to take you through this super easy wall mural installation! Scroll to the bottom of the post for the source list of all of the items I used.
How to Easily Install a Wall Mural from Rebel Walls
[affiliate links used in this post, thanks for supporting Building Bluebird!]
Source List to Hang Wall Mural
- Mountain Mural
- Wallpaper Paste (included with the mural)
- Scissors
- Measuring Tape
- Bucket for Paste & Bucket for Water
- Sponge
- Paintbrush to apply glue (I used one I owned)
- Dropcloth
- Long Level
- Step Stool (similar)
- Pencil
- Snap-off Knife or Utility Knife

1 | Prep the Wall for the Mural
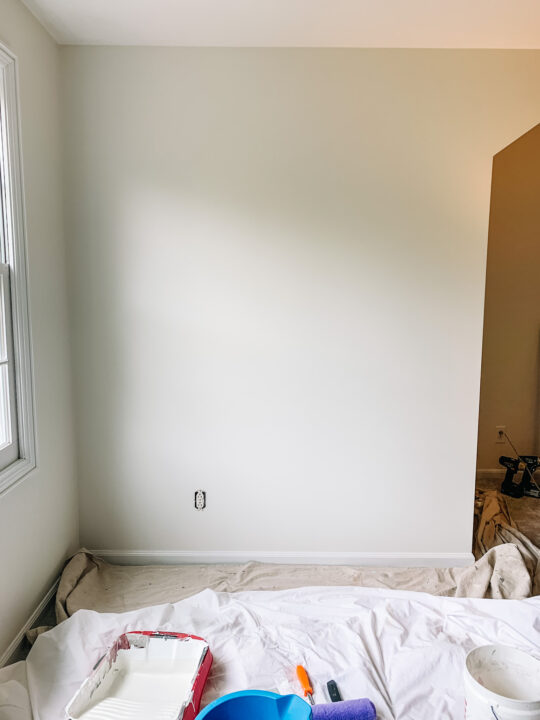

Before you begin, you want the wall to be clean and smooth, with no flaking paint.
Lay down a drop cloth to prevent the glue from falling and sticking to the floor.
2 | Cut the Wall Mural Strips

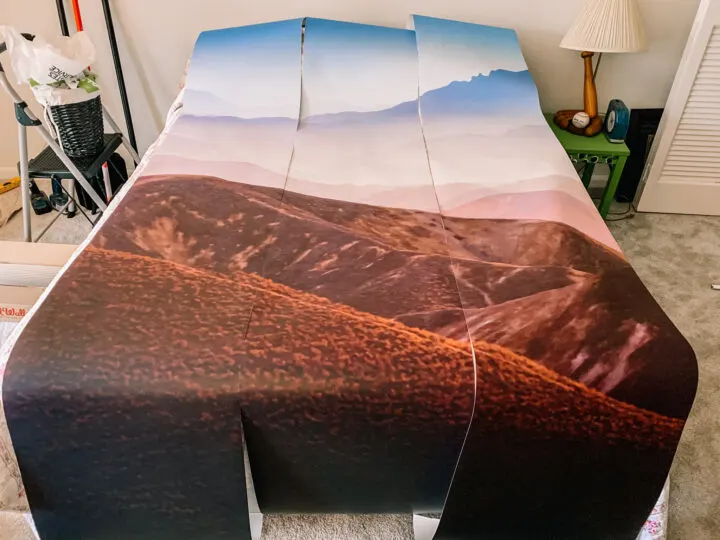
The Rebel Walls mural arrives in a single tube that provides instructions for where to cut to create each strip for the wall.
Each strip is numbered so you can easily determine which one goes up to create the mural image. Once the mural is cut, lay it out to confirm it is the correct size and there are no defects.
3 | Make the Wallpaper Paste

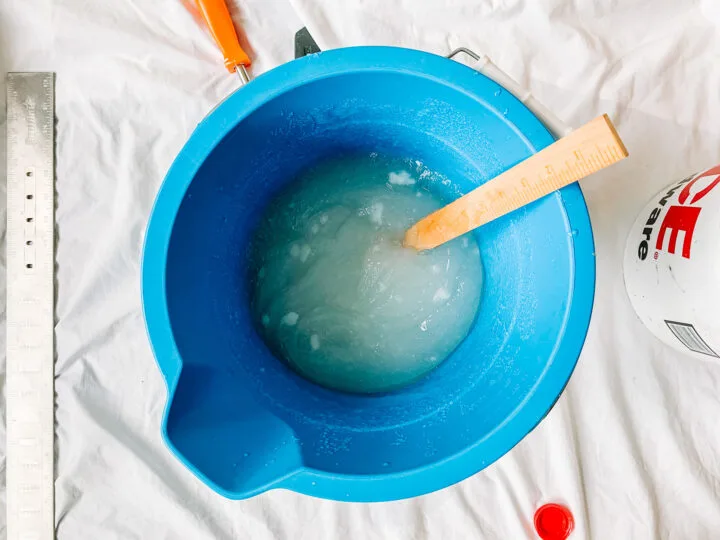
When you purchase a mural from Rebel Walls, it includes a powder to make the wallpaper paste. Following the instructions on the box, I mixed the powder with a gallon of water in a bucket.
Fill another bucket with water and a sponge to wipe away any excess glue that may get on the front of the wallpaper.
4 | Mark a Line on the Wall for the First Strip
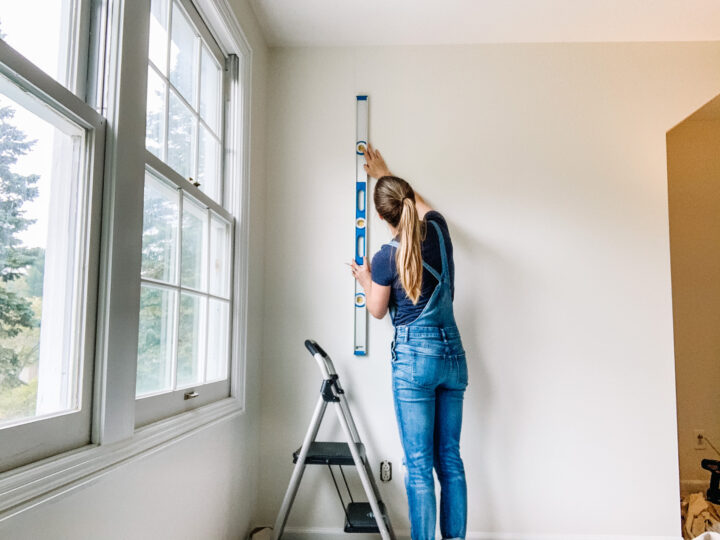
Hanging the first piece of your wall mural (or wallpaper) is always the most important part of this DIY.
The edge of the wallpaper strip should be perfectly straight because the remaining wall mural strips will align with this edge.
Using measuring tape, measure the width of the wall mural strip marked with number 1.
Take that width measurement and mark that same distance from the corner of the room, or wherever the wall mural will begin.
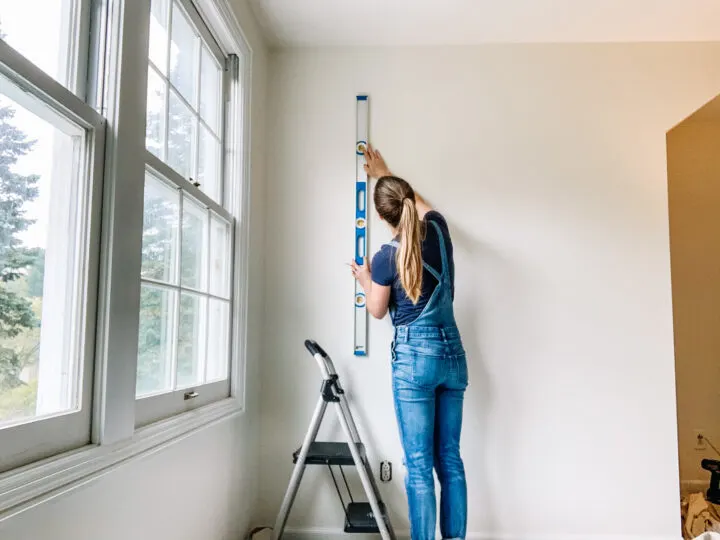
Put the long level (48 inches) in the corner of your wall to see if it is perfectly straight. If it is not perfectly plumb (which is usually the case), mark that width distance at the top, middle, and bottom of the wall.
Next, line up the level next to the bottom and middle marks. If the top of the level needs to lean towards the corner of the wall to be perfectly level, you want to use the bottom mark to create your straight line.
It is better to be able to take off the excess wallpaper in the corner than to have one part of the wall perfectly aligned and then a sliver of the wall is not covered by the wallpaper.
I hope this explanation makes sense! Once you determine the location closest to the corner, use the level to create a full, straight line with a pencil from the ceiling to the baseboard.
5 | Apply Wall Mural Paste

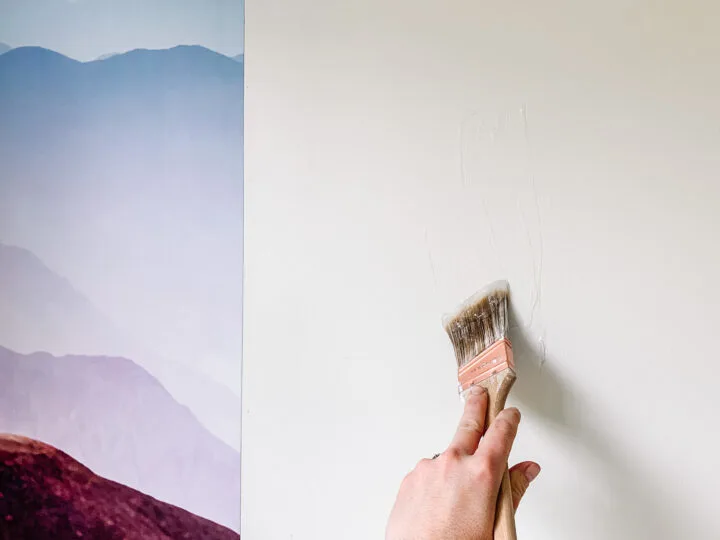
Apply the wallpaper paste directly to the wall where the first wallpaper strip will hang and make sure every part of the wall is covered.
You can use a roller to apply the wallpaper paste, but I ended up just using a paintbrush.
I applied the paste a little bit past the pencil line where the first strip would be placed. This wallpaper paste is only meant for the back of the mural, if you get any on the front, use the damp sponge to wipe it away as soon as you can.
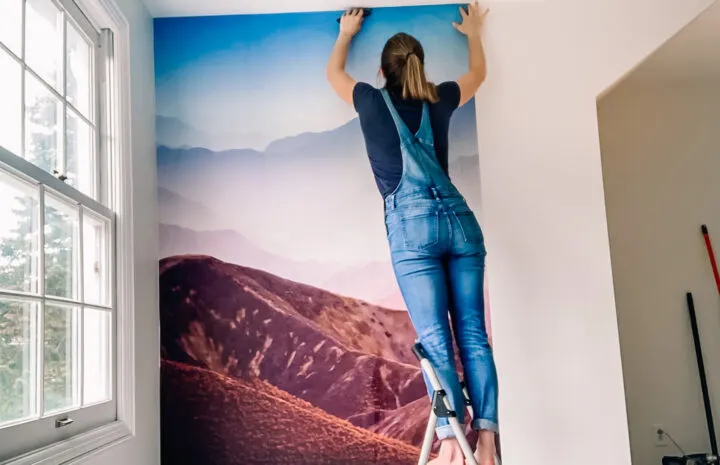
6 | Hang the First Wallpaper Mural Strip

As I mentioned earlier, hanging this first strip of wallpaper is the most critical. If this wallpaper strip is not straight the rest of the mural will be crooked.
Start at the top and align the wallpaper edge right on the pencil line. Move your way down the wall lining up the edge of the wallpaper directly to the pencil line.
Next, use your hand to smooth and press the wallpaper to the wall and remove any air bubbles. Use the wet sponge to wipe away any glue that may get on the front of the mural.
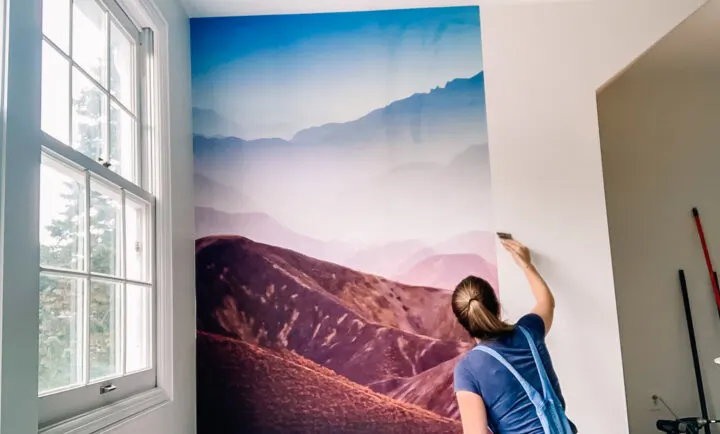
7 | Cut Excess Wallpaper

Use your exacto knife to remove the wallpaper at the top and bottom of the strip.
I began cutting where the mural met the ceiling. I pressed the wallpaper into the ceiling crease and used the knife to cut a straight line. It is important to have a sharp knife to create a clean line.
Next, I used the wet sponge to press the wallpaper firmly where the walls meet the ceiling. I repeated this process at the baseboard and in the corner.
8 | Hang the Next Wallpaper Strip

Apply the wallpaper paste so that it extends a little bit past the width of the next wallpaper strip.
Take the wallpaper that is marked with the next number in the order and align the mural on the wall.

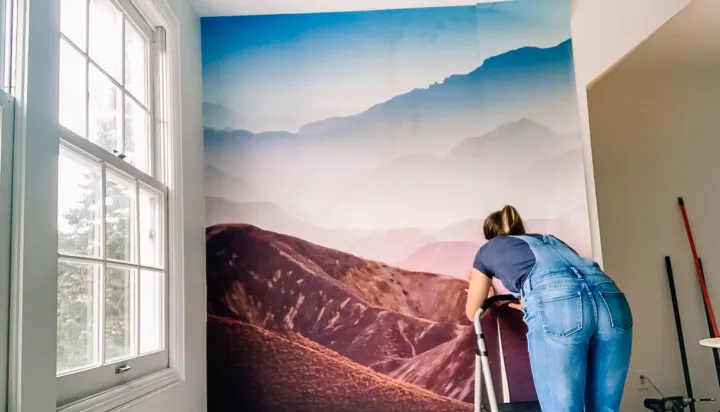
You want the wallpaper strips to be installed directly on the seams without overlapping. Work your way down the mural strip to make sure the image matches and the seams are as tight as possible.
Once the edge is down, use your hand to smooth down the rest of the wallpaper. I like to start in the middle of the wall and fan my hands out diagonally to push any air bubbles out to the side, top, or bottom of the mural.

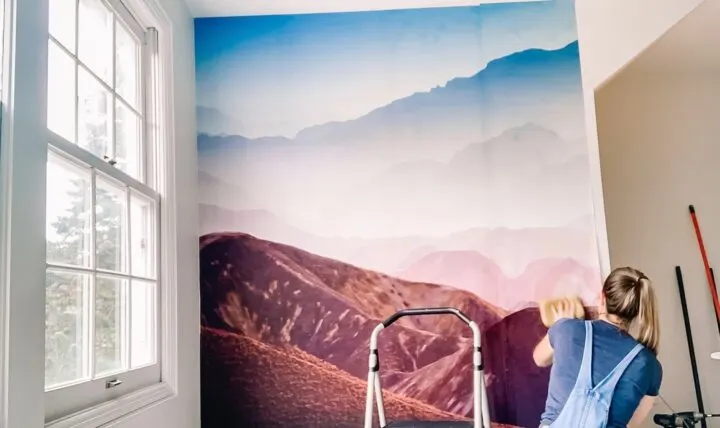
Use the damp sponge to press on the seams and get a really tight seal.

Remove the excess wallpaper and move on to the next wallpaper strip until the mural is complete!
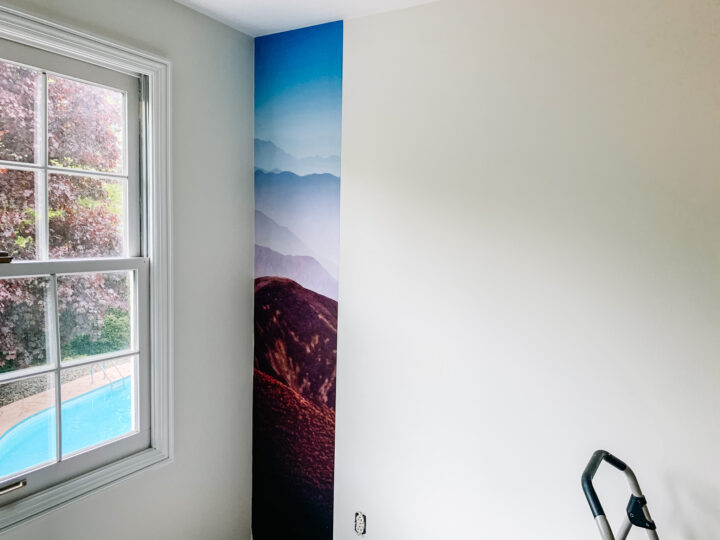
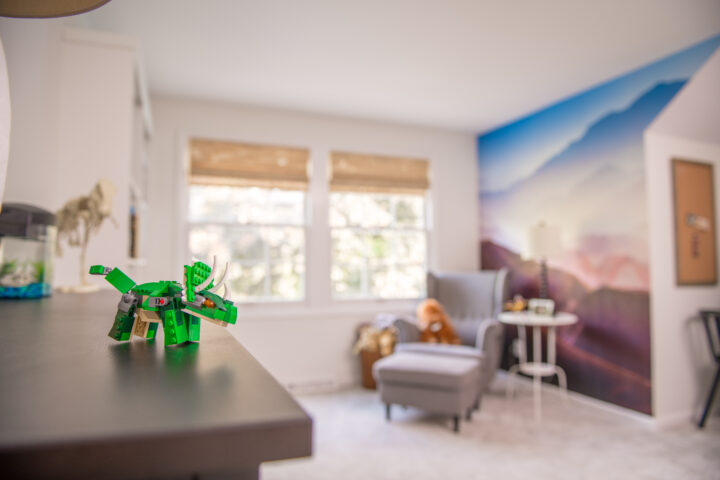
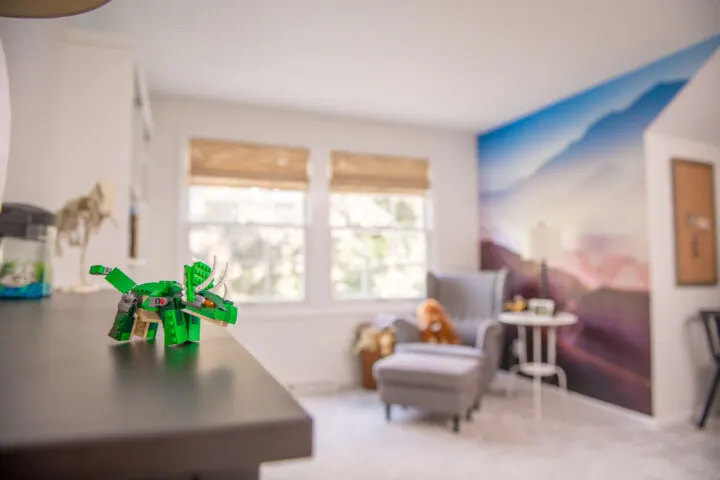
Mountain Wall Mural Reveal

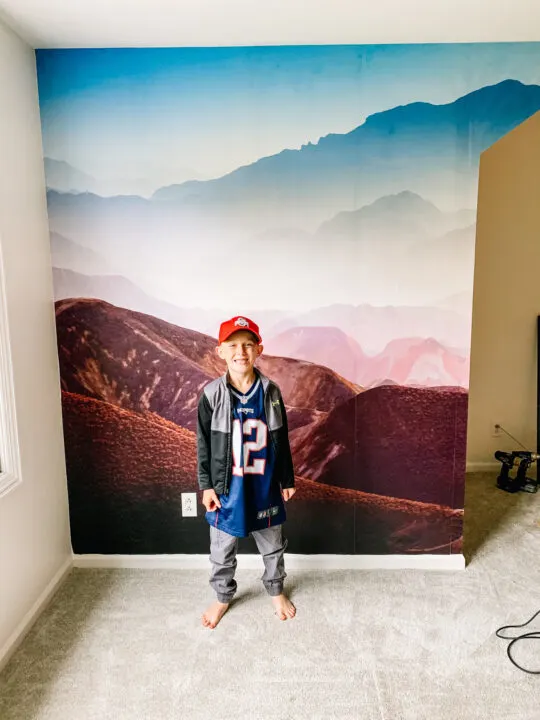
Thomas is SO excited about this fun wall mural and making my little guy happy is what this renovation is all about!

His bedroom makeover turned out lovely and I have enjoyed watching him personalize his room even more!

If the idea of wallpapering an entire room feels daunting, installing a smaller wall mural is a great option!
I hope you found this tutorial helpful and that it has inspired you to install a wall mural of your own!
Similar Posts You Will Love
- I Applied Latex Over Oil-Based Paint | How to Fix
- Paint an Exposed Basement Ceiling Black | DIY
- How to Install a Vertical Shiplap Plank Wall
- 9 Decorative Wall Trim & Molding Ideas to Try
- How to Paint a Dated Rock Fireplace | DIY
- How to Hang Pre-Pasted Wallpaper
- Installing Temporary Wallpaper on Your Stair Risers
- How to Remove Wallpaper
Thanks for checking in, don’t forget to visit next week to see what DIY project I tackle next! Check out the progress from all of the other OCR participants on the One Room Challenge blog too!


Rachel Joy
Wednesday 27th of May 2020
That mural is beautiful! Great job!
lindseymahoney
Thursday 28th of May 2020
Thank you!
lindseymahoney
Thursday 28th of May 2020
Thank you so much!
Jenna Pilant of Room Bloom Design
Saturday 23rd of May 2020
Can’t wait to see next weeks !
lindseymahoney
Wednesday 27th of May 2020
Thank you!!
tim
Friday 22nd of May 2020
wow that's a beautiful mural and you hang it yourself! I am doing wallpaper too but I am nervous to tackle it myself! fingers crossed my trades could come back soon or I may just have to try it myself!
lindseymahoney
Wednesday 27th of May 2020
You can do it!
Lindsey from Hilltown House
Friday 22nd of May 2020
That smile makes all the hard work worth it!
Asia Evans
Thursday 21st of May 2020
How Cool! I better not let my son see this one. He'll change the theme on me.
lindseymahoney
Wednesday 27th of May 2020
Hahaha, thank you!