
Last Updated on July 1, 2024 by lindseymahoney
Revamping an IKEA dresser with a fresh coat of paint is a fantastic way to personalize and upgrade your furniture. Whether you’re looking to add a pop of color or achieve a sleek, modern look, painting an IKEA dresser is a manageable DIY project.

Whether it’s an old piece of furniture you already own or an IKEA piece found on Facebook Marketplace, there are hundreds of IKEA hacks to use and add personal style. Paint is my favorite DIY hack to breathe new life into old furniture!
Follow this step-by-step tutorial to transform your dresser into a stunning piece that complements your decor.
Table of Contents
- How to Paint an IKEA Dresser | Step-by-Step Tutorial
- Materials Needed:
- 1 | Prep the Laminate Surfaces for Paint
- 2 | Apply Primer (optional)
- 3 | Apply Paint
- 4 | Add a Protective Clear Coat (Optional)
- 5 | Reassemble the Dresser
- 6 | Style and Enjoy
- Tips for Success
- More Content You Will Love
How to Paint an IKEA Dresser | Step-by-Step Tutorial
[Affiliate links are included in this post where I receive a small commission when items are purchased through these links at no additional cost to you. Thank you for supporting my small business.]
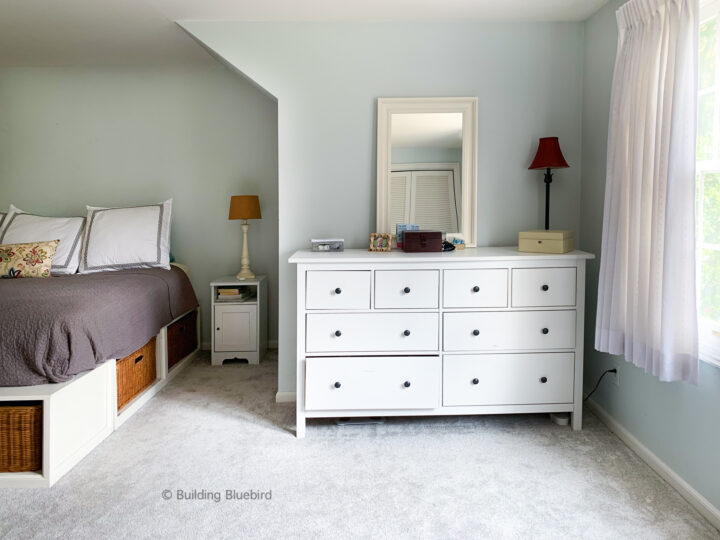

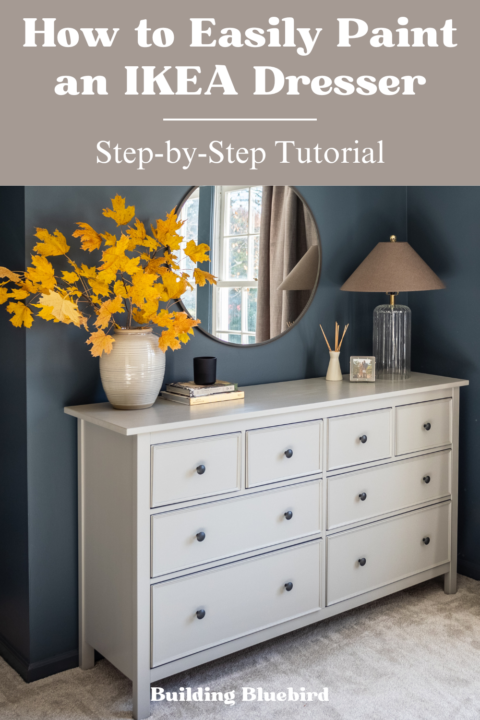
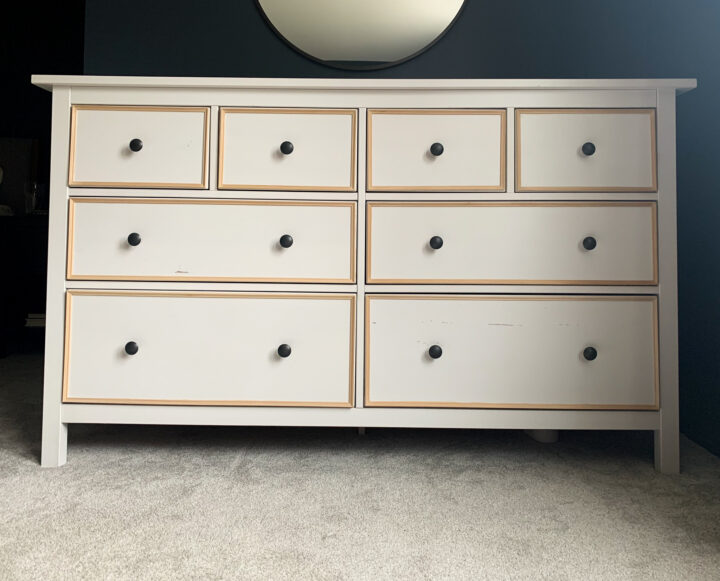
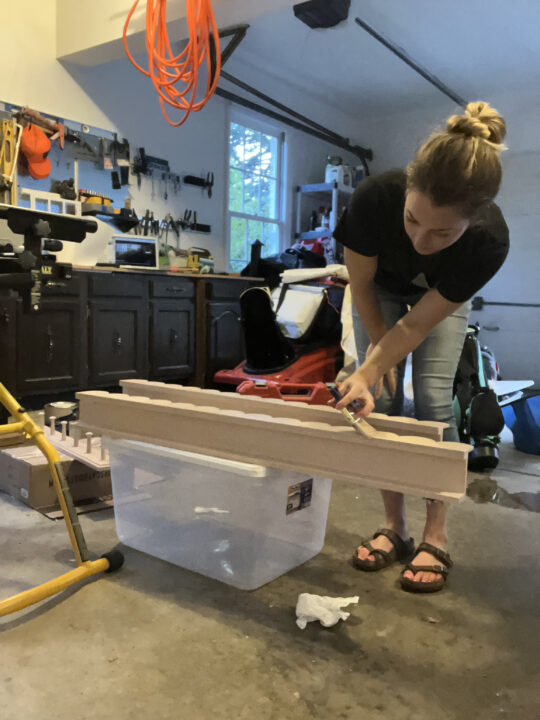
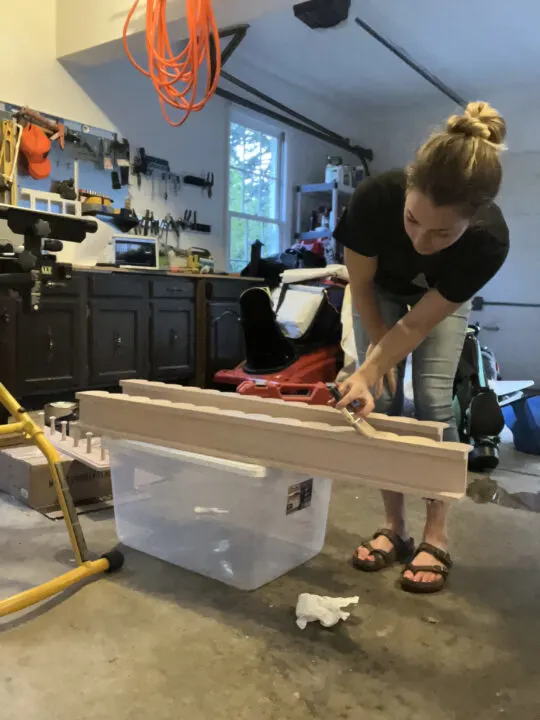
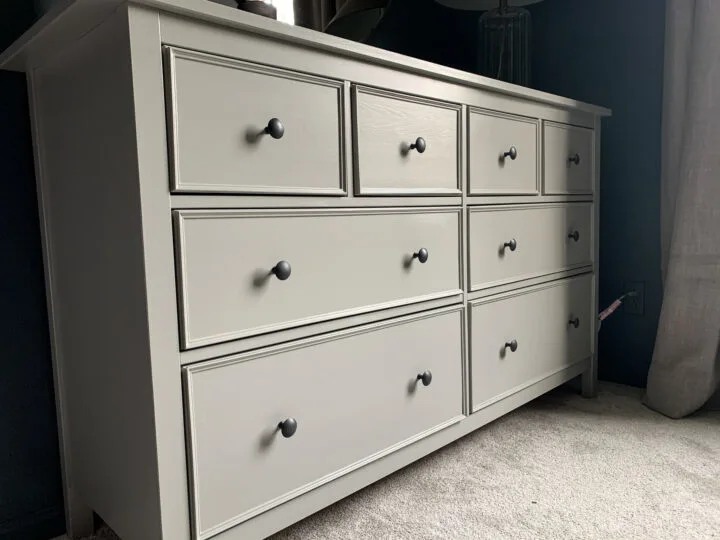
I am a big fan of the IKEA Hemnes dresser because of its durability and deep drawers giving us plenty of room for storage. When we began our primary bedroom makeover, I decided to tackle an IKEA hack and add traditional trim around the drawer fronts and then paint the entire dresser with a fresh coat of paint.

When painting a piece of furniture, there are many ways you can go about it. One of the easiest ways to paint pieces of IKEA furniture is by using a furniture paint kit that allows you to skip sanding.

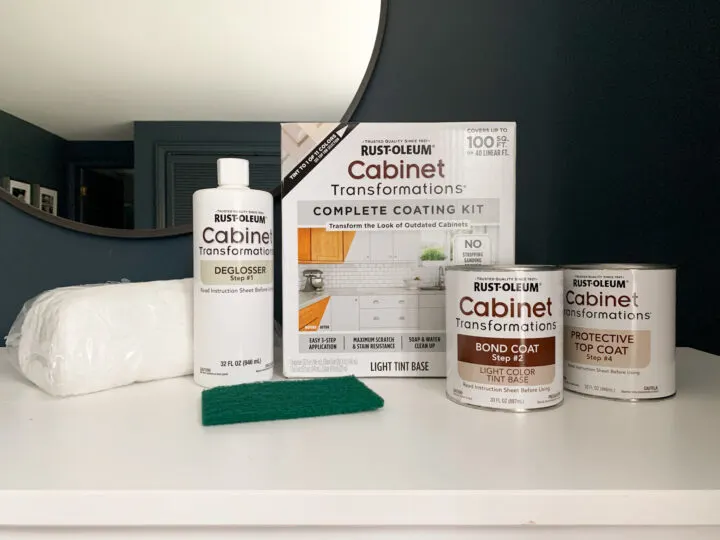
These kits can be found at Home Depot and other local hardware stores. One downside of these paint kits is that there are limited paint color options.
If you prefer to use a different type of paint, like chalk paint or latex paint, I recommend additional steps to prep the surface of the old dresser.
Materials Needed:

- IKEA Hemnes dresser
- Drop cloth
- Paint brush
- Rust-Oleum Paint Kit – light base with Winter Fog color tint
- Damp Cloth
- Screwdriver
- Primer (optional)
- Sanding block (optional)
- Latex paint (optional)
- Foam rollers (optional)
- Polyurethane clear coat
1 | Prep the Laminate Surfaces for Paint
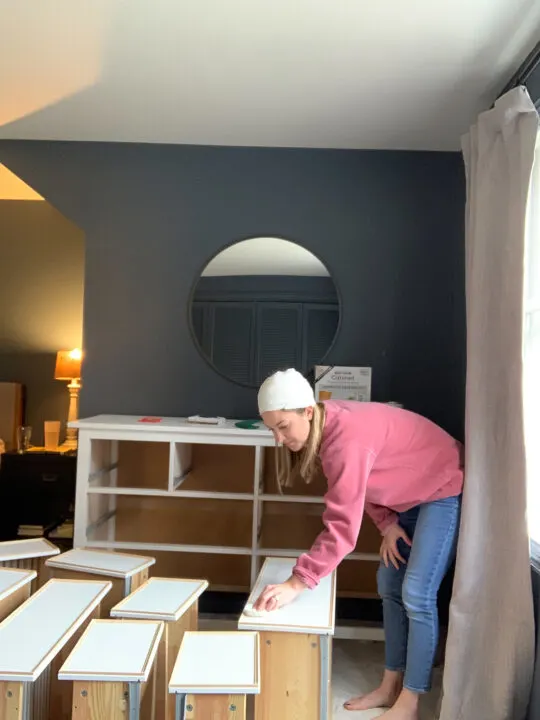
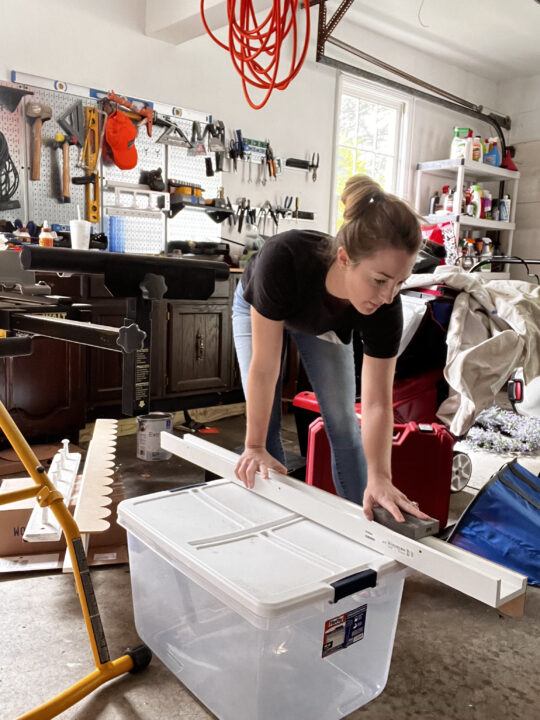
First, you want to get your paint station set up. Place the chest of drawers on a cloth or plastic drop cloth to protect the floors from paint. Remove the dresser drawers and prop them on a table or a drop cloth so you can paint the drawer front. Using a screwdriver, remove the drawer pulls.
Furniture Paint Kit

If you are using the Furniture Paint Kit, you will have a de-glosser that is used instead of sanding the IKEA pieces. Using a tack cloth, wipe down the dresser with the de-glosser.
Honestly, I am not sure how effective this step is with IKEA laminate furniture, but it doesn’t hurt to quickly wipe down the entire surface of the furniture.
Latex Paint
If you are using interior latex paints, you will want to lightly sand the IKEA dresser. Using sandpaper, lightly sand all surfaces of the dresser, including the drawer fronts. If the laminate surface is curling with the particle board visible in some areas, an orbital sander may work best to create a smoother finish.

*I upcycled an old IKEA shelf using latex paint and added scalloped decorative trim. Check out the complete tutorial here!
This helps to rough up the slick IKEA finish and allows the primer to adhere better. After sanding, wipe down the surfaces with a tack cloth or damp cloth to remove any dust.
2 | Apply Primer (optional)
If you are using the Furniture paint kit, skip this step.
Latex Paint
Apply a coat of adhesion primer to all surfaces you plan to paint. Using a primer is crucial for ensuring that the paint adheres properly, especially on IKEA furniture, with a laminate or slick finish.
Allow the primer to dry completely according to the manufacturer’s instructions. Depending on the original color of the laminate IKEA furniture, you may need to apply a second coat of primer.
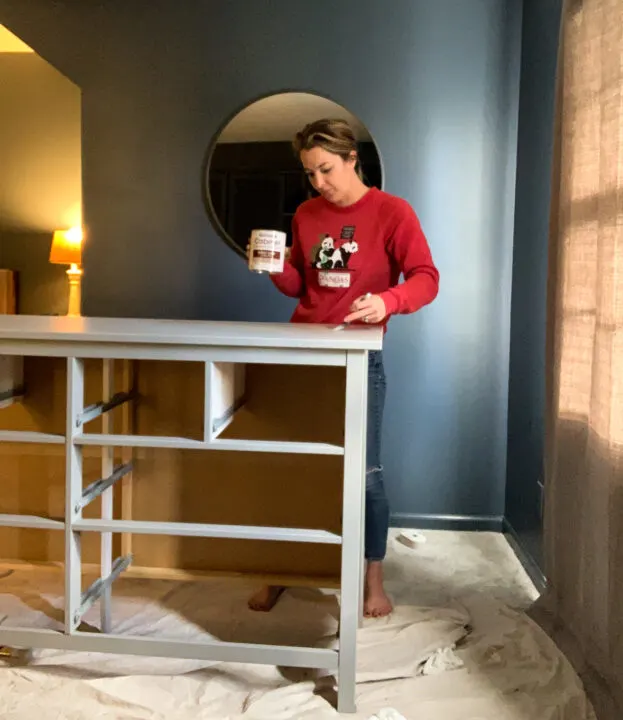
3 | Apply Paint
Now it’s time to paint!
Furniture Paint Kit

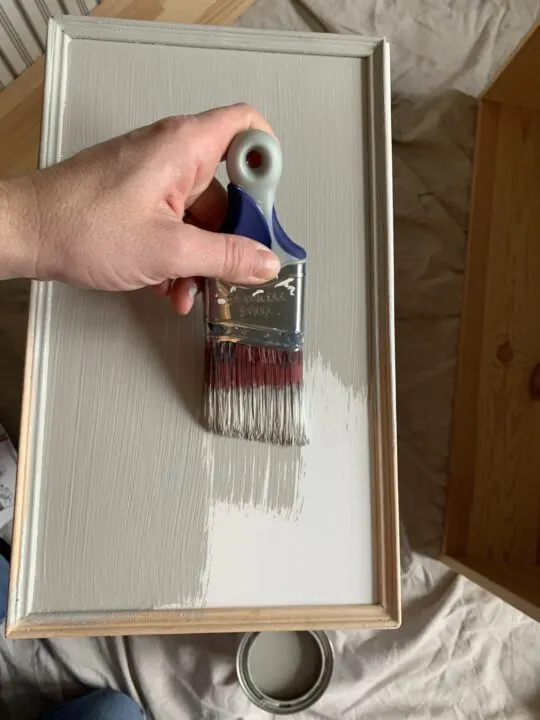
When using the furniture paint kit, I recommend applying the paint with a paintbrush. Skip the foam roller because it can cause air bubbles on the surface.

Using a paintbrush or foam roller, apply the first coat of paint. Once dry, apply the second coat of paint for the best results. The tinted paint from the furniture kit will feel chalky and will require the matte topcoat to ensure durability and protect the paint from chipping.
Latex Paint
If you are using standard latex paint for IKEA furniture painting projects, you can use a paintbrush and foam roller to apply the paint. Foam rollers are great for achieving a smooth, even finish, while brushes can be useful for getting into detailed areas.
Latex paint can also be applied using a paint sprayer. Follow the manufacturer’s instructions to achieve the best results. Allow the first coat to dry completely.
For best results, apply 2-3 thin coats of paint, allowing each coat to dry thoroughly before applying the next. If there are any blemishes, you can lightly sand between coats with 220-grit sandpaper to ensure a smooth finish.
4 | Add a Protective Clear Coat (Optional)
Furniture Paint Kit

With Rust-Oleum’s furniture or cabinet paint kit, it is imperative to apply the top coat included in the kit. Use a paint stick to stir the clear coat before applying to the furniture surface. With a paintbrush, apply the matte topcoat to the entire surface of the dresser.
The protective coating has a milky, clouded finish when it is first applied but dries clear. Be mindful of any drips or pooling topcoat in decorative trim or cracks and corners. Let it completely dry.
Latex Paint
When using standard interior latex paint, I highly recommend applying a clear coat of polyurethane or wax. This step is especially recommended if the dresser will be in a high traffic area or will be subject to a lot of wear and tear, like in children’s rooms. Apply the clear coat according to the manufacturer’s instructions and allow it to dry completely.
I have skipped the protective clear coat step when using a type of paint that is more durable, like Emerald Urethane Trim Enamel by Sherwin Williams. The paint is formulated for high-traffic areas that are more prone to chipping, like kitchen cabinets and trim baseboards.
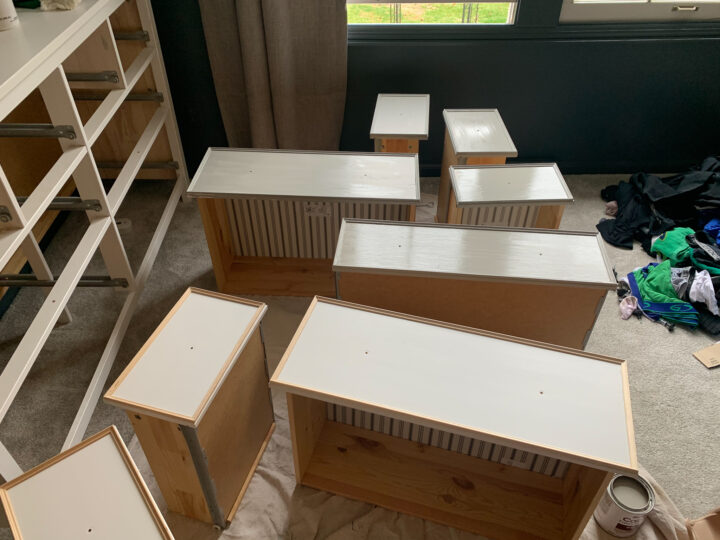
5 | Reassemble the Dresser


Once all the painted surfaces are completely dry, reassemble your dresser. Attach any new hardware or reinstall the original knobs and handles. Slide the drawers back into place.
Clean up the painting station, wash your paintbrushes, and put all of your paint supplies back into storage for your next DIY project.
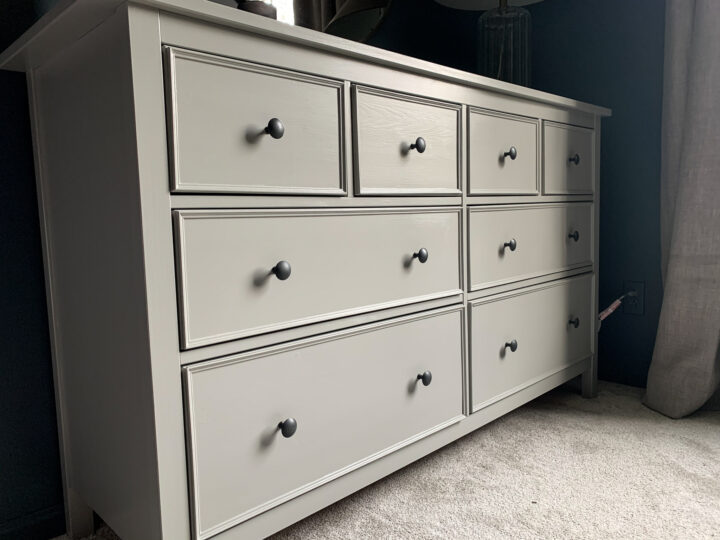
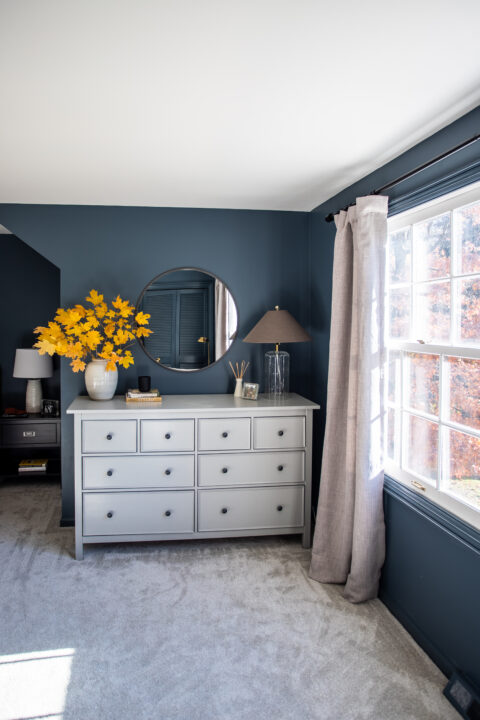
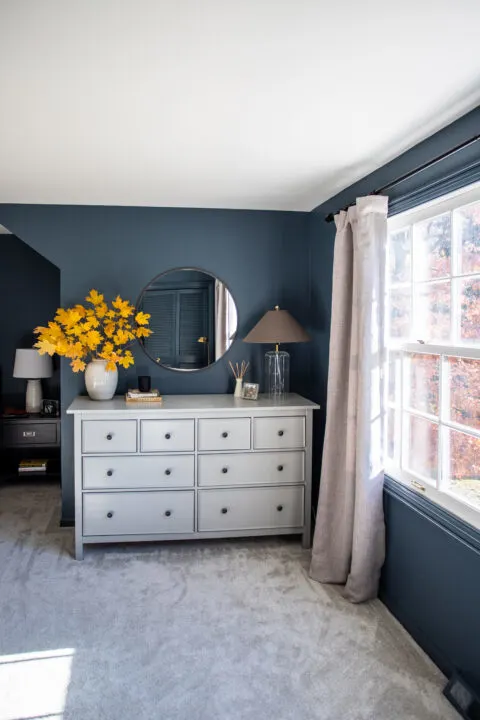
6 | Style and Enjoy


Now that your IKEA dresser has a fresh, new look, it’s time to style it!


Add decorative items, such as vases, picture frames, or a stylish lamp, to showcase your transformed piece.
Tips for Success
- Work in a well-ventilated area: Ensure you have good ventilation while painting to avoid inhaling fumes.
- Test colors first: If you’re unsure about the paint color, test it on a small, inconspicuous area of the dresser before committing.
- Use painter’s tape: Apply painter’s tape to any areas you don’t want to paint, such as the inside edges of drawers.
- Take your time: Patience is key to achieving a professional-looking finish. Allow adequate drying time between coats and after the final coat.
By following these steps, you can easily transform an IKEA dresser into a custom piece that enhances your home decor. Happy painting!