
Last Updated on May 11, 2023 by lindseymahoney
Are you tired of looking at your outdated kitchen cabinets? Dreaming of a fresh, modern look without the hassle of sanding? Look no further! In this comprehensive guide, we will show you how to easily paint your kitchen cabinets without any sanding required.
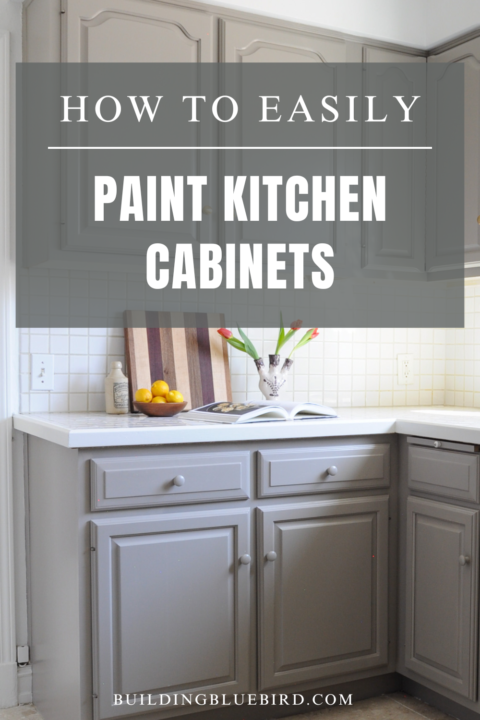

Whether you’re a seasoned DIY enthusiast or a beginner with no prior experience, these step-by-step instructions and expert tips will ensure a flawless finish.
Grab your paintbrush and let’s get started on transforming your kitchen cabinets into a stunning focal point you will love!
The Kitchen Project
My brother and sister-in-law moved into their home a few years ago with the goal of completely renovating their dated kitchen.
In their current season of life with three young kids, the kitchen renovation is still a few years off so they gave me the go-ahead to tackle a budget-friendly kitchen makeover.
With a little bit of creativity and sweat equity, you can turn almost any uninspiring space into a room that brings you joy.
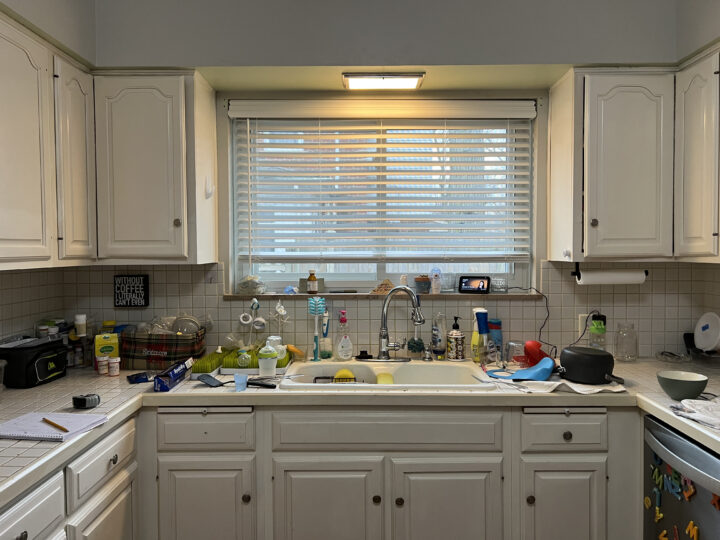
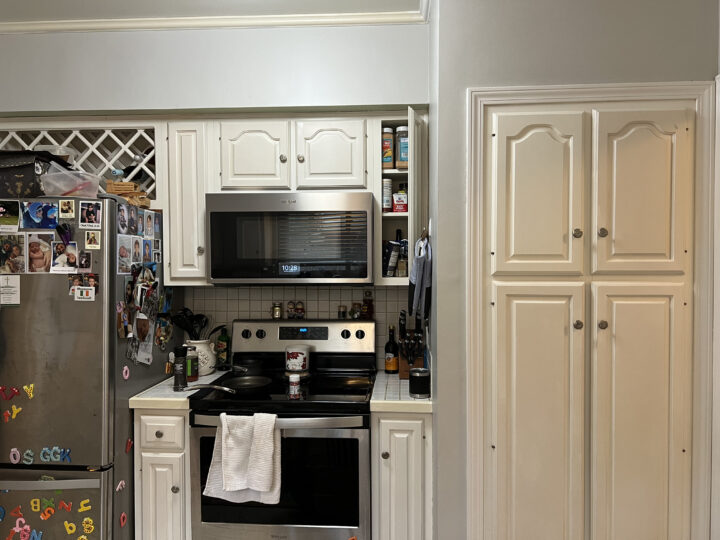
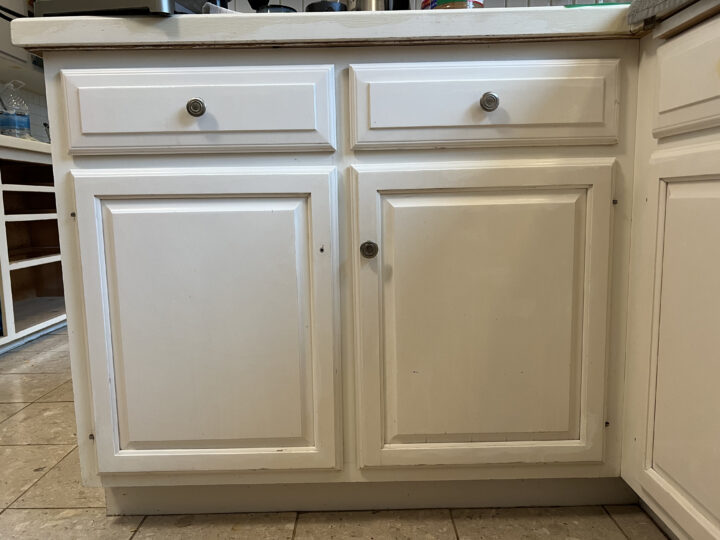
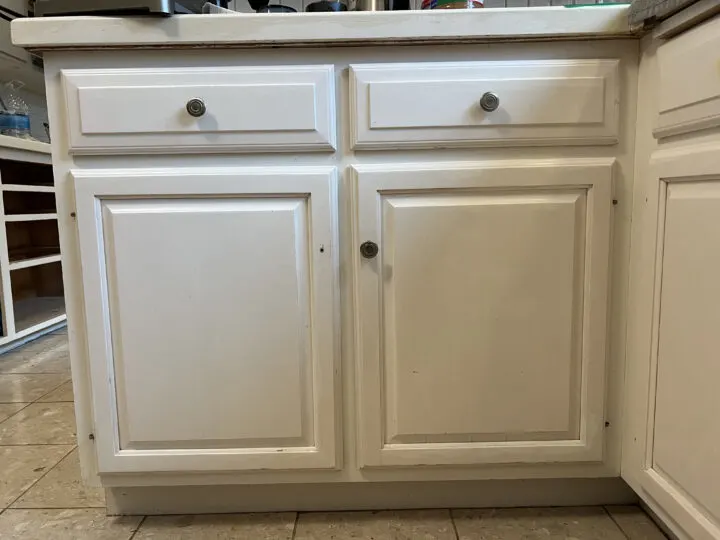
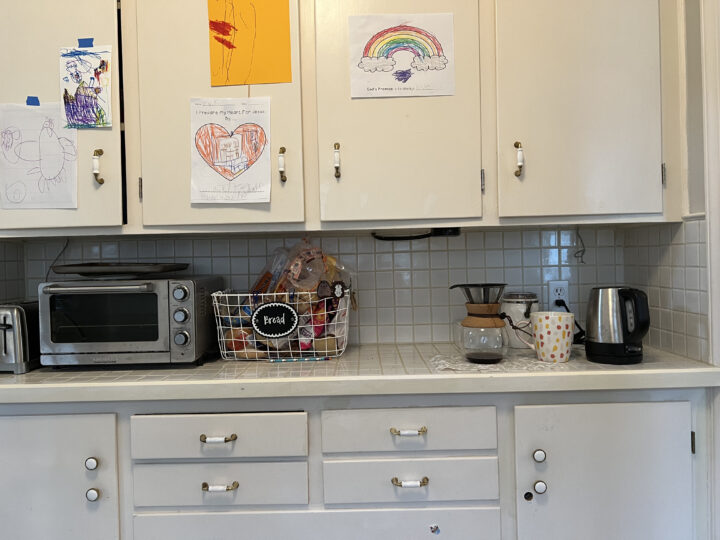
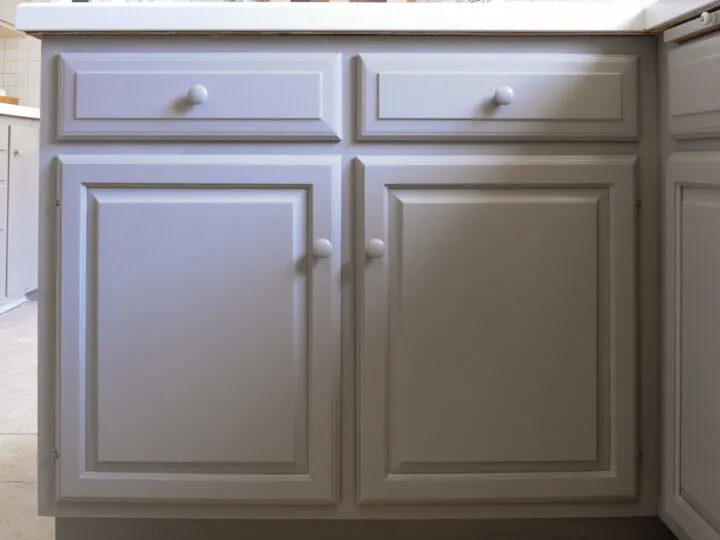
Kitchen Cabinets Before


How to Paint Kitchen Cabinets for Under $100
Paint is one of the easiest and most affordable ways to transform a space.
These days, you can paint just about anything you can think of including walls, floors, furniture, and kitchen cabinets! Here are the tools and materials I used:
Tools and Materials for this DIY Project
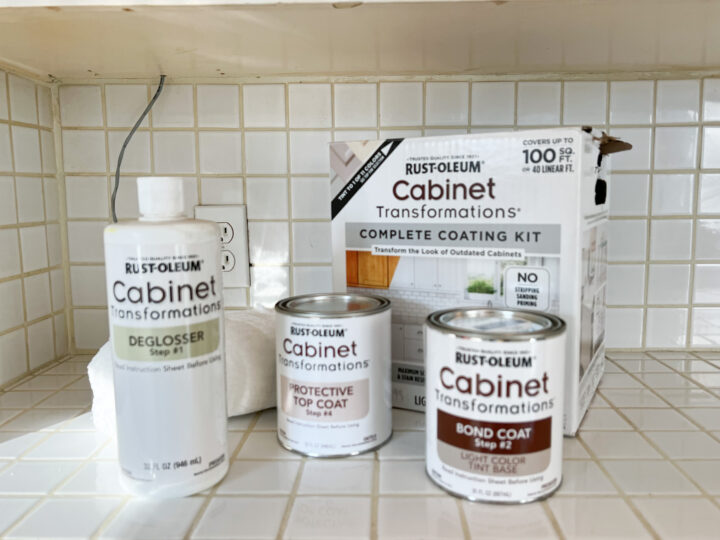
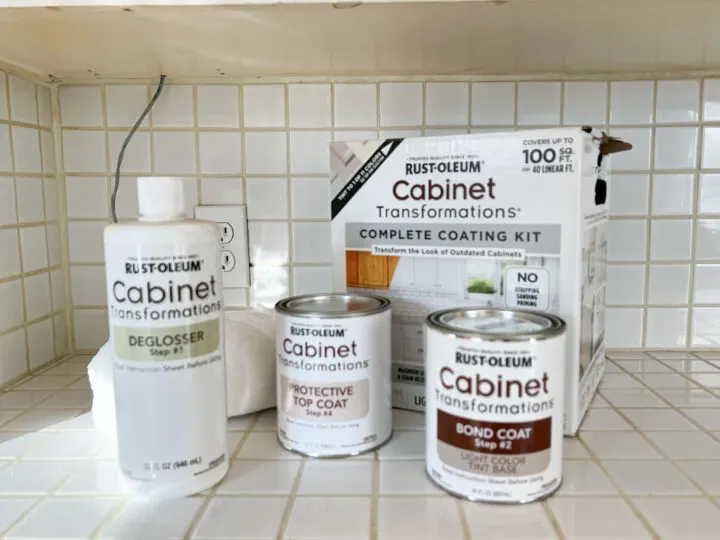
- Cabinet Transformations Light Kit – Greige – $50 on sale
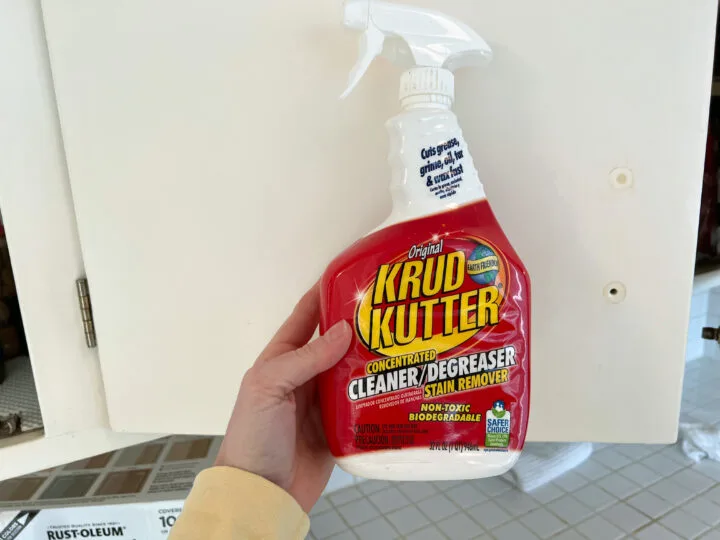
- Cleaning agent (owned) – I used Krud Kutter to clean dirt and grime on the cabinets before painting.
- Dropcloth (owned) – To protect the floors from drips and spills
- Paintbrush (owned)
- Screwdriver (owned)
- Wood knobs – $25
- Brass knobs – $40
- Wood filler and Sanding block – (owned) Only required if you are changing the door hardware and need to fill holes.
I have used the Rust-Oleum Transformations Kit on multiple pieces of furniture and always love the end result. My favorite part about this kit is that it doesn’t require any stripping, sanding, or priming!
This product is straightforward and easy to use for people who are newer to DIY.
Our local Menards had a sale on the Rust-Oleum paint kits and I snagged the light tint kit for $50. Each kit covers 100 square feet and I had just enough for this smaller kitchen!
For this project, I chose the color Greige (this color is available in the light tint kit) to add some warmth to the kitchen. As a quick reminder, these kits are mixed in the store.
While I used this paint kit to paint the cabinets, there are other paint products available that are durable for high-traffic areas like cabinets in a kitchen. I have used Sherwin Williams Emerald Urethane Trim paint when painting bathroom cabinets and it is incredibly durable.
1 | Kitchen Cabinet Paint Preparation
Remove Doors and Drawers

First, I removed all of the drawers and cabinet doors from the cabinet base. We set the doors and drawers on a drop cloth to prep them for paint.
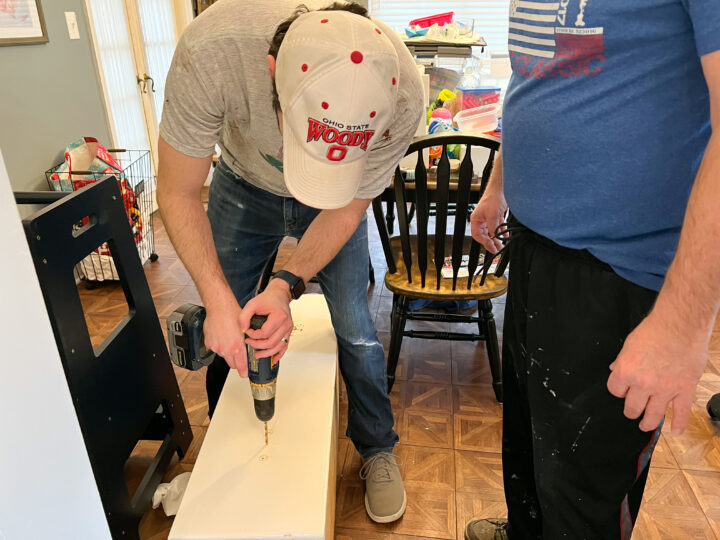
For this small kitchen renovation, I decided to replace the cabinet hardware with new hardware in a slightly different location. I used wood filler to cover the holes and sanded the area smooth.

If applicable, drill new holes for the hardware.
Clean the Cabinet Surfaces

Have you ever taken a close look at your kitchen cabinets, particularly the lower ones? You may be surprised by how dirty they are!
Before using anything in the cabinet paint kit, I used Krud Kutter to clean all of the surfaces of the cabinet.
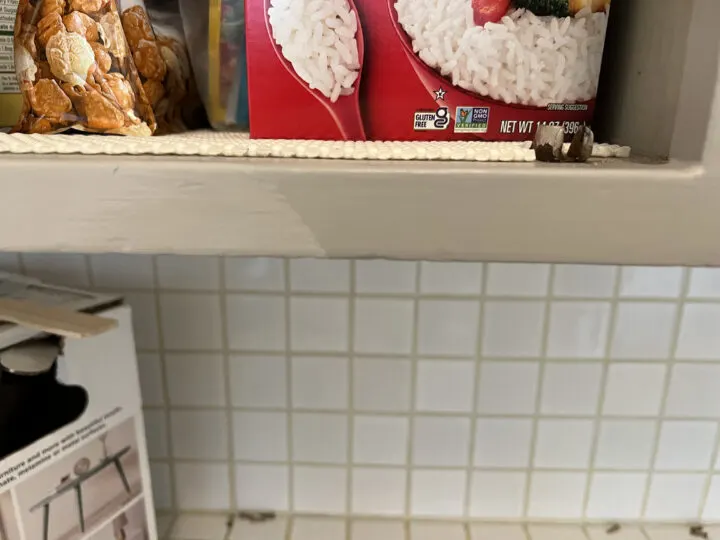
Don’t forget to clean the kick plates too!
2 | Cabinet Deglosser Application
Apply the deglosser (which comes with the kit) before you paint the kitchen cabinets to ensure maximum adhesion.
The deglosser is what allows you to skip the messy task of sanding the cabinets. Using a cloth or scrubbing pad, wipe your cabinets, drawers, and frame in the same direction as the wood grain.
3 | Apply the Bond Coating (two coats)
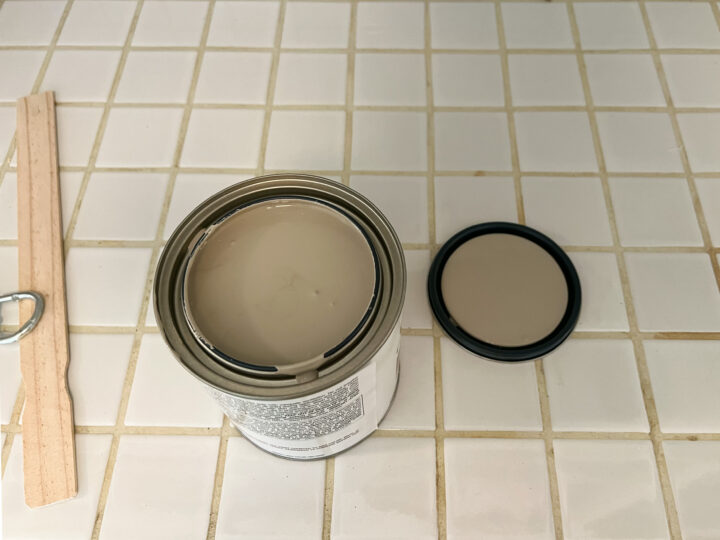
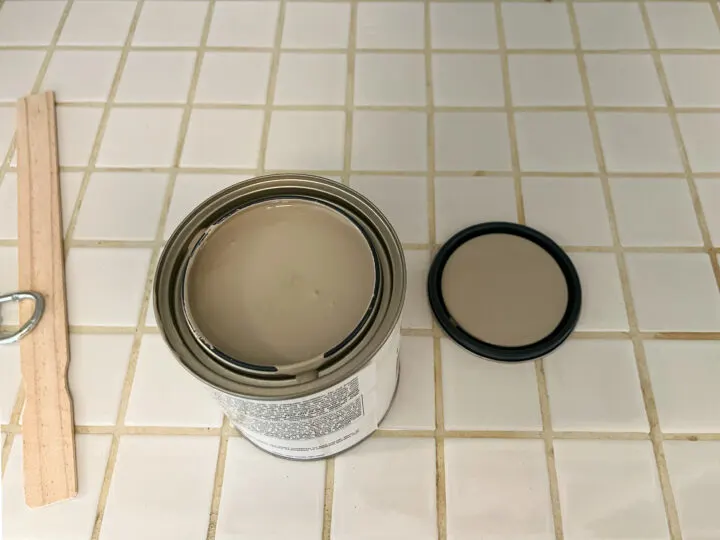
The cabinet painting kit comes with 2 quarts of bond coating and is tinted to the desired color AT the store.
The bond coat paint is different from standard latex paint and is formulated to adhere to wood, laminate, and melamine surfaces.
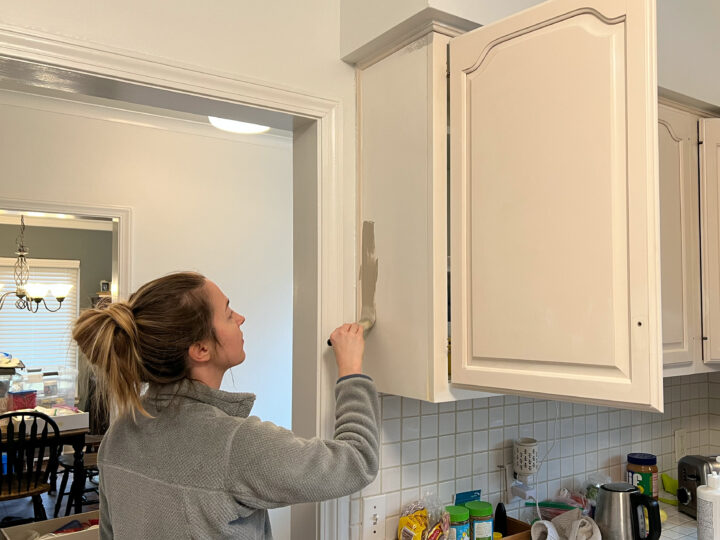
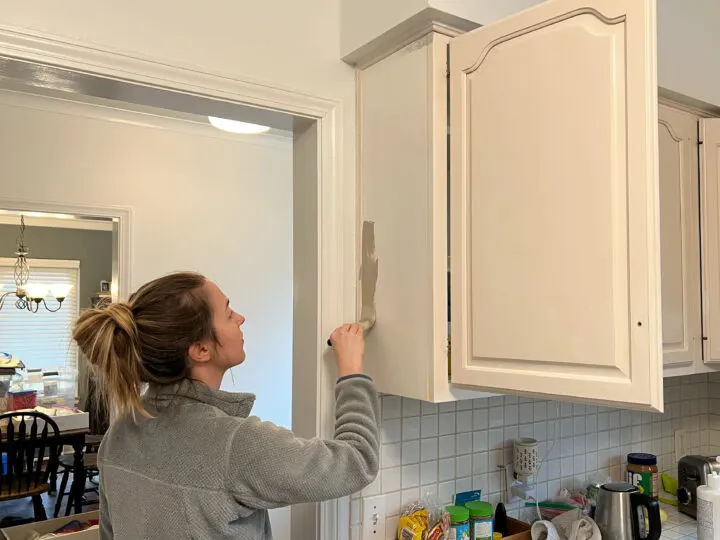
The best way to apply the bond coat is with a paintbrush and not a smooth surface roller. I once tried using a smooth surface roller and it created a stippled effect.
A paintbrush creates that smooth surface that is ideal for painted kitchen cabinets.
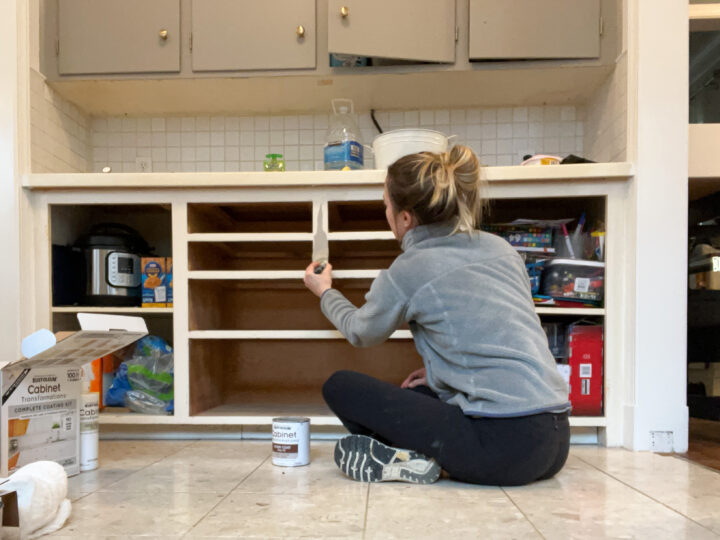

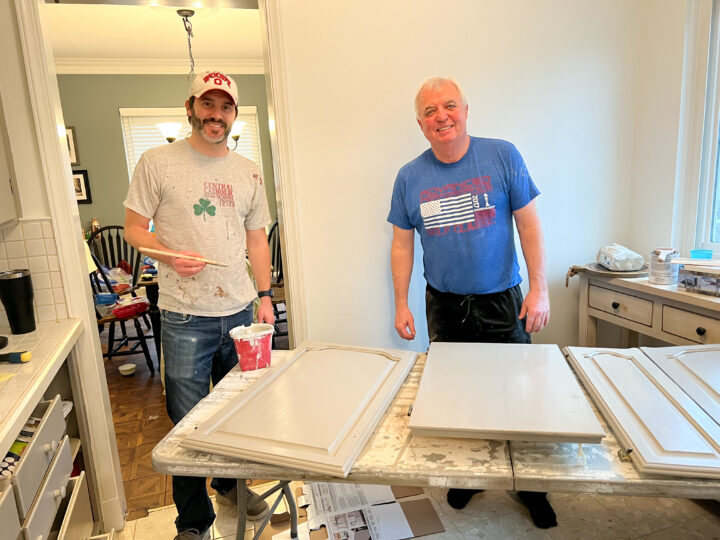
For the kitchen, I painted two coats on the cabinet frame (front and visible sides).
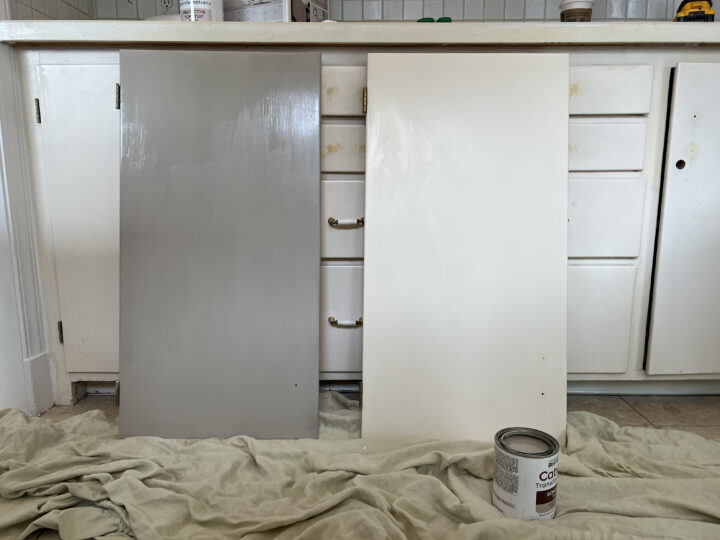

I also painted drawers, and the front and back of each door. If I painted the interior of every cabinet, the two quarts of paint that came in the kit would not have been enough.
Once the two coats are applied, you will notice that the cabinets feel almost chalky. The top coat will fix that chalky feeling and create the durable surface you want for kitchen cabinets.
*The Cabinet Transformations Paint Kit includes a glaze that can be applied for an antique look. I have never used the glaze, however, if you are looking for the weathered/antique look, you will apply the glaze after the bond coat.
4 | Matte Top Coat Application (one coat)

The matte top coat is the perfect sheen that gives kitchen cabinets that high-end look. Using a paintbrush, apply the top coat with long paint strokes. It looks a little milky at first and then dries clear.
For the best results, avoid re-brushing areas that have already begun to dry.
When I painted our dining room buffet black, there were a few intricate molding details that got a thicker layer of the top coat and dried a little more opaque than the rest of the piece.
I am probably the only person who has ever noticed this, but be aware of any drips or pooling top coat for this reason.
5 | Let the Cabinets Dry
Once all of the kitchen cabinets are painted, allow them to dry for 12 hours before reattaching the doors and drawers.
For best results, wait 24 hours before fully using the kitchen cabinets and avoid using cleaners on the painted cabinetry for 7 days.
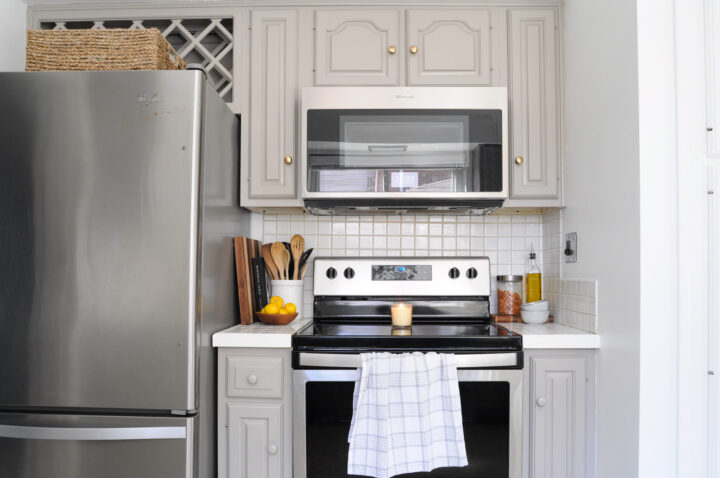
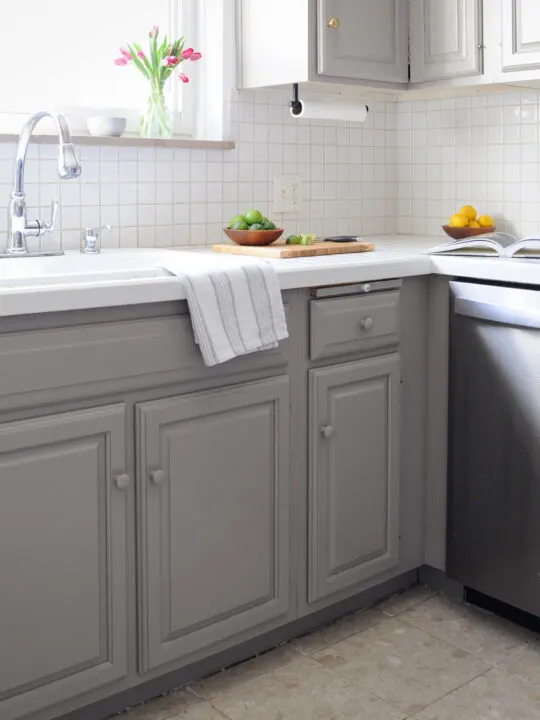
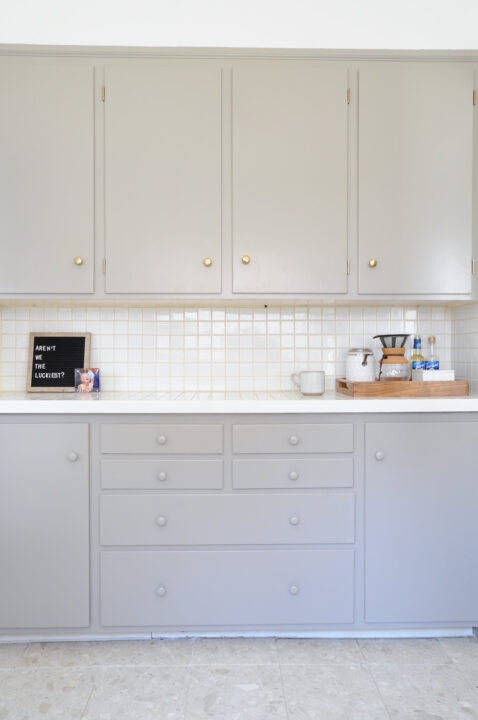
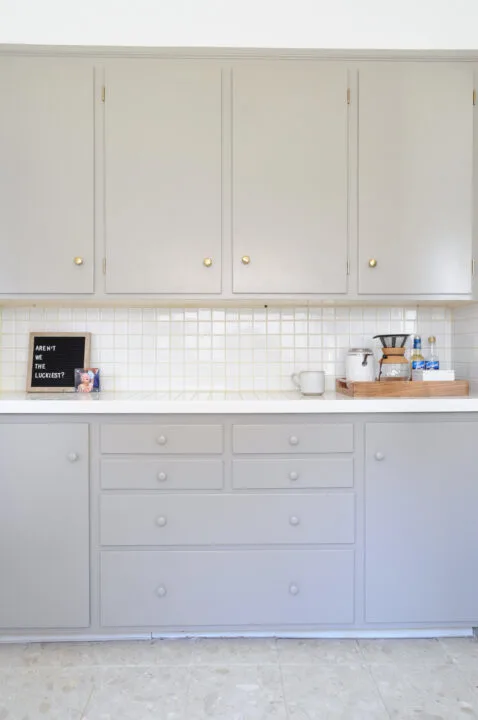
Painted Kitchen Cabinets Reveal

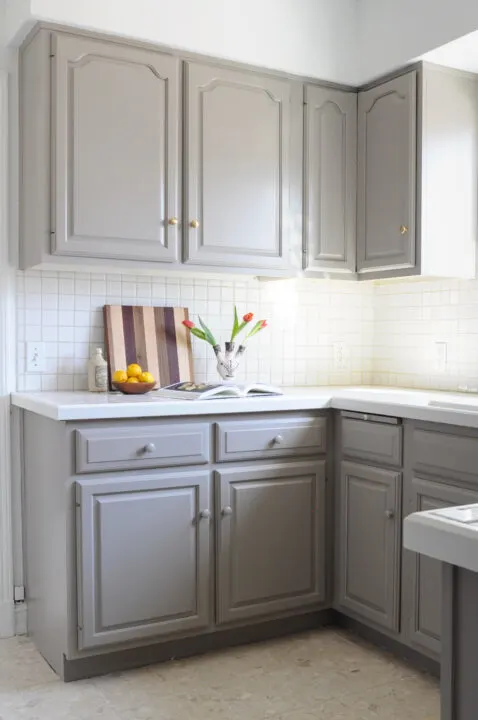
The new paint color of these cabinets is so dreamy! This mushroom paint color creates a classic and timeless look in a kitchen.
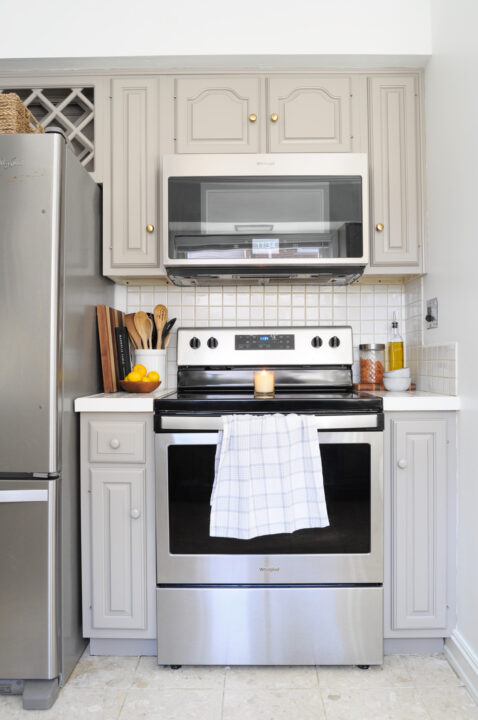

I warmed up this kitchen by adding wood accents and earth tones throughout the space. A pop of color, like yellow lemons adds some energy and life into the kitchen as well.


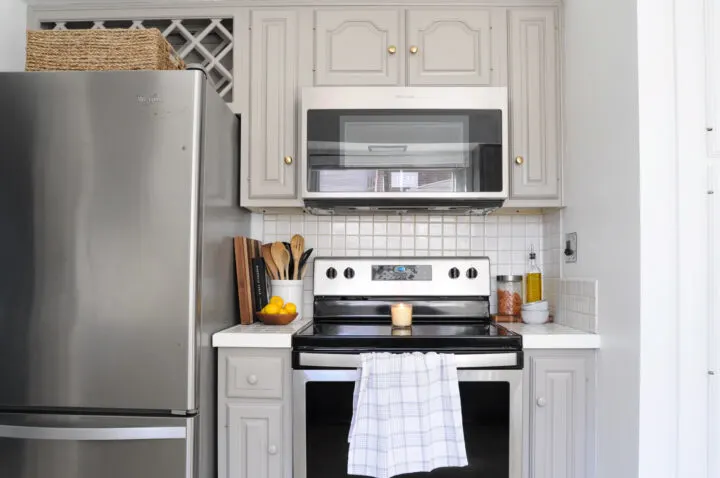
Before, the kitchen area and butlers pantry felt like two separate rooms. Now, the two rooms feel cohesive and add function to the family’s daily kitchen activities.

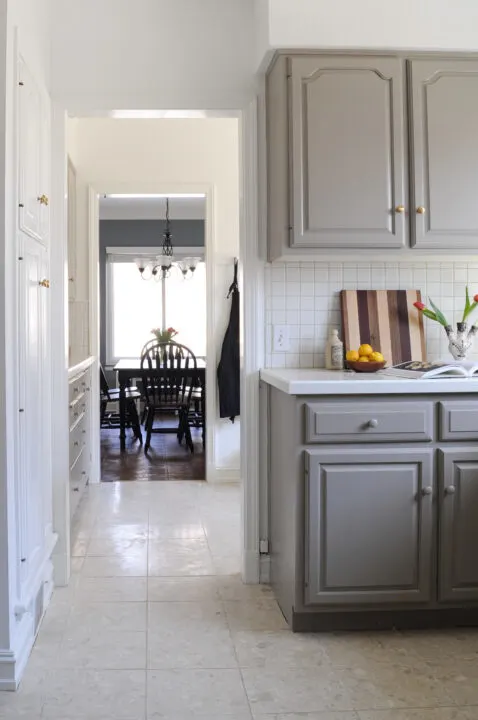


I am absolutely thrilled with the transformation of these dated kitchen cabinets and the homeowners are too!
With the proper materials and some planning, you too can paint your kitchen cabinets without sanding!
Technically I spent $115, but that is because I spent a little more on the brass knobs for the upper cabinets.
This project would have fallen under $100 if I used all wooden knobs or even reused the existing knobs already on the cabinets.
What are some tips for achieving a professional finish?
1. Use long, smooth strokes: When applying paint with a brush or roller, use long, smooth strokes to achieve an even finish. Avoid applying too much pressure, as it can result in brush marks or roller lines.
2. Allow sufficient drying time: Patience is key when it comes to achieving a professional finish. Allow each coat of paint to dry completely before applying the next coat or reattaching cabinet doors and hardware.
3. Consider primer: If you are not using this kit with the deglosser, bong coat, and top coat, a base primer is a great option. While we’re skipping the sanding step, using a primer can help improve paint adhesion and provide a smooth base for the paint. If you’re painting over a dark or heavily stained surface, consider using a primer specifically formulated for cabinets.
4. Don’t rush the process: Take your time and avoid rushing through the painting process. Applying thin coats and allowing sufficient drying time will result in a better finish with fewer imperfections.
5. Maintain proper ventilation: Ensure that your workspace is well-ventilated during the painting process. Open windows or use fans to promote airflow and help the paint dry faster.
By following these tips, you’ll be well on your way to achieving a professional-looking finish on your kitchen cabinets.
What are some common mistakes to avoid when painting cabinets without sanding?
1. Skipping the cleaning step: Properly cleaning your cabinets before painting is essential for paint adhesion. Skipping this step can result in paint peeling or chipping over time.
2. Using the wrong type of paint: Using the wrong type of paint can lead to a poor finish or paint that doesn’t adhere properly. Make sure to use paint specifically formulated for cabinets or trim.
3. Applying too thick of a coat: Applying thick coats of paint can result in drips, uneven coverage, and longer drying times. It’s better to apply multiple thin coats for a smoother finish.
4. Neglecting to protect adjacent surfaces: Always use painter’s tape and drop cloths to protect adjacent surfaces from paint splatters or spills. This will save you time and effort in cleaning up later.
5. Rushing the drying process: Rushing the drying process can lead to smudges, smears, or imperfections in the finish. Allow each coat of paint to dry completely before moving on to the next step.
Can I paint over laminate cabinets without sanding?
Yep! You can paint over laminate cabinets without sanding. However, it’s important to clean the surface thoroughly and use a primer specifically formulated for laminate to ensure proper paint adhesion.
If using a paint kit, read the instructions carefully to ensure it can be used on your cabinet material. I also recommend you utilize your paint supply store experts when considering the best paint for your project.
How long does it take for painted cabinets to dry?
The drying time for painted cabinets will vary depending on the type of paint used and the environmental conditions. Generally, it can take anywhere from a few hours to a few days for the paint to dry completely.
Do I need to seal painted cabinets?
Sealing painted cabinets is not necessary if you’re using high-quality cabinet paint.
However, if you want to add an extra layer of protection, you can apply a clear topcoat specifically formulated for cabinets. The paint kit I used, the matte topcoat adds that extra layer of protection and durability.
Can I paint cabinets that have an existing stain or finish?
Yes, you can paint cabinets that have an existing stain or finish. However, it’s important to clean and prep the surface properly to ensure proper paint adhesion. Using a primer can also help improve paint adhesion on previously finished surfaces.
How long will the painted cabinets last?
With proper preparation and application, painted cabinets can last for many years. However, regular maintenance and proper care, such as avoiding harsh chemicals or abrasive cleaners, can help extend the life of your painted cabinets.
Can I use this paint kit for other DIY projects?
Yes! I have used these painting kits for many DIY projects throughout our home.
Dining Room Buffet
The first time I used the cabinet transformations kit was to paint this old buffet and I was thrilled with the results.
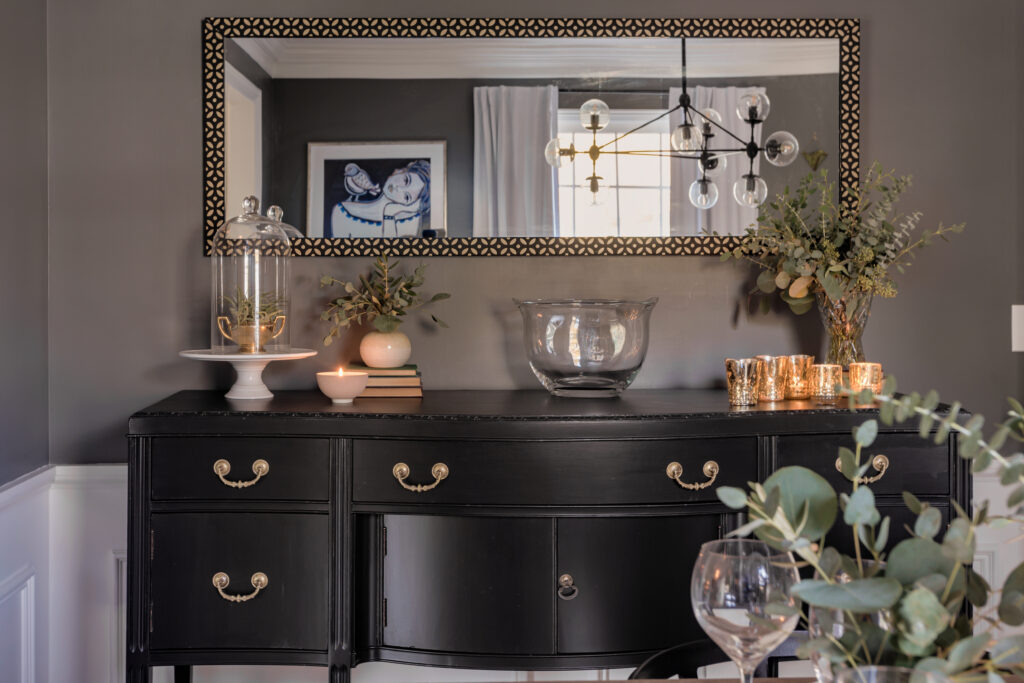
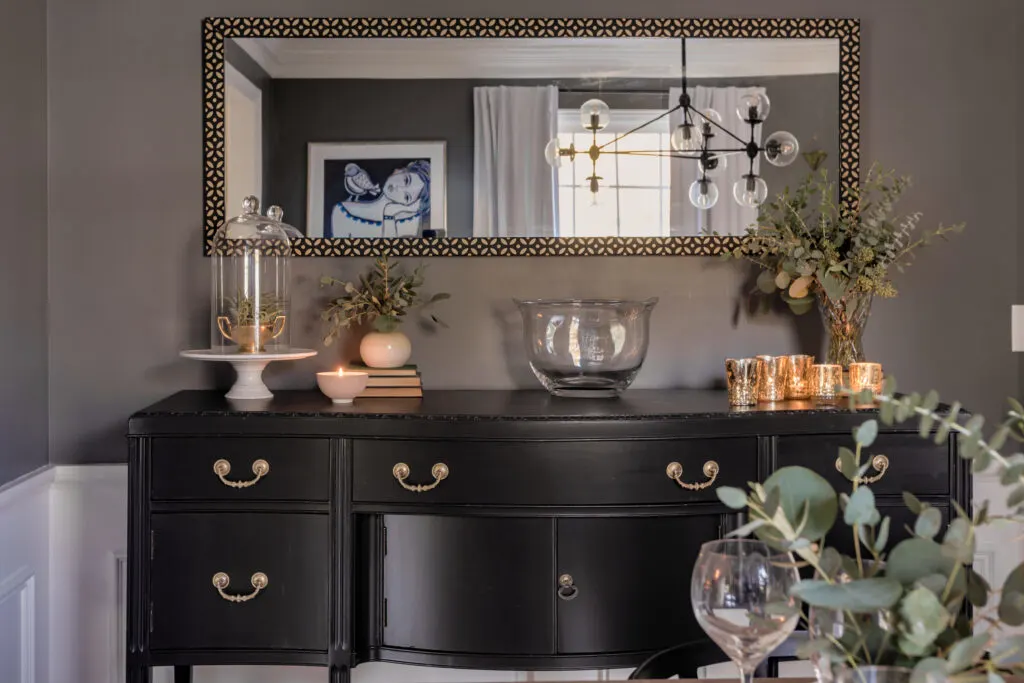
The black paint color modernized this older buffet and was the perfect piece for our dining room makeover.
IKEA Hemnes Dresser

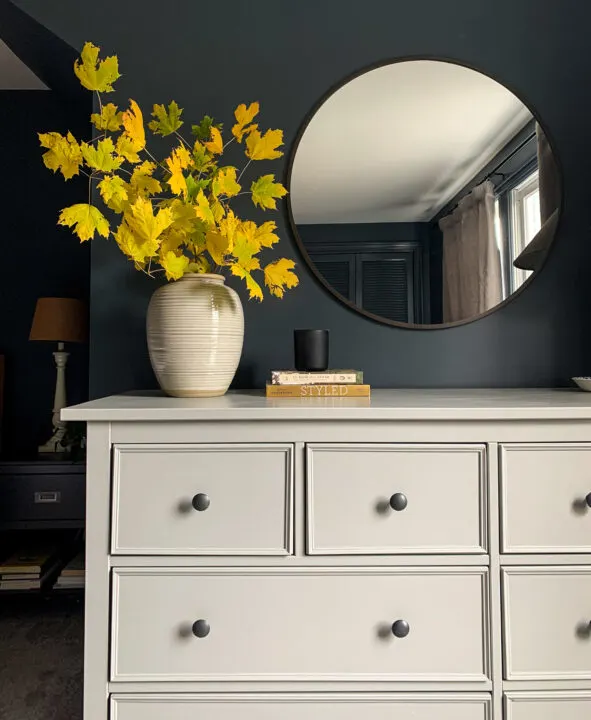
I used the cabinet transformation kit to paint my Hemnes dresser a pretty putty paint color and it has held up beautifully.
Laundry Room Floors
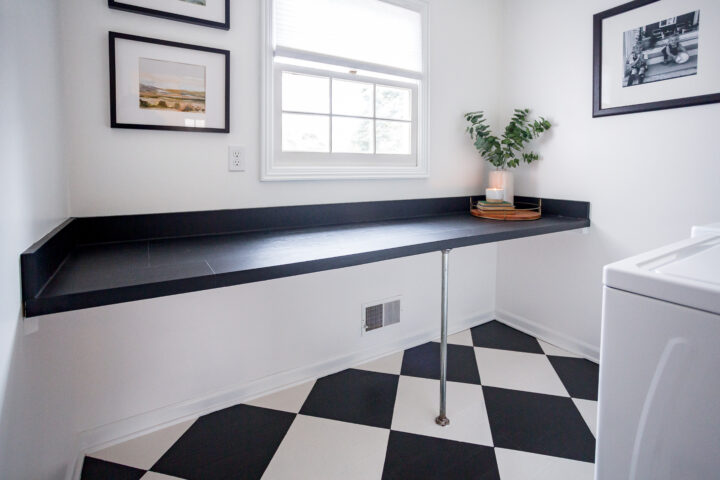
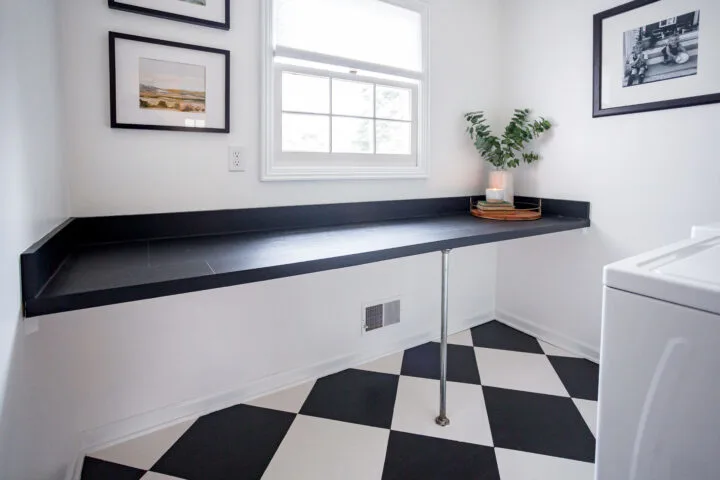
I used the Rust-Oleum Home floor coating kit to paint our dingy laundry room floors.
Basement Concrete Floors
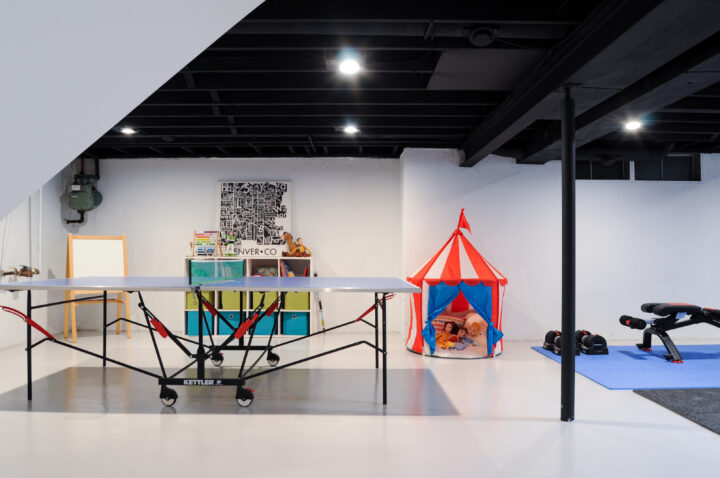

The painted concrete basement floors in our unfinished basement are another incredible transformation using the garage floor coating paint kit.
Basement Staircase

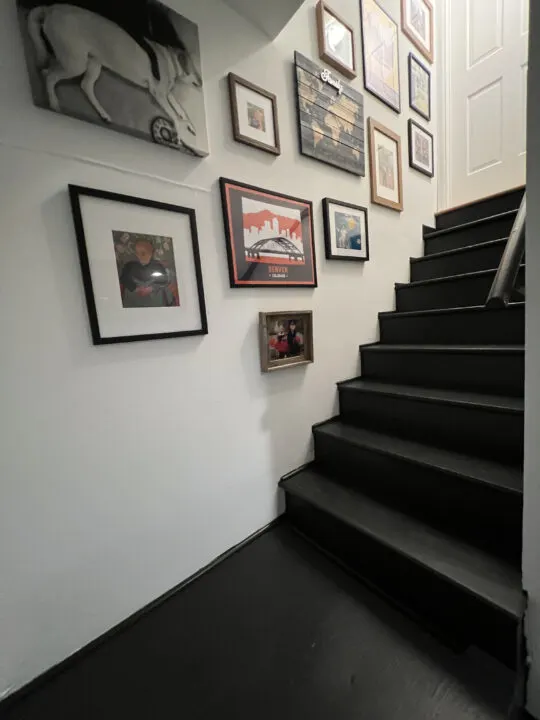
I used the Rust-Oleum HOME floor paint to update the basement staircase as well.