
Last Updated on April 28, 2024 by lindseymahoney
This decoupage Easter egg craft is super easy and is an affordable and unique decor option for Spring. In all honestly, I do not decorate with a lot of seasonal decor, but this is a subtle decor piece that can be customized to fit any style!


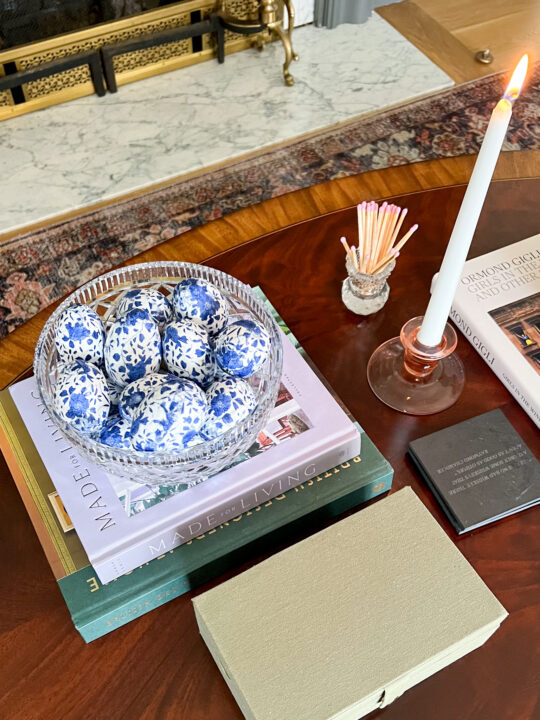
Place the decoupaged Easter eggs in a decorative bowl for a fun pop of pattern and color this Spring!
This DIY is great for beginners and adults looking for crafts to do with kiddos. Let’s get started!
How to Make Custom Easter Egg Decor with Decoupage
[Affiliate links are included where I receive a small commission at no additional cost to the consumer. Thanks for supporting Building Bluebird!]
DIY Decoupage Easter Egg Supplies

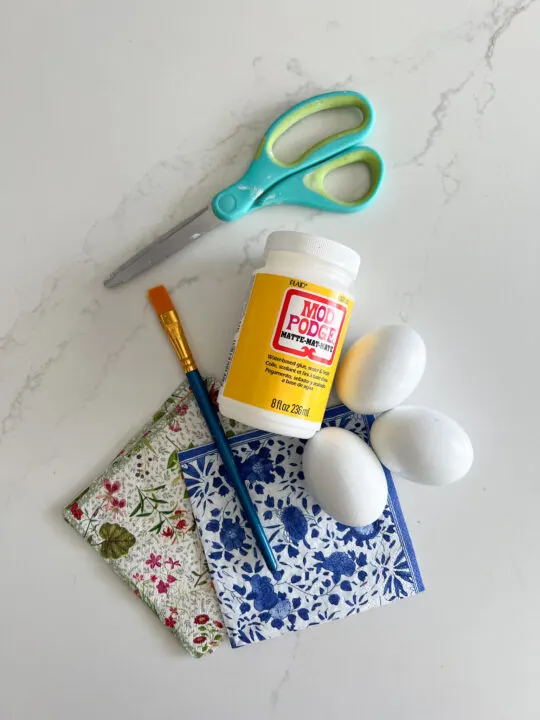
- Wooden Eggs
- Mod Podge (I used the matte finish but glossy is popular as well)
- Craft Paintbrush
- Scissors
- Delft Pattern and Floral Napkins – Caspari brand is great for this project and has lots of pattern options

More Patterned Napkin Options
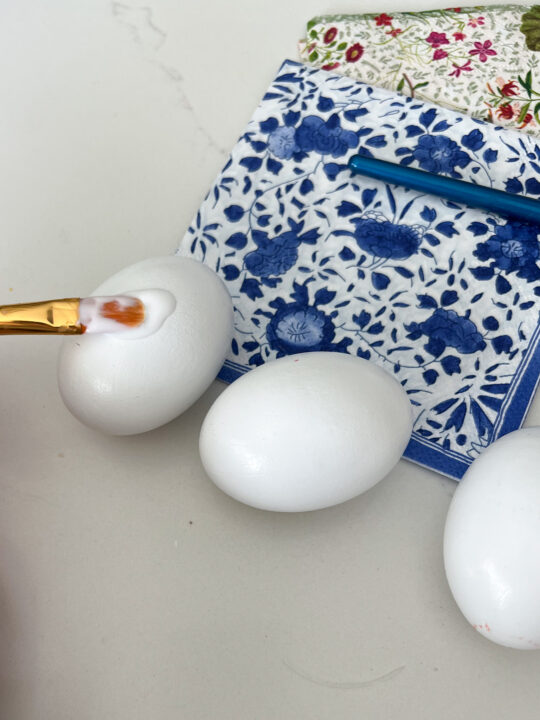
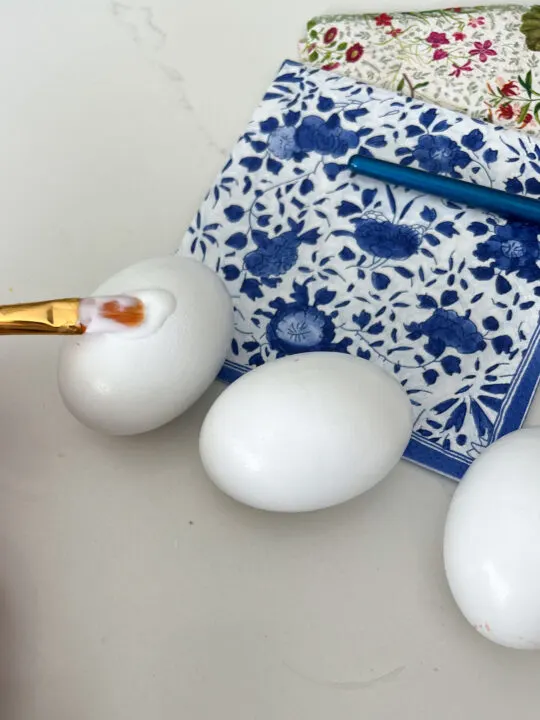
1 | Apply Glue to the Wooden Egg
Before you apply the glue to your egg, let’s quickly prepare the paper you will be attaching to the Easter egg.
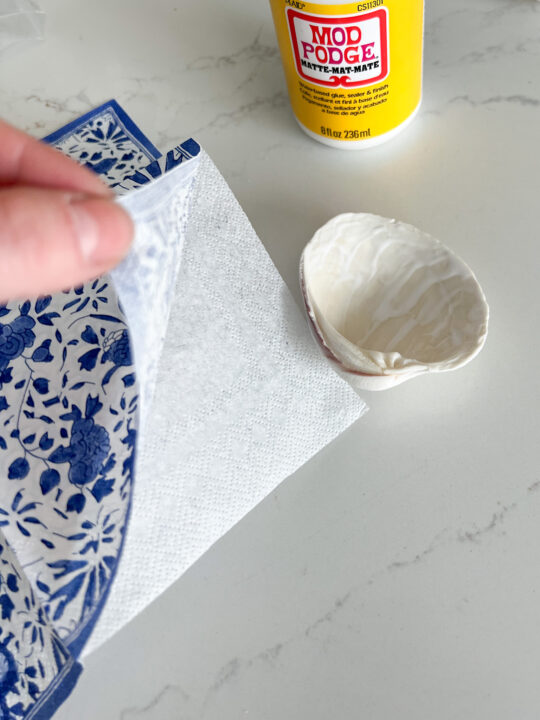
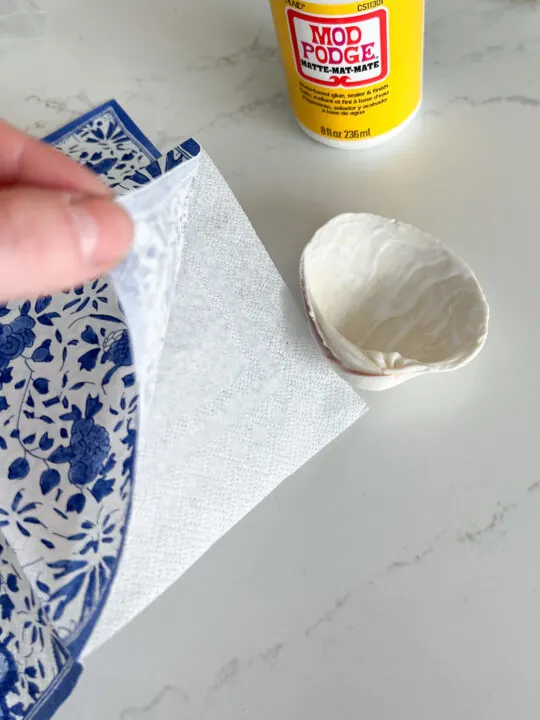
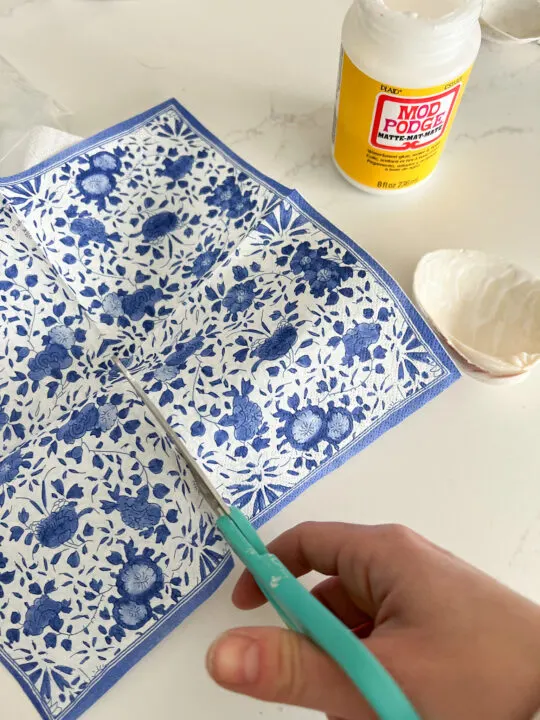
Unfold the napkin and remove the bottom layer of the napkin so that the patterned paper is very thin. Cut a square that will fit around the egg.

With a craft brush, apply a thin layer of craft glue to the surface of the egg.
2 | Attach the Napkin to the Egg

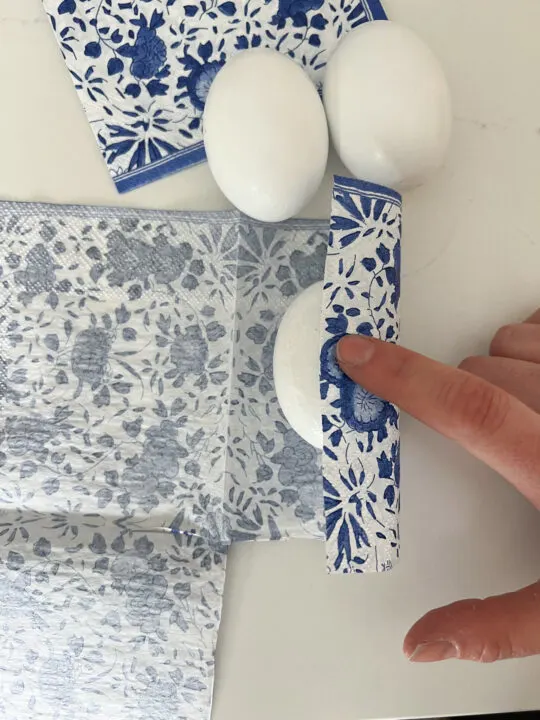
Once the glue is applied, take the pre-cut napkin and wrap it around the center of the Easter egg. Cut the napkin paper on both ends of the egg so that there is not a ton of paper overlap when you glue it to the egg.

Start with one end of the Easter egg and begin to fold down the edges like you are wrapping a present. There will be some wrinkles, but it will not be noticeable once you apply the topcoat and gather them in a bowl together.
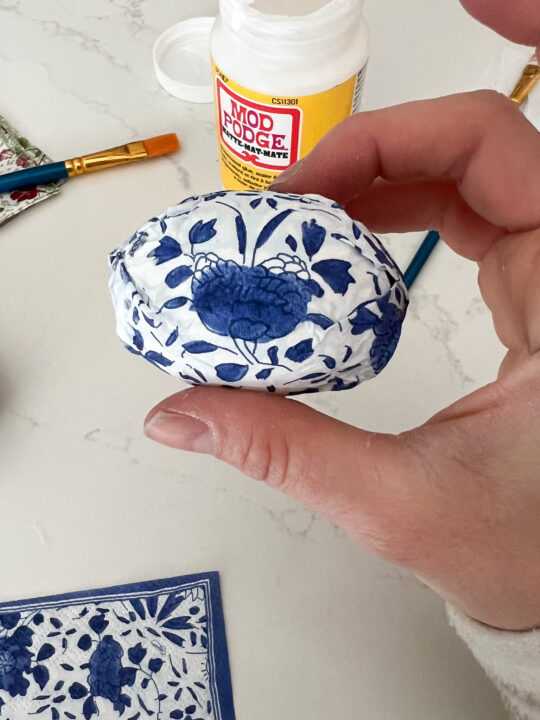

Follow the same process to the other side of the egg until the paper completely covers the egg.
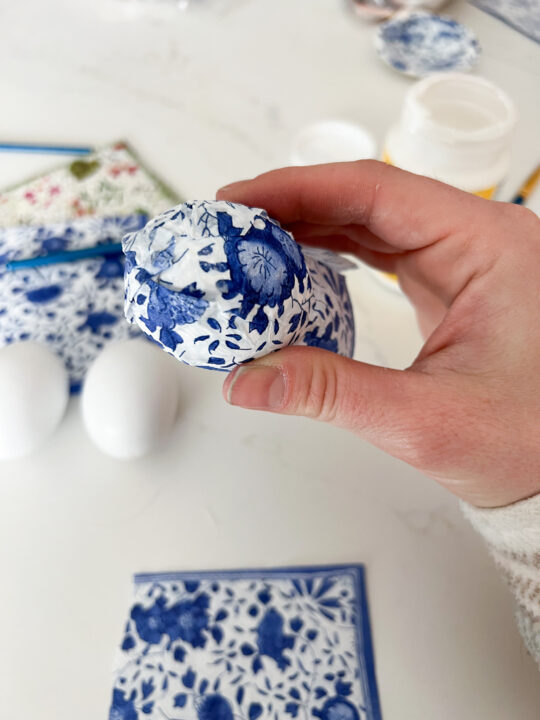
3 | Smooth Out Wrinkles with a Top Coat of Craft Glue
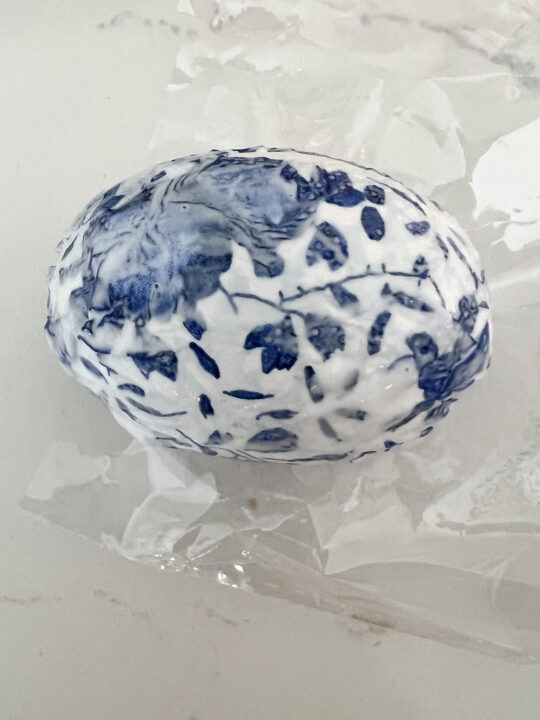

Use a craft paintbrush to apply the glue topcoat to the decoupaged Easter egg. Press the paper into the egg to eliminate any pointed edges.
Cover the entire egg with craft glue to seal the paper. Let the glue cure for 24 hours.
Decoupage Easter Egg | REVEAL
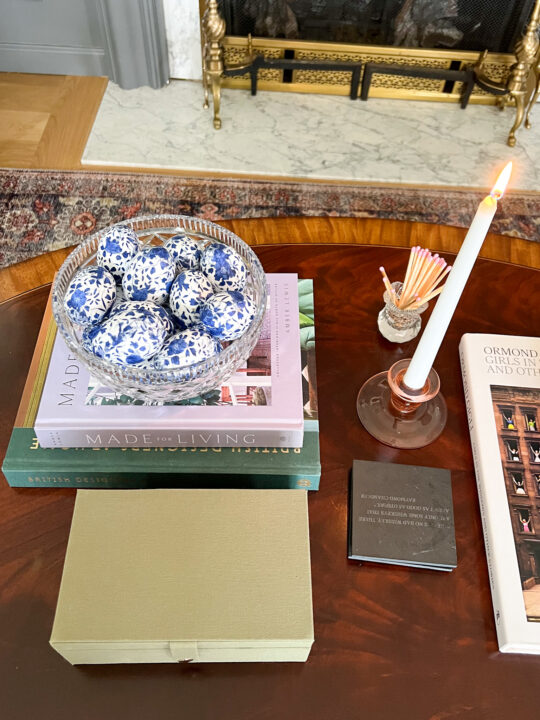

Let the Easter eggs dry and then place them in a pretty bowl to display your work of art!

More Content You Will Love
- Scalloped Edges | 11 Easy Ways to Use this Charming Design Trend at Home
- Super Simple Seashell Dish | Rub ‘n Buff DIY
- Decoupage Seashells to Create a Beautiful Decorative Dish
- 10+ Low Maintenance Perennials for a Beautiful Garden
- Create Your Own Unique Match Holder with Striker | DIY
- How to Lay Brick Border Garden Edging | Easy DIY
- Make a Patterned Photo Mat with Wallpaper
- 20+ Cheap Wall Decor Ideas and DIYs to Try