Last Updated on April 15, 2024 by lindseymahoney
Create a beautiful vacation keepsake with this easy DIY project. Decoupage seashells or oyster shells that you brought home from your beach vacation!

Create a beautiful dish using found oyster shells and seashells that are perfect for holding jewelry or small trinkets. These decorative dishes are also a great gift idea for loved ones who vacationed with you.

We took a family vacation to Marco Island, FL for Spring Break and found buckets of seashells that we took back to Ohio with us.
While exploring the town, we came upon a small market where a vendor was selling seashell dishes with all types of patterns on the inside of the shell. The vendor told us that the seashell dishes are made using glue, paper napkins, and seashells found at the beaches.
As an avid DIYer, I immediately began planning my own DIY project using seashells found on our vacation.

We visited a little island called, Keewaydin, which is known for finding beautiful shells. I focused my search on oyster shells and seashells with smooth surfaces that were primarily white.
Table of Contents
- How Decoupage Seashells to Create a Custom Trinket Dish
- DIY Decoupage Seashells Supplies
- 1 | Clean Seashells
- 2 | Apply Glue to the Inside of the Seashell
- 3 | Press Patterned Paper Onto the Glue and Smooth
- 4 | Add Topcoat of Glue to Seal the Paper to the Shell
- 5 | Trim the Edges with Rub N’ Buff (Optional)
- Decoupage Seashell Dish | REVEAL
- More Content You Will Love
How Decoupage Seashells to Create a Custom Trinket Dish
[Affiliate links are included where I receive a small commission at no additional cost to the consumer. Thanks for supporting Building Bluebird!]
This is an easy and affordable DIY, especially if you already own the seashells from a previous beach trip. If you do not have seashells you can also buy them online or at a local craft store.
DIY Decoupage Seashells Supplies
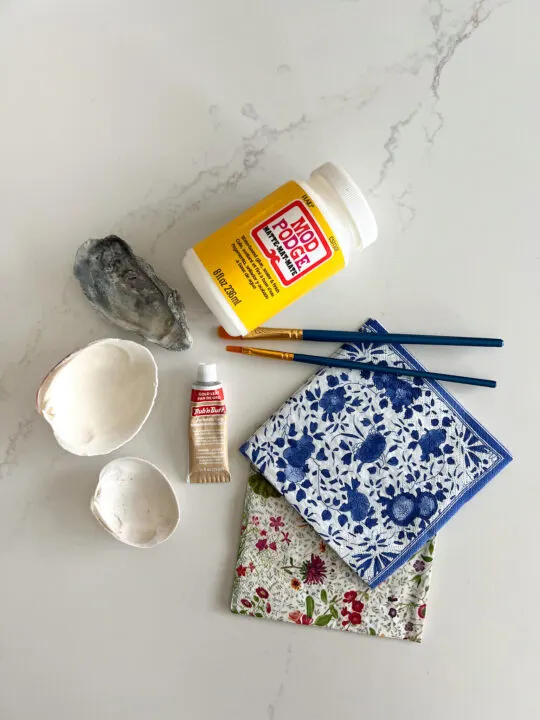
- Seashells (to purchase if you do not own)
- Mod Podge (I used the matte finish but glossy is popular as well)
- Paintbrush
- Scissors
- Napkins – Caspari brand is great for this project and has lots of pattern options
- Rub n’ Buff (optional)
1 | Clean Seashells
Clean the seashells with soap and water to remove any ocean remnants that will cause them to smell. This is an important step that should not be skipped if you don’t want your beautiful dish to smell like death!
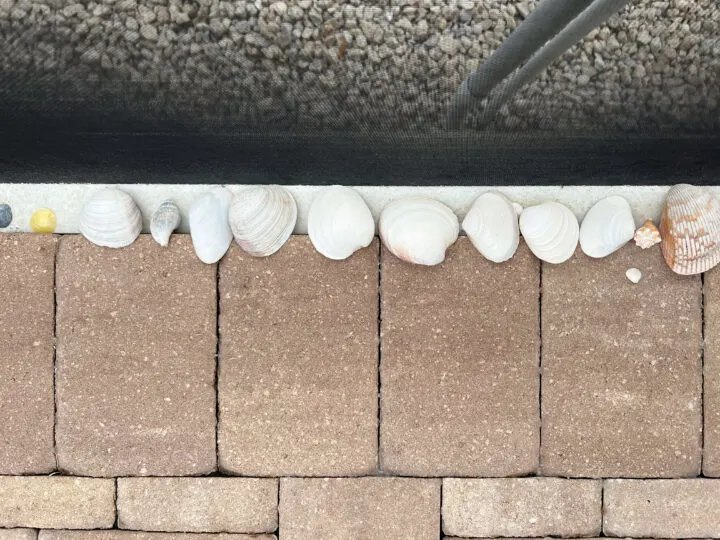
Let the shells fully dry before beginning this DIY project. We placed them in the sun for 24 hours to completely dry.
2 | Apply Glue to the Inside of the Seashell
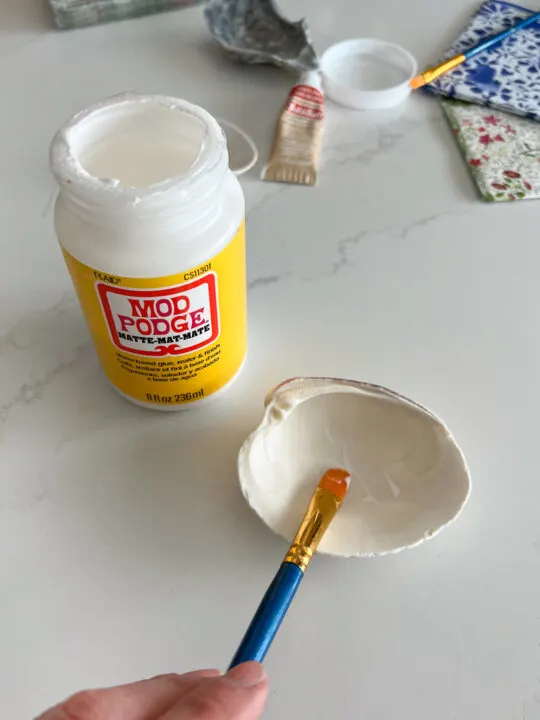
On the inside of the seashell, apply a thin layer of Mod Podge glue using a paintbrush.
3 | Press Patterned Paper Onto the Glue and Smooth
Caspari was the brand recommended for paper napkins because of the durability and pattern options.
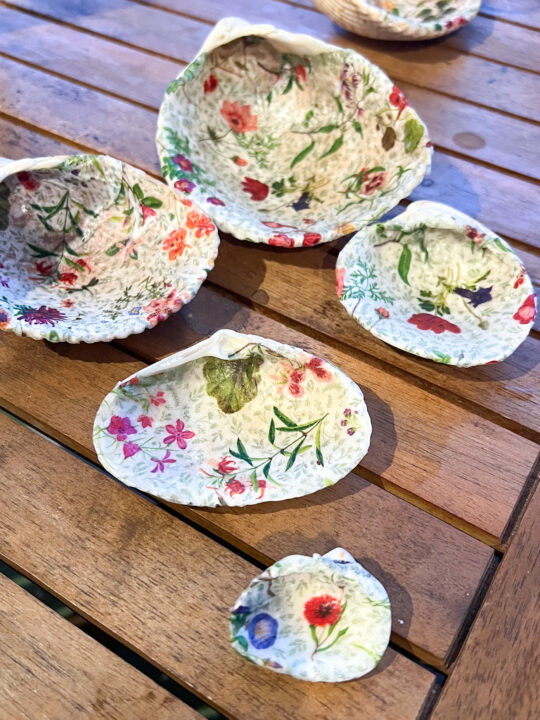
For this project, I chose an English garden print and Delft blue and white pattern to line the inside of our seashells. I have not tried other options but you can absolutely try other napkin brands or tissue paper for this project.
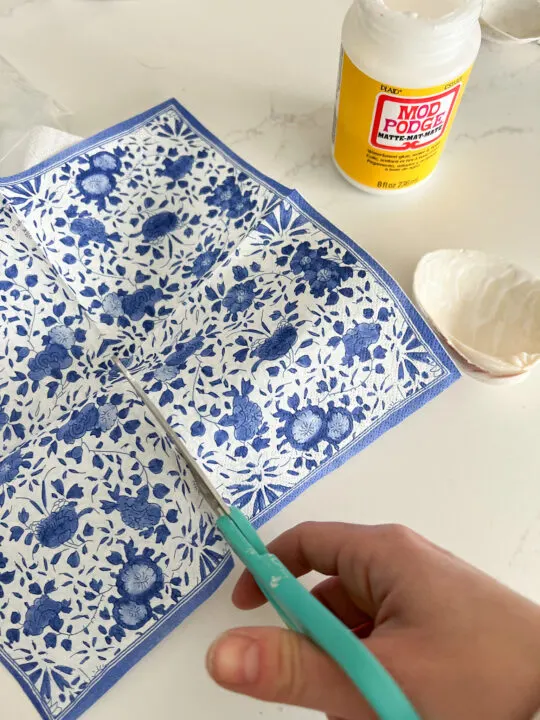
Unfold the napkin and cut a square to better fit the seashell you will be decoupaging.
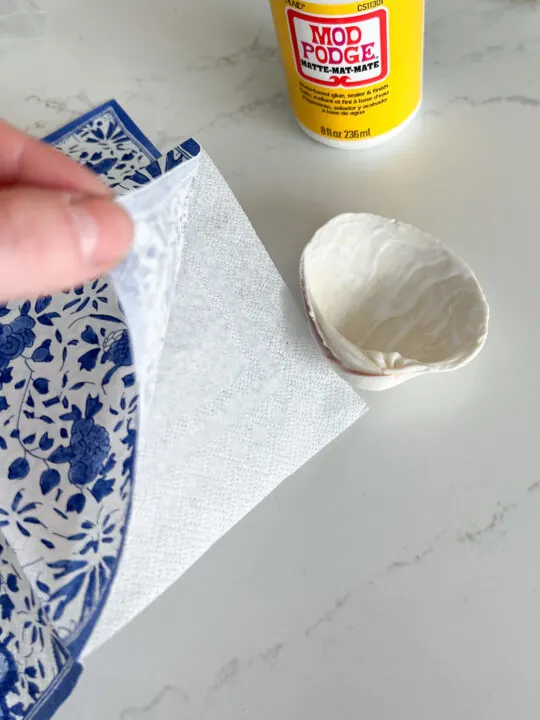
Remove the bottom layer of the napkin so that the patterned layer is thin.
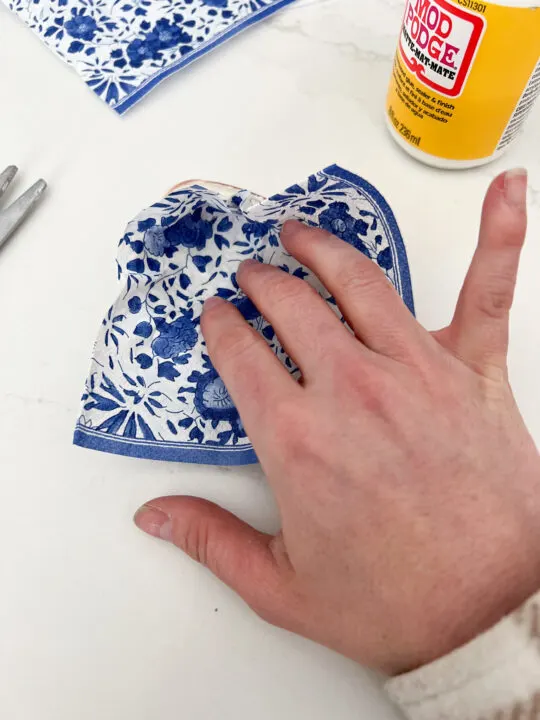
Place the napkin on the inside of the seashell where you applied the glue. Move it around until it fits the way you want and smooth out the wrinkles.
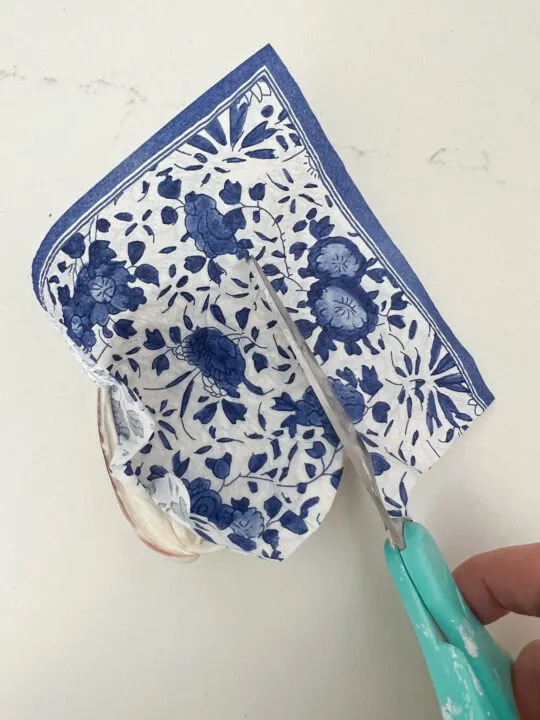
Use scissors to remove the excess paper around the edges of the shell.
4 | Add Topcoat of Glue to Seal the Paper to the Shell
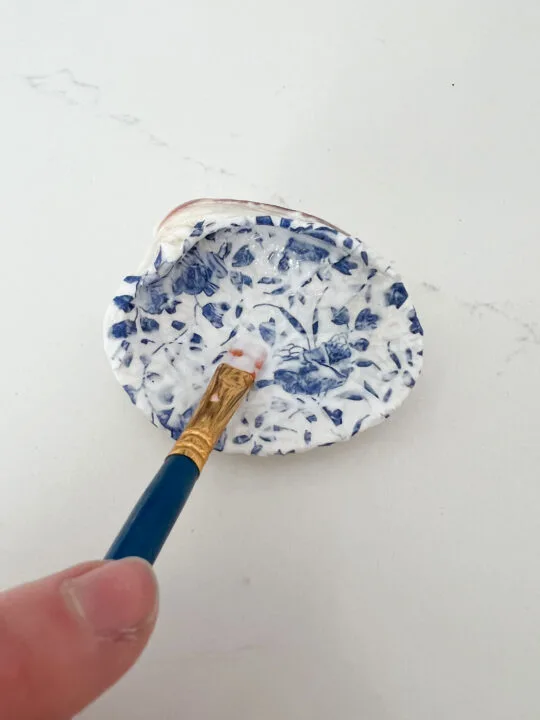
Seal in the napkin using craft glue, like Mod Podge. When you apply the glue over the napkin it will have a milky consistency that will turn clear once it dries.
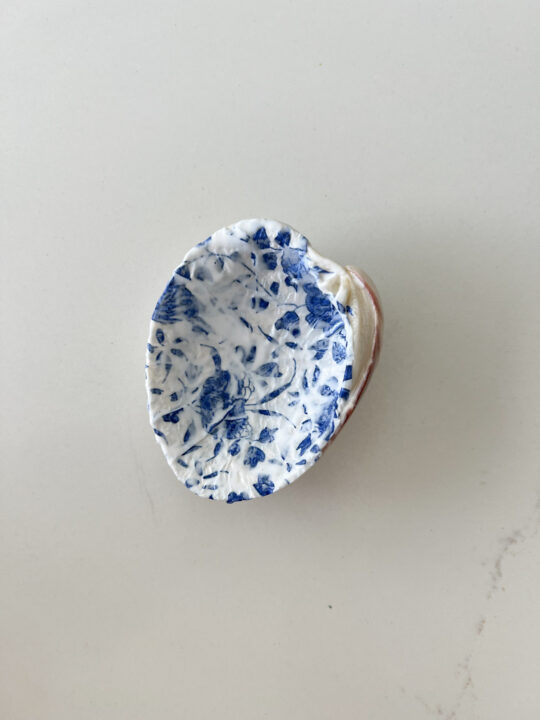
Use the paintbrush and glue to secure the paper tightly to the edges of the shell. Let the glue cure for 24 hours.
5 | Trim the Edges with Rub N’ Buff (Optional)
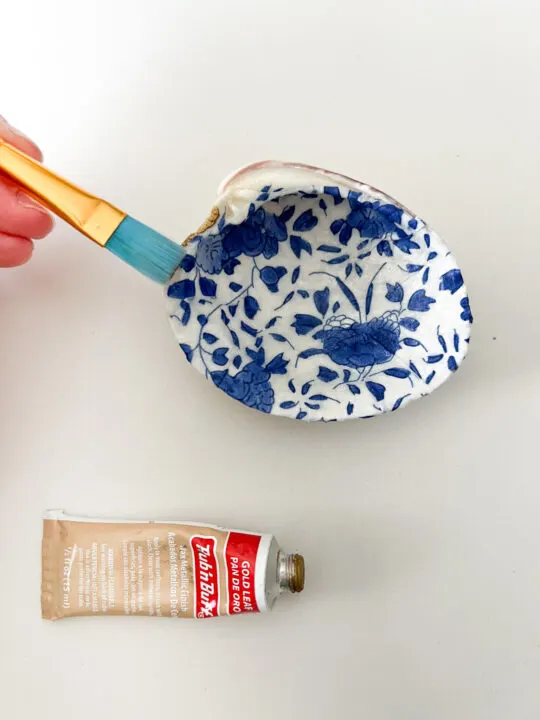
If you are looking to add a little more bling to your seashell dish, add gold trim to the edges using Rub n’ Buff. Craft paint is another option to further customize your trinket dish.
Decoupage Seashell Dish | REVEAL
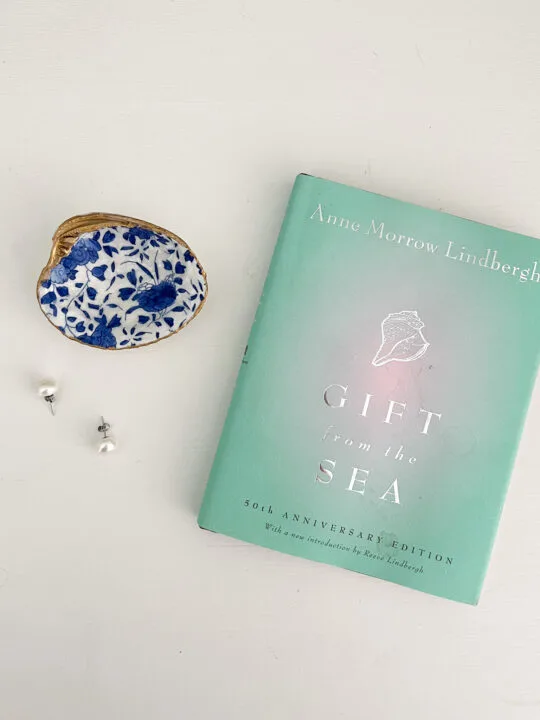
Decoupaging a shell found on vacation is such a sweet way to create a keepsake you will see every day. I placed the trinket dish in our guest bedroom to hold the jewelry of our guests.
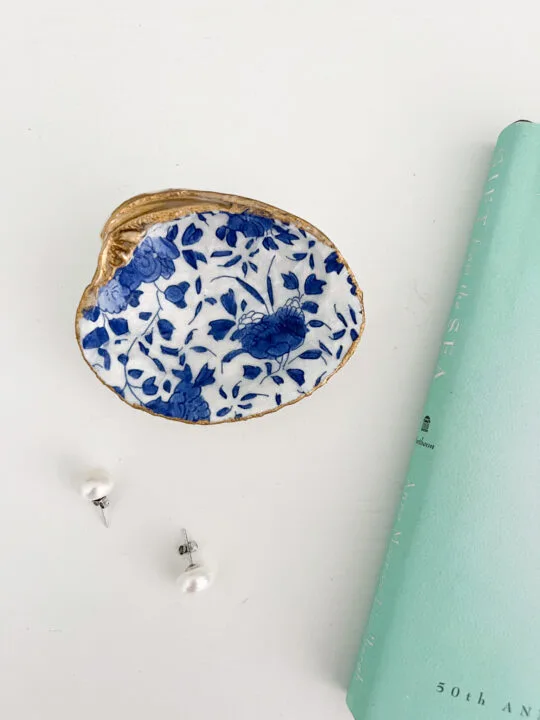
The oyster shell is a unique shape for a trinket dish as well!
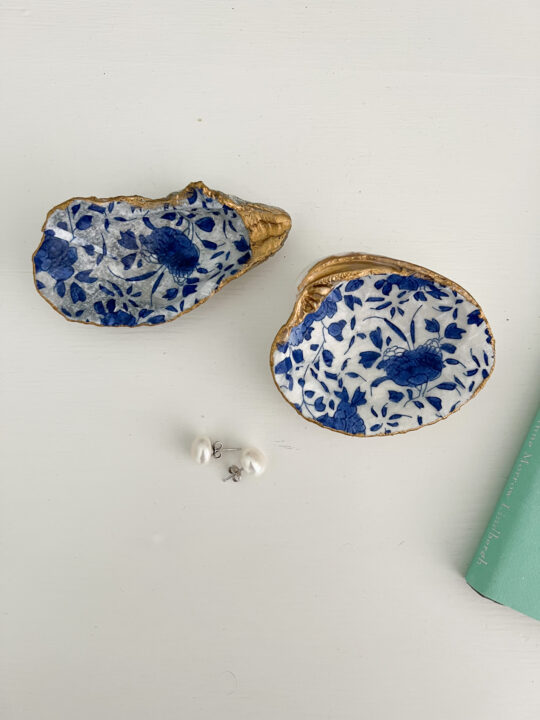
How do you decoupage shells without wrinkles?
Using shells with an uneven surface will result in some wrinkles, however, you can smooth out most wrinkles with your fingers. Once the napkin is attached to the seashell, I apply a topcoat of Mod Podge and press down any wrinkles to make them less noticeable.
More Content You Will Love
- Super Simple Seashell Dish | Rub ‘n Buff DIY
- Decoupage Easter Eggs Using Napkins and Mod Podge
- DIY Checkered Frame | Fun and Easy Decor Trend
- Oyster Bay Sherwin Williams | Color Review
- 8 Ways to Create a Fairytale English Cottage Garden
- The Best Budget-Friendly Drapes for a High-End Designer Look
- How to Polish Tarnished Silver to Make it Look Shiny and New

