
Last Updated on January 1, 2024 by lindseymahoney
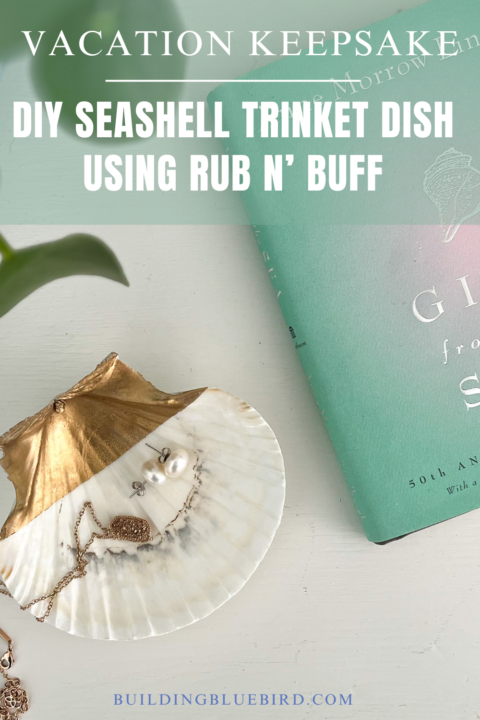
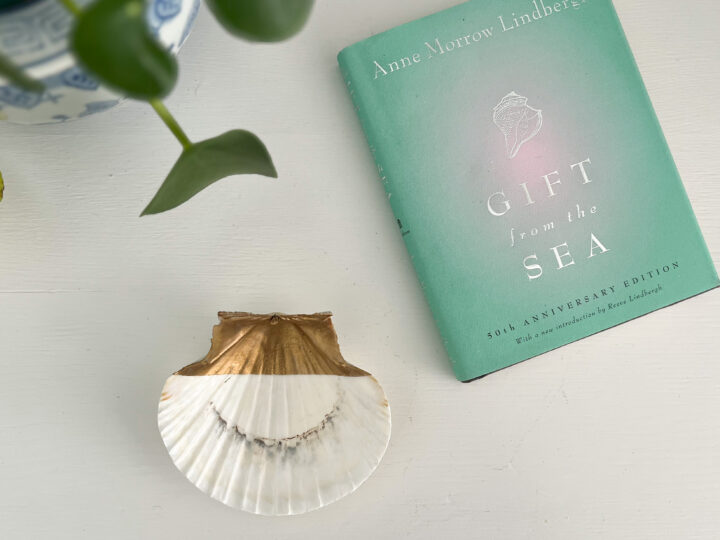
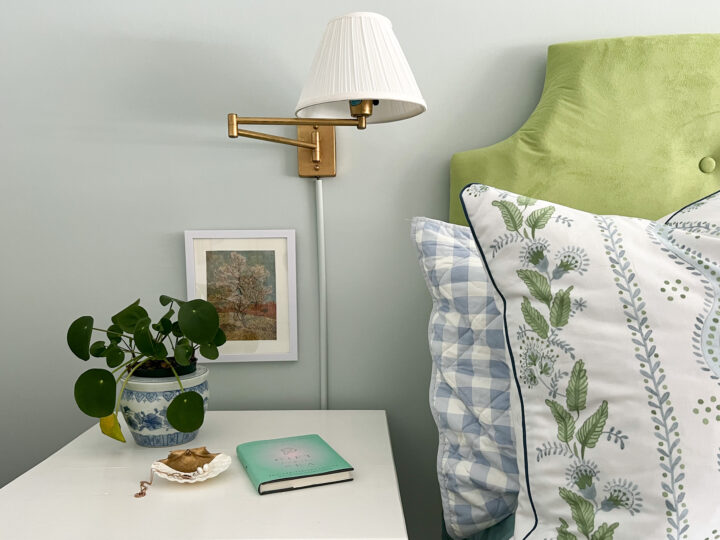
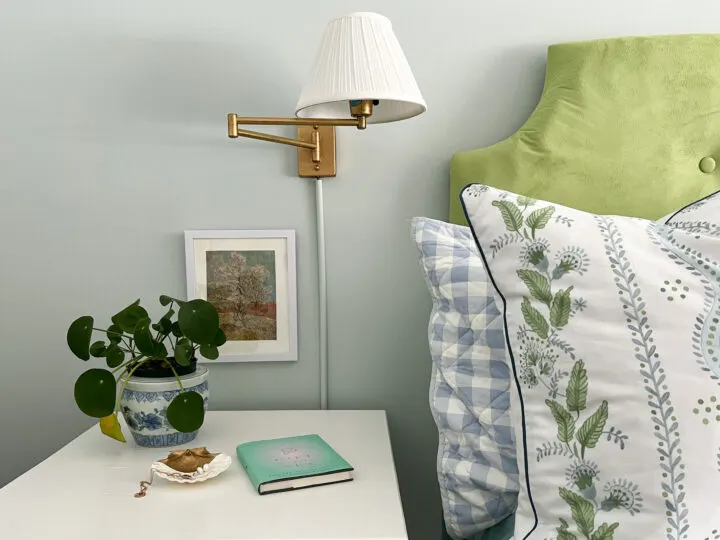
I love a quick and easy DIY and this cute seashell dish definitely qualifies as one. I updated our guest bedroom a few months ago and decided to add a small dish to the nightstand for our visitors to place jewelry or other trinkets.

This DIY project took about 10 minutes and I used items that we already owned – now that is a win!
This seashell jewelry dish is perfect for any bedroom and is a great gift idea for loved ones.
Table of Contents
- Simple DIY Seashell Dish Using Rub ‘n Buff
- DIY Materials for Gilded Seashell Jewelry Dish
- 1 | Attach Painters Tape (if necessary)
- 2 | Apply Rub ‘n Buff
- DIY Seashell Dish | REVEAL
- More DIY Content You Will Love
Simple DIY Seashell Dish Using Rub ‘n Buff
[Affiliate links are used in this blog post, thank you for supporting Building Bluebird!]
This DIY project is so simple and the perfect decor accent for lovers of the grandmillennial and cottagecore style! I used the seashell as a jewelry dish, but I can see it being used in so many other ways!

For example, you can turn these gilded seashells into Christmas ornaments, use them as book toppers, display multiple shells in a bowl, or even glue shells around a mirror or picture frame.
DIY Materials for Gilded Seashell Jewelry Dish

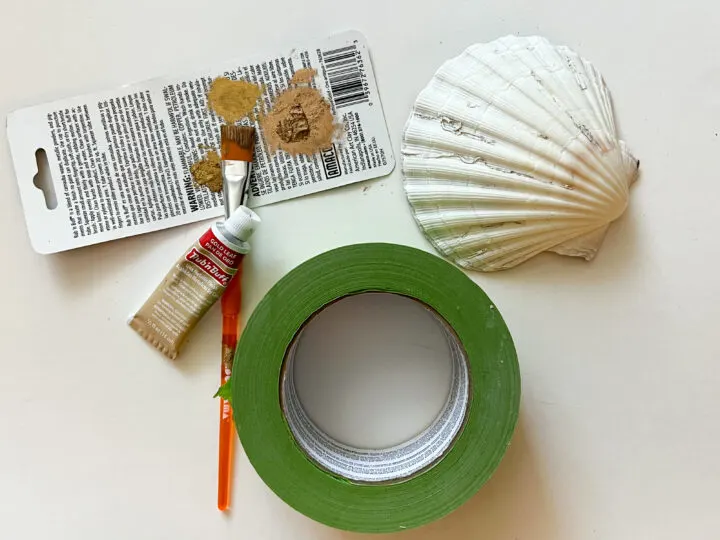
- Seashells (similar) – I already owned a bag of unused decorative shells
- Painters Tape
- Rub ‘n Buff (I used Gold Leaf)
- Craft paintbrush (a finger or cloth works as well)

1 | Attach Painters Tape (if necessary)

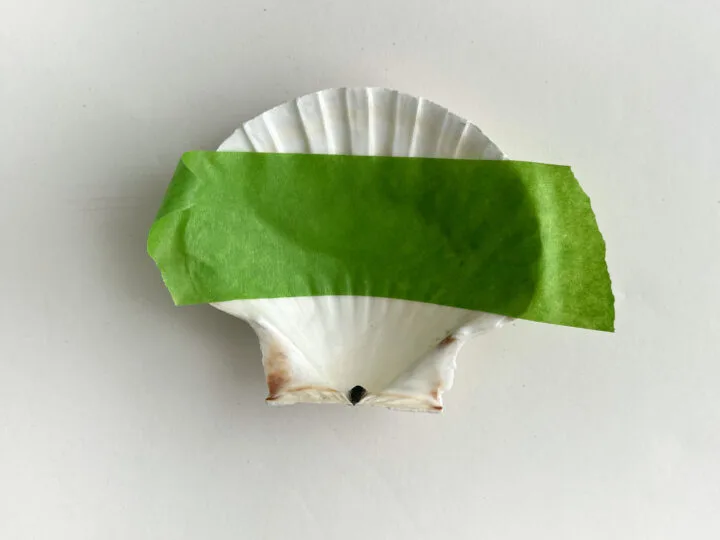
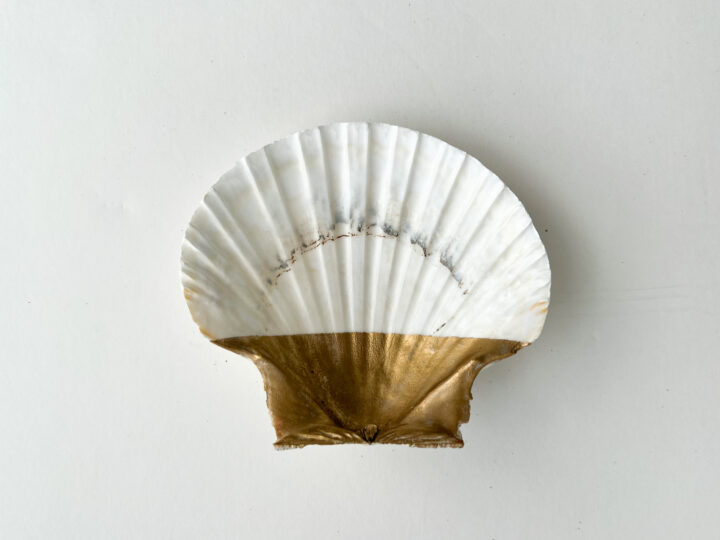
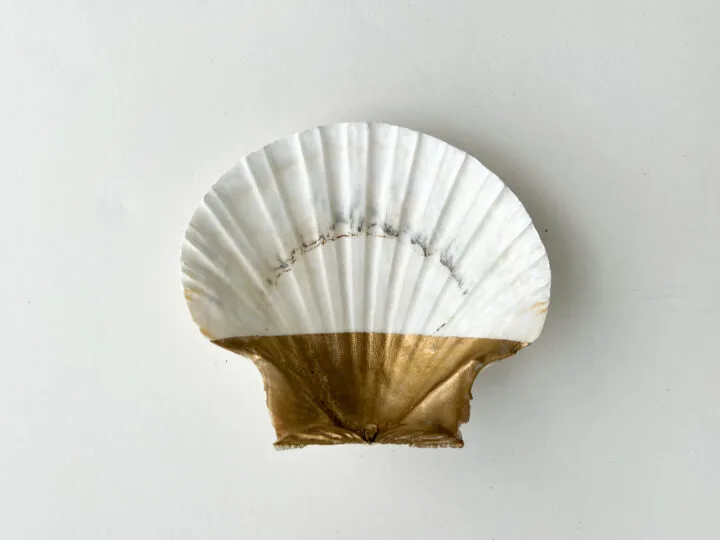
Depending on the pattern you choose for the gold accents, you will attach painter’s tape if it is applicable. For my clam shell dish, I decided to add gold to the bottom 1/3 of the shell with a crisp paint line.
I attached the tape in a straight line and pressed the edge firmly to the clam shell. This creates a tight seal for the crisp, straight line I wanted.
2 | Apply Rub ‘n Buff
Rub ‘n Buff can be applied in a few different ways. You can use a paintbrush, a soft cloth, or even your finger to apply the waxy metallic finish. I chose to use a small, craft paintbrush for this project.
A little bit of Rub ‘n Buff goes a long way, so I began with a small dollop of the Gold Leaf finish and applied it to the shell. Once the gilded finish is applied, remove the tape. I now have a cute clam shell trinket dish with a little shimmer and flare!

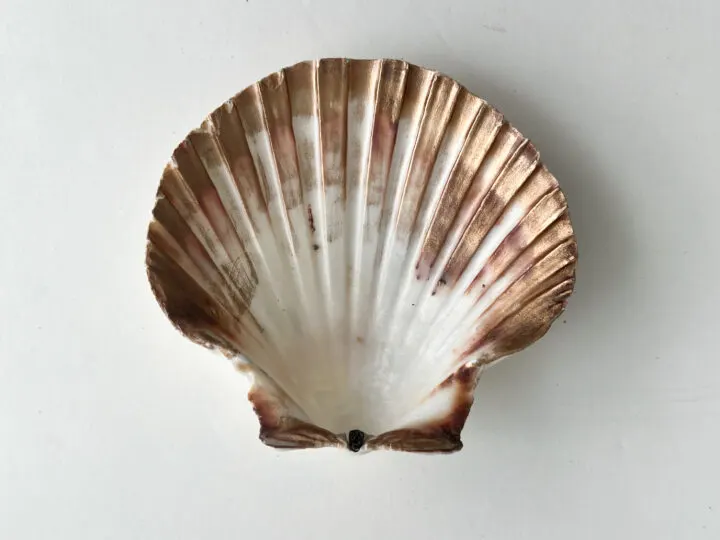
I had a bag full of decorative seashells sitting in a drawer and decided to add some gold accents to those as well.
Using a paintbrush, I lightly brushed the gold leaf rub ‘n buff on the tips of the clamshell and followed the darker patterns of the shell. It is subtle but gives the seashell a little shimmer that makes it feel special.

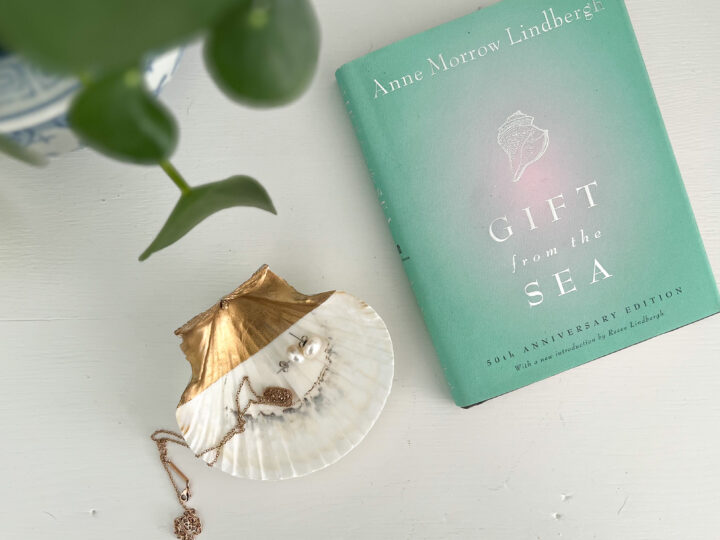
DIY Seashell Dish | REVEAL
Each seashell has a different gilded treatment and I think they all turned out really sweet.


Repurposing items I already own and thinking outside of the box always gives me a thrill. I just love how this sweet little seashell dish turned out and even with purchasing the materials, it is still an affordable and easy DIY project to try at home.
More DIY Content You Will Love
- Decoupage Seashells to Create a Beautiful Decorative Dish
- Easy DIY Paint Chip Bookmark for Valentine’s Day
- Easy DIY Lacquer Tray | Rita Konig Dupe
- Decoupage Easter Eggs Using Napkins and Mod Podge
- DIY Scalloped Edge Shelf | Easy IKEA Hack
- 25+ Easy Outdoor DIY Projects to Try This Year
- Install Picture Frame (Box) Molding | Easy DIY
- 15 Items to Absolutely Buy at an Estate Sale