
Last Updated on June 27, 2024 by lindseymahoney
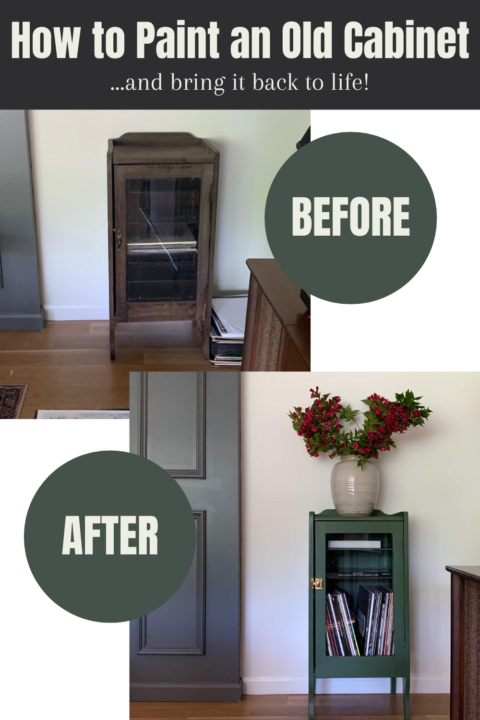

I found this old sheet music cabinet at a garage sale and immediately knew she needed a makeover. A vision of a deep green music sheet cabinet came to mind and I had to bring this old girl home!
Table of Contents
- Old Sheet Music Cabinet Makeover | Tutorial
- Project Materials List
- 1 | Clean the Cabinet
- 2 | Apply Paint Primer
- 3 | Apply Your Paint Color
- 4 | Install Cabinet Door Hardware
- Sheet Music Cabinet Makeover Reveal
- Similar Content You Will Love
I love furniture with history this $10 sheet music cabinet was owned by a harpist. The living room design plan incorporates musical elements and so this cabinet will fit right in.

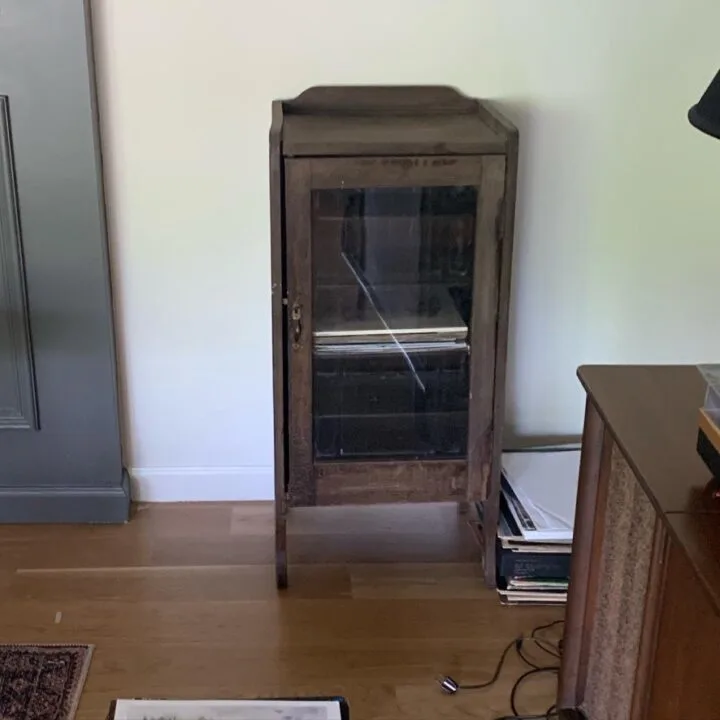
It was in rough shape so I decided painting the wood was the best way to go. I briefly considered sanding the wood and staining it but it really seemed like too much work.
My goal was to find a muddy green that felt warm and moody, but not too gray. I chose Oakmoss by Sherwin Williams and it was exactly what I imagined in my head!
Want more paint color ideas? Check out these moody paint colors and 2021 paint color trends!
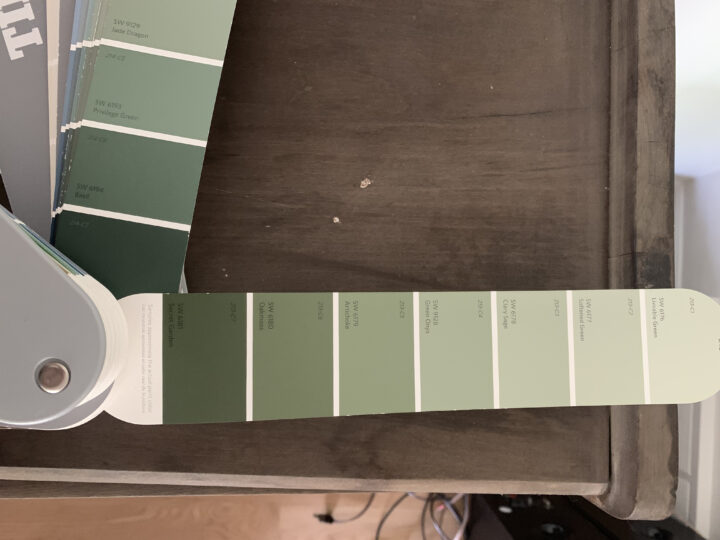

I was nervous when I went to my local Sherwin Williams store and looked at the paint swatch under their lights because it appeared brighter than I wanted. I had to remind myself that the color really depends on the lighting in the room. When I looked at the green swatch in the living room, it did not look as bright as it did in the store.

I have painted lots of furniture and it wasn’t until recently that I started to pay attention to the type of paint I was using.
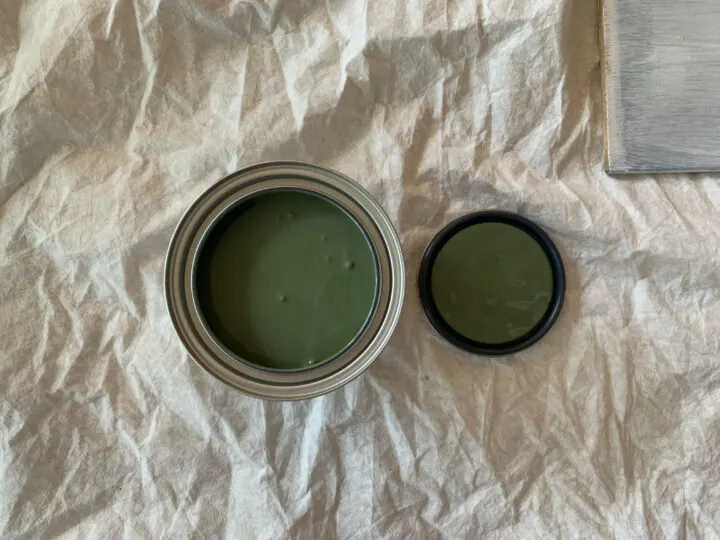
I chose the Emerald Urethane Trim Enamel option because it is more durable than a paint made for drywall. It is a little more expensive, but for furniture that will truly be used, it is worth it to keep it looking great.
Old Sheet Music Cabinet Makeover | Tutorial
[Affiliate links are included – I receive a small commission when purchases are made through these links at no additional cost to you. Thank you for supporting my small business.]
Project Materials List
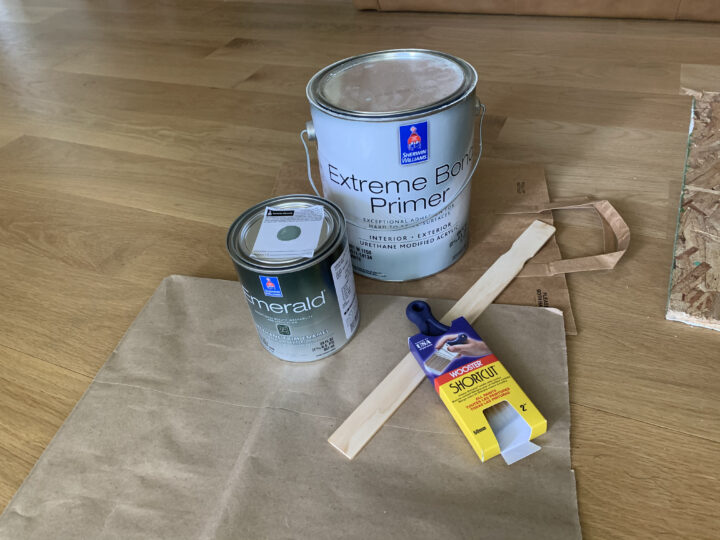

- Extreme Bond Primer
- Emerald Urethane Trim Enamel Interior Paint – Oakmoss in satin sheen
- Dropcloth
- Paintbrush
- Sanding block
- Brass cabinet door latch (similar)
Check out my favorite supplies I use for all of our painting projects!
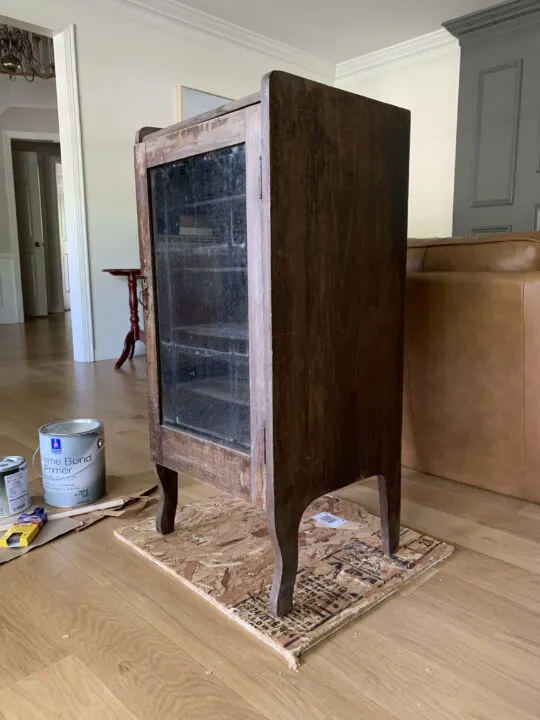
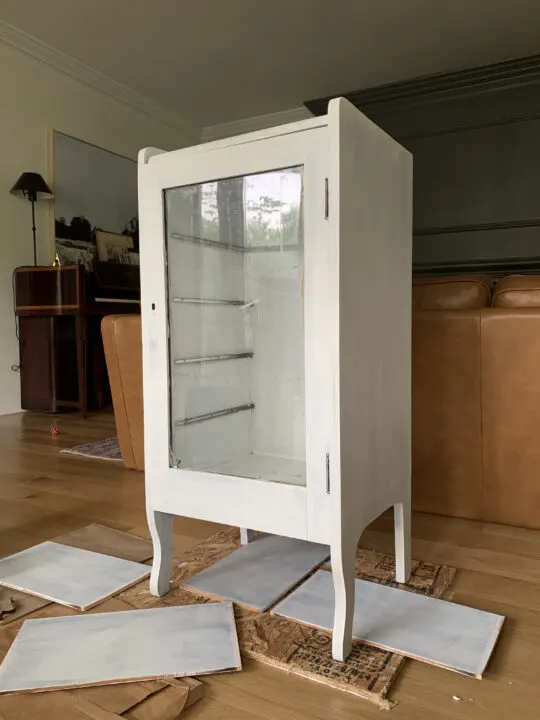
1 | Clean the Cabinet
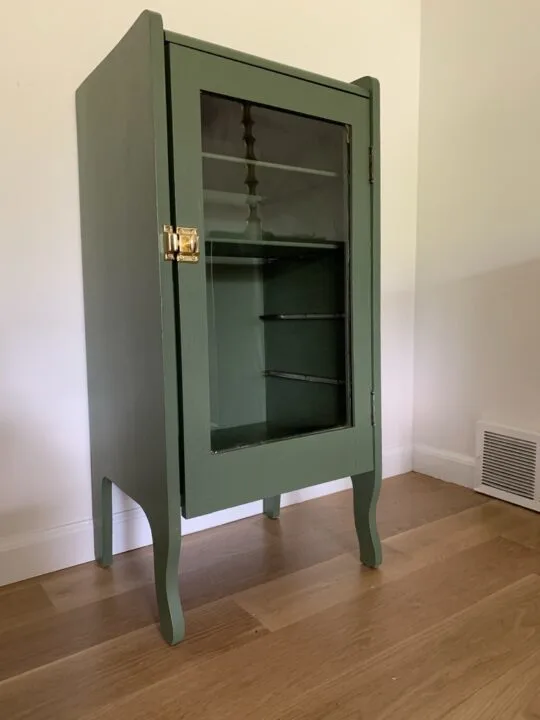
The wood on the cabinet was in rough shape. I lightly sanded the cabinet to remove any loose debris and then wiped it down with a damp towel.


The hardware on the door was broken so I removed this as well before painting. I didn’t fill any of the holes because I planned to add new hardware in the same spot.

2 | Apply Paint Primer
I used leftover paint primer to create a base layer for the green paint to adhere to. The wood tones were quite different so I applied 2 coats to ensure the wood stain would not bleed through.
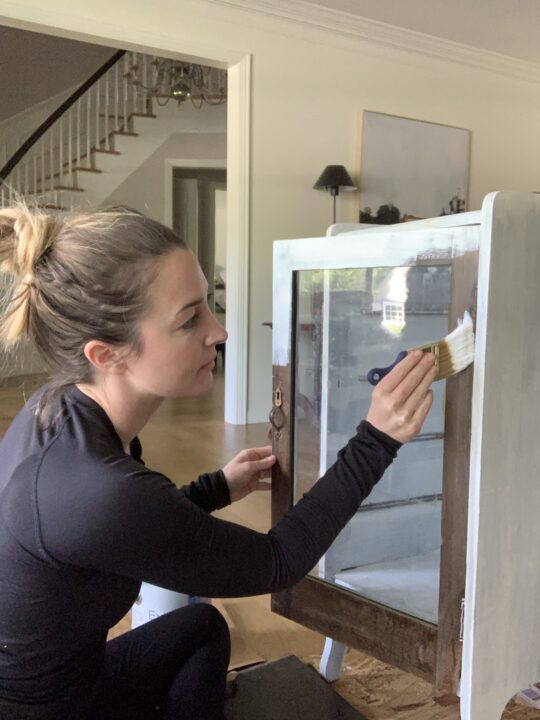
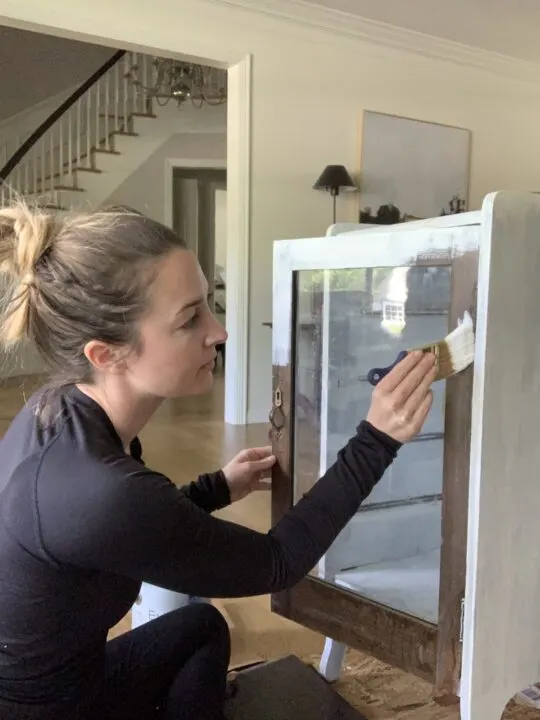

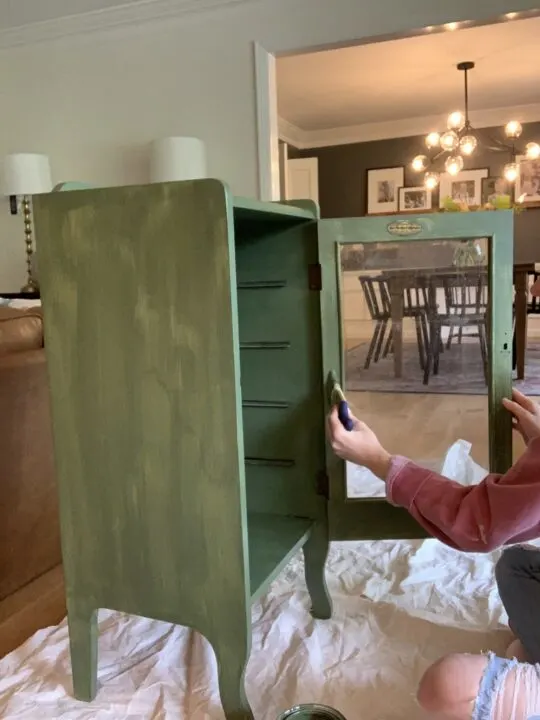
3 | Apply Your Paint Color
I purchased a quart of the Oakmoss green in satin and it was more than enough for this project. There was even enough leftover to paint the coffee table for this room. Using a small, angled paintbrush, I applied 3 coats of green paint to the sheet music cabinet to achieve full coverage.
Here is the music cabinet after the first coat of paint.

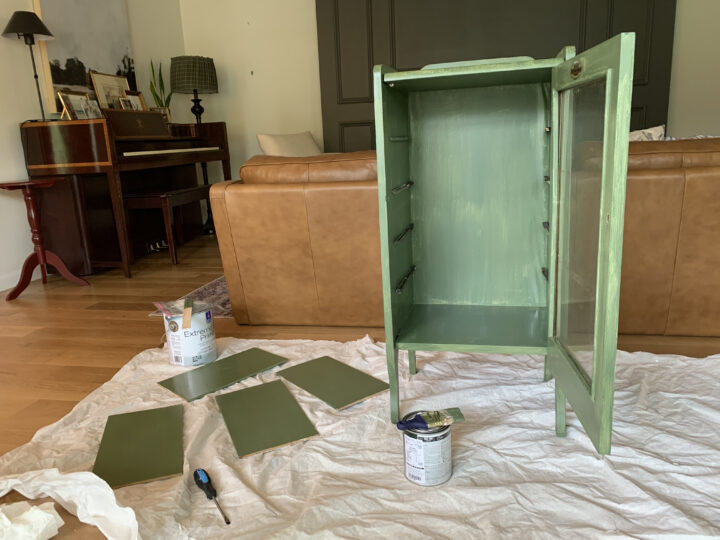

The second coat of paint was definitely more true to color but there were a few spots that needed more coverage. I decided to apply a quick third coat and that did the trick.

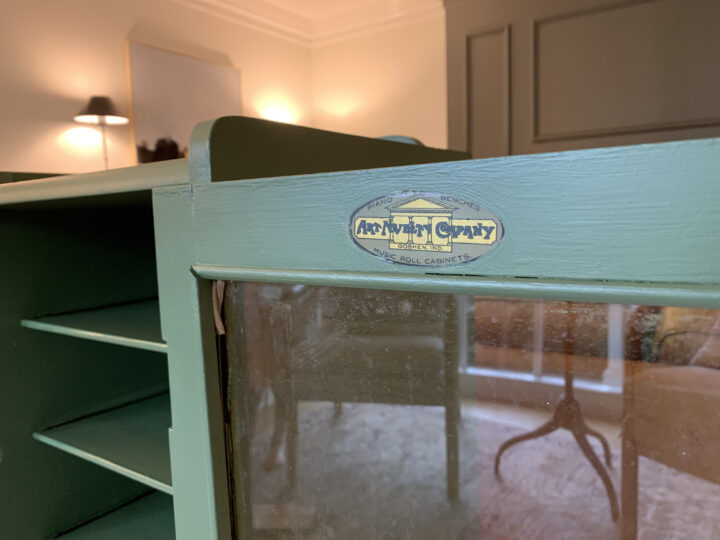
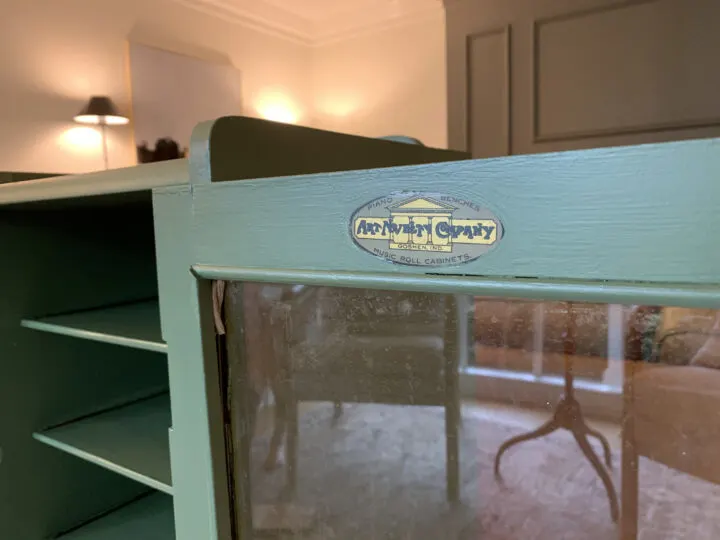
The brand sticker for the sheet music cabinet is a cute detail inside the door, so made sure to paint around it so it could easily be seen. And again, it helps to tell the history of the furniture piece.
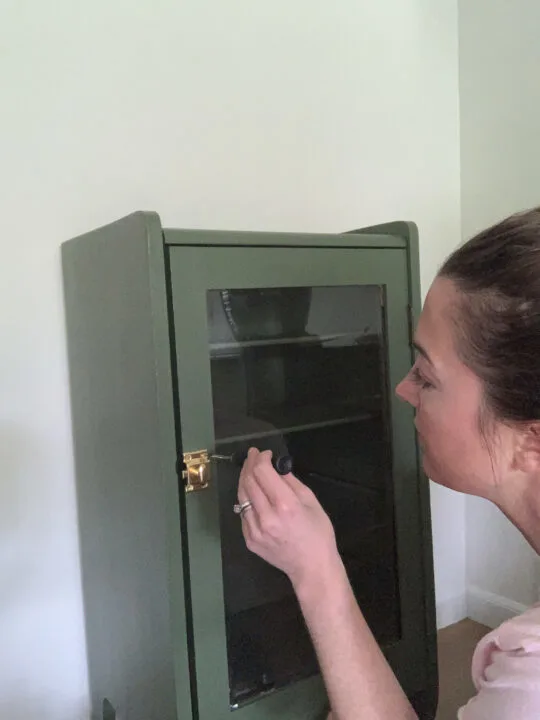
4 | Install Cabinet Door Hardware
After the cabinet had a few days to dry, I installed the new hardware. The local hardware store had a simple brass latch (similar) that I purchased for the sheet cabinet door. I marked the screw placement of the latch with a pencil and then drilled small pilot holes for each screw.


With the pilot holes drilled, I easily attached the screws by hand and love how it turned out. The original hardware on this cabinet was broken and the door did not shut at all. Now the door functions properly and latches in place!

Isn’t she beautiful!?
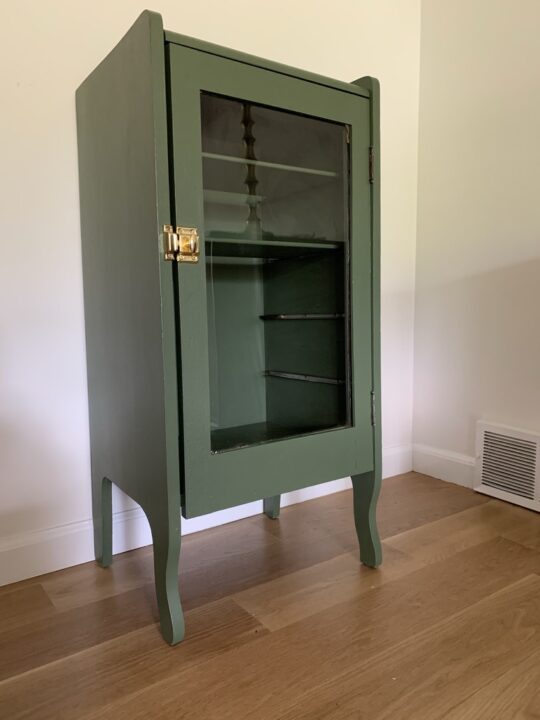
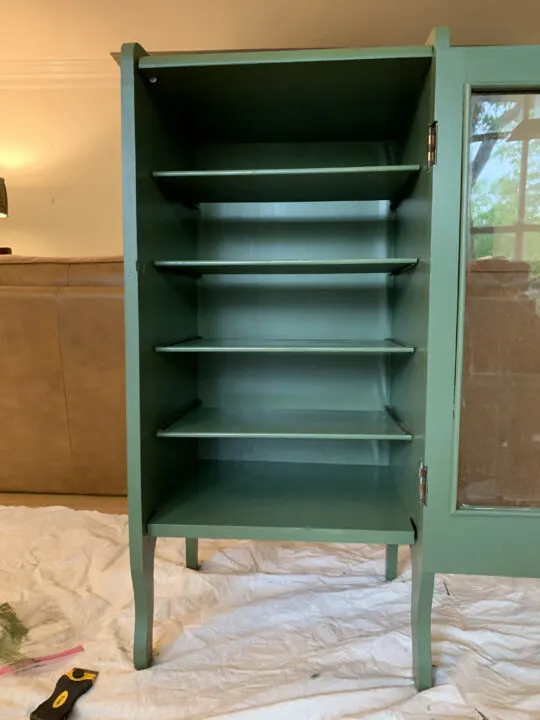
Sheet Music Cabinet Makeover Reveal
Bringing old furniture back to life is one of my favorite things to do. It is so satisfying to see the transformation of a discarded item and create an original piece for your home. It’s also great for the budget!
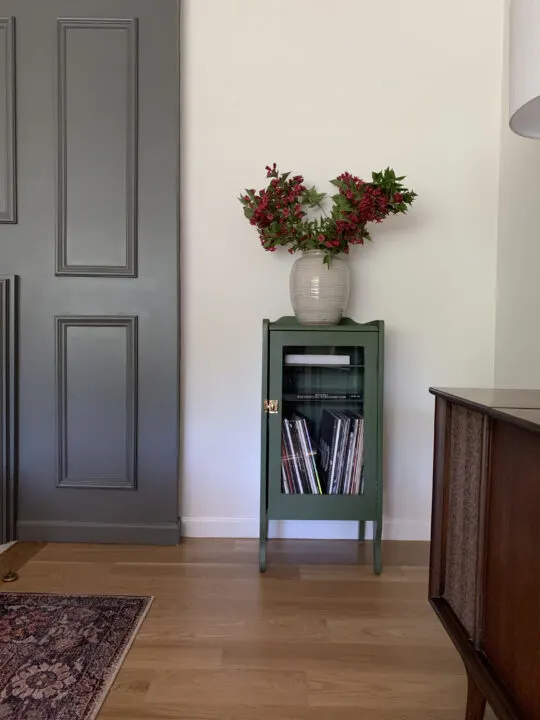
The original cabinet was dirty and broken, but I could see how beautiful it could be with a little bit of polish. The green cabinet is warm and inviting and worked perfectly for holding our records.

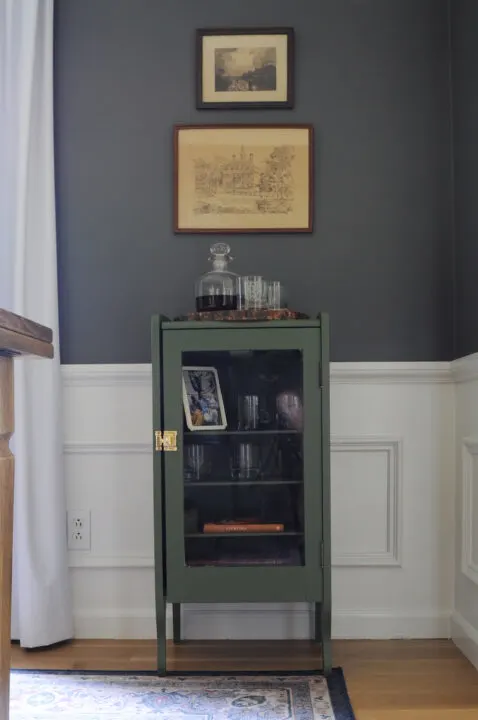
It is also extremely versatile. I ended up moving the cabinet into our dining room to hold glassware and drinks.

Similar Content You Will Love
- DIY Upholstered Headboard with Tufted Buttons
- How to Refinish a Wood Buffet | Easy DIY
- Paint an Exposed Basement Ceiling Black
- Easy IKEA Hemnes Dresser Hack to Try at Home
- DIY Scalloped Edge Shelf | Easy IKEA Hack
- 15 Items to Absolutely Buy at an Estate Sale
- Painting a Bathroom Cabinet DIY | Step by Step Tutorial
- 15 Beautiful Gray Green Paint Colors