
Last Updated on May 18, 2023 by lindseymahoney
Wallpaper removal can be a daunting task, especially when you’re dealing with stubborn wallpaper that just won’t budge. But fear not, as there is a solution that can save you time and effort: using a steamer.

I have removed wallpaper MANY times and am excited to share all of my tips and recommendations for tools to use when removing wallpaper.
From preparing your workspace to using the right techniques, we’ve got you covered. So, let’s get started and say goodbye to that old wallpaper that’s been bothering you for way too long!
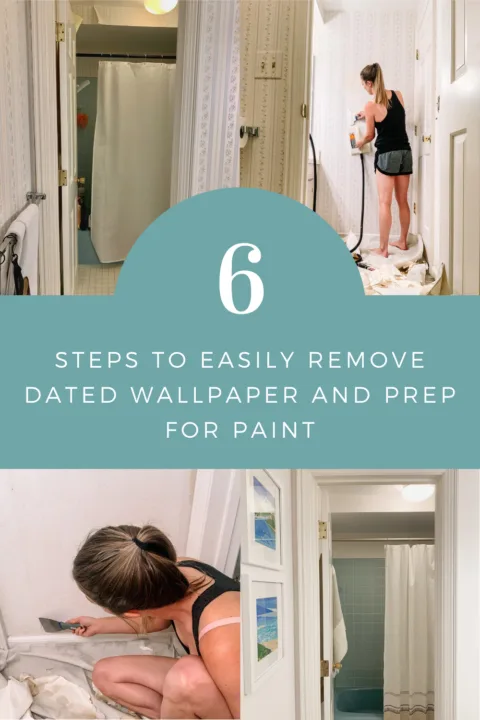
How to Remove Wallpaper with a Steamer & the Best Tools
*This home improvement post is sponsored by Trimaco. All content and opinions are my own. Affiliate links used in this blog post, thank you for supporting Building Bluebird! For a complete list of products used for this DIY, scroll to the bottom of the post.
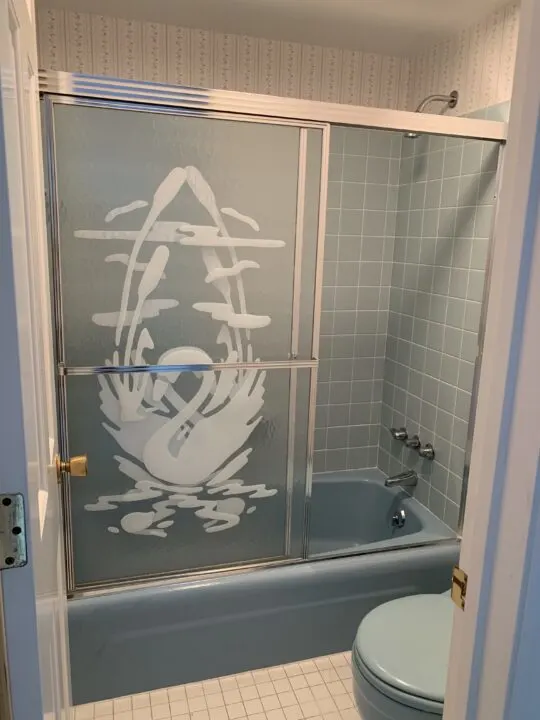
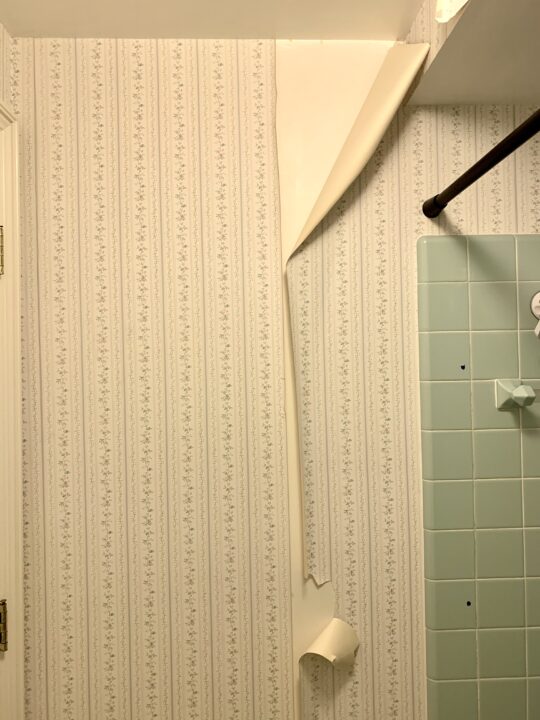
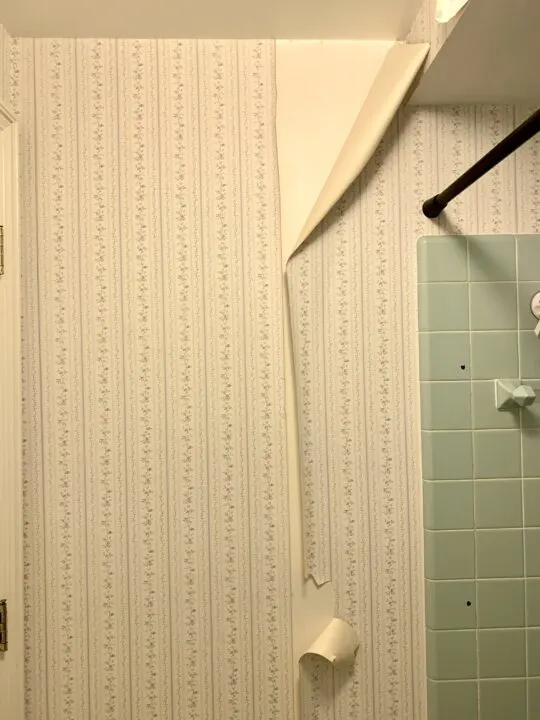
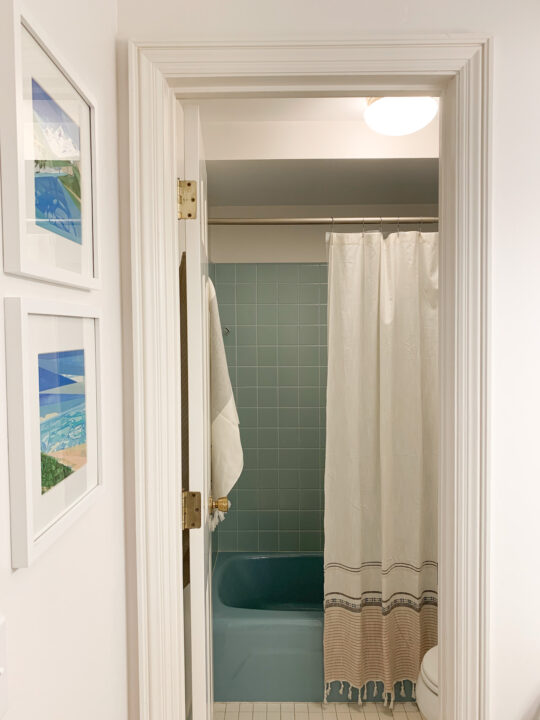
Master Bathroom Before
The next area in our home that I am excited to tackle is our dated master bathroom. I am going to remove the wallpaper with a steamer and apply a fresh coat of paint for an affordable mini-makeover!
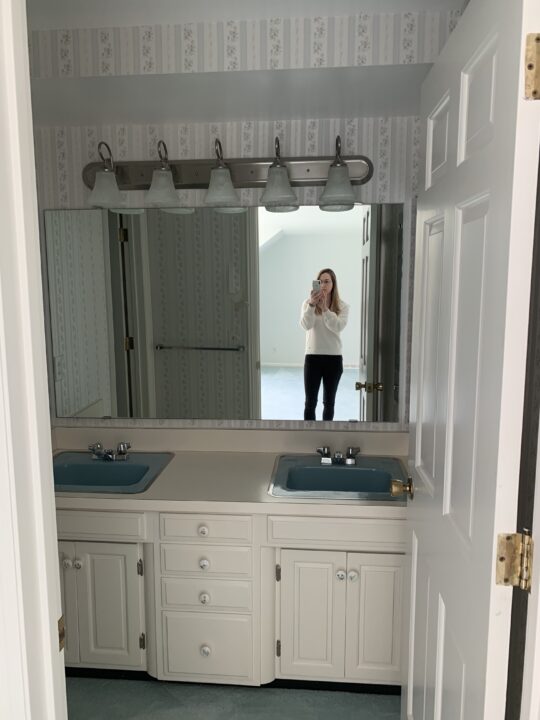

Our bathroom has retro blue shower tiles and even matching blue sinks! My goal is to give our bathroom a modern update without a major renovation. Because I know how to remove wallpaper with a steamer, I am saving money by tackling this DIY myself!

1 | Gather Materials to Remove Wallpaper
First, you will gather all of the materials necessary to remove wallpaper from your walls using a steamer. This includes tools and items to protect the surfaces and floors of the room you will be working in.
Source Product List
- Stay Put Canvas Dropcloth
- Cloth Rag
- Toilet Cover
- Wallpaper steamer
- 4-inch Putty/Knife Scraper
- 1.5-inch putty knife/scraper
- Spray Bottle Wallpaper Remover
- Wallpaper Scoring Tool
- TSP
- Bucket & sponge
- Sanding block
- Spackle
- Garbage bag for clean up
- Oil-based Primer (optional)

2 | Protect Floors & Surfaces
Before removing any wallpaper, it is important to protect the floors and surfaces in a room.
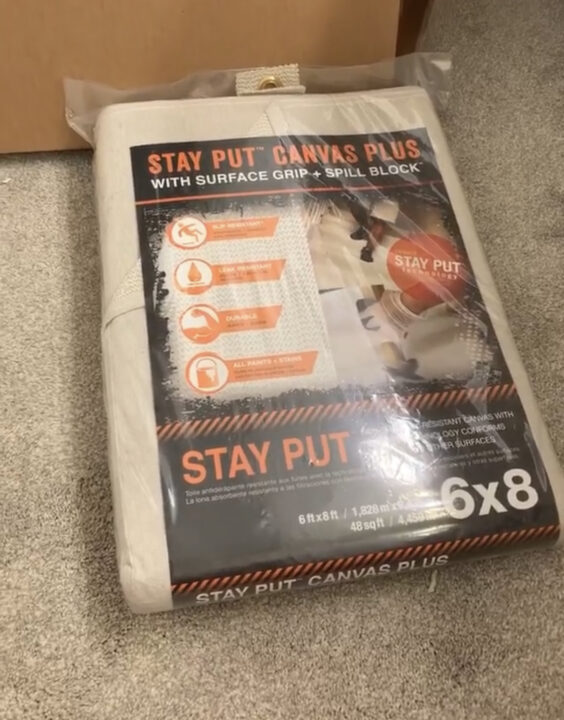
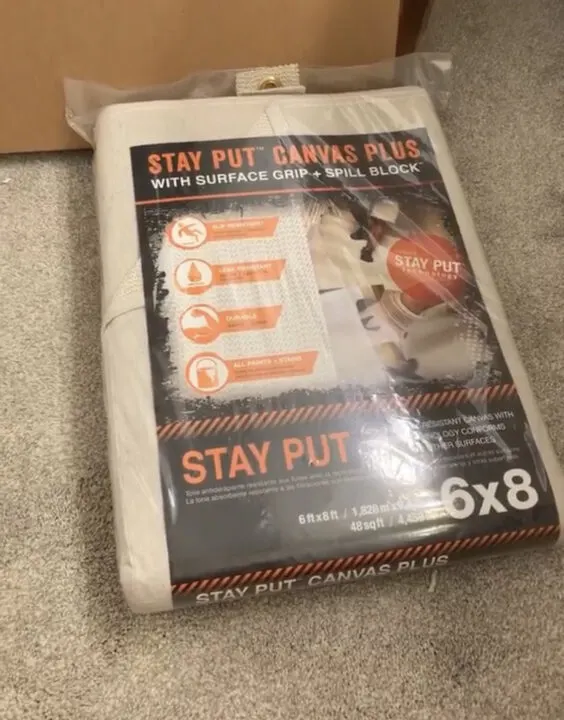
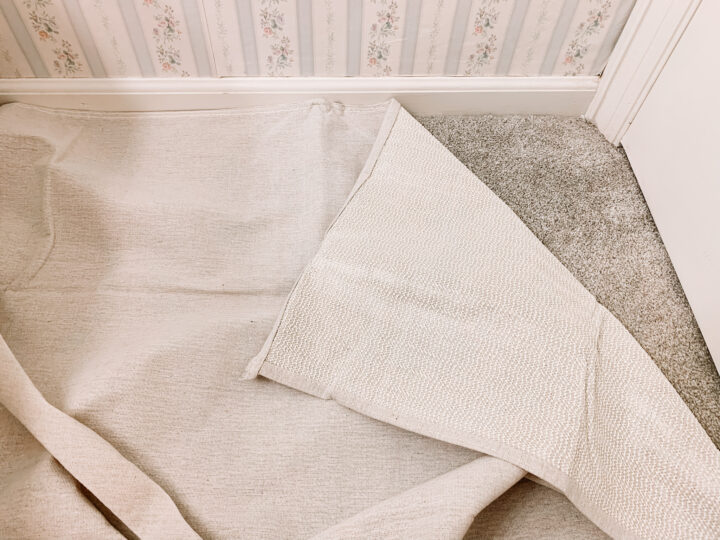
The Stay Put Canvas is a great dropcloth that is slip-proof and provides moisture protection. The canvas has a thin layer of plastic to prevent any leaks and a layer of rubber on the bottom to keep prevent slipping.

The easiest way to remove wallpaper from drywall (especially unprimed) is by using a steamer.
While it may be the easiest way, the wet wallpaper strips you remove will be sticky, so proper protection of your floors is imperative.

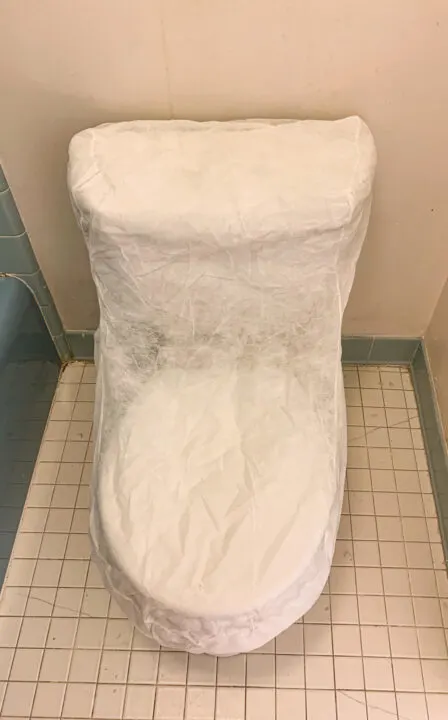
Next, I used Trimaco’s toilet cover to prevent any glue from sticking to the toilet. This protective cover is great for when I paint the walls and I can reuse it in our other bathrooms.
3 | Remove Everything Attached to the Walls
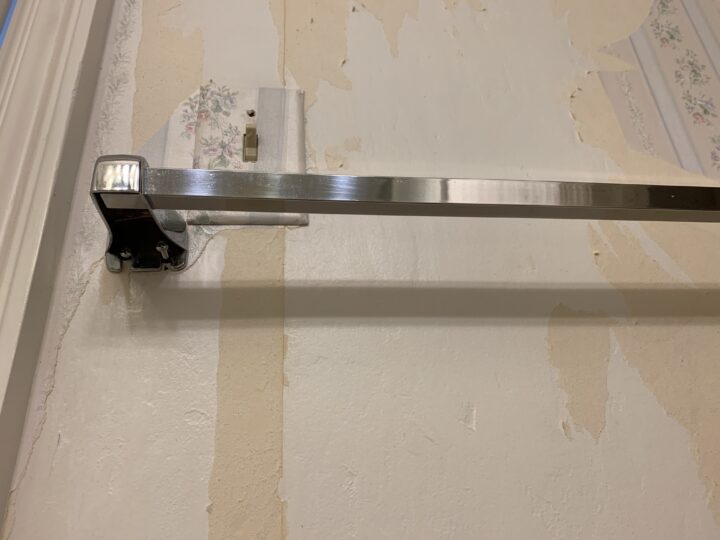

Once the surfaces have been covered, remove everything attached to the walls. This includes items like outlet covers, towel racks, and nails for artwork.
A screwdriver (electric or manual) and hammer (to remove nails) are important to complete this step. Eliminating these barriers will allow you to easily and quickly take down the wallpaper attached to the drywall.
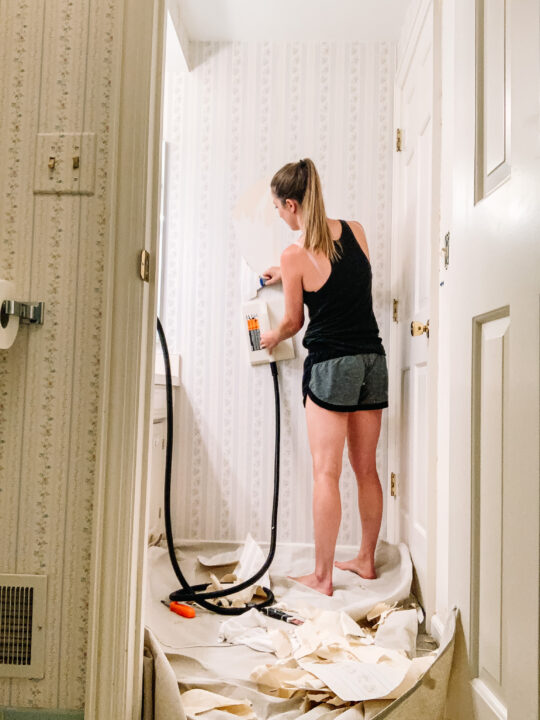
4 | Remove Wallpaper Using a Steamer

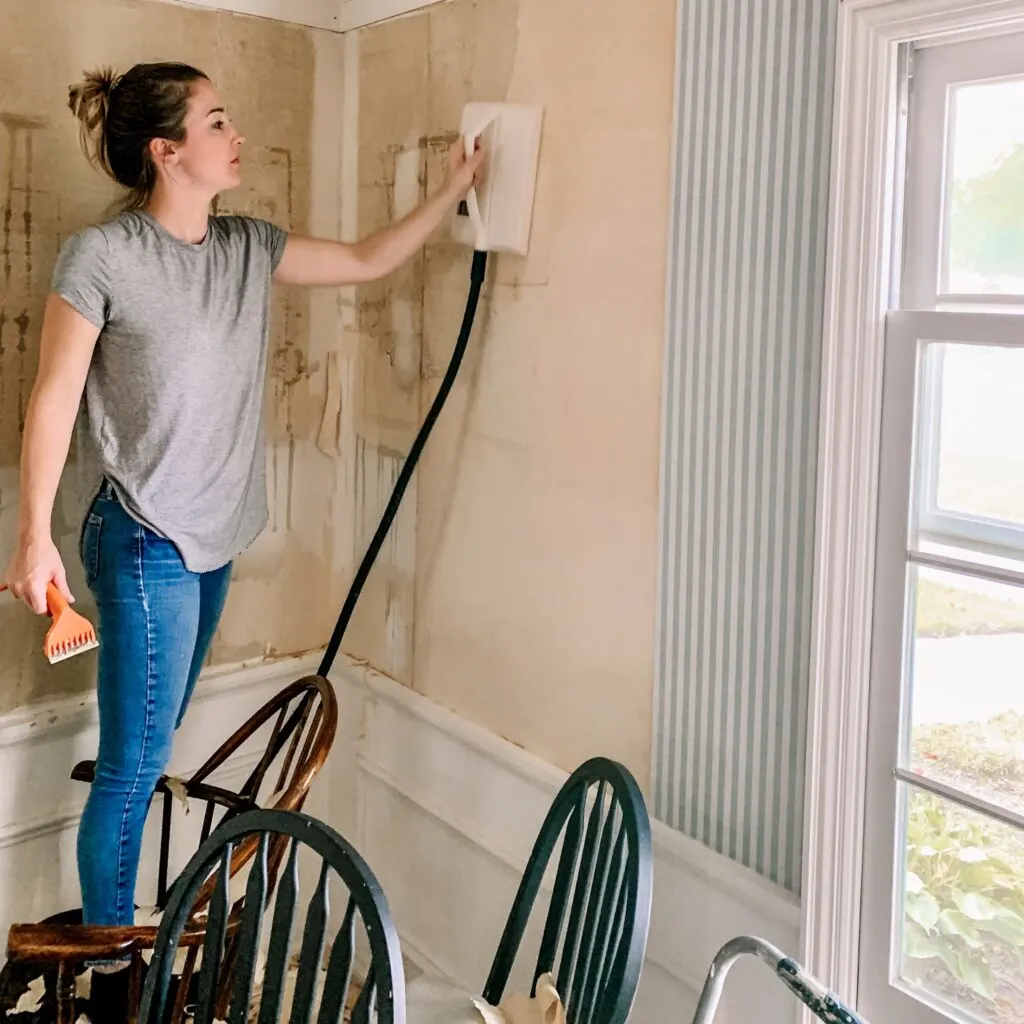
A wallpaper steamer is the most important tool you need when removing wallpaper from the walls. Wallpaper steamers can be purchased or rented at your local hardware store.
If you have more than one room that requires wallpaper removal, I recommend purchasing your own.
Once the wallpaper steamer is filled with water and it begins to heat up, you will prep the wallpaper. Roll a scoring tool across the wallpaper to create small holes in the paper.
This allows the steam to penetrate the top layer of the wallpaper and reactivate the glue.
This step is particularly important for wallpaper hung in bathrooms because it is usually a vinyl material.

Vinyl is thicker, more durable, and designed to withstand higher moisture areas. If I can, I will pull off the top layer of wallpaper to reach the paper and glue.
When the steamer is ready, place it on the wall and allow it to saturate for 5-10 seconds.
Move the steamer to another spot on the wall with one hand and with the other hand, use your larger putty knife to scrape off the saturated wallpaper. Don’t press too hard as your scrape, as the scraper can damage the drywall.
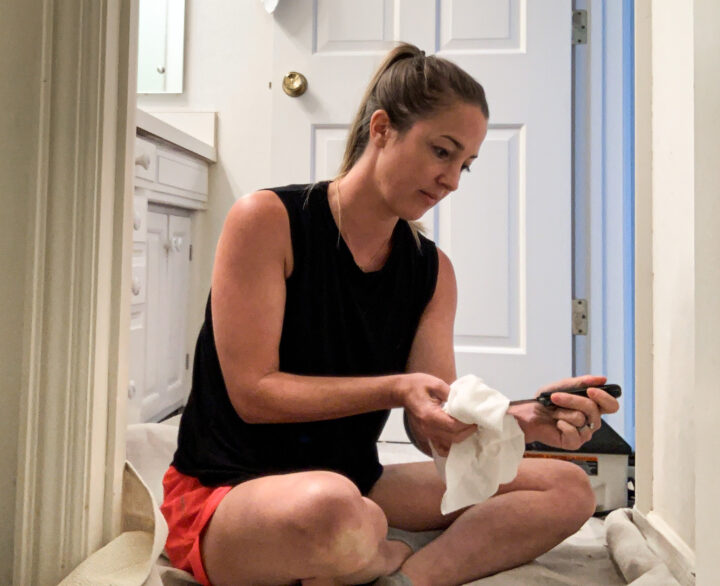

As you move across the wall, your scraper will get sticky from the glue. Keep a cloth rag on hand to wipe the glue off of your scraper. I like to scrape the blank walls one more time after I pull off the wallpaper to remove as much of the glue as possible.
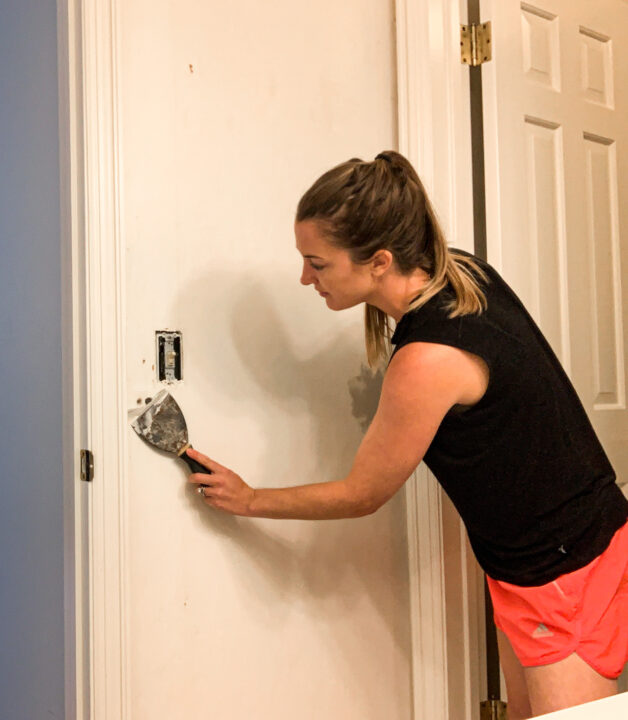
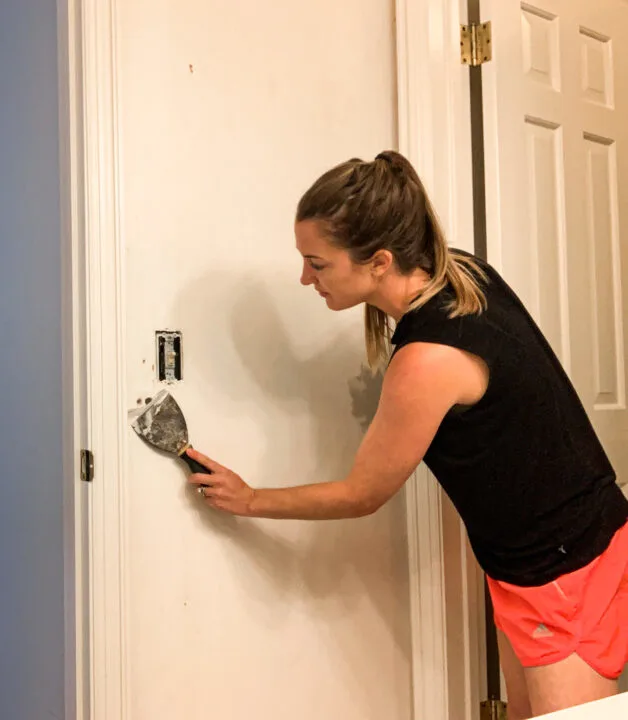
Removing Wallpaper from Tight Corners
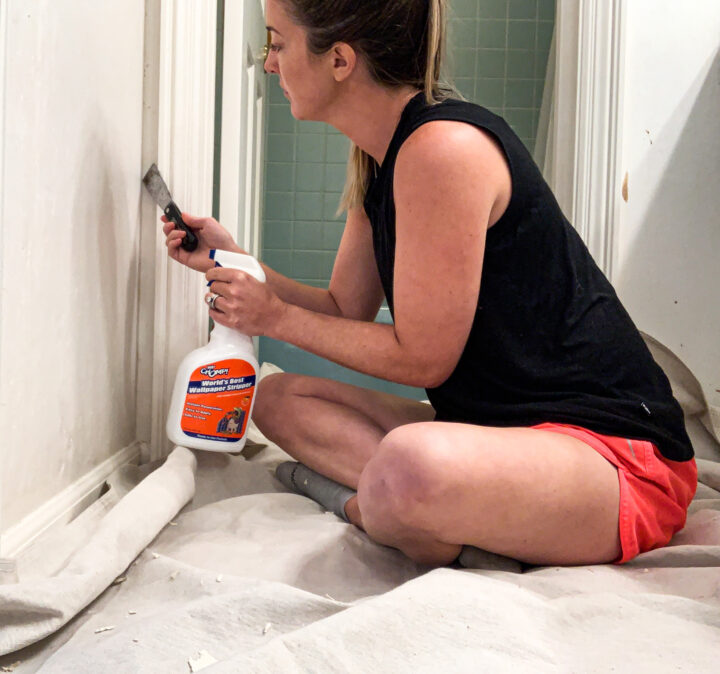

There will be some areas in a room that the steamer cannot reach. This is where the spray bottle of wallpaper remover and the smaller putty knife come in. Saturate the wallpaper with the spray and scrape it off of the wall with the putty knife.
If you can’t remove the toilet, it is a challenge to reach this area with a steamer. The spray bottle and small scraper work really well around a toilet and outlets close to door jams.
5 | Remove Remaining Wallpaper Glue
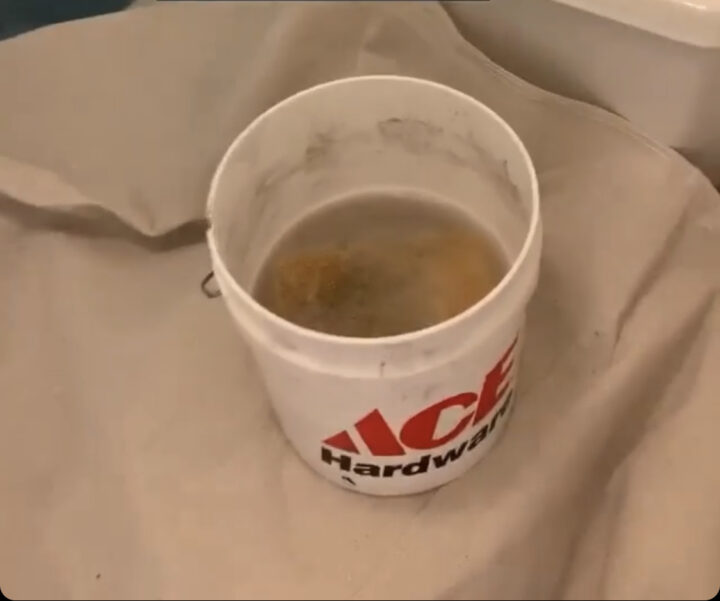
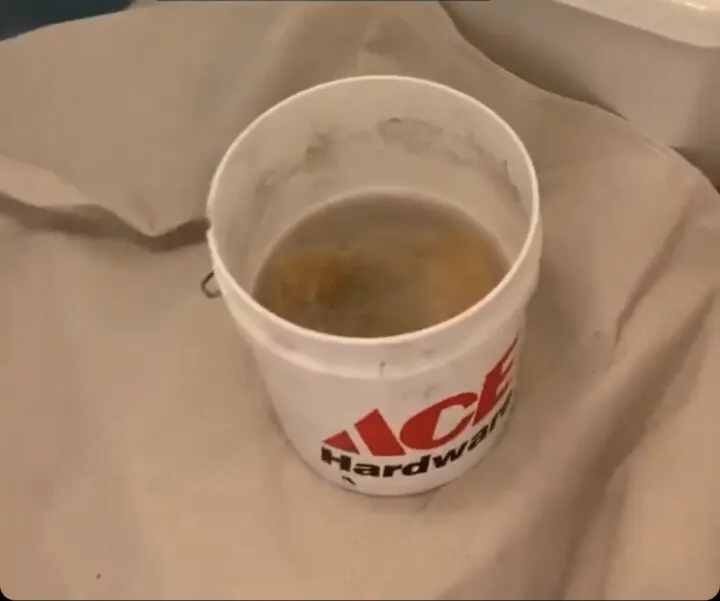
Remove the remaining glue on the walls with a bucket, TSP and a sponge.
When you begin wiping with a sponge, the glue will feel slippery on the walls. As you continue to scrub and the glue is roomed, the wall will feel less slippery and the glue is removed.
After scrubbing the walls, I use my cloth rag to wipe the wall dry and remove any lasting glue from the wall.
Another Option for Removing the Glue
There are some instances where you may not want to wash the walls to remove the glue. For example, the wallpaper in our vaulted ceiling foyer was installed on primed walls, so we could remove entire strips of wallpaper without a steamer.
Unfortunately, the wallpaper glue was still on the walls and I did not want to rent scaffolding to scrub it all off.
Standard interior latex paint is water-based and will reactivate glue if it is applied directly to the walls. To prevent a gummy mess when the glue and paint are mixed together, I applied an oil-based primer that covers the glue.
Oil-based paint is very smelly, so ventilate the room as best as you can. Once the glue is covered, you can apply standard interior paint/
Have you ever painted latex paint over oil-based paint? Check out my tips on how to fix this mistake when it happens!
6 | Fill Any Holes & Sand the Walls
Once the wallpaper is removed and the walls are cleaned, fill any holes with drywall spackle and let it dry.
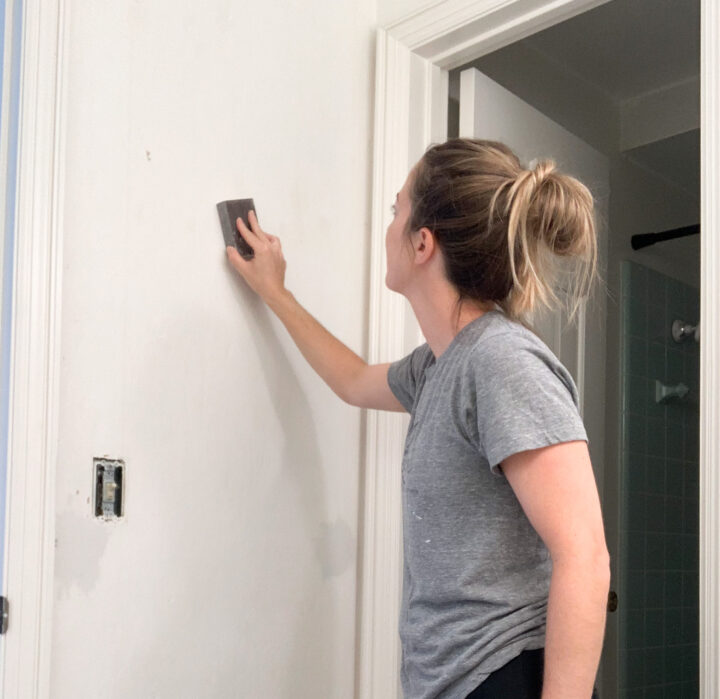
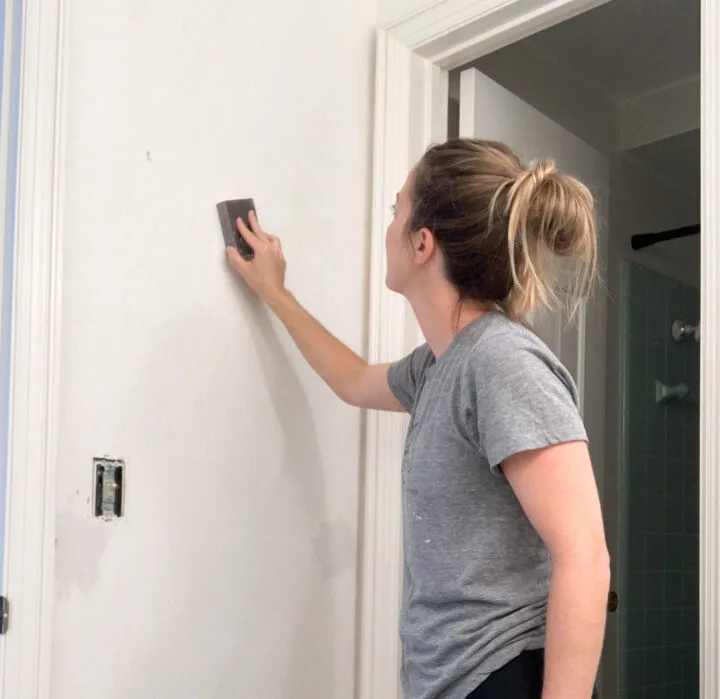
Use a sanding block to smooth out the walls and use a damp rag to remove any dust on the drywall.
7 | Clean Up
Toss the wallpaper strips into a garbage bag and shake out the dropcloth outside.
Put your tools away, remove the toilet protector, and fold up the canvas drop cloth to be ready for your next home project.
With the wallpaper removed from the drywall, you now have a blank canvas to paint the walls any color you want!
Once your walls are painted, don’t forget to re-install outlet covers, and towel racks, and hang beautiful artwork to finish the space.
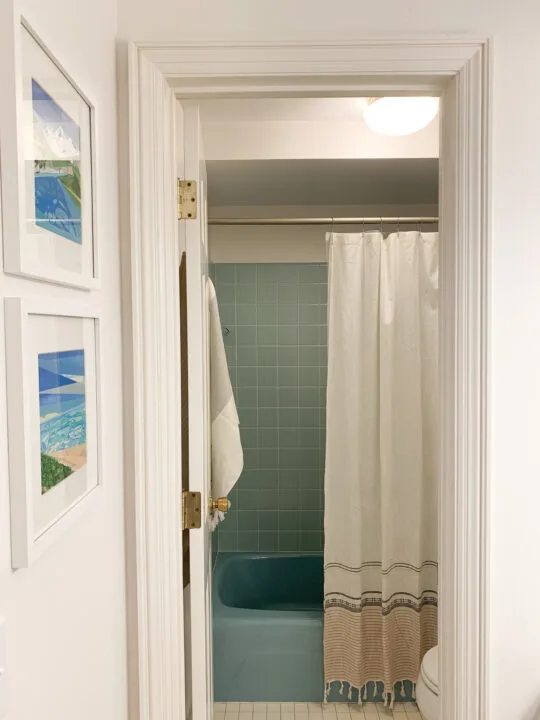
Bathroom Walls AFTER Wallpaper is Removed

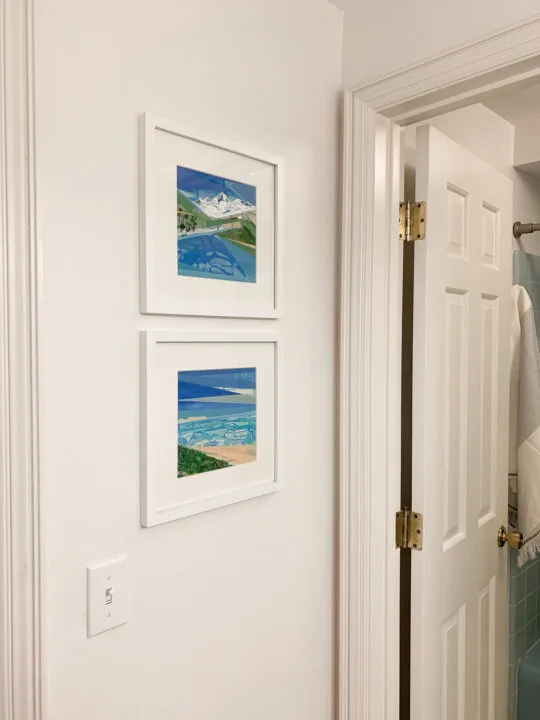
For our bathroom, I chose to paint the walls Snowbound by Sherwin Williams. The neutral palette allows the retro blue tiles and sinks to be the focal point and really stand out.
Removing wallpaper can be overwhelming, but using a wallpaper steamer can make the job much easier and more efficient.
Remember to prepare the room properly, work in small sections, and be patient. With a little time and effort, you can say goodbye to that old wallpaper and hello to a fresh, clean wall.
Frequently Asked Questions
What is a wallpaper steamer?
A wallpaper steamer is a tool that uses hot water to soften the adhesive that holds the wallpaper to the wall. The steamer has a reservoir that heats up the water, which then travels through a hose to a plate that’s pressed against the wallpaper.
The hot water softens the adhesive, making it easier to remove the wallpaper in sections.
The steam also helps to loosen any dirt or grime that may have accumulated on the wallpaper over time. The result is a clean and smooth wall that’s ready for a fresh coat of paint or new wallpaper.
Using a wallpaper steamer has several advantages over other methods of wallpaper removal. For one, it’s much less messy than using chemicals or scraping the wallpaper off with a tool.
The steam also eliminates the need for excessive elbow grease, making the process much less physically demanding.
Additionally, a wallpaper steamer is a more environmentally friendly option, as it doesn’t require harsh chemicals that can harm the environment or your health.
Can you remove wallpaper without damaging the wall?
Absolutely! By using the proper tools, you can easily remove wallpaper without damaging the drywall. A scraper specifically made for removing wallpaper is helpful to prevent gauges when scraping off the paper.
How do you clean walls after removing wallpaper?
In this blog post, I discussed cleaning the walls using a TSP solution, but it is not the only way to clean your walls. If want a homemade cleaner that is free of chemicals, mixing dish soap, baking soda, and vinegar is a safe cleaner that works as well.
Can you use a clothes steamer to remove wallpaper?
Absolutely! I have not personally used this method, but I have seen others use it effectively. When considering efficiency, wallpaper steamers are going to be better than clothes steamers because they are designed for removing strips of wallpaper.
If you have a small patch of wallpaper that needs to be removed, a clothes steamer can get the job done. If you have a large room with wallpaper, use an actual wallpaper steamer.
How long does it take to remove wallpaper with a steamer?
It depends on the size of the room. I place the steamer on a section for 5-10 seconds to saturate the paper and then use a scraper to detach it from the wall.
Steamers specifically made for wallpaper removal are designed to trap the steam against the paper and saturate it as fast as possible. This is why wallpaper steamers are a better option than a clothes steamer.
More Content You Will Love
- Make Your Own Homemade Grout Cleaner with 4 Ingredients
- The Best Blue Green Paint Colors to Try at Home
- 15 Beautiful Gray Green Paint Colors
- How to Wallpaper Your Stairs for Under $100 | Easy DIY
- The Best Cottagecore Paint Colors to Try at Home
- How to Hang Pre-Pasted Wallpaper by Yourself
- 16 Beautiful Mauve Paint Colors for Every Room
- Install Picture Frame (Box) Molding | Easy DIY