Last Updated on May 12, 2021 by lindseymahoney
Welcome back to Week 2 of the One Room Challenge! Our living room has great bones and the first improvement we made to the room was installing new floors and painting the walls. Check out all of the living room design plans in the Week 1 post.

For those of you that are visiting this site for the first time, welcome! My family recently moved into a fixer-upper in Toledo, Ohio, and have been documenting all of our renovations on the blog. In fact, I renovated our dining room for my first ORC two years ago! I updated my little boys’ bedroom for my second ORC last Spring and our master bedroom last fall. It is such a fun experience connecting with other bloggers who are passionate about design and I always walk away with tons of inspiration.
Here is a reminder of what our living room looked like when we first moved in two years ago:
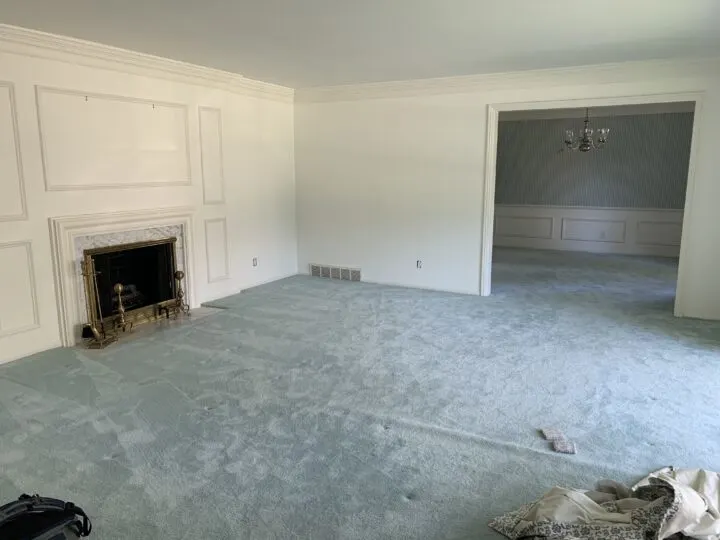
Installing New Floors
When we moved into our home, we decided to update all of the floors at once along with a complete kitchen renovation. This was a major expense for us and I came up with any creative solution I could think of to save a little money.
One of the easiest ways to save money is to take on the demolition ourselves. We have done this for numerous renovations and saved lots of money by skipping hired labor. The first month of owning this home was spent tearing out carpeting and getting the floors ready for the hardwood installation.

Another small way that we saved money was to reuse the old baseboards instead of installing new ones. We carefully removed each baseboard and labeled them to re-install once the floors were down.
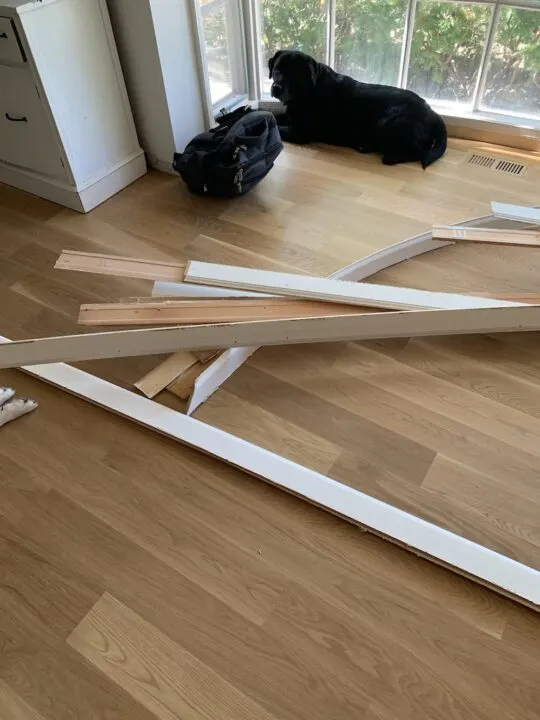
For the flooring, we chose a wide plank white oak wood and it looks beautiful. We chose a clear sealant to keep the natural wood color.
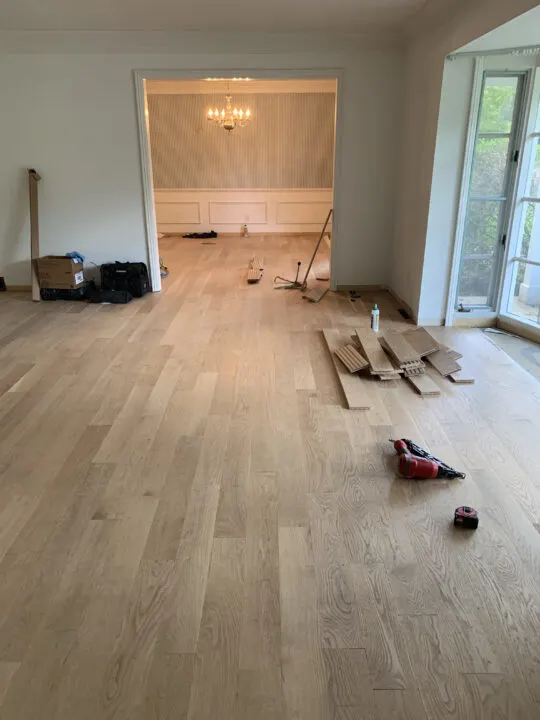
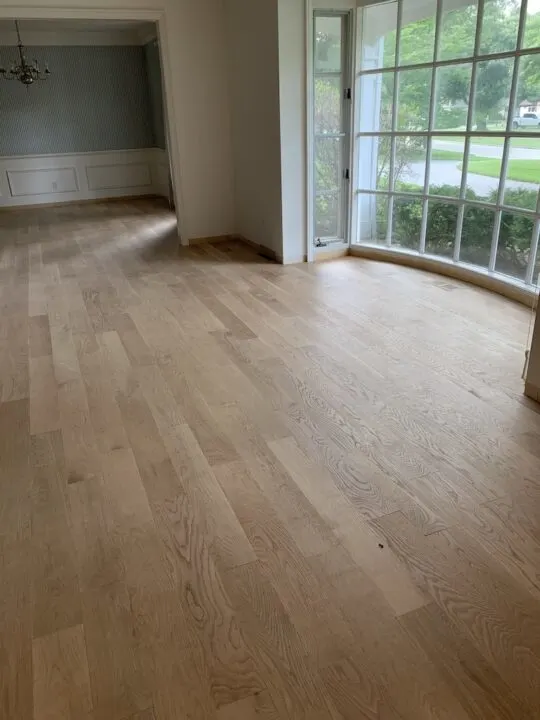
Painting the Walls
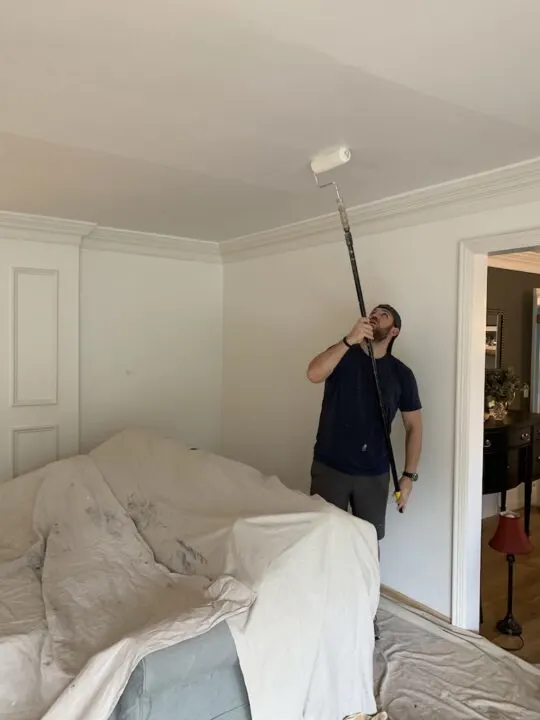
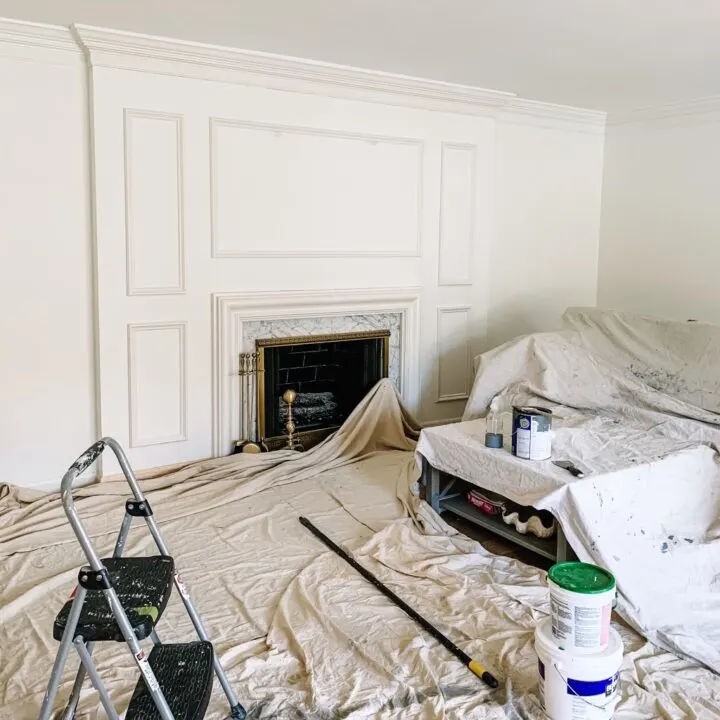
I chose Alabaster by Sherwin Williams as the neutral paint color (check out my favorite neutrals here) throughout the house. I painted this creamy white on the walls and then gave the ceiling and molding a fresh coat of white paint.
**Getting ready to paint a room in your home? Check out these tutorials to paint a room like a pro & painting a room with carpeting. Check my favorite paint supplies to use as well!
Fireplace Makeover
The fireplace is beautiful and I really wanted to make it pop. As I mentioned earlier, we tackled our kitchen renovation at essentially the same time as the floors. I chose clean white cabinets for the perimeter of the kitchen and a dark gray cabinet color for the island.
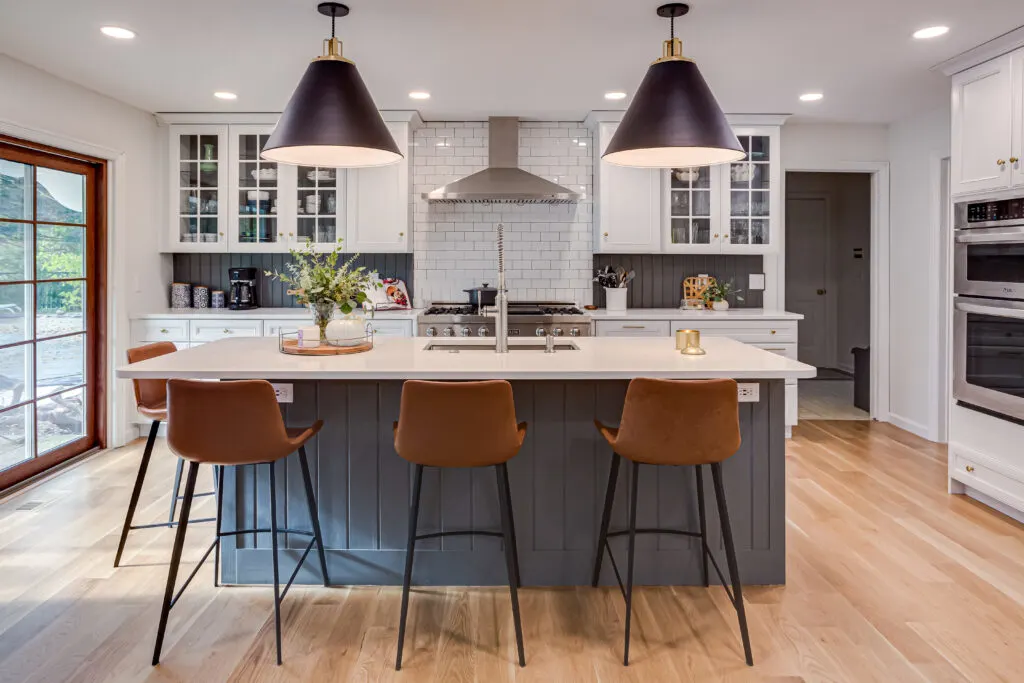
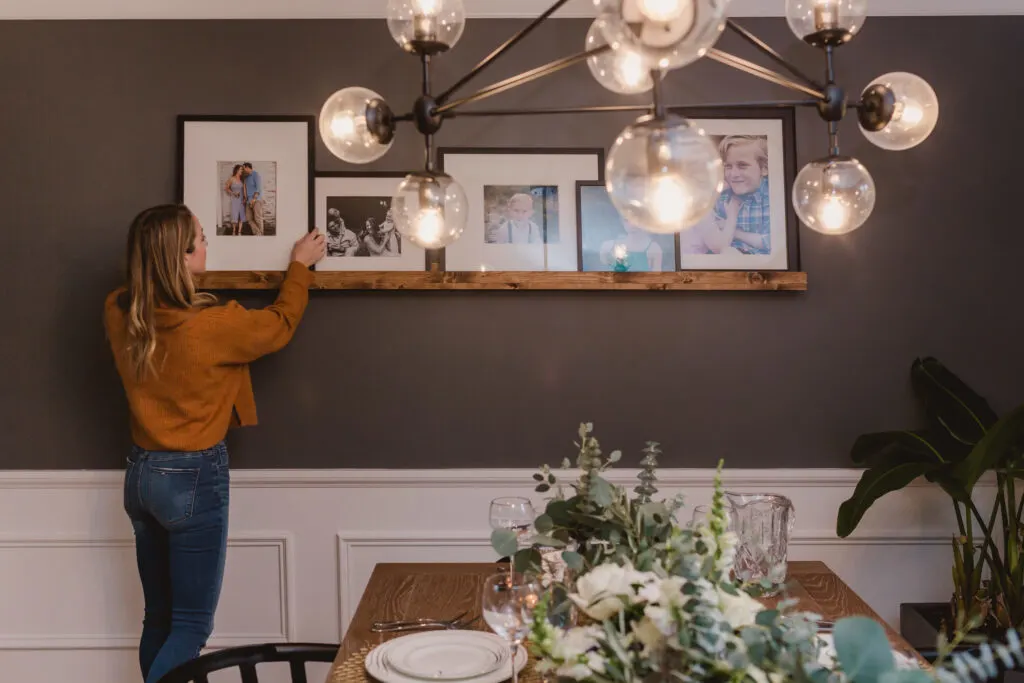
To give the main floor a cohesive look, I added that same gray color into the dining room and then to the fireplace. I took a cabinet front to Sherwin Williams to have their paint color matched to the exact cabinet color in the kitchen. This is a custom color, but it is very similar to Peppercorn by Sherwin Williams.
I absolutely love the bold gray on the walls in the dining room.
Here is the fireplace before:
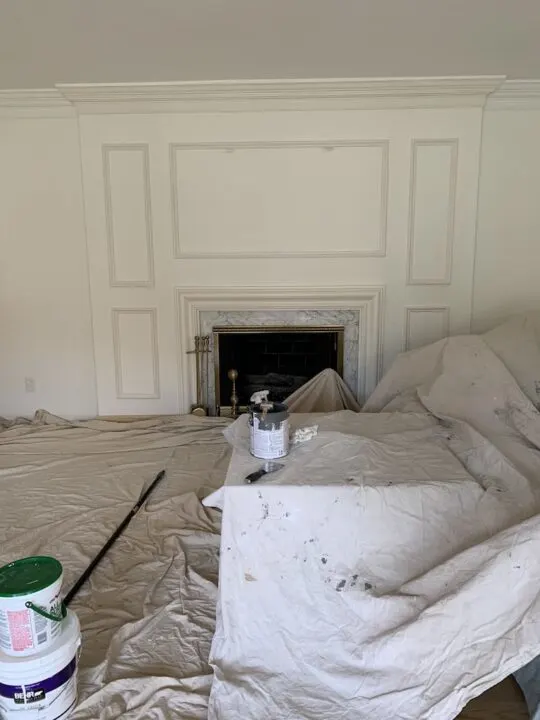
And here is the fireplace with the fresh gray paint.
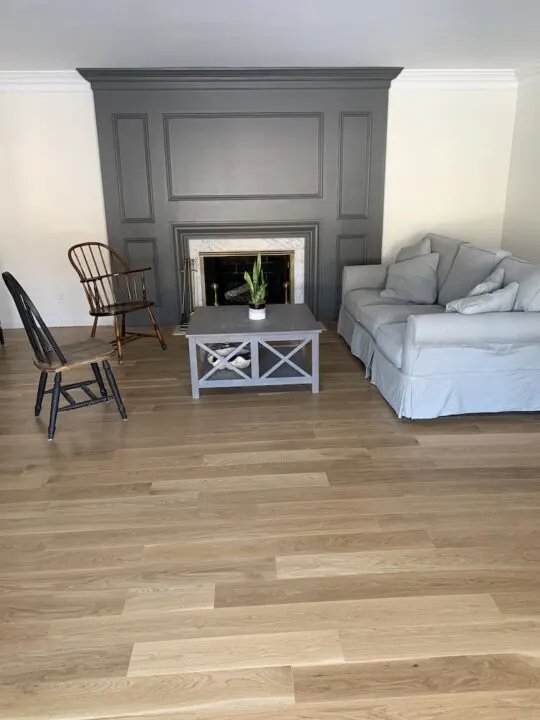
I painted the molding and baseboards on the fireplace to give it a custom look. The marble around the fireplace insert really stands out now too. For two years I played around with furniture that we already owned and it looked really nice. The furniture shown below has evolved over the two years and now lives in the newly renovated basement.
That’s all for now, come on back next week as I continue this 8-week makeover in our living room!! Don’t forget to check out all of the other participants and their projects on the One Room Challenge blog.
