Last Updated on October 20, 2021 by lindseymahoney
Welcome back to week 4 of the One Room Challenge! We are at the halfway mark of updating my daughter’s bedroom and I still have lots of fun projects to share. This week I tackled another fun IKEA hack in Evelyn’s bedroom and gave her vanity a refresh.
Catch up on earlier posts for the Fall One Room Challenge…
Week 1 | Week 2 | Week 3 | Week 4 | Week 5 | Week 6 | Week 7 | Week 8

For those of you who are stopping by for the first time, welcome! Two years ago we moved into our 1960’s fixer-upper in Toledo, Ohio, and have been documenting our renovations on the blog. This will be my fifth time participating in the One Room Challenge and it has been a fantastic way to complete projects in our home! Thanks for following along as I work to transform our daughter’s bedroom in 8 weeks.
Dining Room Reveal | Boys Bedroom Reveal | Master Bedroom Reveal | Living Room Reveal
Billy Bookcase IKEA Hack
Last week I shared one of my most recent IKEA hacks where I added scalloped trim to the RIBBA picture ledge (similar) and it looked so cute!
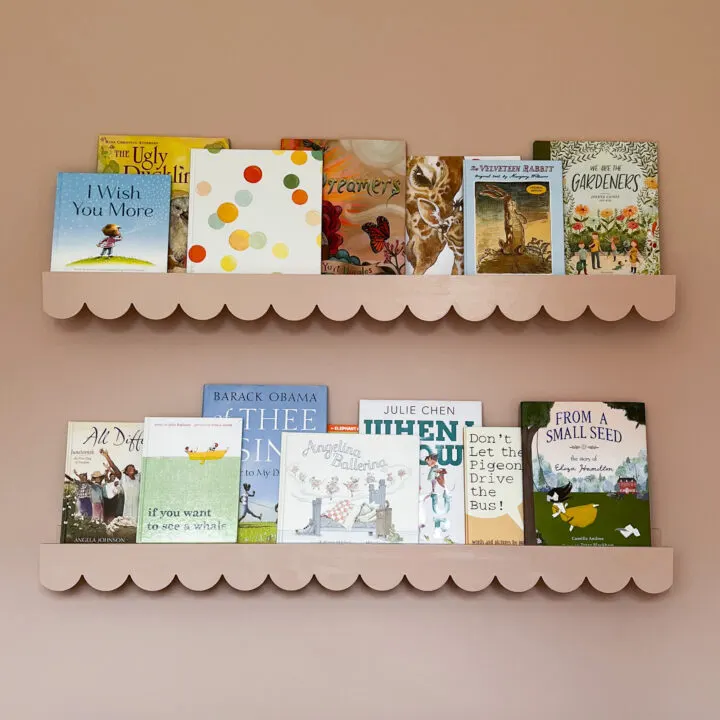
I have mentioned this before, but whenever I am designing a room, I really try to upcycle furniture items I already own. This is important to not only save money but to save furniture from ending up in a landfill. Originally, I planned to use a bookcase we already owned (see below), but it just wouldn’t work in the room.
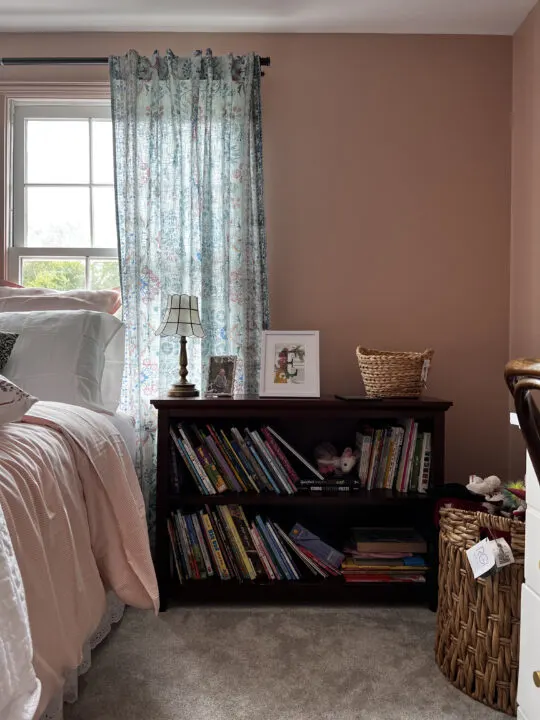
IKEA furniture has always worked out really well in our home so I decided to buy a new bookcase and add a little flare with a custom IKEA hack. Luckily, the bookcase I was trying to make fit could go back into my husband’s office. Last year I added two built-in Billy bookcases into my son’s bedroom and it turned out great.
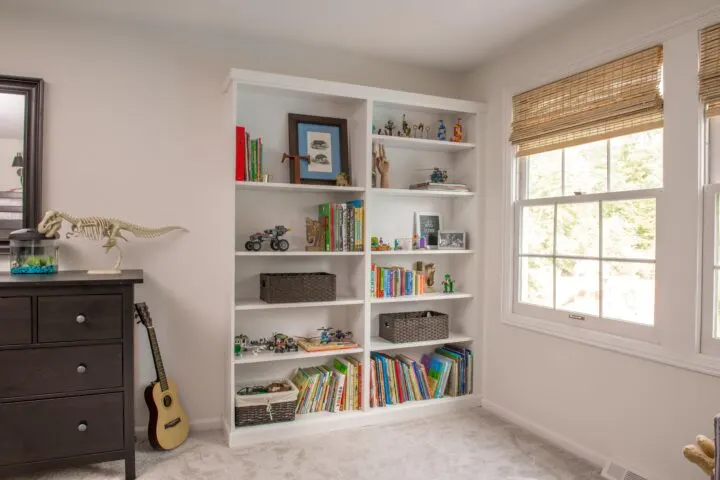
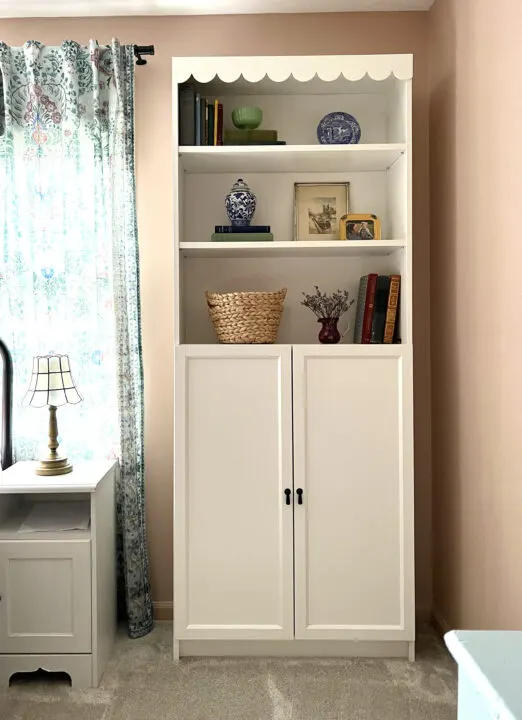
I decided to buy one tall bookcase that included cabinet doors on the lower half of the shelves to hide clutter and toys.

Evelyn’s room is on the smaller side and adding the lower doors was the right choice. First, I cut the scalloped trim to the length of the bookshelf. Next, I painted the trim using paint that was color-matched to the IKEA Billy bookcase color.
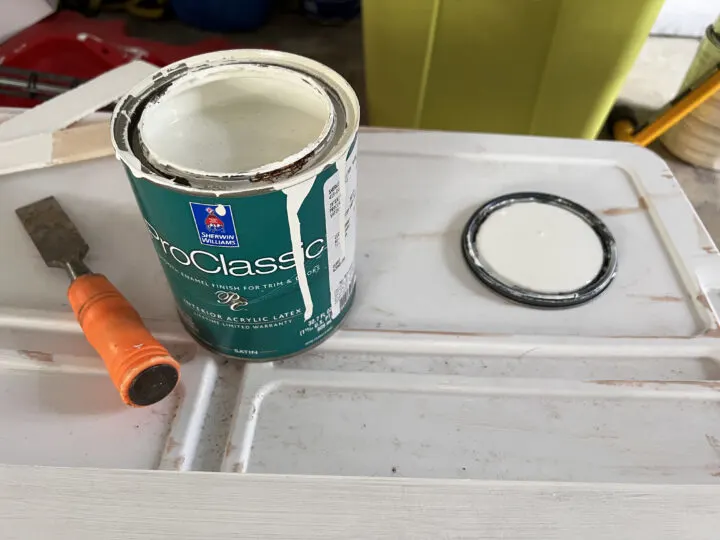
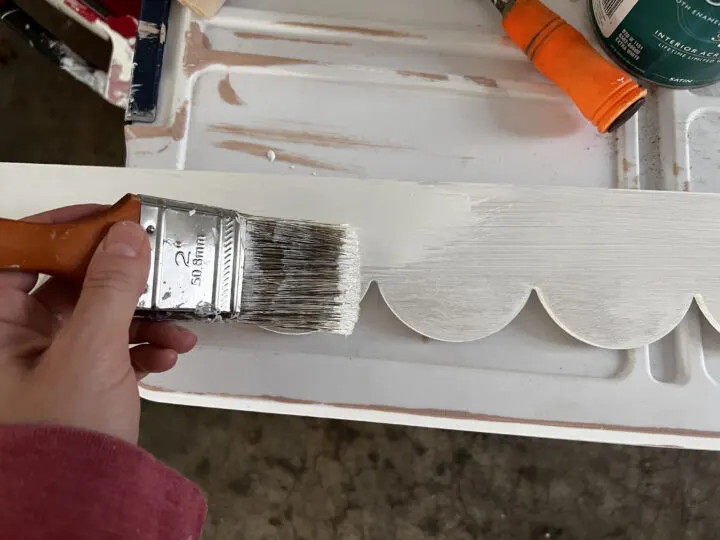
Finally, I swapped out the knobs to complete the look.
When this DIY was complete, it looked like the scalloped trim was included in the original design! Repeating the pattern on multiple furniture pieces gives the room a more cohesive feel.
Vanity Makeover
Last year my in-laws asked if we wanted an old vanity that had been sitting in their storage unit. It was my MIL’s growing up and was what she used when they were first married. The vanity had some dents and dings on it, but I was excited to take it and clean it up!
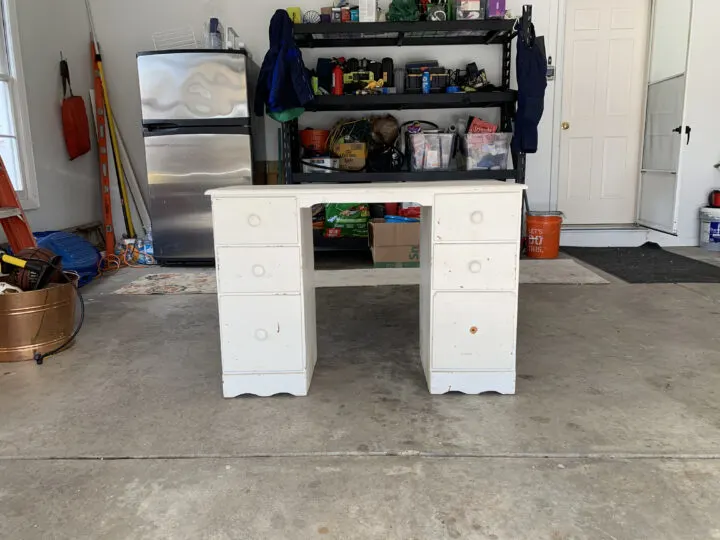
Last summer I painted the dresser white, added gold knobs, and called it a day. It turned out really cute, but I wanted a different vibe with this vintage-inspired bedroom. You can see the vanity makeover 1.0 along with a lamp that my MIL no longer wanted. My parents were getting rid of the mirror so I snagged it and painted the frame gold.
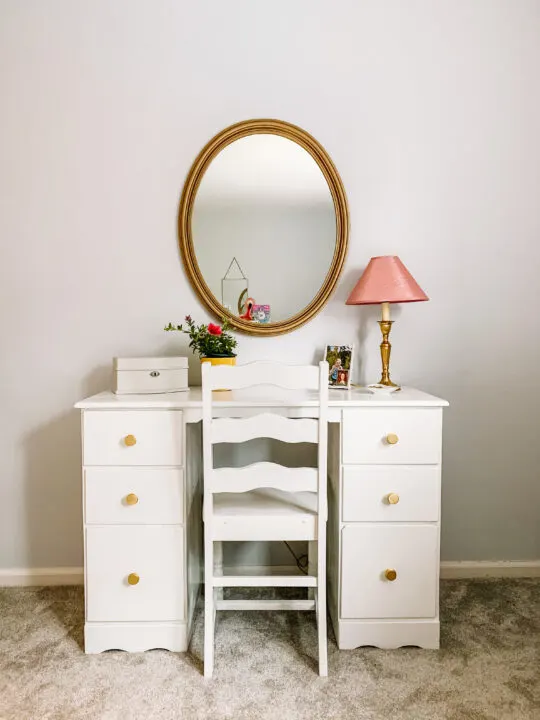
I love furniture that has tells a story. The fact that Evelyns Nana got ready for her wedding day sitting at this vanity made it pretty special. I even found a grade school photo of my husband’s aunt stuck in a crack of a drawer! My MIL must have gotten it when they were just dating.

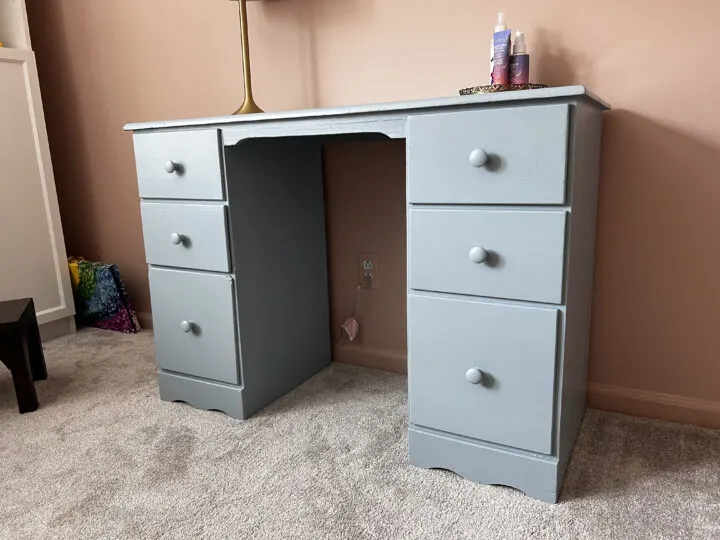
The gold knobs were replaced with wooden ones and I repainted the entire vanity. I wanted a muddy blue and chose Meditative by Sherwin Williams.
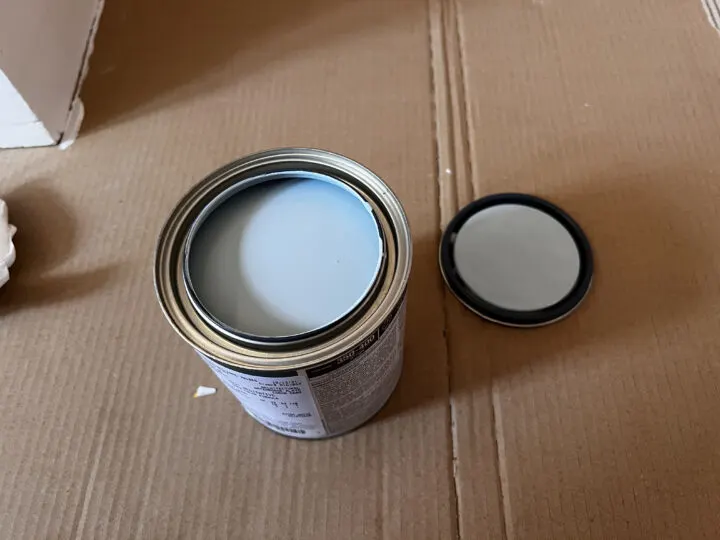
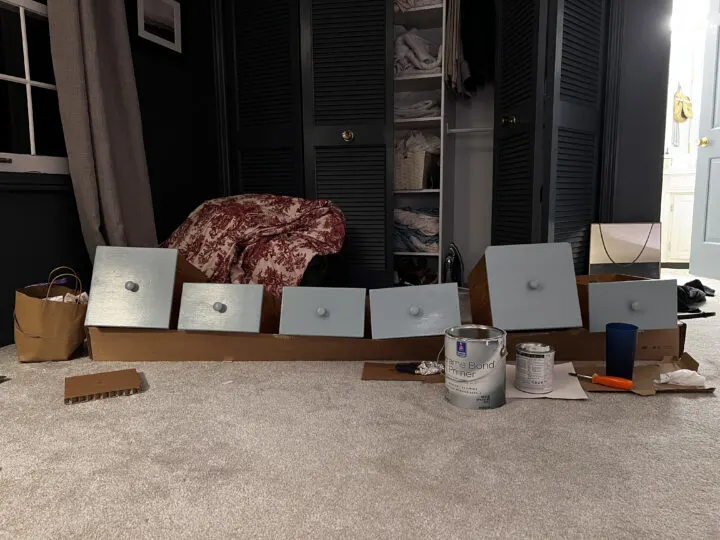
The vanity got a quick sanding, a coat of primer, and then two coats of blue paint. The one downside of DIY paint projects is the mess that carries into the other rooms! I set up a makeshift paint station in our bedroom.
The wooden knobs give it more of the Early American feel I was going for in this space. It also helped to break up all of the white furniture and tied in the blue curtains.
More DIY Paint Projects to Check Out
- I Applied Latex Over Oil-Based Paint | How to Fix
- How to Paint Concrete Basement Floors Using Epoxyshield
- The Best Supplies for Painting Interior Spaces
- How to Paint an Exposed Basement Ceiling
- How to Paint a Dated Rock Fireplace | DIY
Check back next week where I will be recovering the bentwood chair from an estate sale! Also, don’t forget to check out all of the other participants and their projects over on the One Room Challenge blog. Thanks for stopping by!

Lisa
Thursday 21st of October 2021
I love the scalloped detail you added! Great job ;)
lindseymahoney
Thursday 21st of October 2021
Thank you!